macOS offers an easy-to-use Screenshot tool that lets you take cropped and full-screen screenshots and record your Mac’s screen in video form. If you deal with a bunch of screenshots regularly, then you may have to delete them often to avoid cluttering your Mac with unnecessary junk.
In this post, we’ll explain where are all of your screenshots saved on a Mac and how you can delete them with ease.
Where are screenshots saved on a Mac?
When you take a screenshot on your Mac, they are saved as PNG files on your desktop. This makes it easier for you to view the screenshots that you capture, edit them, or drag them to a browser or an app to share them at will.

When a screenshot is captured on your Mac, you will see its thumbnail appear on the desktop with the name “ScreenShot<date>at<time>” just below it. As you take more screenshots, you’ll see more thumbnails on the desktop with different date and time stamps to differentiate one another.
Delete screenshots: Keyboard shortcuts to use
- Command (⌘) + Delete: Move a screenshot to Trash.
- Option + Command (⌘) + Delete: Delete a screenshot permanently without moving it to Trash.
- Control + Command + 0: Toggle Stack on your Mac.
- If you wish to select all the screenshots to delete them, you can simply right-click or Control-click on the Screenshots stack (regardless of whether it’s expanded or not).
How to delete screenshots on a Mac
When you take screenshots on your Mac and you can see them appear on your desktop, then you can delete them with ease.
Method: Delete screenshots one at a time
- To delete an individual screenshot, you will need to locate it inside your desktop. If you aren’t able to clearly view screenshots to delete them, click on a screenshot first.
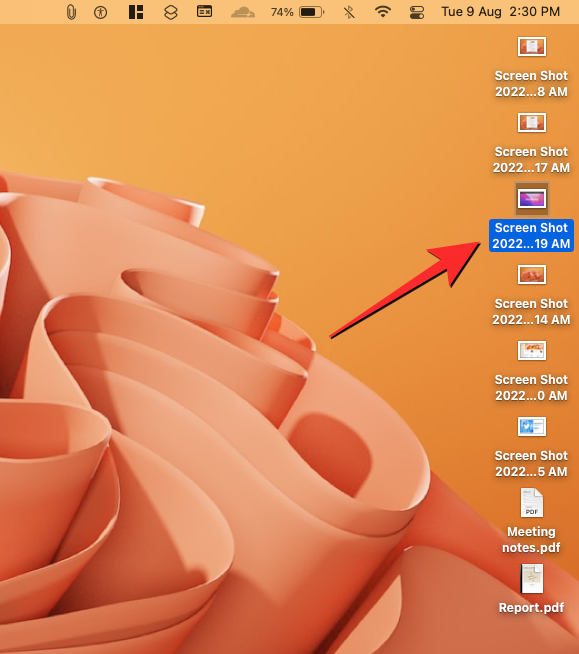
- You can then preview the selected screenshot by pressing the Space key on your keyboard. You will now see the preview of the selected screenshot in a larger view.
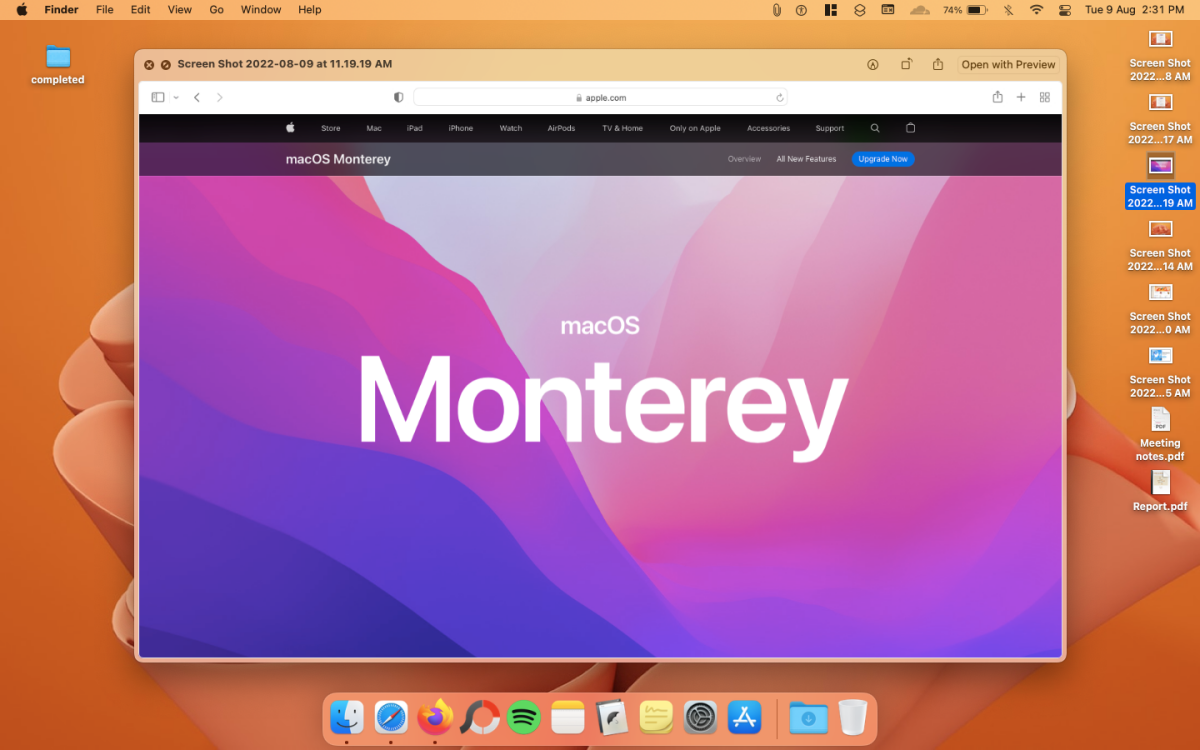
- If this isn’t the screenshot you want to delete, click on another screenshot file on your desktop, and its preview appears automatically.
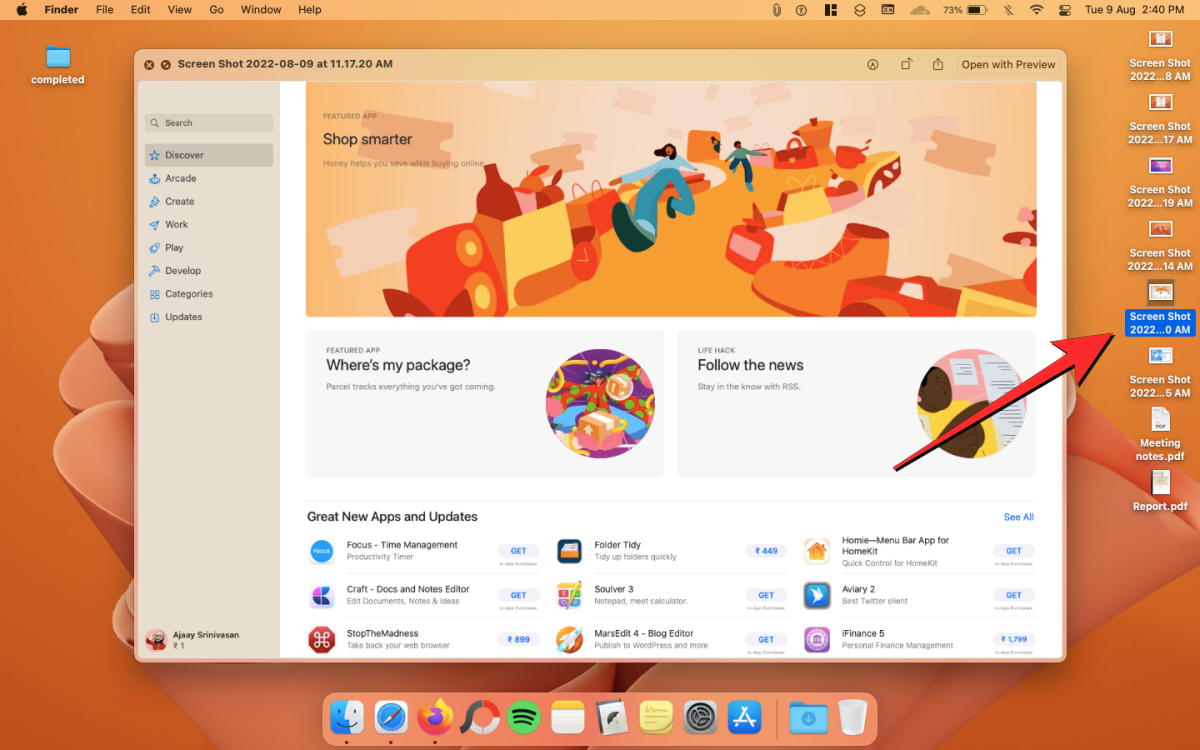
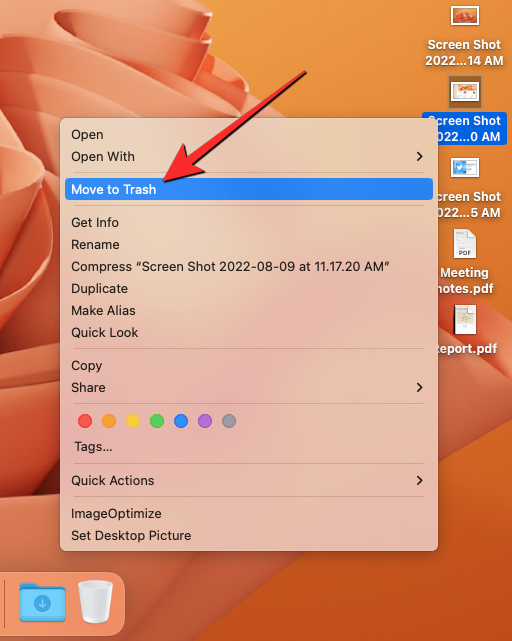
- Once you find the screenshot you want to delete, you can move it to your Mac’s Trash by right-clicking or Control-clicking the file and then selecting Move to Trash from the menu that appears.
- You can also move a screenshot to Trash using the Command (⌘) + Delete shortcut on your keyboard.
- When you send a file to Trash, it will still consume space on your Mac, unless you empty the Trash.
- You can also opt to delete a screenshot permanently without moving it to the trash by first selecting it and then using the Option + Command (⌘) + Delete shortcut on your keyboard.
This will delete the screenshots forever from your Mac and you won’t be able to access them later.
Method 2: Delete multiple screenshots
If you have a bunch of screenshots lying around on your Mac’s desktop, you will need a way to filter your screenshots from other files on your desktop. You can do this by using the Stacks tool which organizes files on your desktop into groups of file types. You can use this tool to find all screenshots that are saved on your desktop easily.
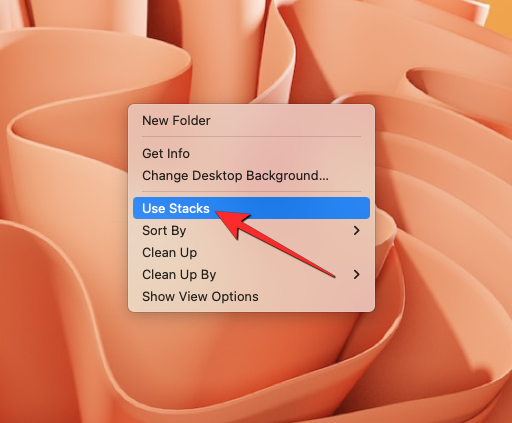
- To view all the screenshots on your desktop, right-click or Control-click on an empty space on the desktop. When a menu appears, select Use Stacks.
- You can also toggle Stack on your Mac using the Control + Command + 0 shortcut on your keyboard.
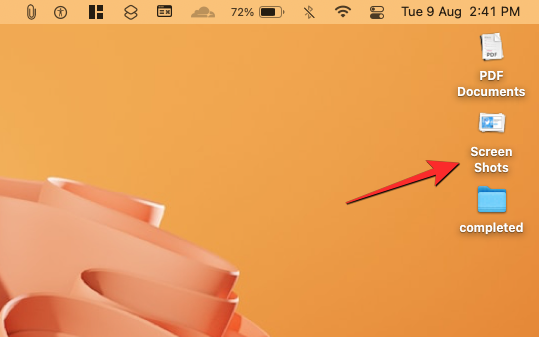
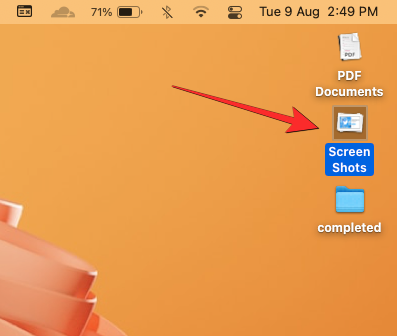
- When you do that, your Mac will re-arrange items on your desktop in groups of different file types. Here, click on the Screenshots stack that appears among other stacks on your desktop.
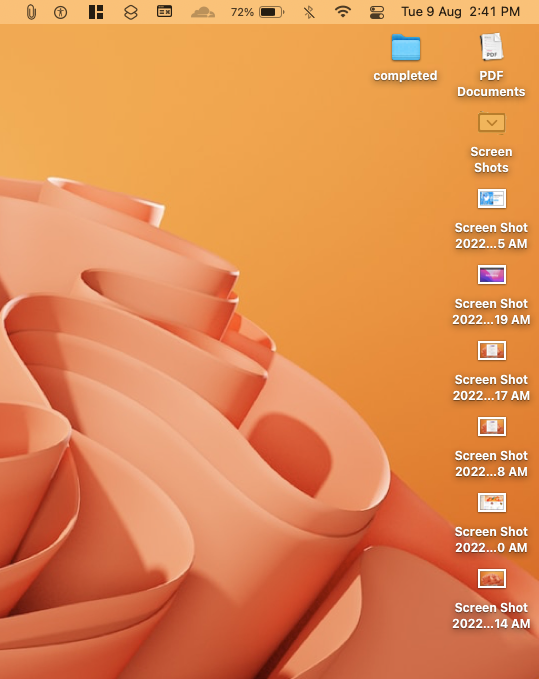
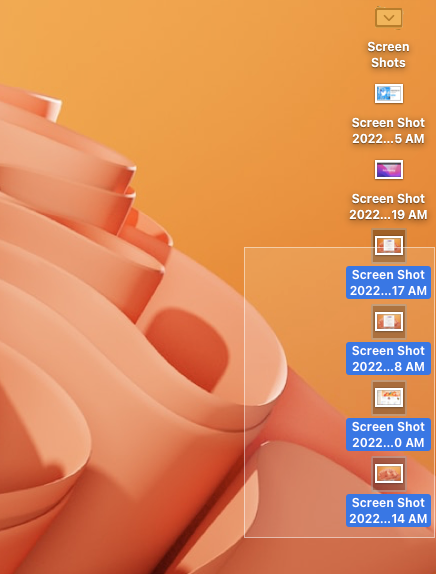
- Now, the stack will expand to show you all the screenshots that are saved on your desktop.
- You can click and drag to select multiple screenshots from here or use the Command key on your keyboard and click on the multiple files to select them.
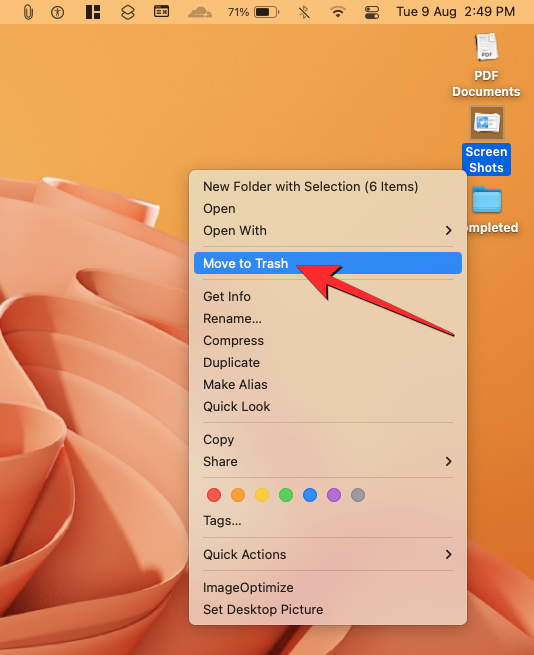
- To delete the selected screenshots and move them to Trash, right-click or Control-click on any selected file and then select Move to Trash from the menu that appears.

- You can also move a screenshot to Trash using the Command (⌘) + Delete shortcut on your keyboard.
- If you wish to select all the screenshots to delete them, you can simply right-click or Control-click on the Screenshots stack (regardless of whether it’s expanded or not).
- You can then select Move to Trash from the menu.
- You can delete multiple screenshots permanently without moving them to Trash using the Option + Command (⌘) + Delete shortcut on your keyboard.
How to find screenshot location on a Mac
If your screenshots aren’t getting saved on your Mac’s desktop, you may have to find a way to locate them first before you can delete them. You can find the location of your screenshots using the two methods below.
Method 1: From screenshot options
The easiest way to find where your screenshots are getting saved is by accessing the Screenshot tool on your Mac.
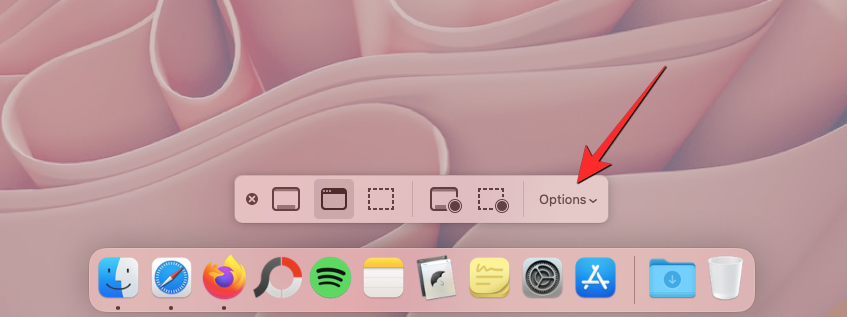
- To access the Screenshot app on your Mac, use the Shift + Command + 5 shortcut on your keyboard.
- This will open the Screenshot tool at the bottom of the screen. Here, click on the Options box.
- In the menu that appears next, you will see a bunch of folders/locations under the “Save to” section.
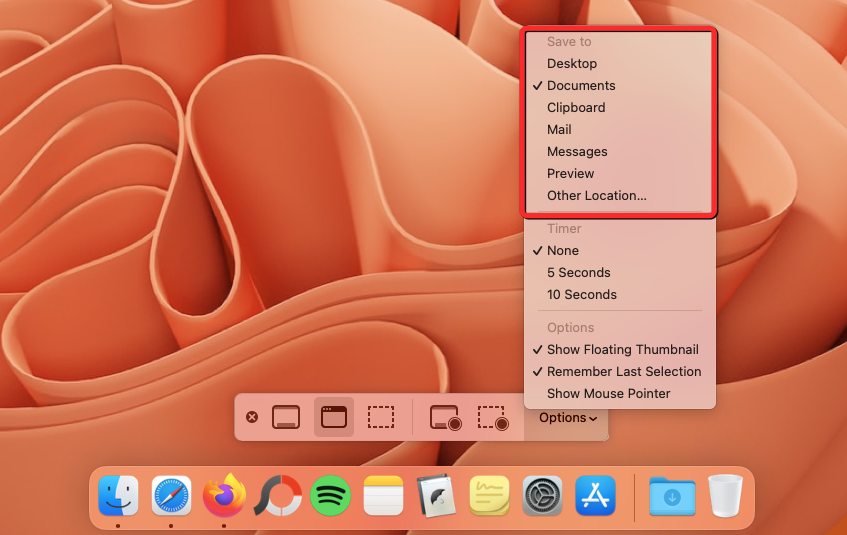
- The folder/location that has a tick-mark on its left-hand side is where screenshots are saved on your Mac. In the screenshot below, we can see that there’s a tick mark next to Documents inside “Save to”.
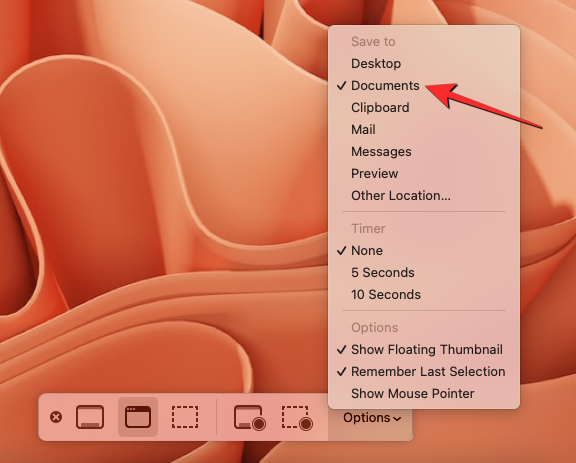
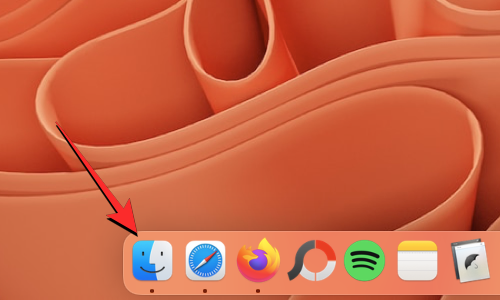
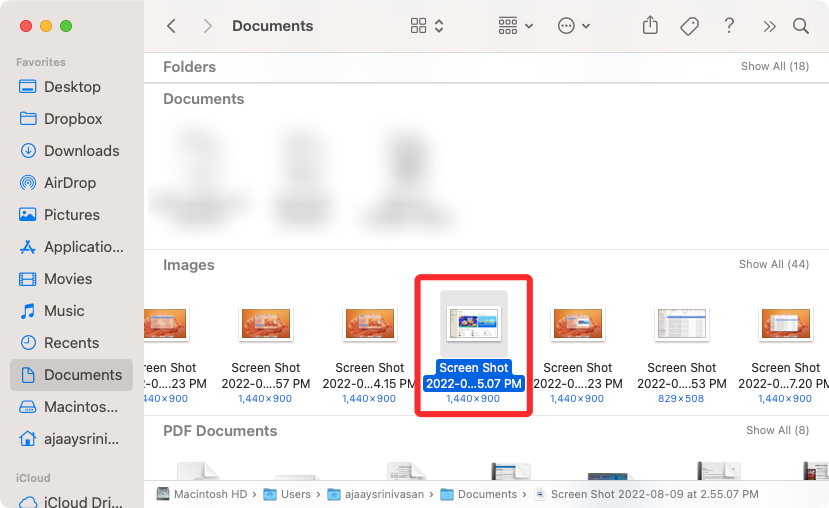
- What this means is that your screenshots are getting saved in the Documents folder. To access your screenshots, you can open the Finder app on your Mac.
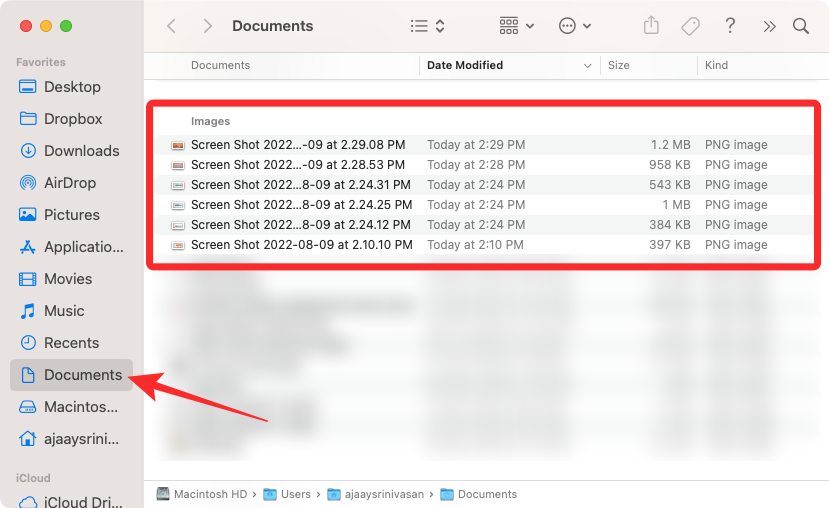
- Inside Finder, go to the folder where your screenshots are located. In this instance, it is the Documents folder. You’ll now see all your screenshots in this folder.
- From here, you can select individual screenshots or multiple ones and delete them by right-clicking or Control-clicking on and selecting Move to Trash from the menu that appears.

- You can also use the Command (⌘) + Delete keyboard shortcut to send them to Trash, or the Option + Command (⌘) + Delete keyboard shortcut to delete them permanently.
Method 2: From Spotlight on Mac
Another way to locate your screenshots on a Mac is by using the Spotlight feature which lets you search for any app or file that’s available on your device.
- Use the Command + Space keyboard shortcut to open Spotlight.
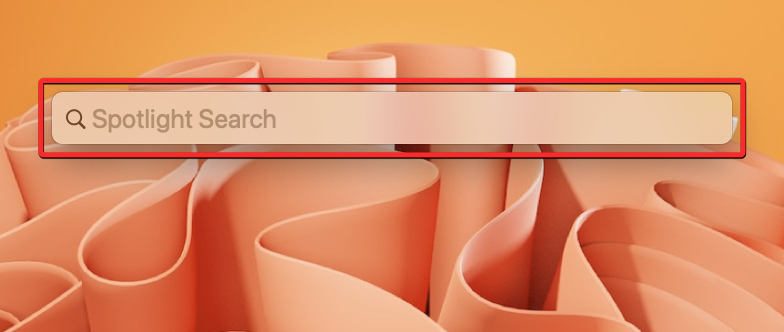
- When Spotlight opens, you’ll see a blank search bar on the screen. Here, type “screenshot” using your keyboard.
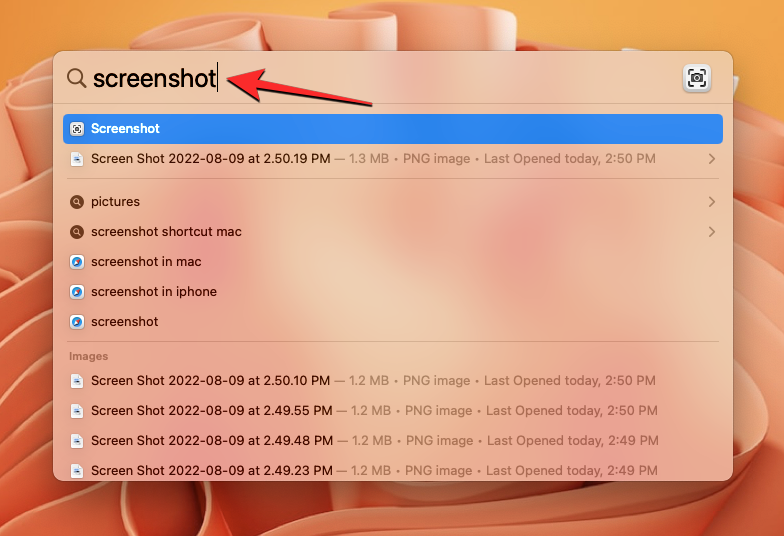
- You’ll see search results with the last taken screenshot at the top and some recently captured screenshots inside the Images section.
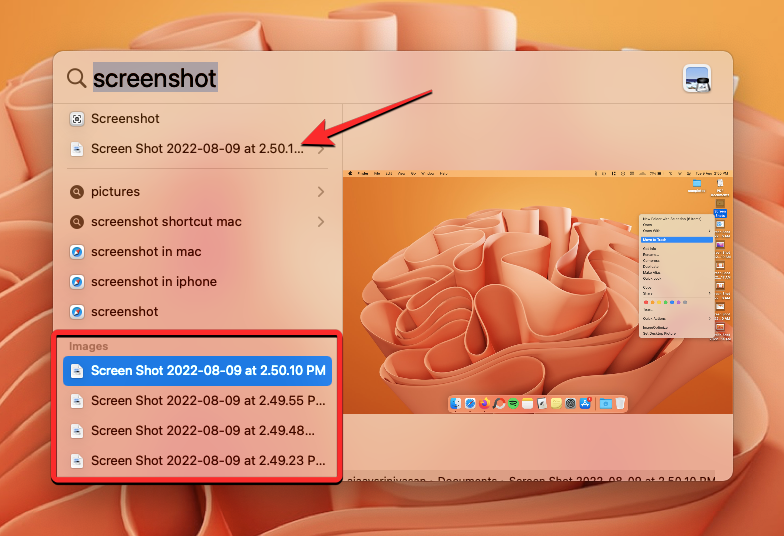
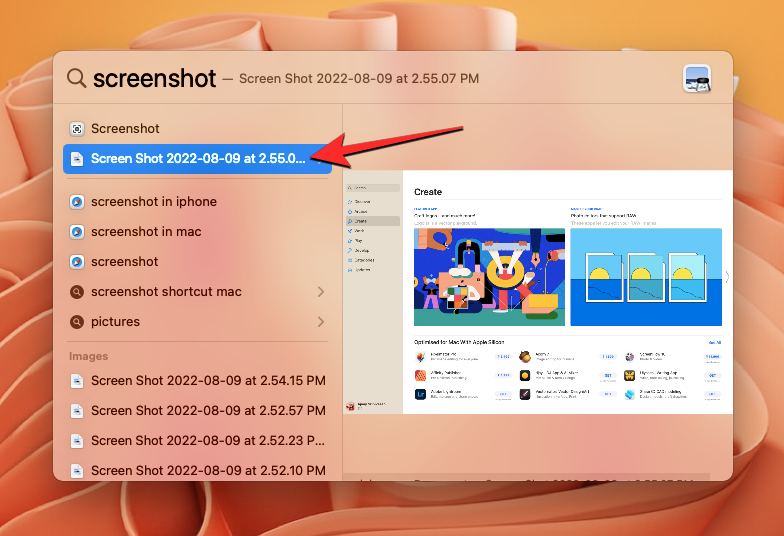
- You can use the up and down arrow keys on your keyboard to see a preview of the screenshot. The preview will appear on the right pane when you browse through the search results.
- When you find the screenshot you want to delete, press and hold the Command key on your keyboard and then click on the screenshot from within the Spotlight Search.
- macOS will now open the location of the selected screenshot inside the Finder app. You’ll see other screenshots in the same folder if you had captured them earlier.
- You can now select the screenshot files you want to delete. To select multiple screenshots, hold down the Command key on your keyboard and click on the screenshots you want to delete.
- When you’ve selected the necessary screenshots, right-click or Control-click on any selected file and click on Move to Trash from the overflow menu.
- You can also use the Command (⌘) + Delete shortcut to send them to Trash, or the Option + Command (⌘) + Delete shortcut to delete them permanently.
That’s all you need to know about deleting screenshots on your Mac.