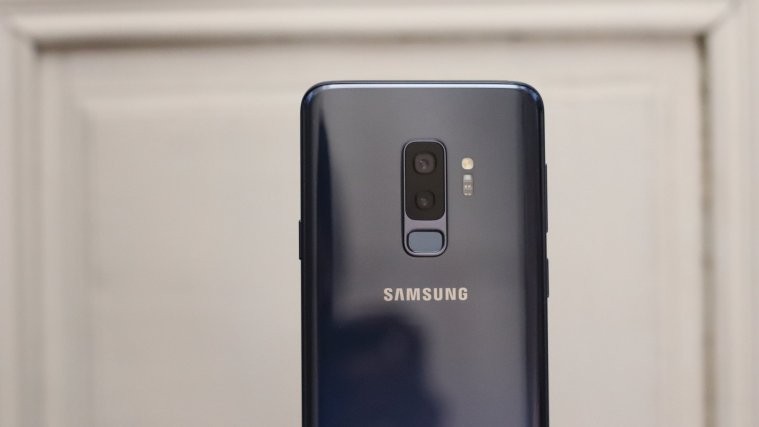
Just a few weeks ago when Samsung unveiled its entry into the Android flagship race for 2018, fans were taken by a storm. While the new camera hardware and boosted specs sheet is more than enough to get your heart thumping, it is the software and Samsung’s decision to bring in support for Project Treble that is winning over of the Android community.
The inclusion of Project Treble with the Galaxy S9 not only paves way for faster software updates from Samsung, but opens up the gateway to custom ROMs and improved compatibility like never before. This is why just less than a month since its release, we’re already seeing Android 8.1 Oreo being made available for the Galaxy S9, all thanks to the Project Treble ROM.
How to install Project Treble ROM Android 8.1 for Galaxy S9
Official TWRP custom recovery support only exists for the Exynos variant of the Galaxy S9 for now. Although the great minds in the Android community were able to bring the support for TWRP to the Snapdragon variant of the Galaxy S8, there doesn’t seem to be a safe and tested way of doing the for the Snapdragon version of Galaxy S9 yet.
Step 1: Install custom TWRP recovery
Before you get all too excited about receiving the latest version of Android on your Galaxy S9, you need to know that it requires TWRP custom recovery to be installed. This, in turn, needs you to enable OEM Unlocking along with unlocking the Bootloader of your smartphone, all of which will void your warranty.
Follow this guide: How to root Galaxy S9 and S9+
- Download the TWRP recovery files using the links given in the guide, along with the files for DM Verity disabler and the OEM Unlock fix.
- Rooting your Galaxy S9 is not mandatory to get the Project Treble ROM running, so you can choose to ignore the final step of the guide.
Related: Common Galaxy S9 problems and their solutions [Ask us for help]
Step 2: Flash the Android 8.1 firmware
Now that you have TRWP set up on your Galaxy S9, the final step in the process is flashing the Project Treble ROM Android 8.1 firmware using the custom recovery (Download Here).
- Move the firmware .img file to the internal storage of the Galaxy S9 and turn off the device.
- Press and hold down the Power and Volume Down buttons until you feel the device vibrate, then you can let go the Power button but keep holding down the Volume Down button until the TWRP recovery menu boots up.
- Press the Install button on the TWRP menu screen and navigate your way to where you have the .img firmware file saved.
- Swipe the screen to confirm your action and wait as the system flashing the new firmware on your Galaxy S9.
- Once the firmware is installed, head back to the TWRP menu to select Wipe and use the slider to Swipe to Factory Reset.
Factory reset option will remove all of your saved data from the device, so make to create a backup before you begin the whole process.
Is Project Treble on the Galaxy S9 the clean and minimalist user interface that you have your eyes on, or would you still rather stick to the unique Samsung Experience UX?


