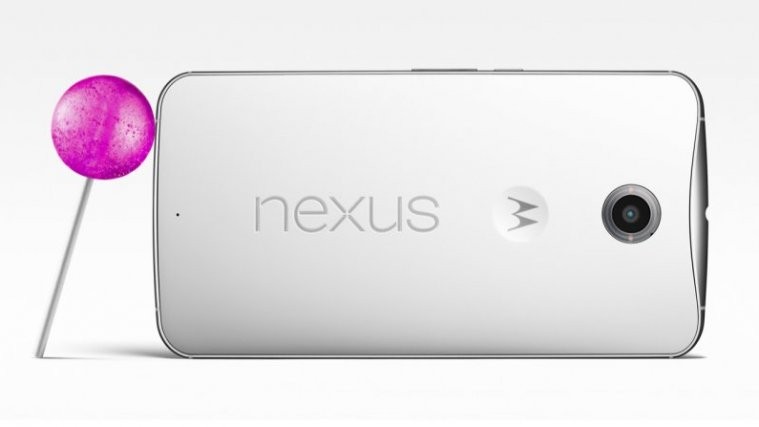
Whatever be the reason, if you’re looking for fastboot flashable .img files for the Nexus 6 LMY47M build, you’re in luck! Developer Q9Nap just couldn’t wait for Google and Moto to do what they are supposed to, and has come up with fastboot flashable .img files for latest Android 5.1 update, build no. LMY47M, all by himself. All images are official ones, except for the system partition one, because it doesn’t have the OEM signature and hence you do need a Nexus 6 with unlocked bootloader to be able to install the LMY47M update via fastboot mode.
If you haven’t got the bootloader unlocked of your Nexus 6, check out the link below in the installation guide to achieve it. Once you have that, a simple double click on flash-all.bat file will install the build LMY47M Android 5.1 update on your Nexus 6 in one shot, provided you’ve got the ADB drivers installed alright (also linked in guide below).
Although Google would update your Nexus 6 to LMY47M build of Android 5.1 via OTA update, it’s possible that somehow you’re unable to get that, or install that due to custom recovery installed on your device. In such cases, fastboot flash is often handy, and simplest of all ways to update device to current latest build, overwriting everything else. Complete Back to Stock solution! Google is yet to provide fastboot files for LMY47M btw, but thanks to development community Android enjoys, you now have them available already.
So, let’s check out how to flash LMY47M 5.1 build on your Nexus 6 using fastboot.
Downloads
- LMY47M build images | Filename: shamu_LMY47M_dev.zip | Size: 874MB
You can also check the developer page here for any new updates on this.
Installation Guide
- Make sure you’ve the proper drivers installed, see here for help.
- Also make sure you’ve ADB drivers installed and properly working, it’s very important to have this. Click here for help.
- Unlock bootloader of your Nexus 6, if you haven’t done this already. Help is here.
- Extract the LMY47M images from the shamu_LMY47M_dev.zip file you downloaded above, using a free software like 7-zip on your PC.
- Disconnect Nexus 6 from PC if it’s connected.
- Boot your Nexus 6 into fastboot mode:
- Power off the device.
- Press and hold both Volume Down and Power button together until you see anything on screen. Fastboot should be written at top.
- Connect your Nexus 6 to PC now using USB cable.
- Double click the flash-all.bat file on Windows — it’s in the folder where you extracted all contents of the downloaded file.
- If you’re in Linux or Mac, use this command in terminal: sh ./flash-all.sh
- That’s it. Once all files installed, your Nexus 6 will have the LMY47Y build running.
Let us know if you face any difficulties with this.


