
What to know
- Canva’s Create an animation tool allows users to add motion to elements and create a customized path for these elements to follow.
- To create animations, go to Canva.com > open a design > select an element > Animate > Create an animation > drag the cursor to clear a path > choose movement style and speed > Done.
- Follow the step-by-step guides below to learn more.
Canva offers a Create an animation tool that you can use to add motion to elements in your designs. With this tool, you can create a customized path for elements to follow and adjust its speed as needed.
In this post, we’ll explain how you can create animations on Canva on a PC or phone.
How to create an animation in Canva on PC
Follow these steps to draw a path yourself for an element’s movement to make an animation in Canva on PC:
- Open canva.com on a web browser and log in to your Canva account.
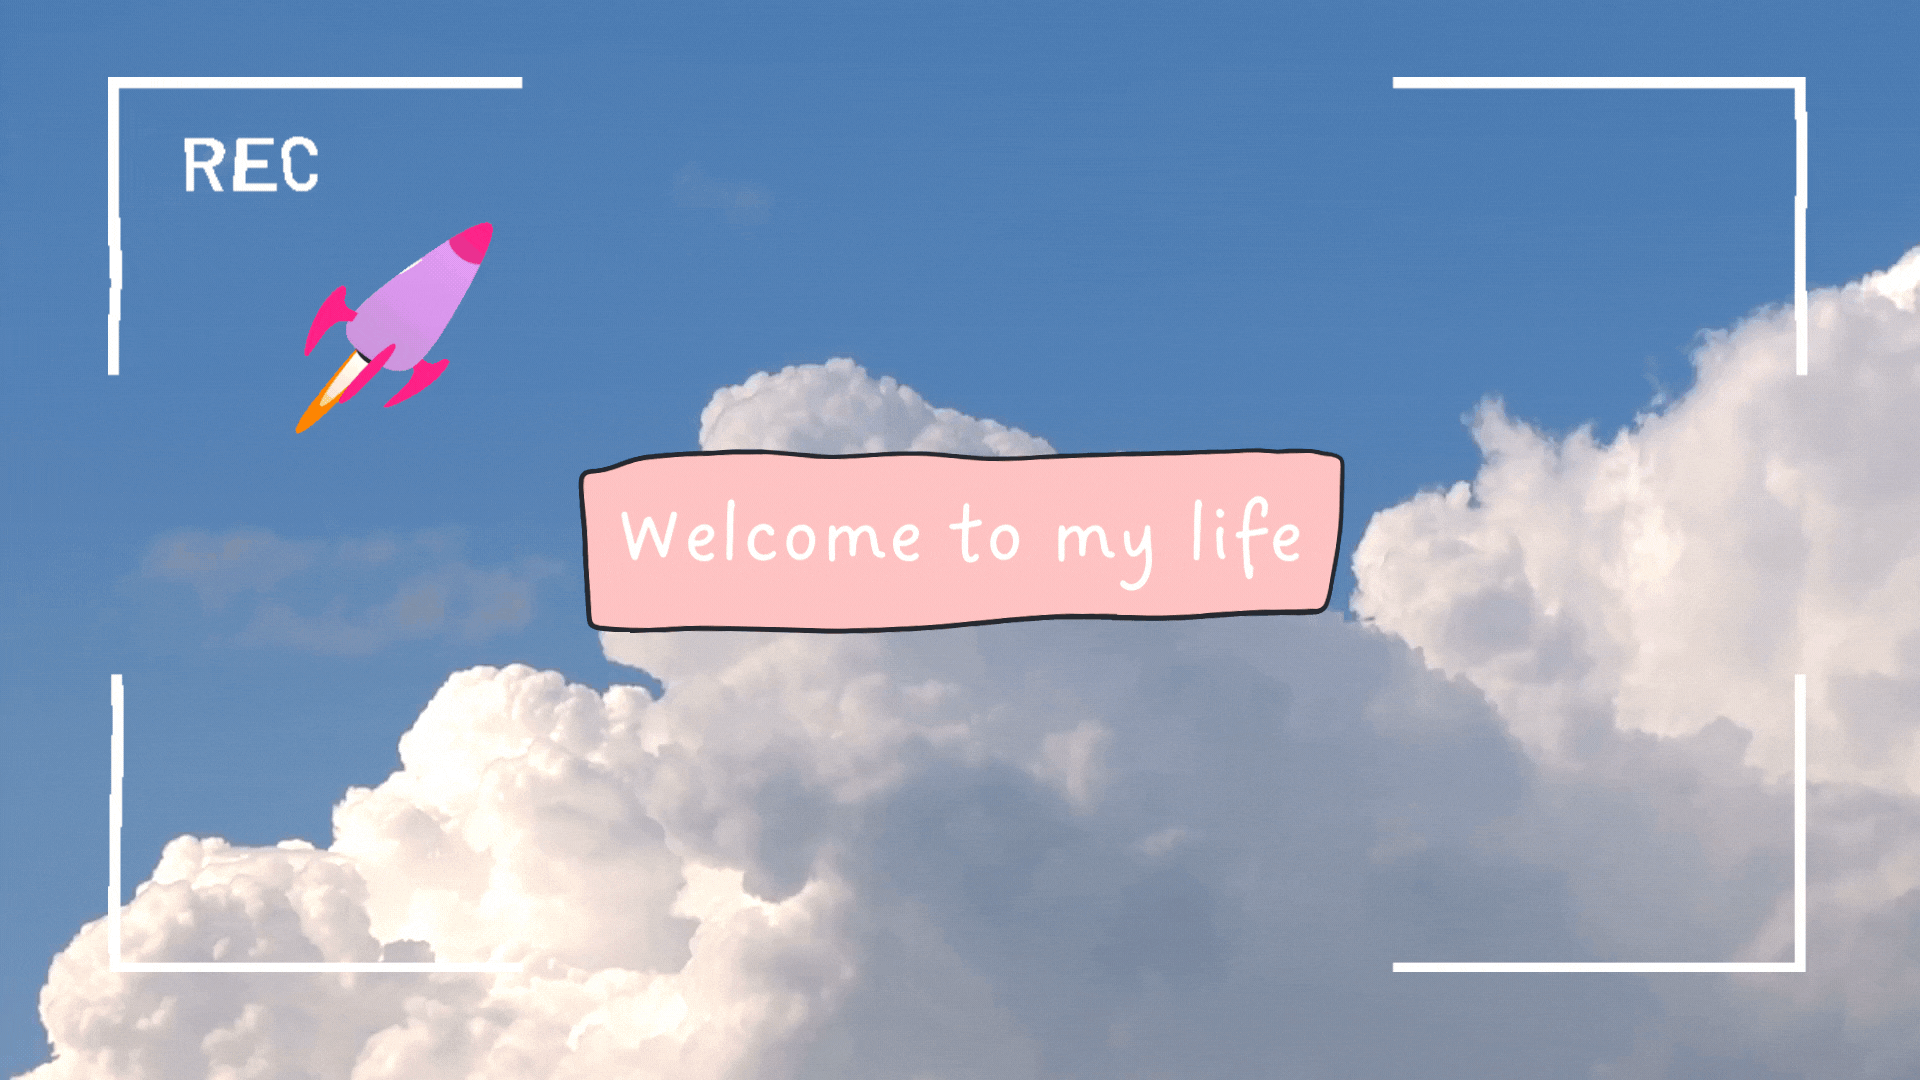
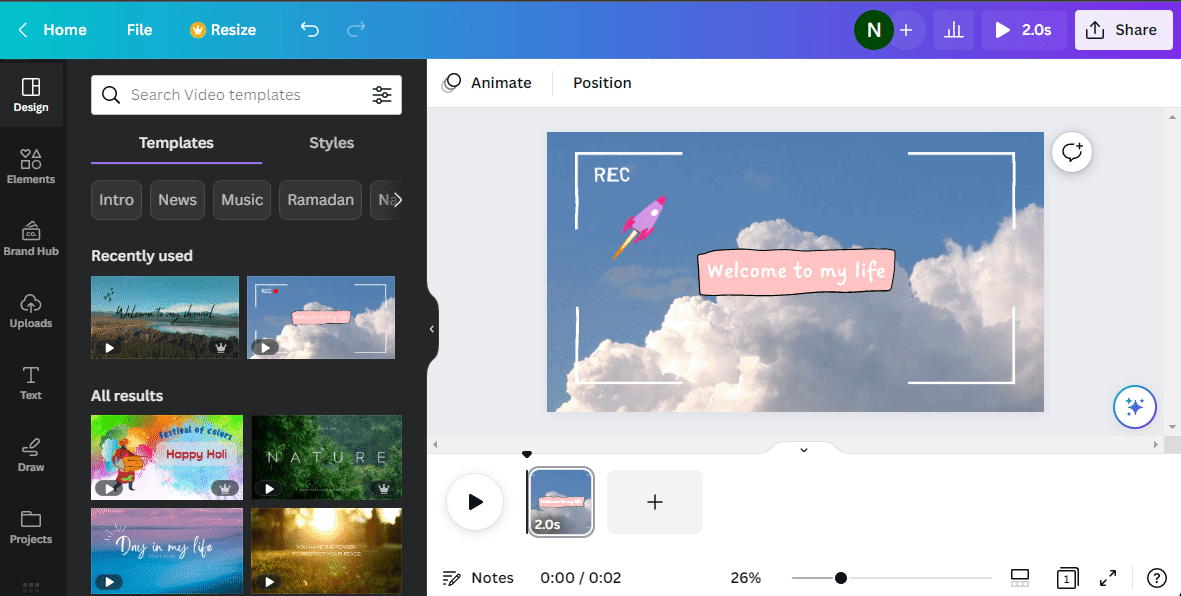
- Now, open the design in which you want to create an animation. You can either add your file or select a template from Canva’s library, which includes the video template we used for this guide.
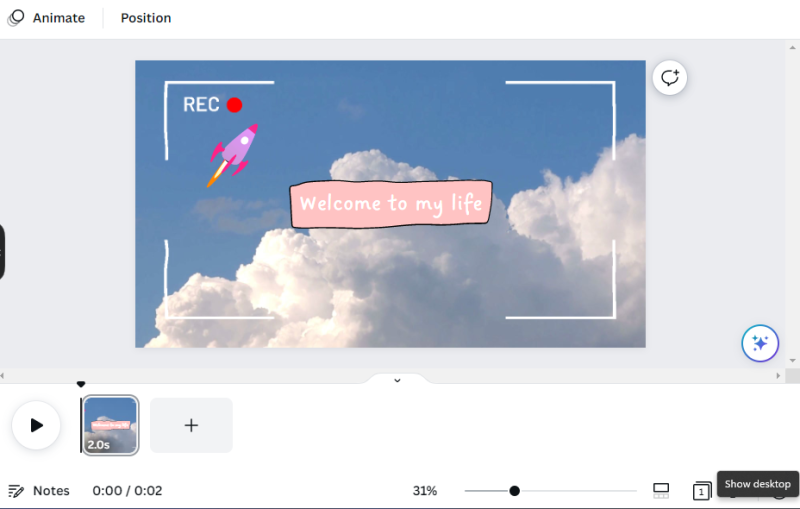
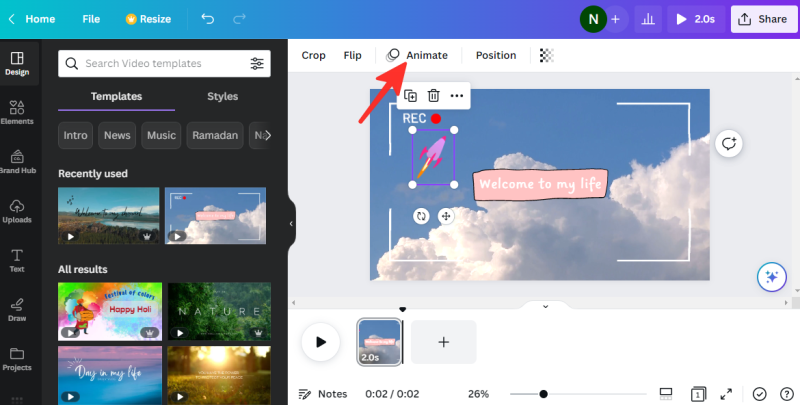
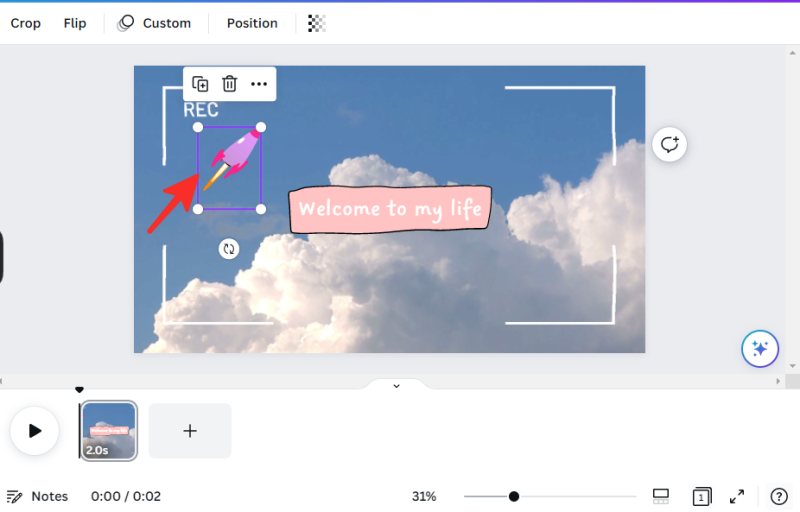
- Click the element in your design that you wish to animate to select it. Next, select the Animate option at the top.
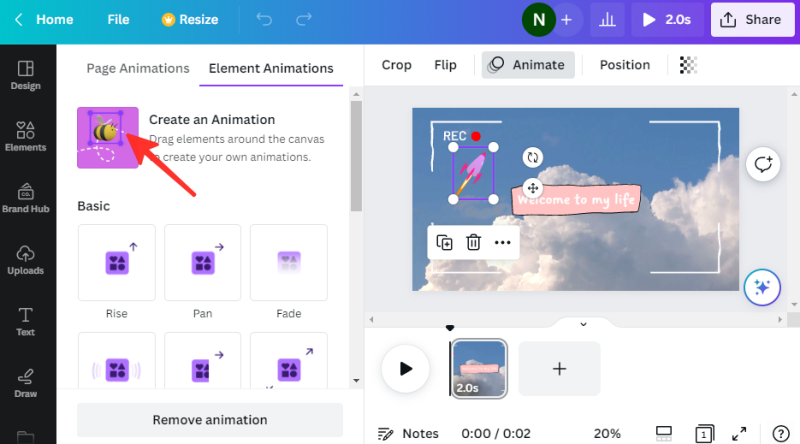
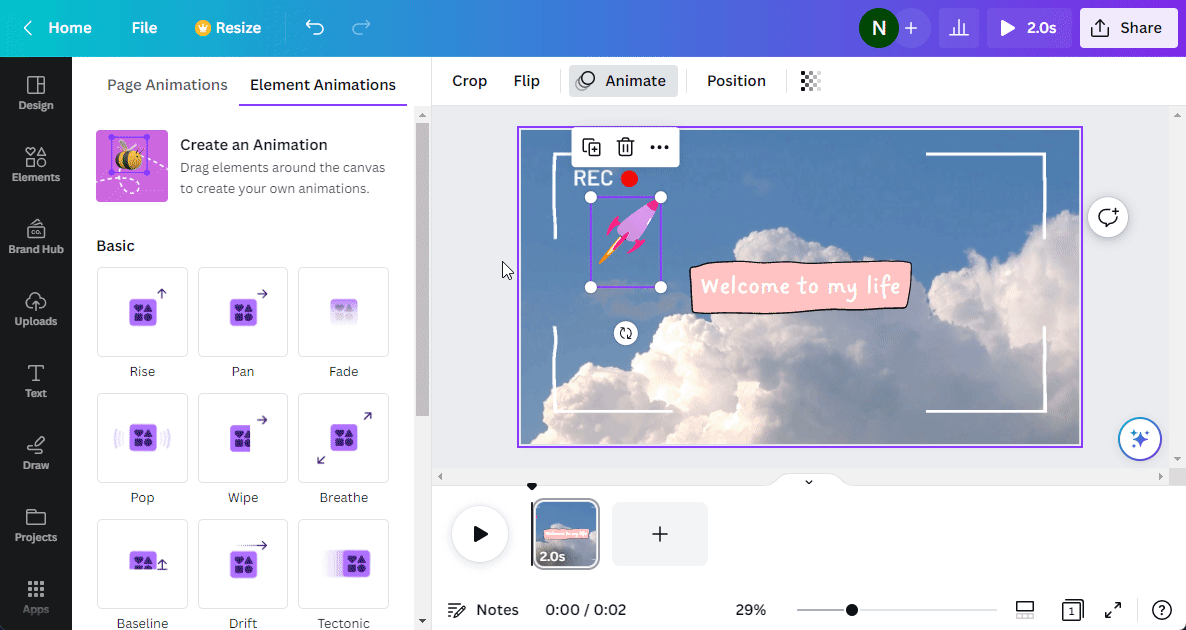
- If you want to create an animation for the selected element by designing a specific path, select Create an animation on the left.
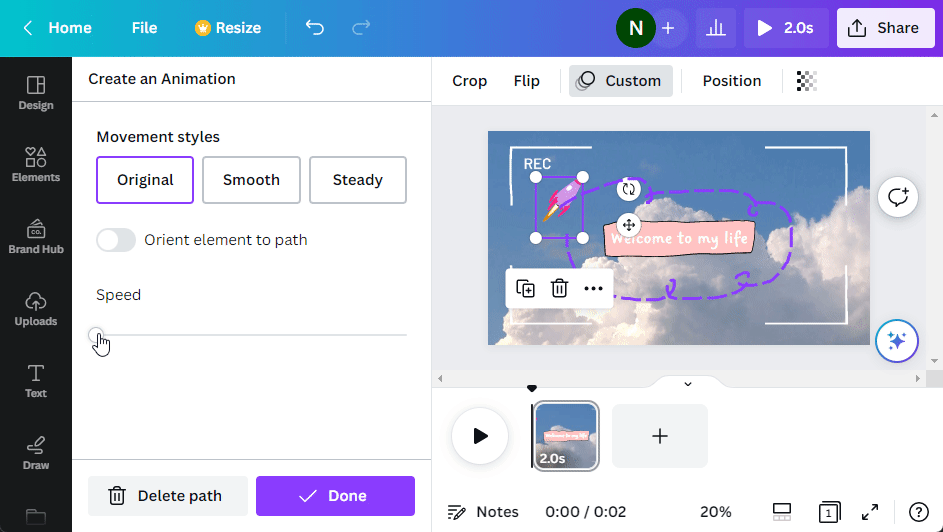
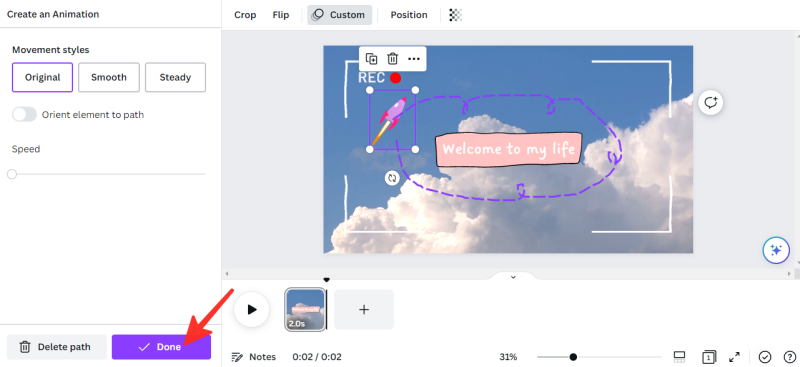
- To make a path, click and hold on the element and drag your mouse on the screen to draw its path. You will see a purple dashed line for the path you drew, meaning this is how the element will move under animation. We drew the path of the spaceship in the GIF below.
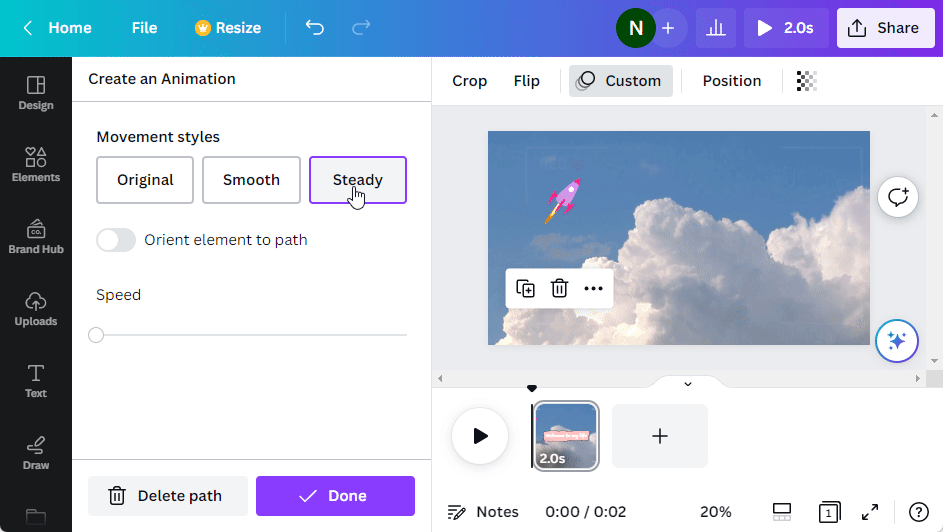
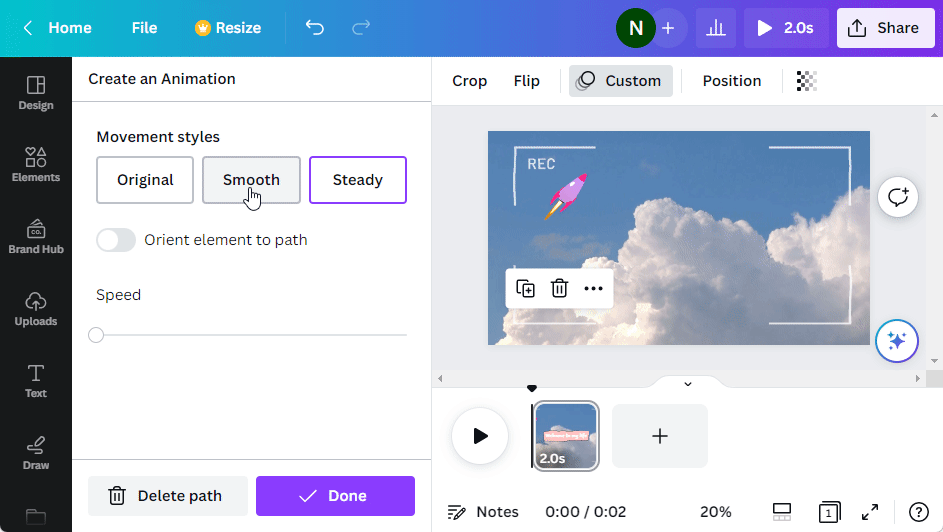
- If you want to change the movement style, look for the “Movement styles” section located on the left side of the Canva interface. There are three options available here: Original, Smooth, and Steady. You can see how your animation will look under each movement style by hovering your mouse over each button. Once you’ve chosen a style, it will be applied to your animation to create the desired effect. If you want to keep the original style, select Original.

- If you want the movement style to be steadier, select Steady.
- If you want the movement style to be smoother, select Smooth.
- If you want to adjust the movement’s speed, slide the speed bar to adjust the animation’s speed.
- Save your animation by clicking on Done.
- You have successfully created an animation on the Canva website. You can go ahead and download it if you need to.
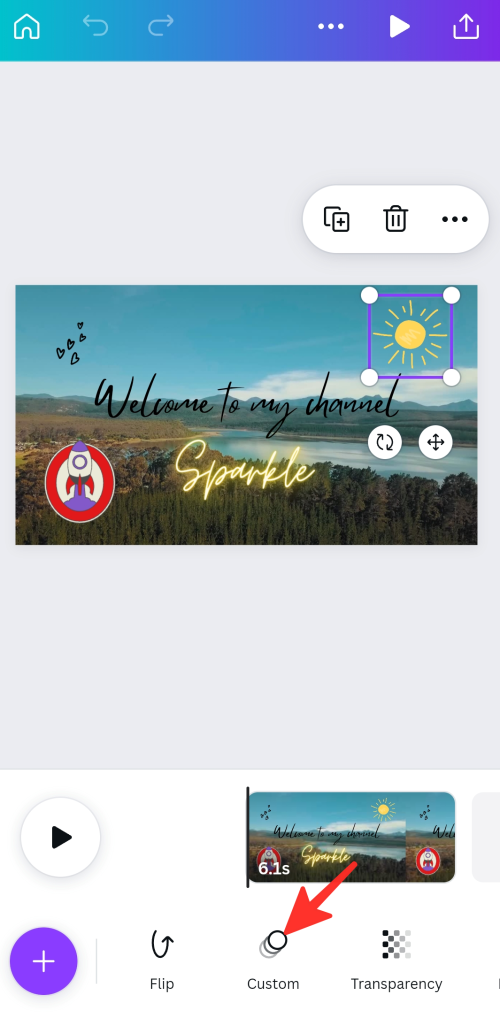
1. Change the speed of your animation
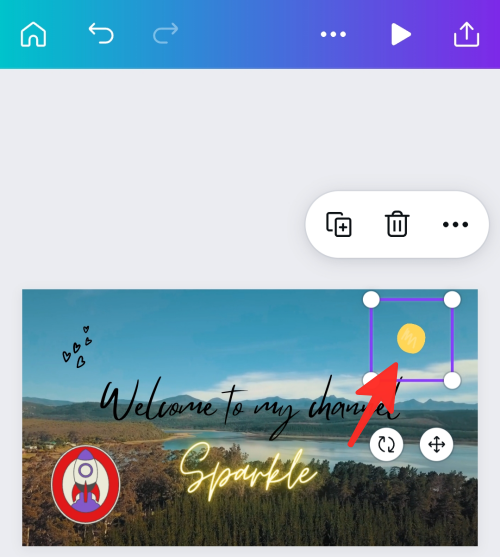
- Select the element you have created animation for above.
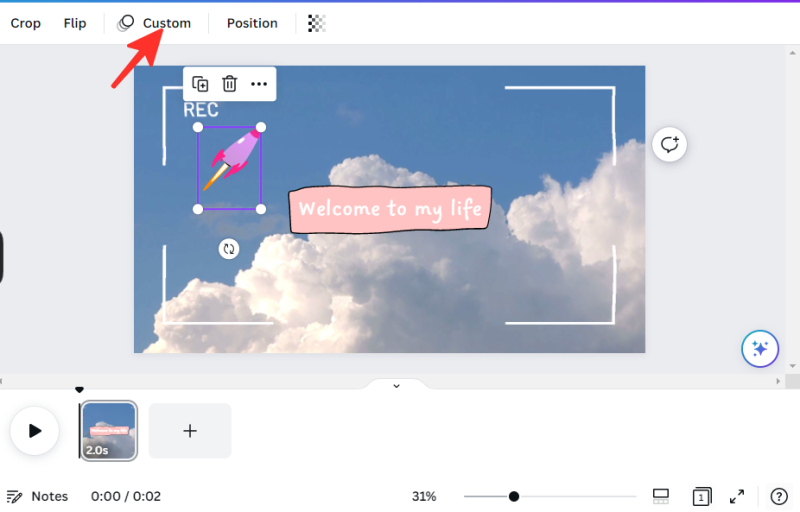
- Click Custom.
- If you want to adjust the movement’s speed, slide the speed bar to adjust the animation’s speed.

2. Make your animation smoother
- Select the element you have created animation for above.
- Click Custom.
- There are three options available in the “Movement styles”: Original, Smooth, and Steady. You can see how your animation will look under each movement style by hovering your mouse over each button. Once you’ve chosen a style, it will be applied to your animation to create the desired effect. We have chosen Smooth for our animation.

3. Delete the animation you created
- Select the element you have created animation for above.
- Click Custom.
- You can remove the animation by clicking on the Delete path. It deletes the path you previously created for the element.
How to create an animation on Canva app [iPhone/Android]
Follow these steps to draw a path yourself for an element’s movement to make an animation in the Canva app:
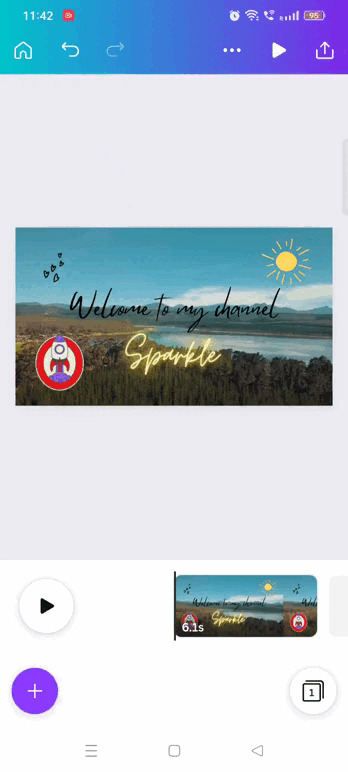
- Open the Canva app on your phone.
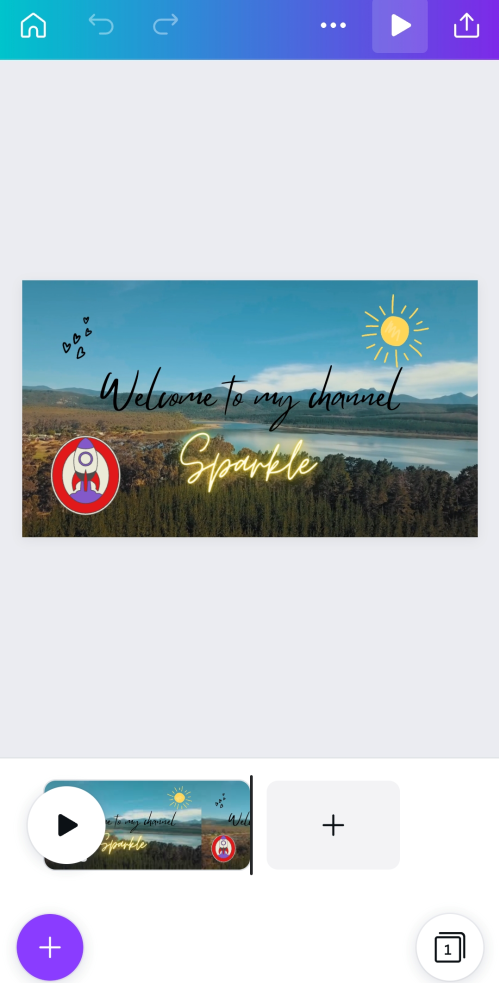
- Navigate to the design in which you want to create an animation. You can either upload your file or select a template from Canva’s library, which includes the video template we used for this guide.
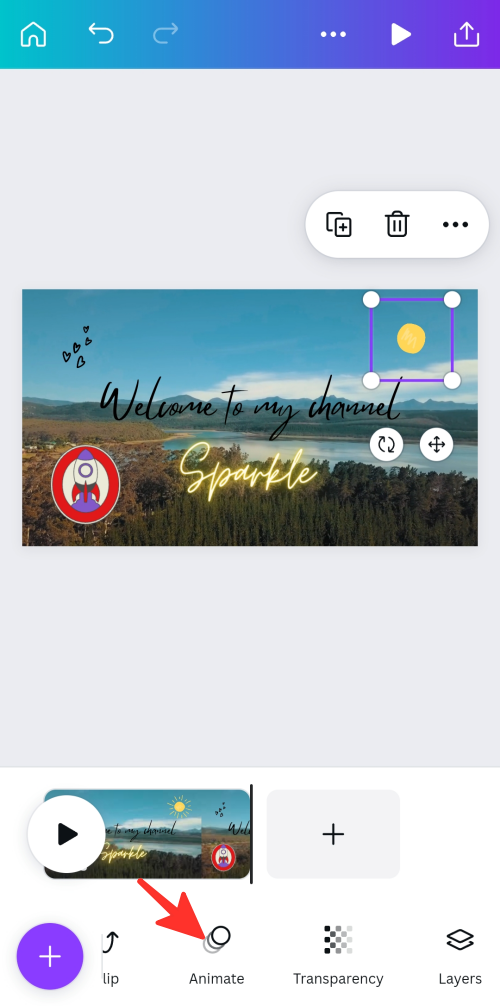
- To animate your element, click on it and choose the animate option.
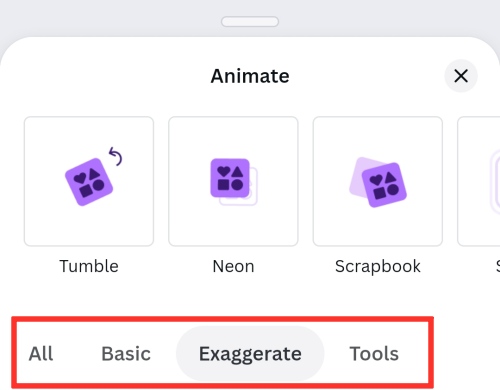
- Under the “Animate” option, there are four choices: “All,” “Basic,” “Exaggerate,” or “Tool.” You can select any of these animation options to apply to your chosen element.
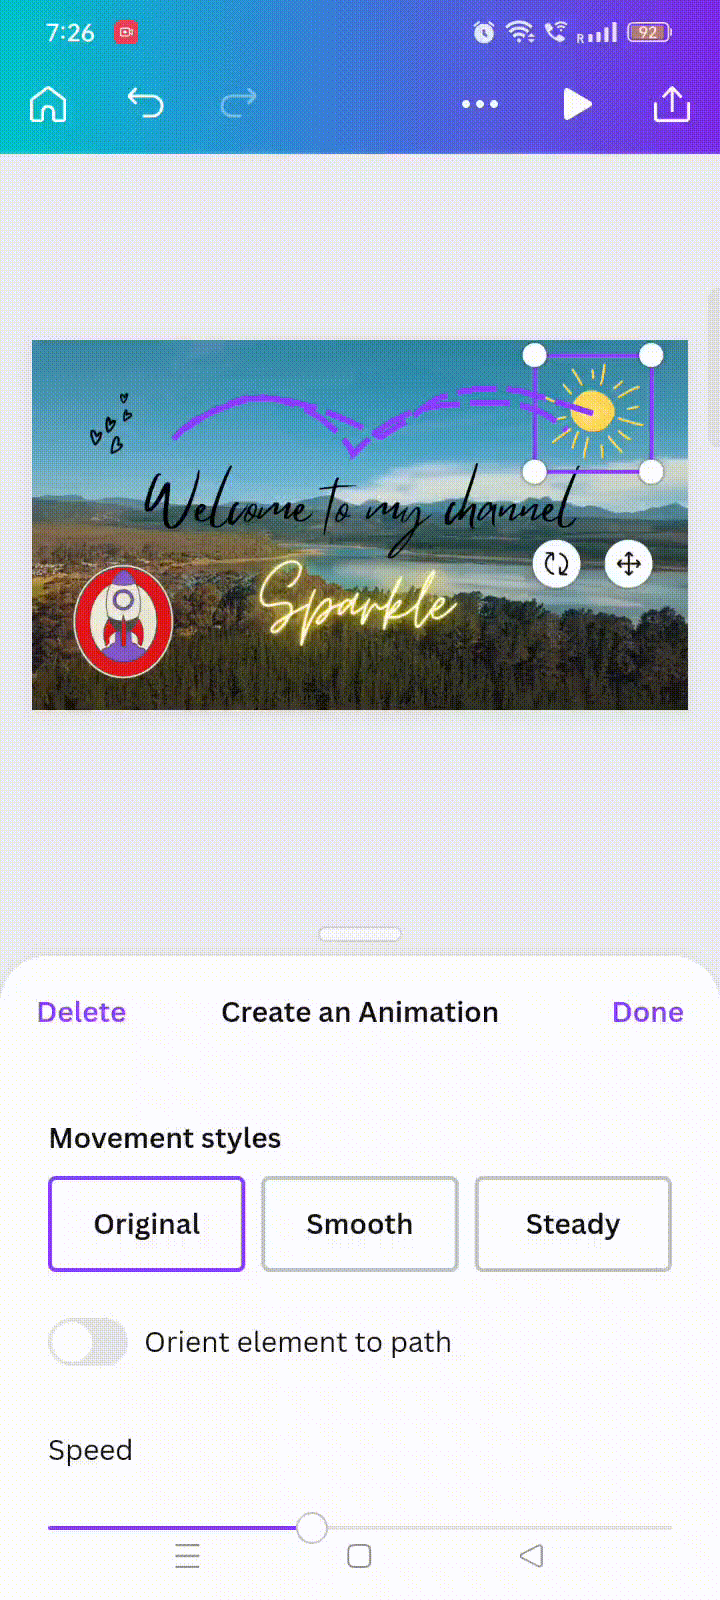
- If you want to create a path for your element, simply tap on the Create option located in the “Tools” section.

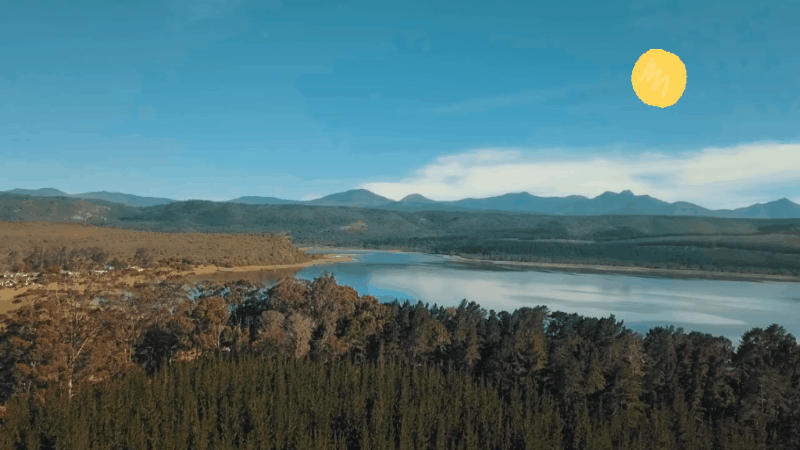
- To make a path, click and hold on to the element and drag your mouse on the screen to draw its path. You will see a purple dashed line for the path you drew, meaning this is how the element will move under animation. We drew the path of the sun in the GIF below.
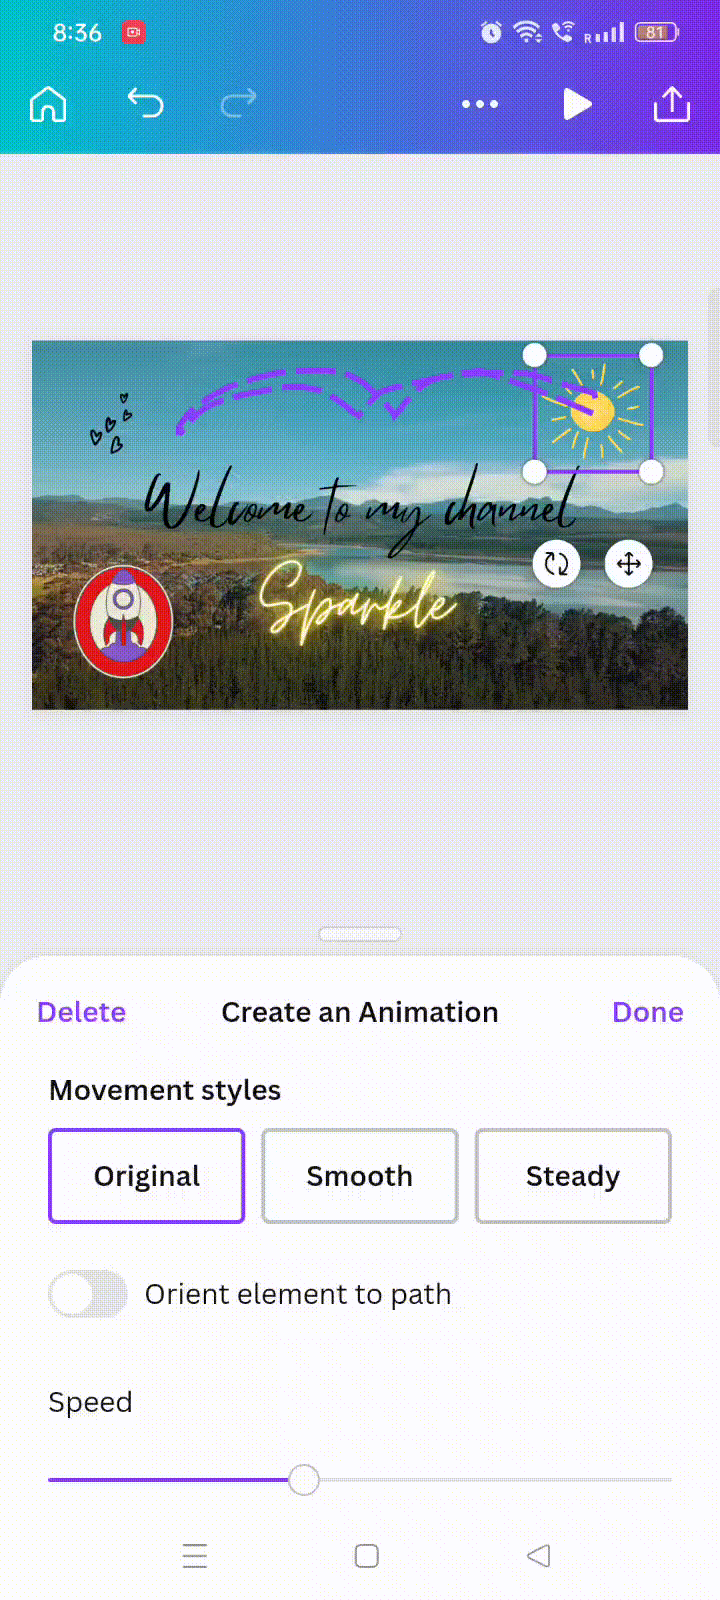
- If you want to change the movement style, look for the “Movement styles” section located on the left side of the Canva interface. There are three options available here: Original, Smooth, and Steady. You can see how your animation will look under each movement style by hovering your mouse over each button. Once you’ve chosen a style, it will be applied to your animation to create the desired effect. If you want to keep the original style, click Original.

- If you want the movement style to be steadier, select Steady.

- If you want the movement style to be smoother, select Smooth.
- If you want to adjust the movement’s speed, slide the speed bar to adjust the animation’s speed.
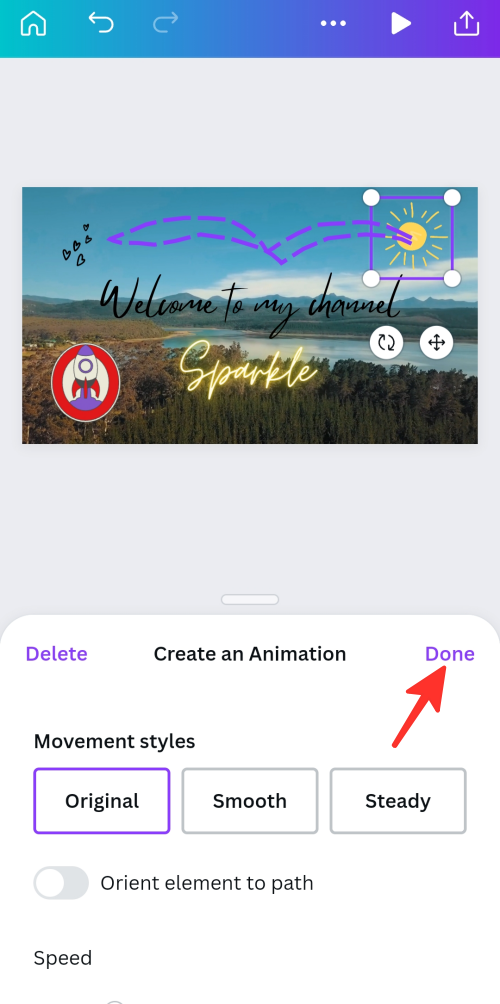
- Click on Done to save the changes.
- If you’re satisfied with your animation, click on share. You can download or share it with friends through various means.
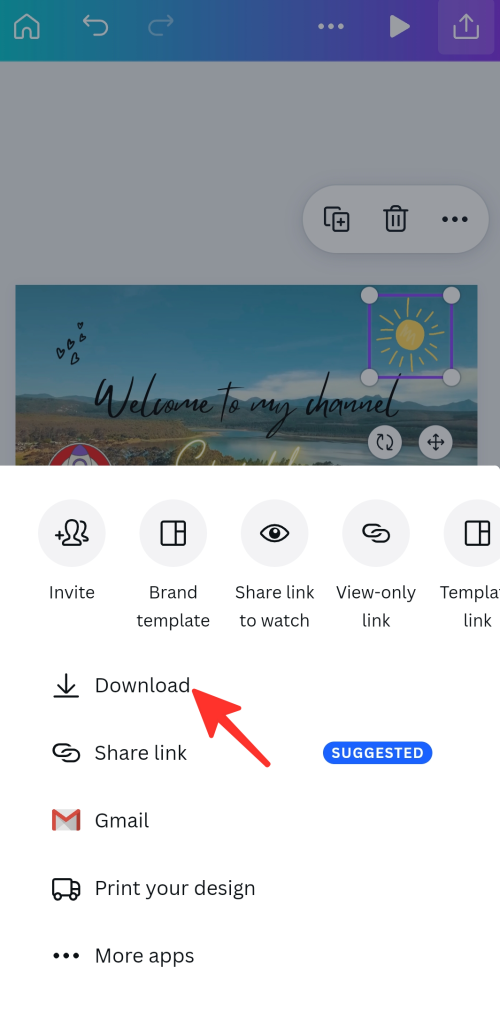
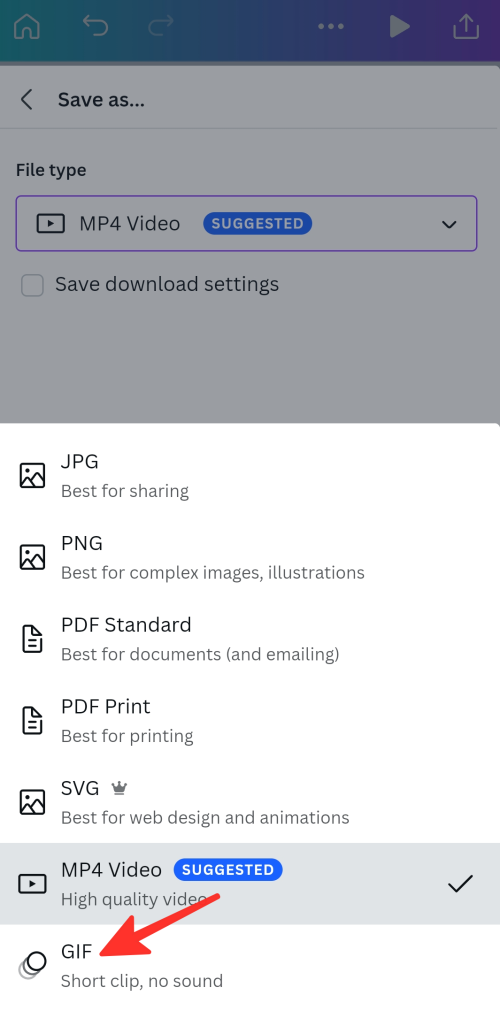
- Choose the appropriate format for downloading the video from the available options. In the image below, we chose GIF format.
- You have successfully created an animation in the Canva app.
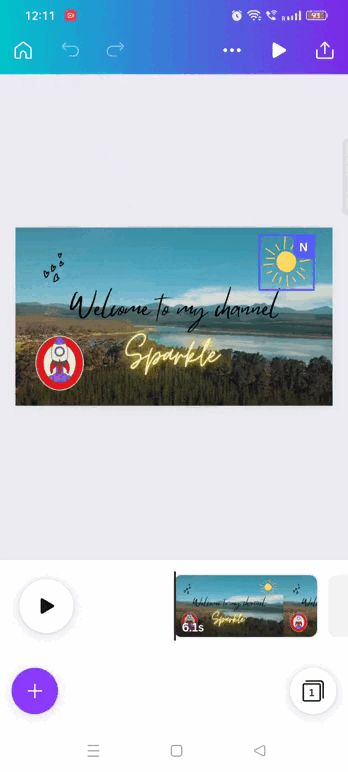
1. Change the speed of your animation
- Select the element you have created animation for above.
- Click on Custom.
- If you want to adjust the movement’s speed, slide the speed bar to adjust the animation’s speed.

2. Make your animation smoother
- Select the element you have created animation for above.
- Click Custom.
- There are three options available in the “Movement styles”: Original, Smooth, and Steady. You can see how your animation will look under each movement style by hovering your mouse over each button. Once you’ve chosen a style, it will be applied to your animation to create the desired effect. We have chosen Smooth for our animation.

3. Delete the animation you created
- Select the element you have created animation for above.
- Click Custom.
- You can remove the animation by clicking on Delete. It deletes the path you previously created for the element.
FAQs
What can you create an animation for?
You can create your animation by drawing the movement path for any element in your design. But for animating the whole design, you must select an animation from any animation presets.
Is it possible to use my images and videos in Canva animations?
Yes, Canva allows you to use your images and videos in Canva animations. To do so, go to the right side of the screen, click Upload, and select the files you want to upload from your computer.
How do I share my Canva animation?
You can share your Canva animation in a lot of ways. Downloading the animation as an MP4 or GIF file and uploading it to social media, your website, or other platforms is one option. Another option is to share your Canva design link which will allow others to view and interact with your animation directly in the Canva editor.
Do I need any design or animation skills to create an animation in Canva?
No, special design or animation skills are not required to create an animation in Canva. The platform is extremely simple to use and includes a drag-and-drop feature, allowing you to simply click and drag items around. Moreover, there are a plethora of cool pre-made elements and animations to choose from to make your animation look amazing.
Check out the detailed guide above on how to create an animation in Canva. There is a method for you, whether you prefer to use your PC or phone. Simply follow the simple steps outlined in the guide to effortlessly achieve your desired result.


Discussion