On the hardware end of things, Samsung has hit one out of the park in regard to the Galaxy S9 this year. But the same can’t be said about the software, considering that Android 8.0 Oreo is still taking its sweet time to get accustomed to the workings of the Samsung Experience 9.0 UX.
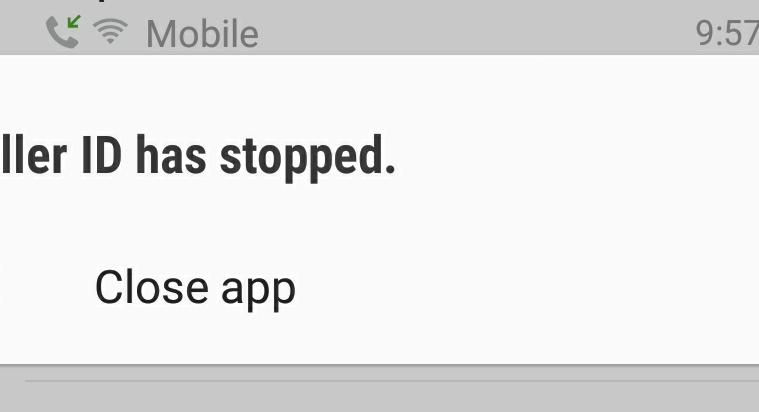
This becomes even more apparent in regard to connectivity and calling features, where uncontrollable errors keep springing up left and right. One such bummer is the “Caller ID has stopped” error which doesn’t seem to go away on the Galaxy S9 for several users. As always, you’d expect Samsung to fix this issue with a software update, but in the meantime, you can take matters into your own hands as well.
- Open the Settings app.
- Scroll down to look for the Apps section and open it.
- Tap on the 3-dot menu button in the top right, and select ‘Show system apps‘ option.
- Scroll down and find the Caller ID option.
- Tap on Storage. Now, tap on Clear Cache button, and then tap the and Clear Data button.
- Press and hold the Power button to reboot your Galaxy S9 for good measure.
It has been reported that the “Caller ID has stopped” error may pop up several more times even after applying this fix. We recommend you follow the steps given above a few more times to see if the issue has been resolved.
However, if this fix doesn’t work for you, the final solution may be to perform a factory reset on your Galaxy S9. Performing a factory reset will delete all of your user data and settings, so make sure that you create a backup first.
- Open the Settings app.
- Find and tap General Management option.
- Tap the Reset button.
- Select Factory data reset option.
- Read the Warning!
- Scroll down and tap on RESET button when you are ready to reset (after taking appropriate backup).
- You might have to enter your Samsung account credentials to go ahead with the process.
The device will now reset to the factory settings and this will most likely fix the “Caller ID has stopped” error on your Galaxy S9 for good. Be sure to let us know which of the aforementioned method helped you get rid of the issue.


