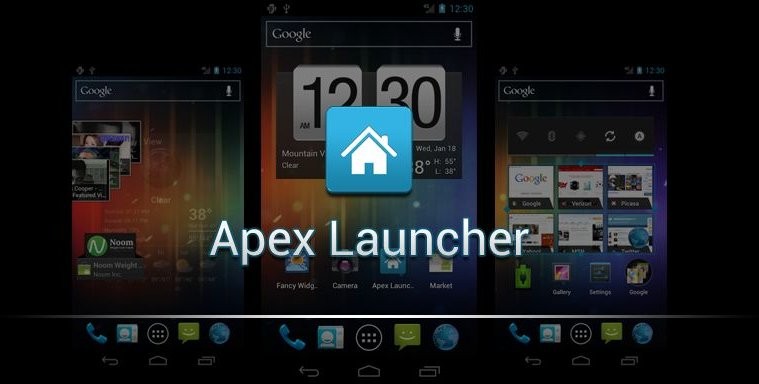
If you are running an Ice Cream Sandwich ROM, and are looking for a replacement to the ICS launcher, XDA member dennisxl has released a new launcher called Apex. It is based on the stock Android 4.0,3 launcher, but is far more customizable, and offers many new features, than stock.
For a list of features, and planned enhancements, have a look here:
Features
- Custom number of homescreens and homescreen grid size
- Infinite & elastic scrolling (homescreen and drawer)
- Transition effects (homescreen and drawer)
- Customizable scrolling indicator (homescreen and drawer)
- Homescreen gestures (pinch, swipe up/down)
- Enable/Disable auto-rotation
- Enable/Disable wallpaper scrolling
- Show/Hide persistent search bar
- Show/Hide notification bar
- Show/Hide icon labels (homescreen and drawer)
- Lock/Unlock desktop
- All/Downloaded/Widgets tabs in drawer
- Drawer apps sorting (title, install date, mostly used)
- Add widgets from drawer (must install as system app) or system picker
- Resize any widget
- Backup/Restore settings and data
Planned Features
- Customizable dock (scrollable and gestures)
- Edit app icons and labels
- Hide apps in drawer
- Easier homescreen management (on preview screen)
- Enhanced folder support (unlimited icons etc.)
- More transition effects for homescreen and drawer
Compatibility
This application has been specifically developed for devices running Android 4.x or Ice Cream Sandwich. It will not work on devices running a different OS version, and may cause issues. You can check your OS version in Settings–> About Phone
Download Link
How To Install Apex Launcher
Installation can be done in 2 ways, depending on whether you are rooted or not. If rooted, this can be installed as a system app, and if not, like any other app.
For Rooted Phones
- Download the Apex Launcher apk file from the link given above
- Now connect the phone to your computer via USB cable, and transfer the Apex launcher apk file to the root of your phones internal sdcard ( or to any other location if you wish; just remember where you copied it to )
- Disconnect phone from computer. Launch ES File Explorer (download) and enable Root Explorer access in its settings. Once you enable Root explorer access, there will be a superuser pop-up asking you whether you want to allow Root permission, Click “Allow”
- There will be another notification telling you to “mount the system as writable”. Make sure that the ”Mount System as writable” box is checked.
- Now using ES File explorer, navigate to the file you copied to the sdcard in Step 2 above
- Copy it, and paste it to /system/apps
- Exit ES File Explorer.
- Now when you hit the home button, you should see a prompt to choose between the stock launcher and Apex, Select Apex, and check the box to set it as default.
- Reboot once, and Enjoy!!
- To uninstall Apex Launcher, simply navigate to the /system/apps folder through ES File Explorer and delete the ApexLauncher.apk file.
For Not Rooted Phones
- Download the Apex Launcher apk file from the link given above
- Now connect the phone to your computer via USB cable, and transfer the Apex launcher apk file to the root of your phones internal sdcard ( or to any other location if you wish; just remember where you copied it to )
- Disconnect phone from PC and launch ES File explorer (download) on the phone
- Navigate to the ApexLauncher.apk file, and install it by clicking on it.
- Exit ES File Explorer.
- Now when you hit the home button, you should see a prompt to choose between the stock launcher and Apex,Select Apex, and check the box to set it as default.
- Reboot once, and Enjoy!!
- If you want to uninstall Apex, you can do so at any time by going to Settings–> Manage Applications
So go ahead and try it out, and let us know your experience, in comments below


tried to use on xxlp2 for SGS2, keeps FCing when i try to open the apex settings
tried to use on xxlp2 for SGS2, keeps FCing when i try to open the apex settings
tried to use on xxlp2 for SGS2, keeps FCing when i try to open the apex settings