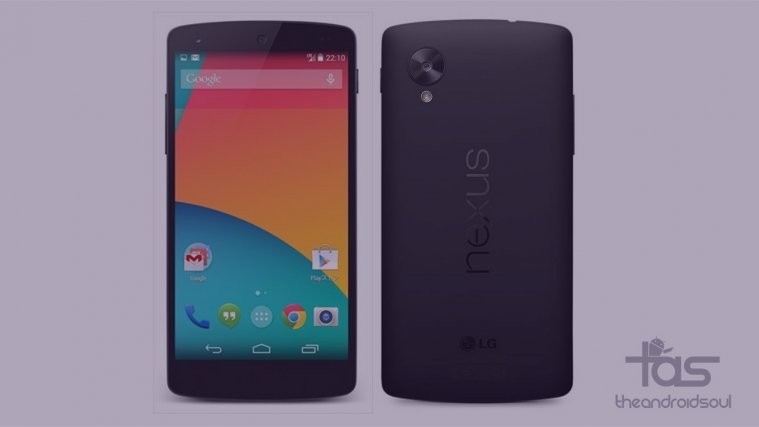
While using the Marshmallow update files to upgrade to latest and greatest Android version right now, you may run into an error or two. It could be the one mentioned above” error: cannot load ‘system.img’ : not enough space.
Also, it could be any other error like “missing boot.img” or “missing system.img“. In such cases, try the following fix, which involves doing the upgrade job manually, rather than relying on the script which is in fact responsible for the above mentioned errors.
How to Fix errors by manually flashing Marshmallow update
Step 1: Download the Marshmallow factory image for your device.
Step 2. Extract the .tgz file you downloaded into a separate folder. You will radio and bootloader .img files, and a big image-something.zip file.
Step 3. Extract the .zip file (name begins with image) inside that folder to a new folder. Rename the new folder as update6
Step 4. Now, move the radio and bootloader file from step 2, to new folder update6 in step 3.
Step 5. You must have these files in update6 folder:
- userdata.img
- system.img
- recovery.img
- cache.img
- boot.img
- radio*.img
- bootloader*.img
(You will have long filename in place of * in radio and bootloader files above.)
Once you have those 7 files in one folder, proceed to next step.
Step 6. Disconnect your Nexus device from PC if it’s connected.
Step 7. Install ADB and fastboot drivers on your PC.
Step 8. Boot your Nexus device into bootloader/fastboot mode:
- Power off the device.
- Press and hold both Volume Down and Power button together until you see anything on screen. Fastboot should be written at top.
Step 9. Connect your Nexus device to PC now using USB cable.
Step 10. Open a command window into that folder. For this, with update6 folder open, click on the address bar, delete current text there, and just type cmd. This will open up a command window wit its location set at update6 folder.
(You can also do shift+right click, and then choose open command window here.)
Step 11. Enter the following command to test whether fastboot is working alright or not. If it’s working good, you should get a serial no.
fastboot devices
Step 12. Install the Marshmallow update. For this, enter the following command one by one:
fastboot flash bootloader name-of-your-bootloader-image-file.img
→ Be sure to replace the text name-of-your-bootloader-image-file.img with the filename of the bootloader file you got from factory image.
fastboot reboot-bootloader
fastboot flash radio name-of-your-radio-image-file.img
→ Be sure to replace the text name-of-your-radio-image-file.img with the filename of the radio file you got from factory image.
fastboot reboot-bootloader
fastboot flash system system.img
fastboot flash boot boot.img
fastboot flash recovery recovery.img
fastboot erase cache
fastboot reboot
Step 13. When done, reboot your device if required. Either choose reboot menu using volume buttons on device, or run the command fastboot reboot into cmd window for this.
That’s it. Once all files are installed, your Nexus device will have the MRA58K build running.
More Fixes
→ Btw, if you still get error flashing the image file, then try to use the latest fastboot files that were released with the Marshmallow update. You can download the latest files linked just before, and then extract the 4 files from the zip package, and transfer the 4 files to the update6 folder where you already have system.img and other files. Then try flashing the system.img file again using the command given for it above, and it should be success.
→ Also, make sure you have some 3GB space free on your Android device, as that could play a role when flashing factory image too.
Need help? Let us know if you face any difficulty with this via comments section below.


I am getting an error loading the system.img on a Nexus 9 and one about fastboot formatting?
error: cannot load ‘system.img’
target reported max download size of 518205818 bytes
sending ‘boot’ (8278 KB)…
OKAY [ 0.612s]
writing ‘boot’…
(bootloader) Device State : Unlocked
OKAY [ 0.821s]
finished. total time: 1.433s
target reported max download size of 518205818 bytes
sending ‘recovery’ (9032 KB)…
OKAY [ 0.542s]
writing ‘recovery’…
(bootloader) Device State : Unlocked
OKAY [ 0.851s]
finished. total time: 1.394s
******** Did you mean to fastboot format this partition?
erasing ‘cache’…
Are you using the bat file, or running each command manually in CMD yourself?
Is the command — fastboot flash system system.img — throwing error? Make sure you didn’t rename any file.
You can use the latest fastboot files provided here: http://downloadmirror.co/android/si
If you used our adb and fastboot driver file to set up adb and fastboot on your PC, as linked in the guide above, then just go to ADB folder under C Drive, and paste the files from the above download to that folder.
Otherwise, simple use would be to extract the downloaded file and paste all of its 4 files into same folder where you have system.img and other files.
The latest fastboot file should help with flashing the system.img correctly. Let me know.
This ended up working, there is another method that uses this page as it’s source that has a manually flash all command workaround that does the same exact thing as the official method. If you go line by line and do not misspell anything this method works perfect.
This ended up working, there is another method that uses this page as it’s source that has a manually flash all command workaround that does the same exact thing as the official method. If you go line by line and do not misspell anything this method works perfect.
Your instructions are complete bollocks. There is NO radio file in either the volantisg-mra58k-factory-de7a6ff6.tgz that I need for my LTE Nexus 9, or the nested zip file.
I open the .tgz, all it has is the image-volantis*.zip, a boot*.img and the flash scripts.
I open the image zip file and all it has are imgs for boot,cache, system, recovery and vendor.
So you just ignroe the radio file. Radio stands for modem, so your Nexus 9 doesn’t have it, won’t have it, obviously. The guide’s been written for all Nexus devices which received Marshmallow.
Brilliant, worked like a charm. With the OTA update mine rebooted, started upgrading then just stopped with “error!”. It’s now booting and optimising.
Thanks, not complete or even partial bollocks. I am grateful.
Brilliant, worked like a charm. With the OTA update mine rebooted, started upgrading then just stopped with “error!”. It’s now booting and optimising.
Thanks, not complete or even partial bollocks. I am grateful.
Hey – These instructions were a great start but I ended up booting to a stall on the GOOGLE screen (black screen White Google lettering). I reviewed the ZIP and realized the above instructions never mention flashing the vendor image. I flashed everything again including vendor image and it worked like a charm.
command to flash vendor image is: fastboot flash vendor vendor.img