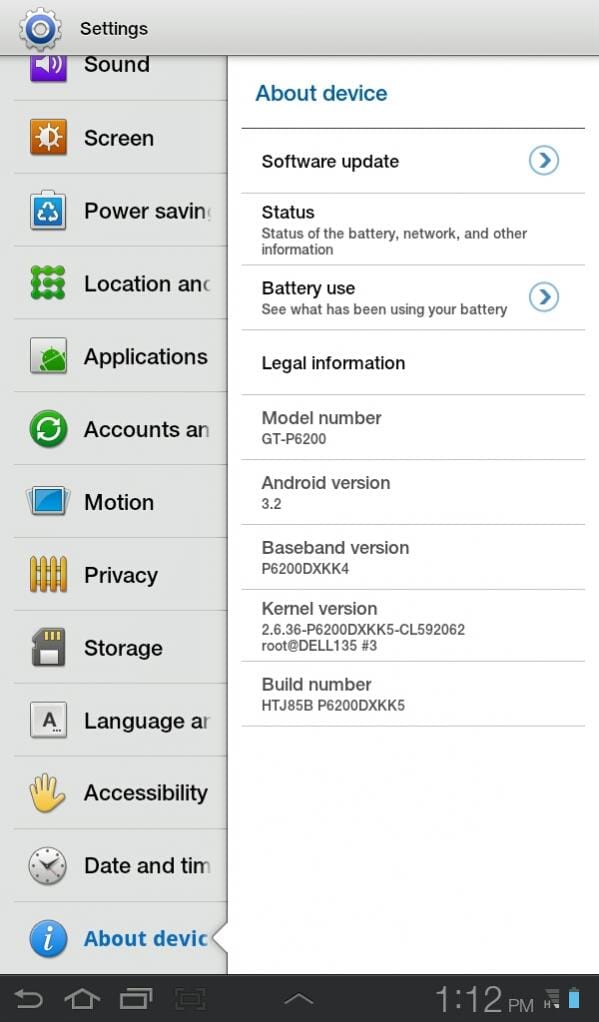
Woot! Official Android 3.2 firmwares are out for the Galaxy Tab Plus 3G P6200.
Seriously ─ by now, you’d have realized how coolly the firmwares for Samsung devices leak every week and so. And I love all this, even when it’s hardly known to anyone about what has changed in the newly leaked firmware. But today’s leak isn’t like that, it clearly states that it’s the Android 3.2 Honeycomb version.
How to update Galaxy Tab Plus 3G to Android 3.2 Honeycomb
Warning!
The methods and procedures discussed here are considered risky and you should notattempt anything if you don’t know completely what it is. If any damage occurs to you or your device, we won’t be held liable — you only will be responsible, you’ve been warned!!!
Download the following files (choose according to your region):
- MALAYSIA – GT-P6200UWAXME
25th November 2011 – P6200DXKK5/P6200OLBKK7/P6200DXKK4/P6200DXKK5 *CONFIRMED WORKING*
Direct download link ─ click here - INDONESIA – GT-P6200MAAXSE
16th November 2011 – P6200XXKK6/P6200OLBKJ1/P6200XXKK6/P6200XXKK6
Direct download link ─ click here - Odin3 v1.85
Direct download link ─ click here - Drivers
Install KIES software by Samsung to get the proper drivers installed on your PC.
Download Kies from here ─ click here
Step by Step Installation guide:
- Install Kies to get the proper drivers installed on your PC, and make sure that Kies is completely closed before you proceed further
- Extract the Odin3 v1.85 zip file and open the Odin.exe program file
- Switch off your Galaxy Tab Plus, and put it into download mode by holding the “Volume Down key + Power key” together for a couple of seconds
- Now connect your Tab to your PC with the USB cable
- Once connected, Odin will show a “Added” message in the white at bottom left of the Odin’s screen. If the “Added” message doesn’t appear, then it means the drivers aren’t installed properly, so try installing the Kies software again, restart your PC and try again.
- Now extract the firmware file that you downloaded above for your region for your Tab.
- And in Odin window, click on the “PDA Button” and select the “xxxxxx.tar” file that you extracted in the Step 6.
- Click ‘Start‘ and wait for the process to finish.
- Your Tab will reboot automatically, and you’re on Android 3.2 Honeycomb. Cheers.
If you’re looking to root your Galaxy Tab then click the following link ─ Root Galaxy Tab Plus 3G
So that was it, feel free to leave a comment to thanks us for the guide or to get further help. C ya.


Discussion