Collect all five Wyvern eggs around the Three Brothers Cliff region, hatch one at a Wyvern Nest to register a Baby Wyvern pet, then feed it meat to level it up and grow it into a fully ridable flying mount — the “elemental Wyvern” angle is unconfirmed fan speculation, not a verified in-game system.
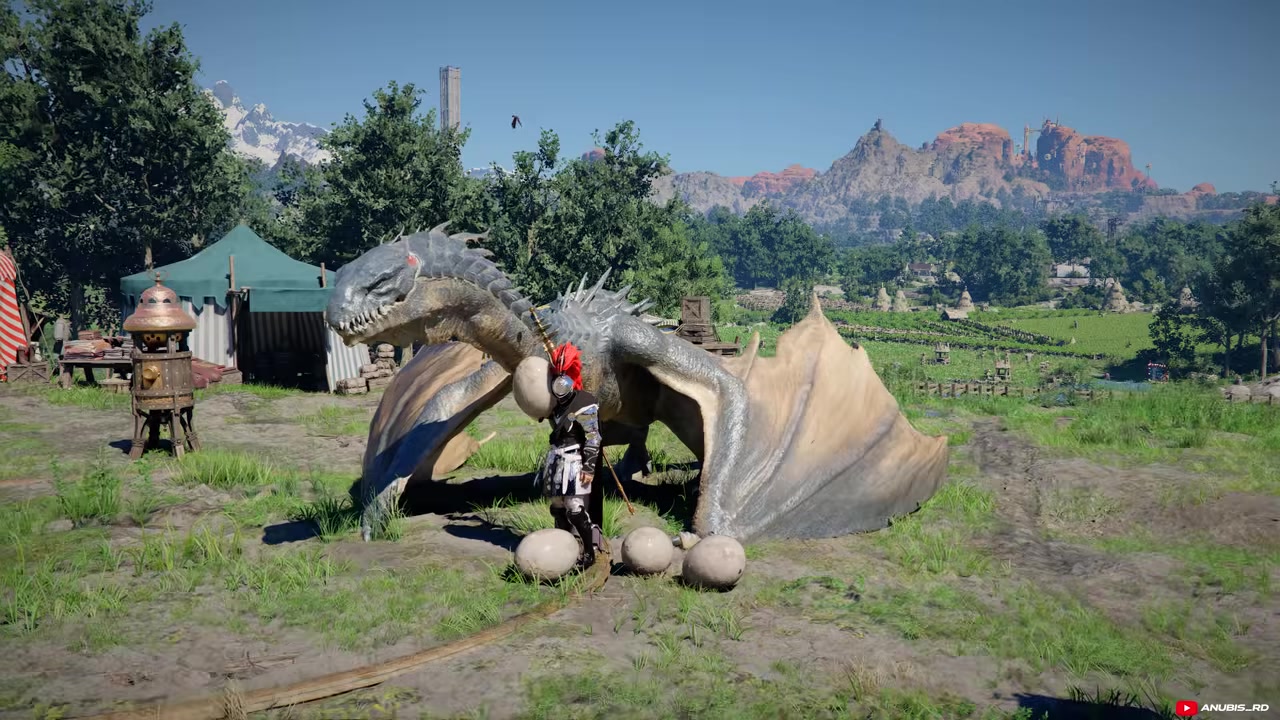
Crimson Desert‘s Wyvern eggs arrived with the Wyvern content drops, and at first glance they read like ordinary collectibles. They’re actually the start of a single chain: pick up an egg, hatch it at a nest into a Baby Wyvern pet, then evolve that pet into a flying mount you can summon and ride. There’s really one core procedure here, repeated and built on, and the more dramatic “fire, ice, lightning Wyvern” framing you’ll see floating around is theory rather than anything the game confirms.
What the Wyvern eggs are actually for
Grab the Focused Force Palm ability and a stack of meat before you set out — without the palm you can’t open the first egg’s cave, and meat is what feeds the baby Wyvern up to its Grow option.
All five Wyvern egg locations at a glance
| Egg | Where to look | How to reach / access |
|---|---|---|
| Egg 1 | Cave behind a glowing stone, by the Three Brothers Cliff Wyvern Nest | Glide past the enemy camp, then break the stone with Focused Force Palm |
| Egg 2 | Broken nest behind a large ruin | Circle to the back and climb to the upper section |
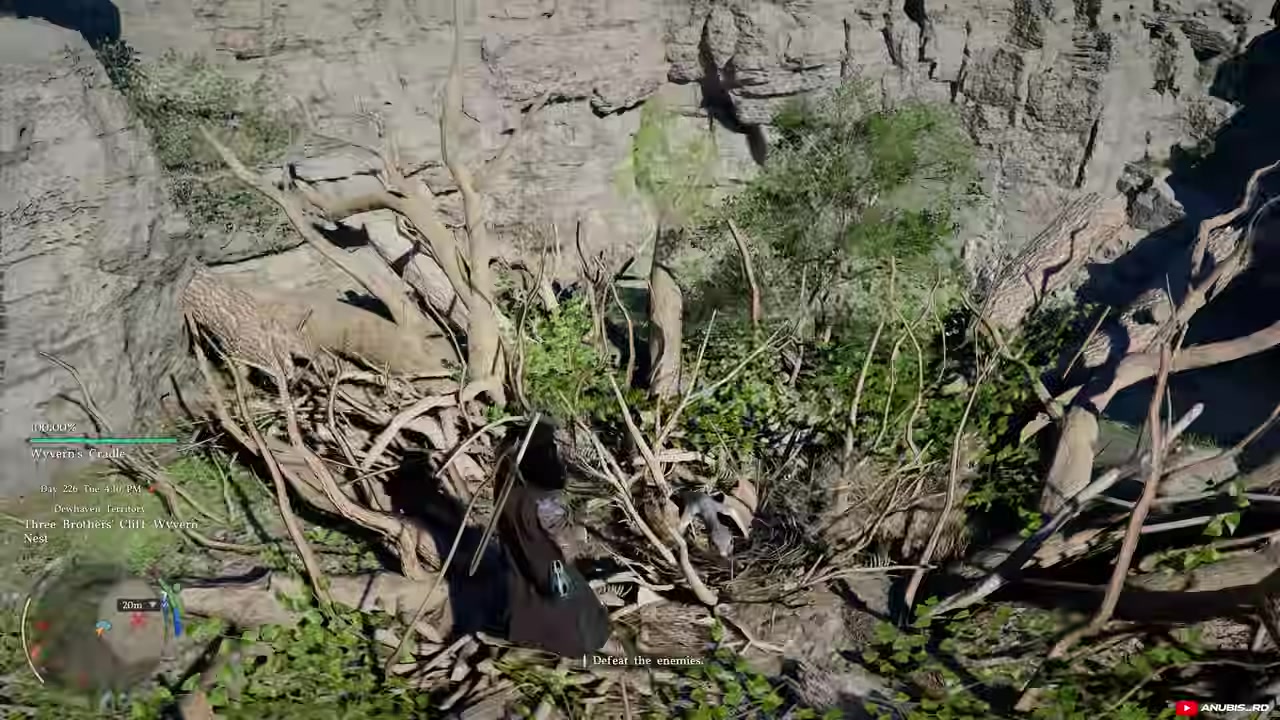
| Egg 3 | Broken nest out in the open near Three Brothers Cliff | Walk up and grab it |
| Egg 4 | Broken nest inside a ruined house by the Cliff of Despair cabin | Clear the bandits guarding the area first |
| Egg 5 | Broken nest on a rock formation between the cliff and the coast | Reachable only by gliding in from the correct direction |
All five pickups sit in and around the Three Brothers Cliff region. Four of them are simple loots from broken nests; the first is the involved one, tucked inside a sealed cave. Here’s the short version before the full routes.
Reaching and collecting each Wyvern egg in order
STEP 1/11
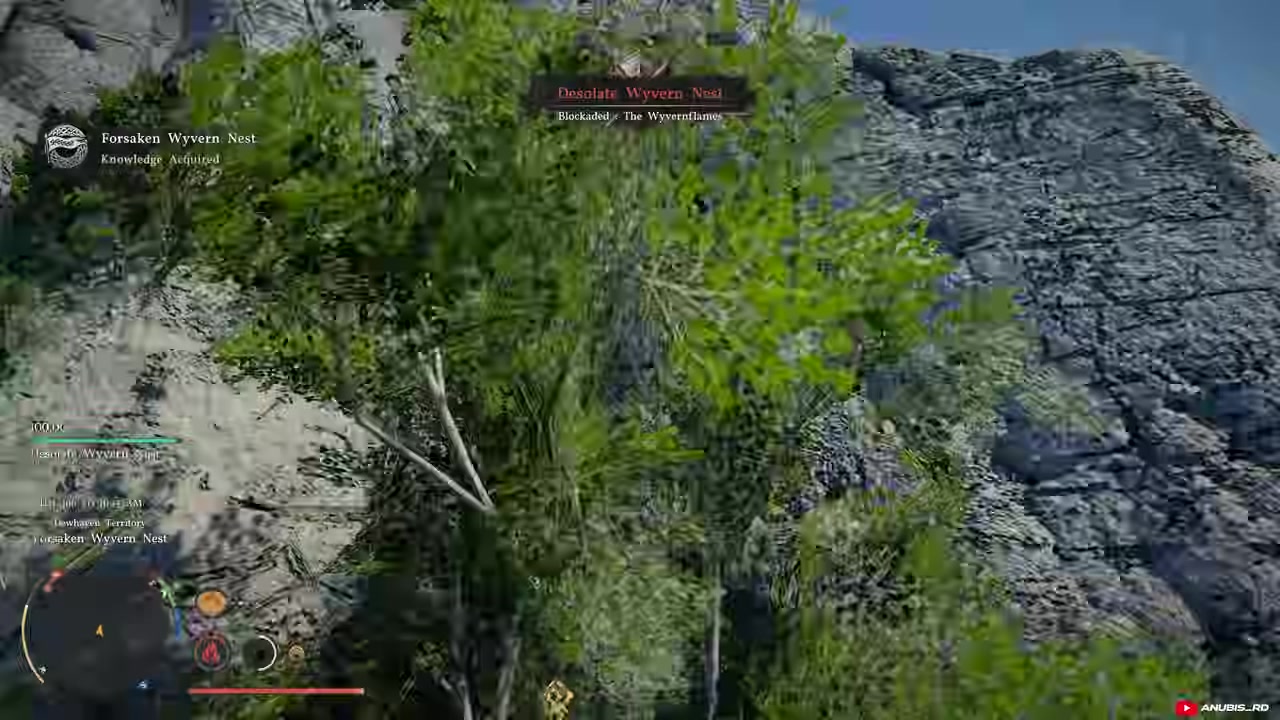
Travel to the Three Brothers Cliff Wyvern Nest
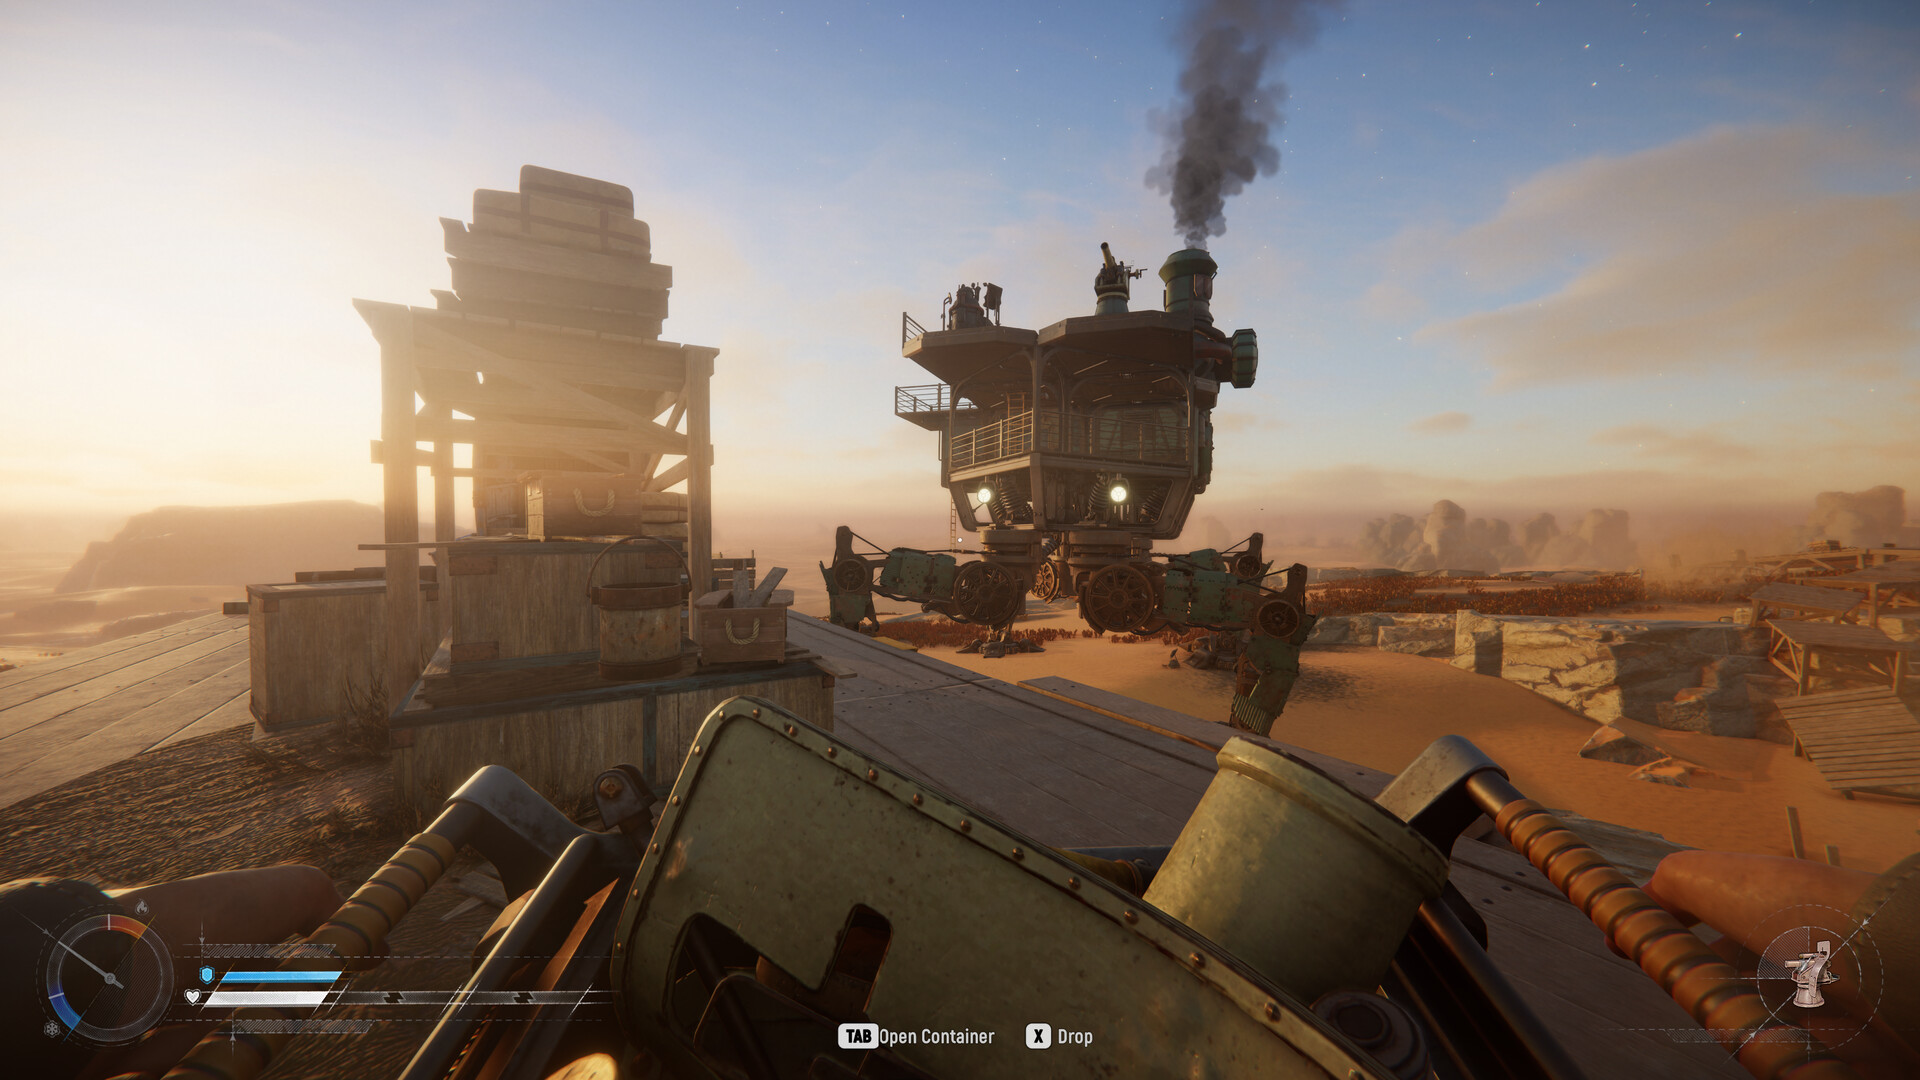
Fast travel to the point south of the cliff; on a first visit the zone is thick with enemies, so be ready for a fight or skip it.
STEP 2/11
Glide across instead of clearing the camp
From the top of the rock formation past the fast-travel point you’ll spot an enemy camp — glide straight across to the ledge ahead rather than engaging.
STEP 3/11
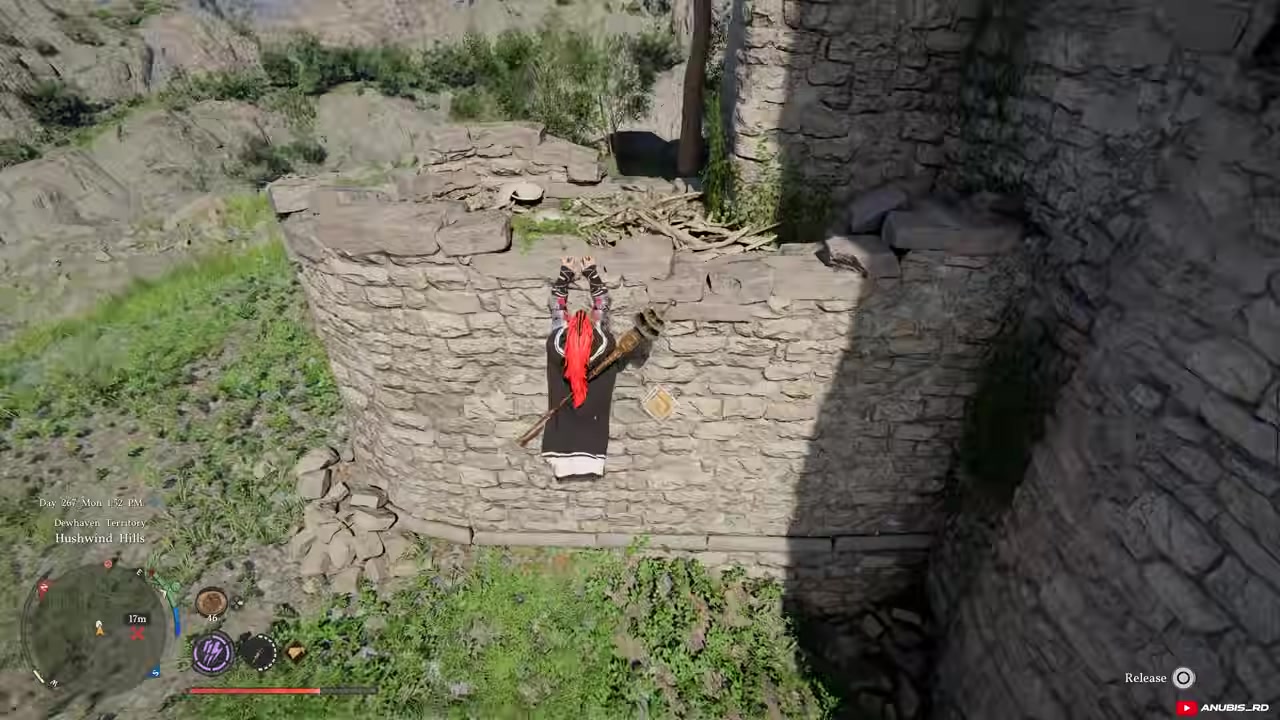
Break the glowing stone with Focused Force Palm
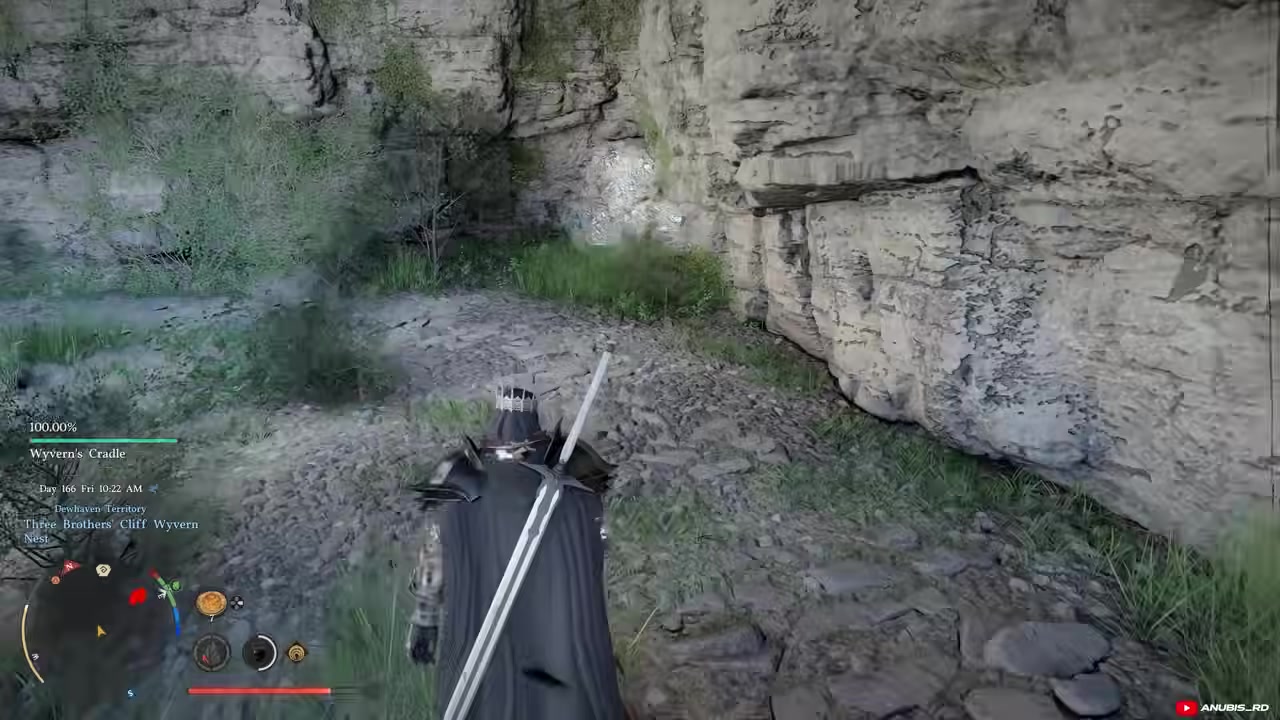
Drop down to the cave entrance, where a glowing stone (the Abyss Gear set in rock) blocks the path; charge a Focused Force Palm and release when the screen flashes yellow.
STEP 4/11
Grab the first egg inside the cave
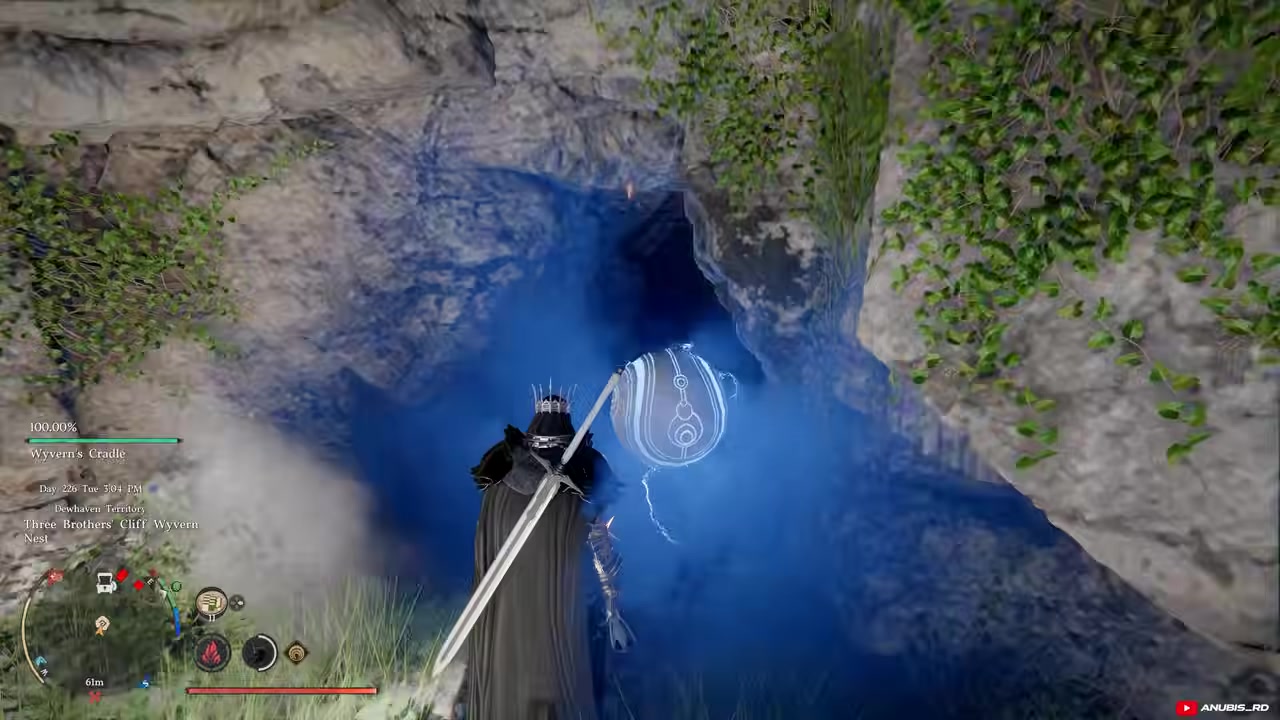
The egg sits on the ground beside a treasure chest — the same cave that holds the Skyblazer Helm — so pick it up and head back outside.
STEP 5/11
Reach the large ruin for the second egg
Travel to the spot near a big ruin, then go around to the back of the structure.
STEP 6/11
Loot the broken nest near the top
Up at the upper section you’ll find a broken nest holding the second egg; pick it up and use the Store option to bank it in your inventory.
STEP 7/11
Spot the broken nest for the third egg
At the location near Three Brothers Cliff you’ll immediately see another broken nest — grab the third egg and store it the same way.
STEP 8/11
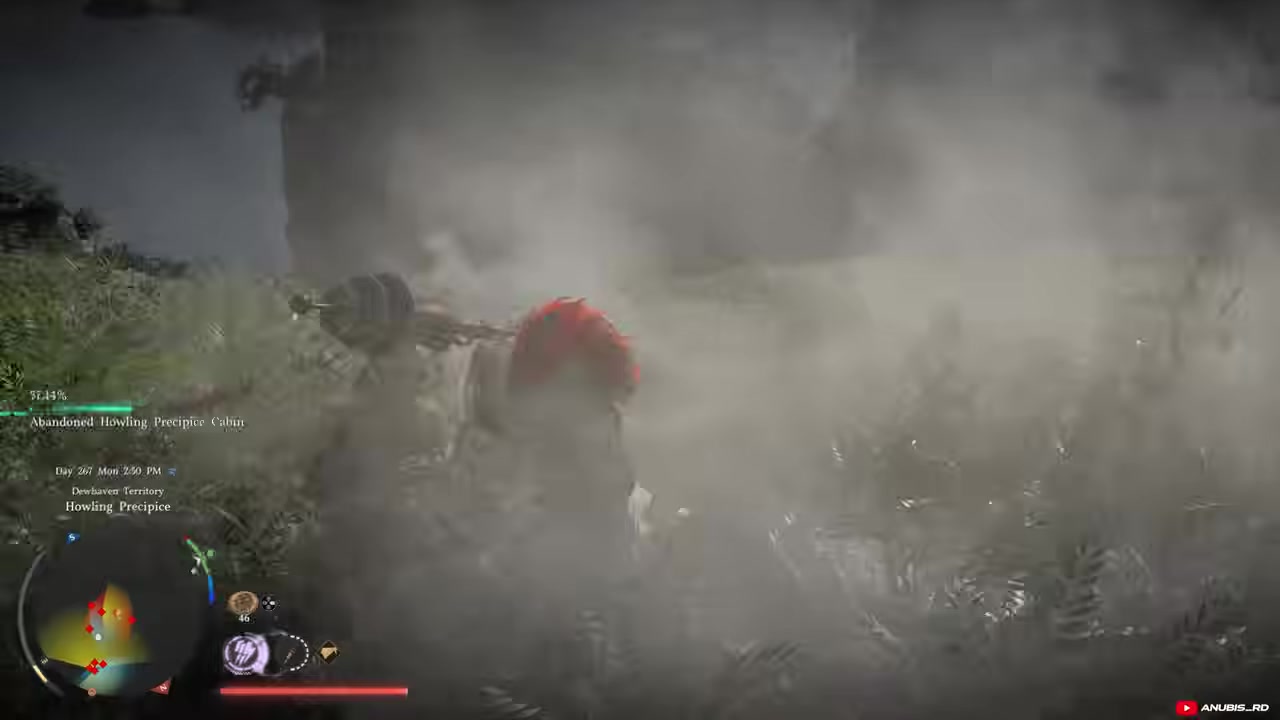
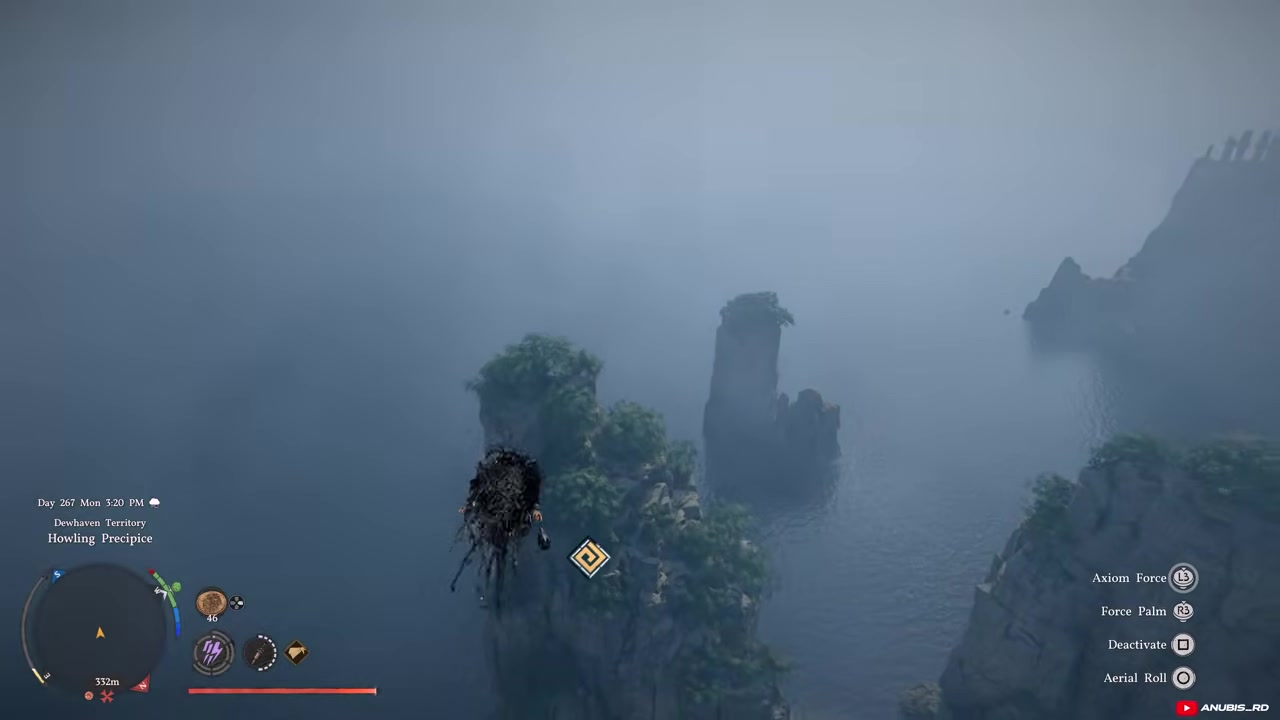
Clear the bandits at the Howling Precipice cabin
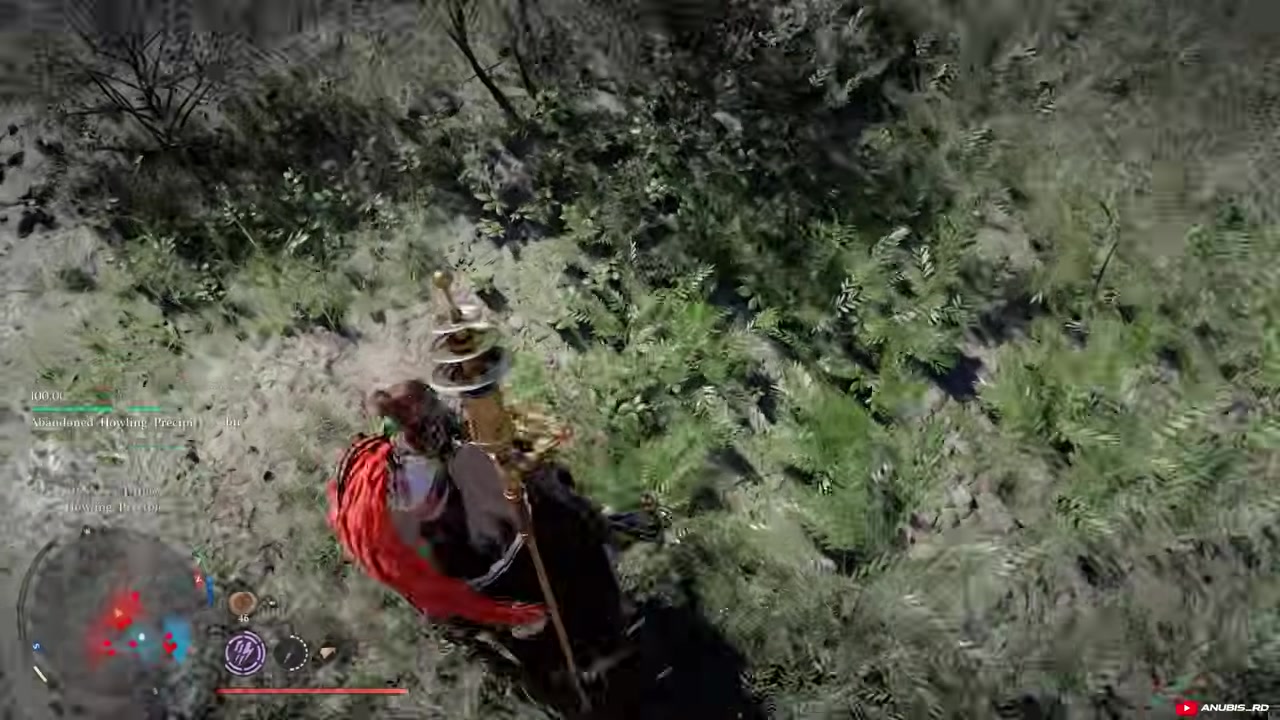
Near the abandoned cabin by the Cliff of Despair, several bandits guard the area, so wipe them out before you loot.
STEP 9/11
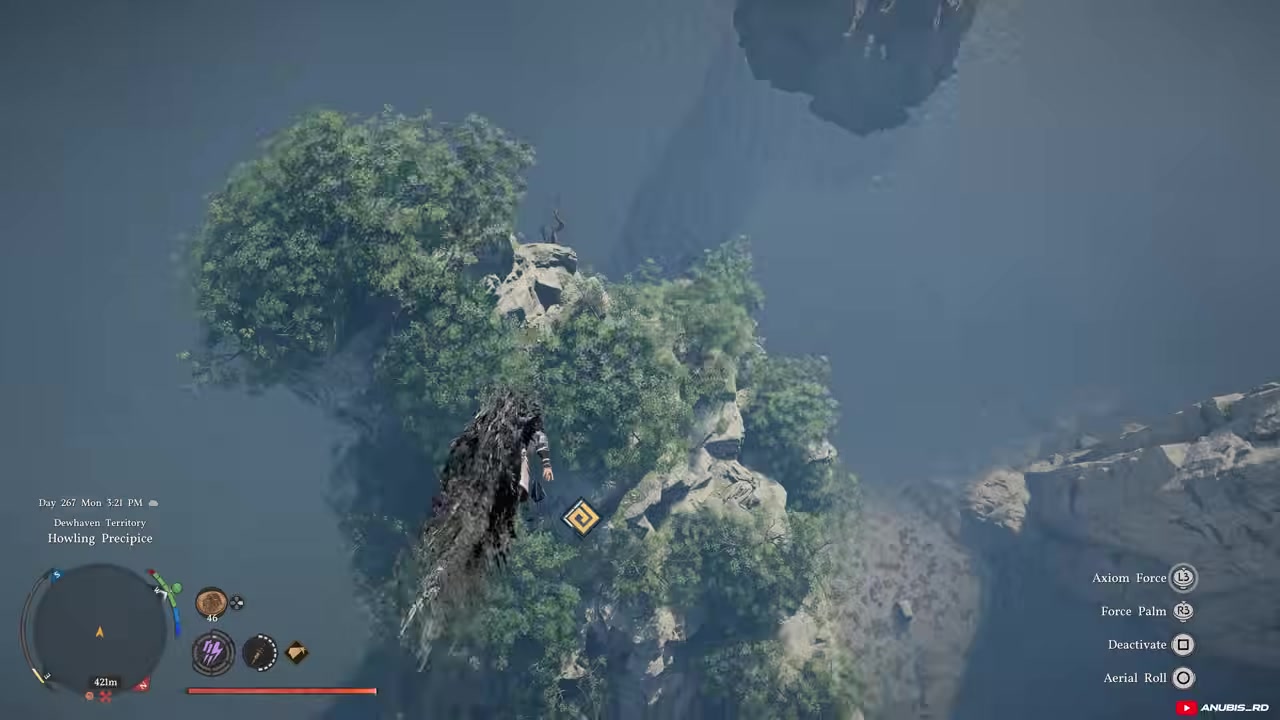
Take the fourth egg from the ruined house
Head into the ruined house and the broken nest inside holds the fourth egg; pick it up and store it.
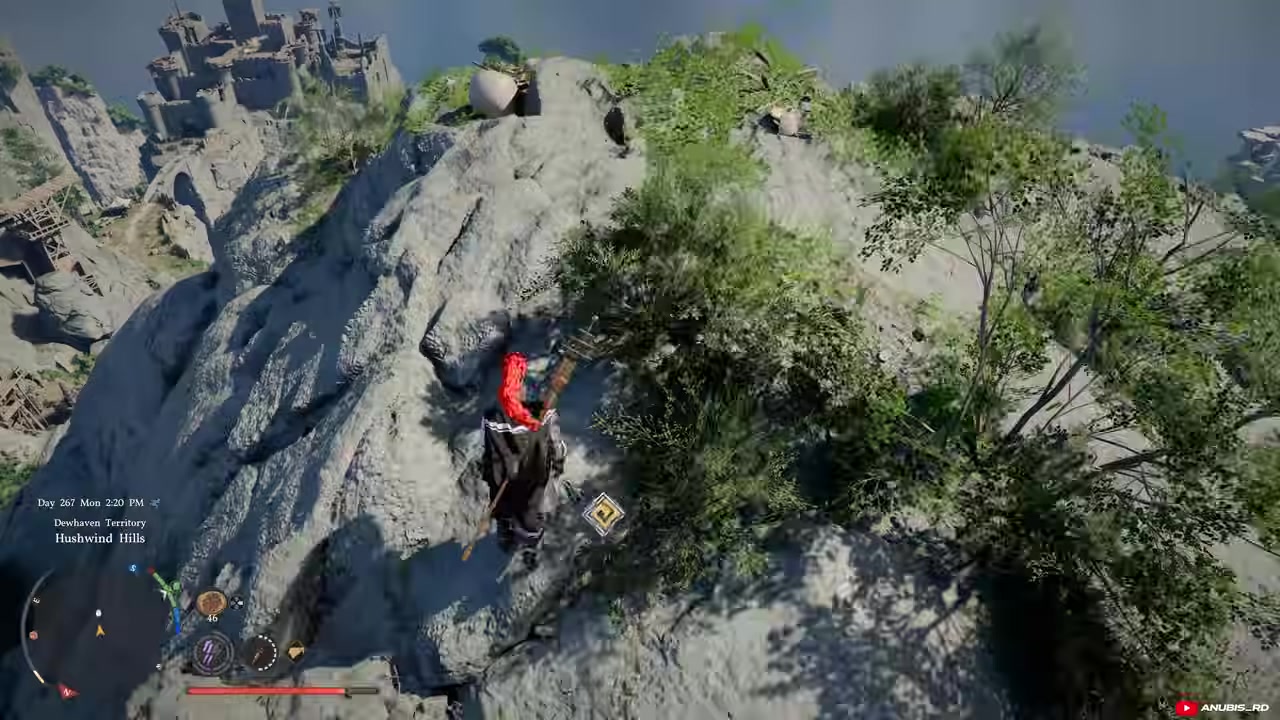
STEP 10/11
Glide in to the fifth egg’s rock formation
This final spot can only be reached by gliding, so approach from the correct direction and land on the rock formation shown on your map.
STEP 11/11
Collect the fifth and final egg
A broken nest on the rock holds the last egg — pick it up and store it like the others.
How to hatch a Wyvern egg into a baby pet at a nest
- Find the Wyvern Nest below the cave — Coming out of the first egg’s cave, head to the right and look for the Wyvern Nest down below, flagged by a nest icon on the mini-map.
- Place the egg in the nest — Interact with the nest and drop your Wyvern egg inside.
- Wait for the egg to start glowing — After a few moments it begins to glow; timing is inconsistent across reports, with early players citing anywhere from about five minutes of real time to one or two in-game hours.
- Use the Hatch prompt when it appears — It does not auto-hatch — wait until the Hatch option shows up, then trigger it manually.
- Confirm the Baby Wyvern in your pet menu — Once the animation finishes, the Baby Wyvern is permanently registered; open your pet menu to see it added to your collection.
Beyond being a step toward a mount, the Baby Wyvern works as a proper pet: players report it flies around you and loots bodies left after combat, and it counts toward the Little Companions challenge that asks you to collect 30 unique pets. If you only want the companion and not the mount, you can stop right here.
Growing the baby Wyvern into a ridable mount
- Feed meat to reach level 2 — Feeding the Baby Wyvern meat earns it experience, and the very first feed jumps it straight to level 2.
- Wait for the next in-game day to feed again — After level 2 the level won’t climb on repeat feeds — you can only feed it once per in-game day to gain another level.
- Time-skip to speed up the daily feeds — Advance time to the next day, then feed it another piece of meat, repeating to push it upward without waiting in real time.
- Use the Grow option at level 3 — The moment it hits level 3, a new Grow option appears on the Wyvern — interact with it to start the transformation.
- Confirm the mount in your mount menu — After a short animation it becomes a fully grown Wyvern mount, permanently added to your mount collection so you can summon, ride and fly it.
Buying and equipping the Wyvern saddle
- Visit the saddlery shop — Head to the saddlery north of the Delicia landmark shown on your map.
- Buy the Wyvern saddle from the vendor — Speak to the vendor and purchase the Wyvern saddle.
- Equip the saddle from your mount menu — Open the mount menu, select your Wyvern, and equip the saddle — now it’s fully ready to summon and fly.
Video help
The elemental Wyvern theory and the fifth-egg debate
The big unanswered question is whether distinct elemental Wyverns exist at all. Right now the answer is that nobody can confirm it. The “fire Wyvern, ice Wyvern, lightning Wyvern” idea is openly framed as guesswork even by the players pushing it, and web guides mark it unconfirmed. With the current Wind Wyvern and the world’s existing elemental ties, it’s an easy theory to believe — but believing it and proving it are different things, and a future update could just as easily leave the eggs as plain collectibles.
A related claim is that the Wyvern’s element depends on which nest you hatch the egg in — grab an egg from behind a special wall, the theory goes, and the nest you choose sets fire, ice or lightning. No repeatable method backs this up; there’s no documented “this nest equals this element” recipe, so treat nest-based element selection as rumor for now. The egg-count itself is also contested: this walkthrough demonstrates five separate pickups, but several written guides reliably confirm only four and treat a distinct “fifth secret egg” as unverified. If you only find four nests in your game, that’s likely why.
Frequently Asked Questions
Do you need the Focused Force Palm ability to get the Wyvern eggs?
For the first egg, yes. Its cave is sealed by a glowing stone that only breaks to a charged Focused Force Palm — release the attack when the screen flashes yellow. The other broken-nest eggs are open pickups, but since the first nest is where you hatch your Wyvern, the palm is effectively a requirement for the full chain.
Are there really elemental (fire/ice/lightning) Wyverns, or is that just a theory?
It’s a theory. No verified in-game system produces distinct fire, ice or lightning Wyverns, and the players discussing it openly call it speculation. Until a patch or in-game evidence confirms otherwise, assume there’s a single Wyvern mount and no element to choose.
How long does a Wyvern egg take to hatch?
Reports conflict. Some players say it’s around five minutes of real time, others describe roughly one to two in-game hours before the egg jiggles, glows, and shows the Hatch prompt. Either way it does not hatch on its own — you have to interact manually once the option appears.
Can you collect more than one Wyvern, and do the eggs respawn?
You only need one hatched egg for a mount, but you can pick up all five. Community reports claim the eggs respawn, stack in your inventory, and can be hatched in any working nest, which would make extra Wyverns easy to farm — that’s unverified, though, so don’t count on it until it’s confirmed.
What level does the baby Wyvern need to reach before it can grow into a mount?
Level 3. Feeding meat takes it to level 2 on the first feed, then one level per in-game day after that. The moment it reaches level 3, the Grow option appears and you can evolve it into the ridable mount.
More questions⤵
Where do you buy the Wyvern saddle?
At the saddlery shop north of the Delicia landmark. Speak to the vendor, buy the Wyvern saddle, then open your mount menu, select the Wyvern and equip it — only then is the mount fully ready to summon and fly.