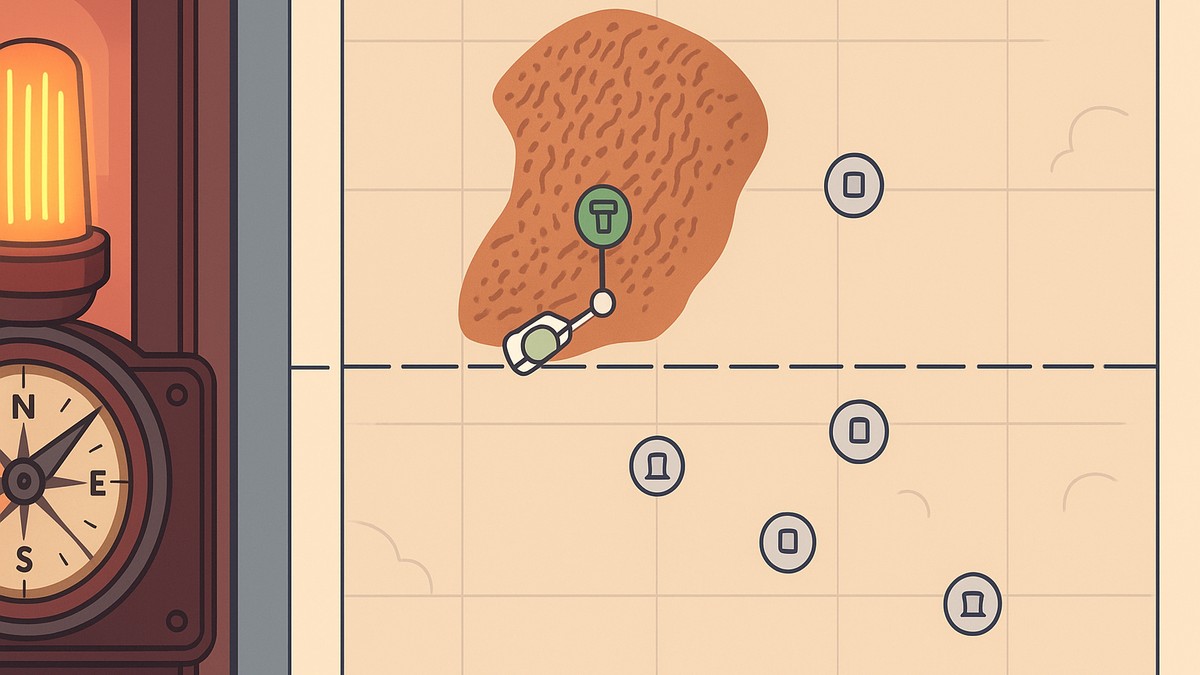
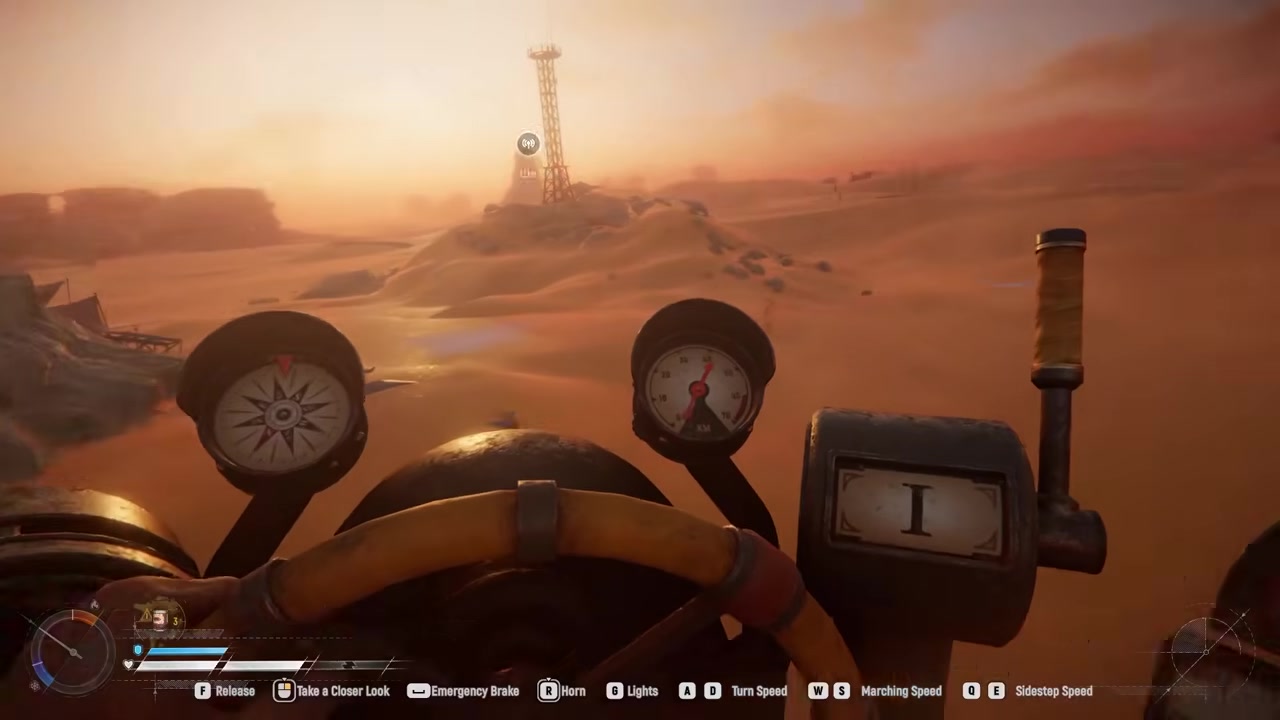
To extract in SAND, drive your Trampler to a door-marked evacuation zone, pass between the two signal towers to the waypoint tower, climb it and use the radio to call extraction, then survive both countdown timers until the ship lifts your Trampler out.
In a PVPVE extraction shooter, the loot you carry only matters if you get it home. SAND: Raiders of Sophie handles this through a multi-stage evacuation sequence that physically extracts your Trampler — the walking mech that doubles as your mobile base and primary loot storage — rather than just teleporting your character to safety. Because the extraction process advertises your position and leaves you exposed to other players, understanding the full sequence is the difference between banking your scavenged resources and losing everything in the final minutes.
What extraction means in SAND: Raiders of Sophie
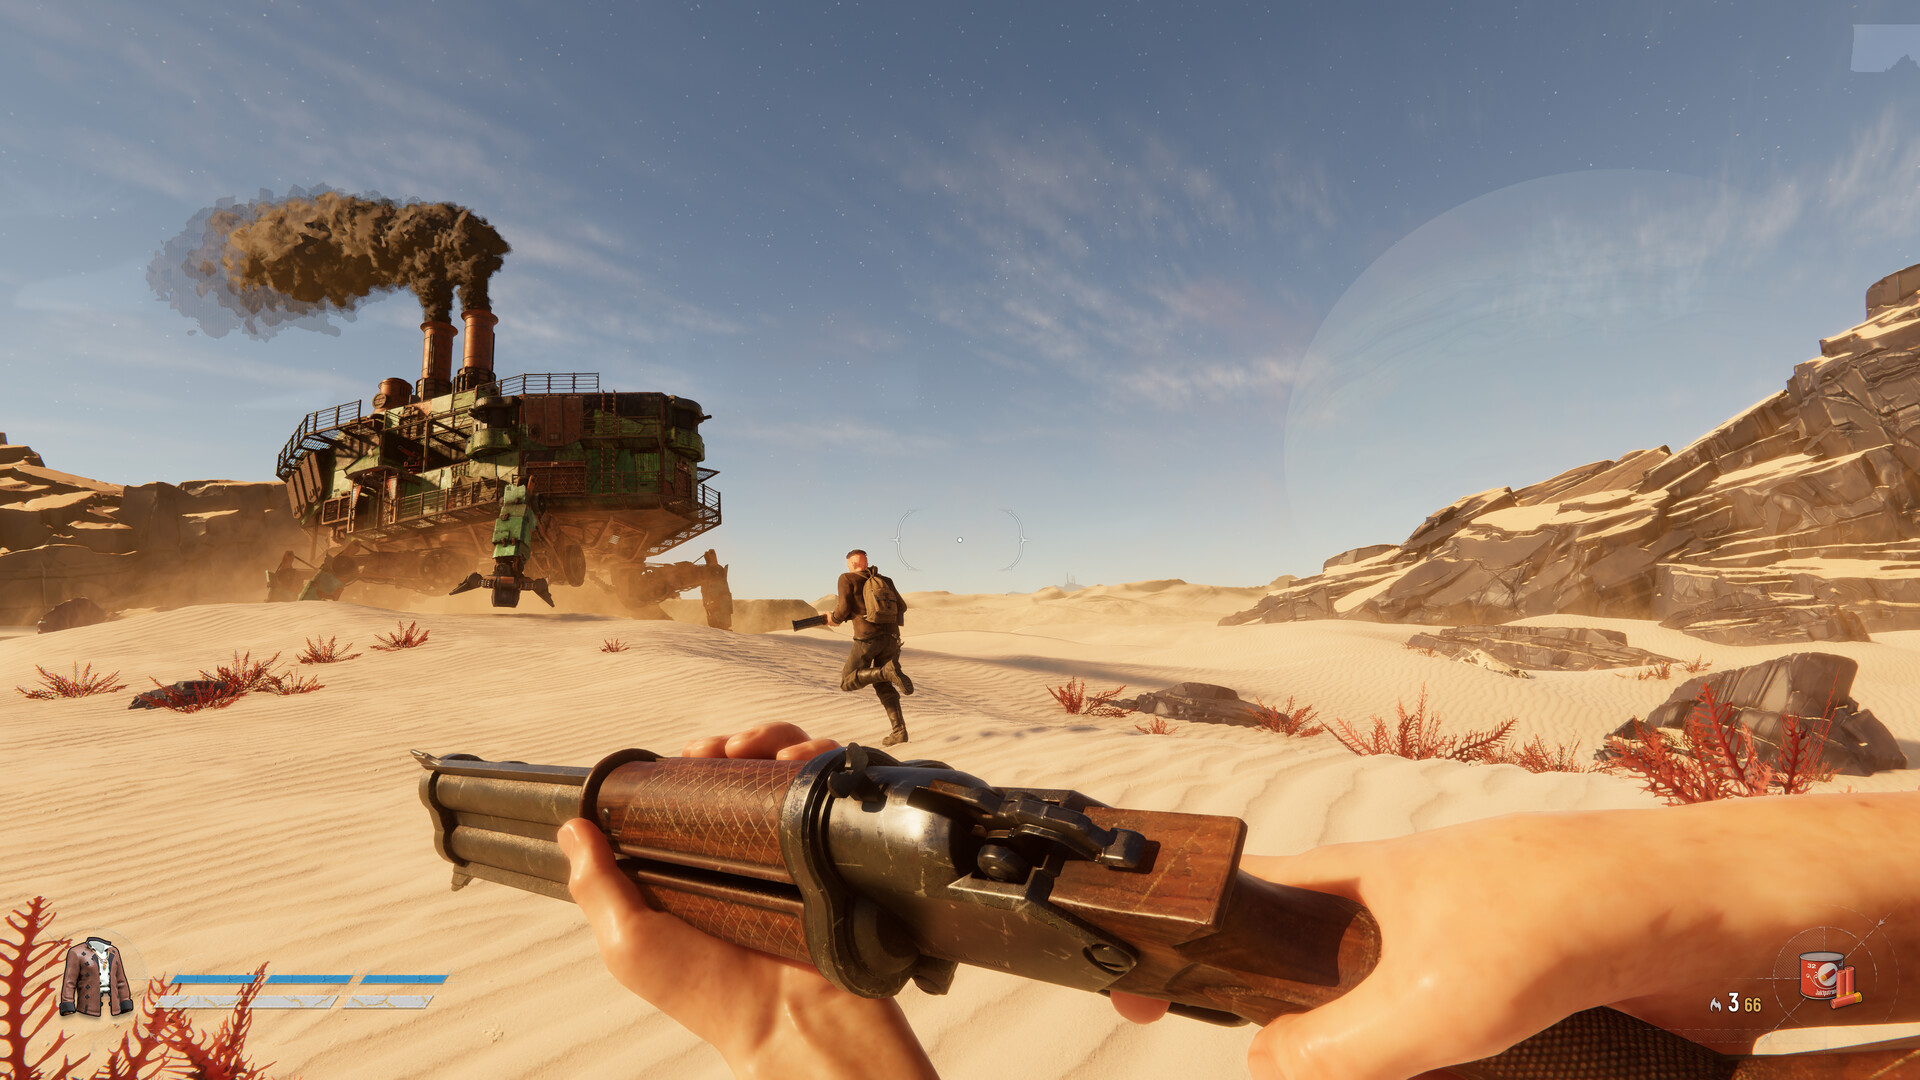
Extraction is the endgame loop of every raid: you pilot your Trampler across the desert, scavenge for resources, weapons, and artifacts, and then initiate an evacuation to secure that loot permanently. The catch is that extraction is a loud, timed event. You have to physically bring your Trampler to a specific zone, call in a ship, and hold the point while the ship arrives and positions itself. Until the Trampler is actually lifted out, you and everything inside it are fair game.
Staying alive during the extraction call
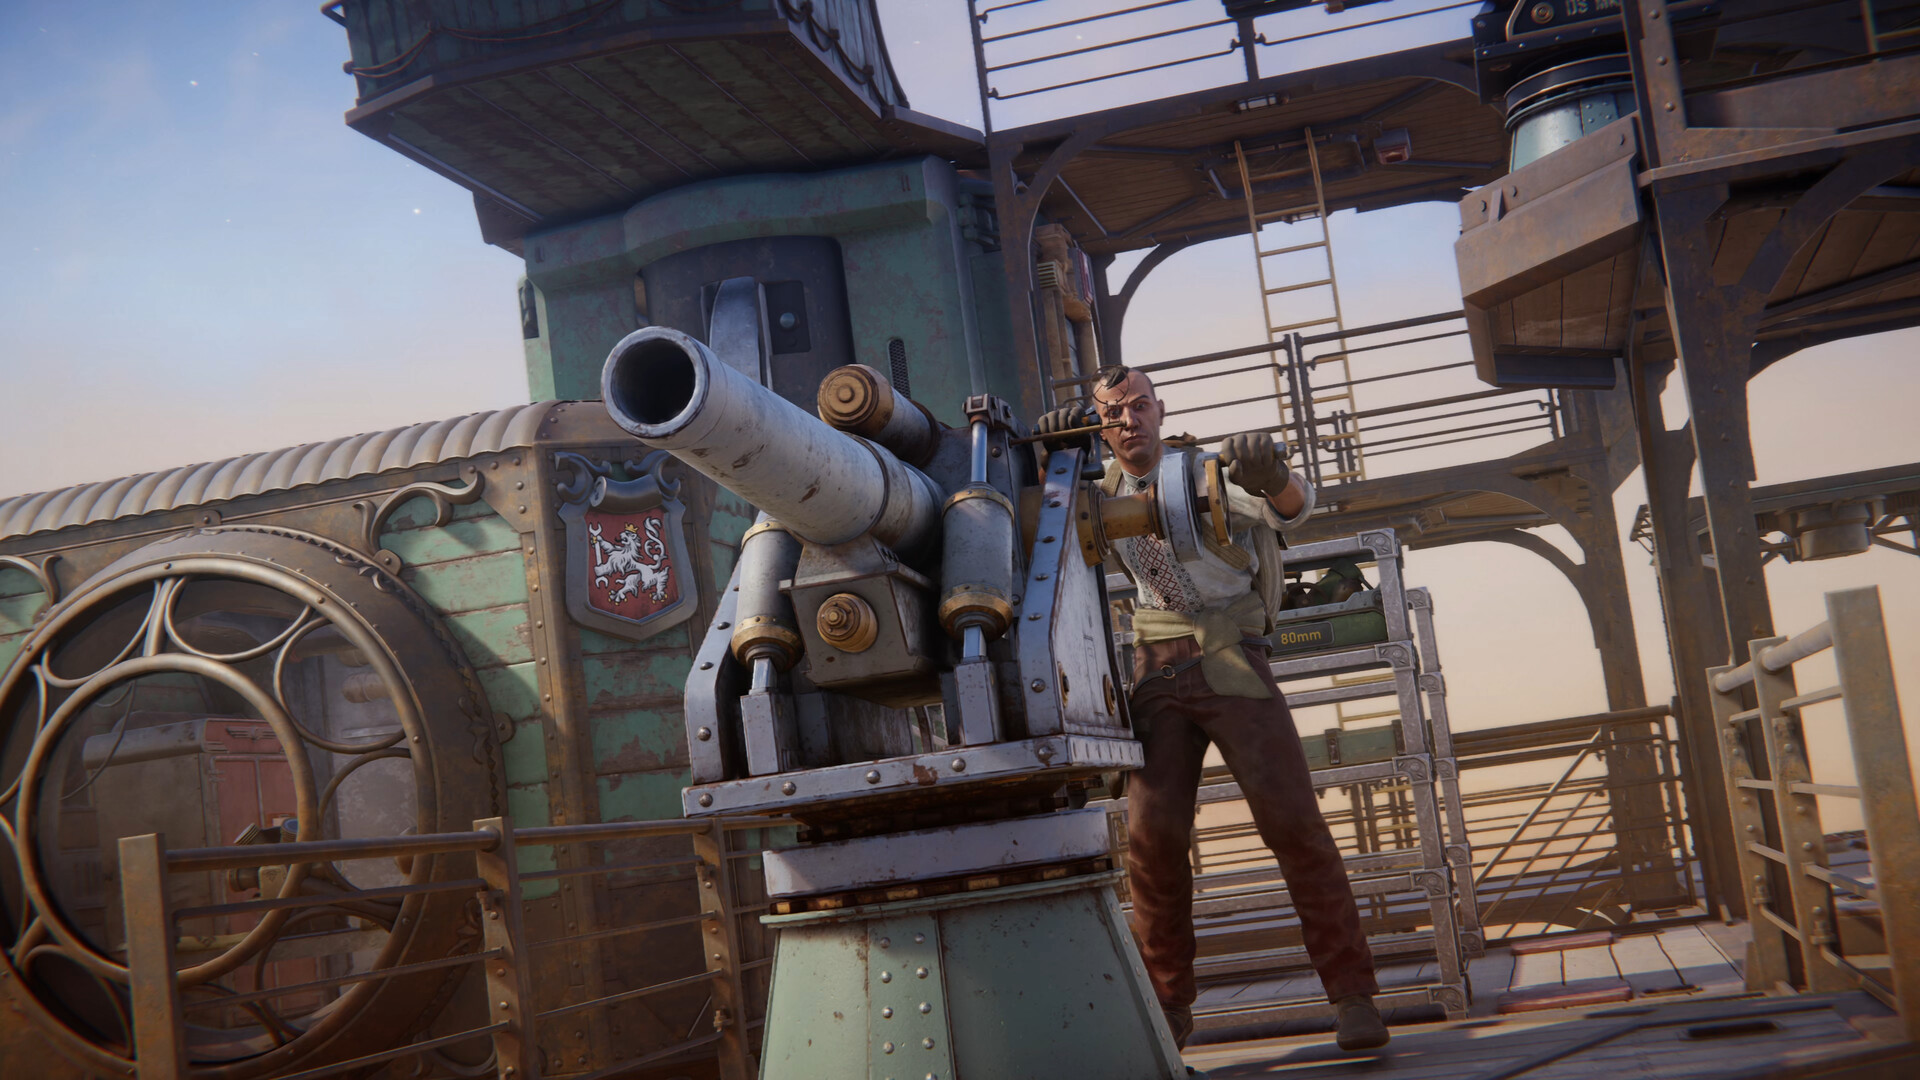
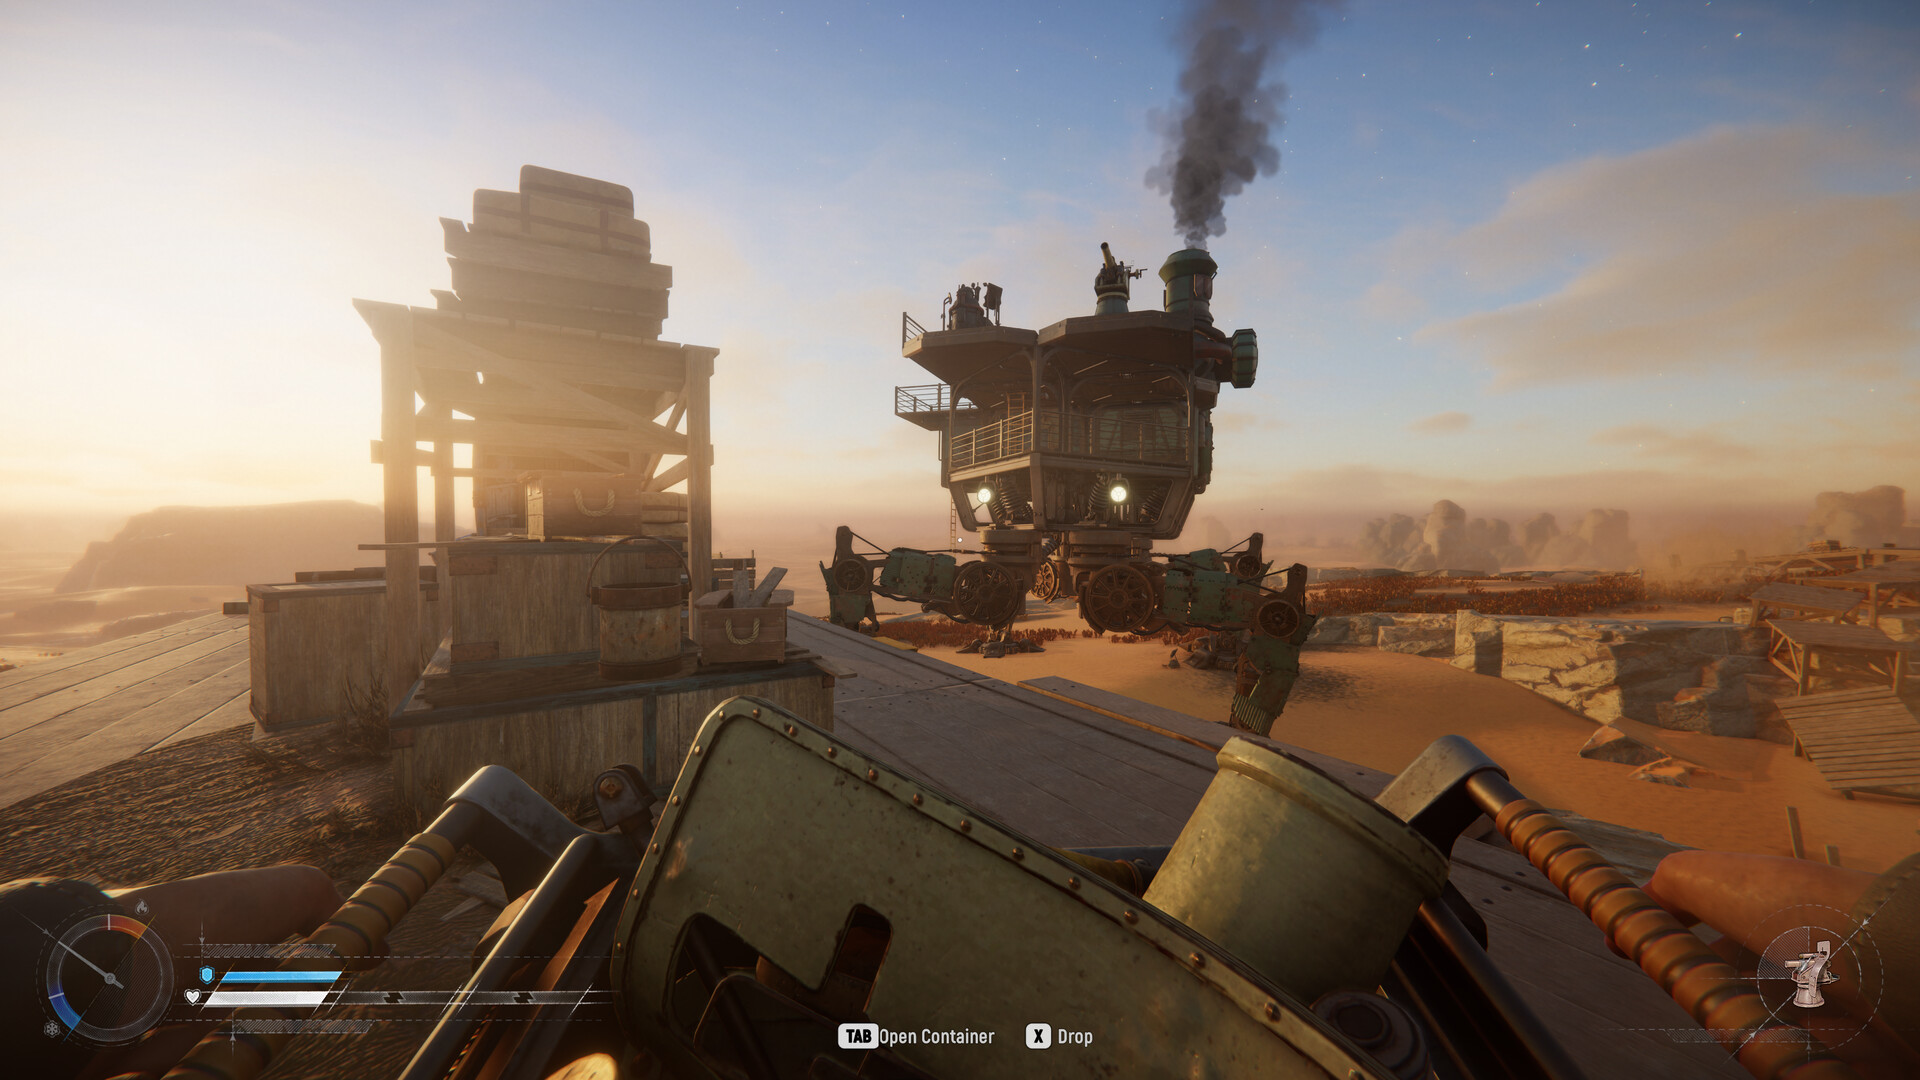
What the Trampler is and why extracting it matters
How to call and complete an extraction in SAND
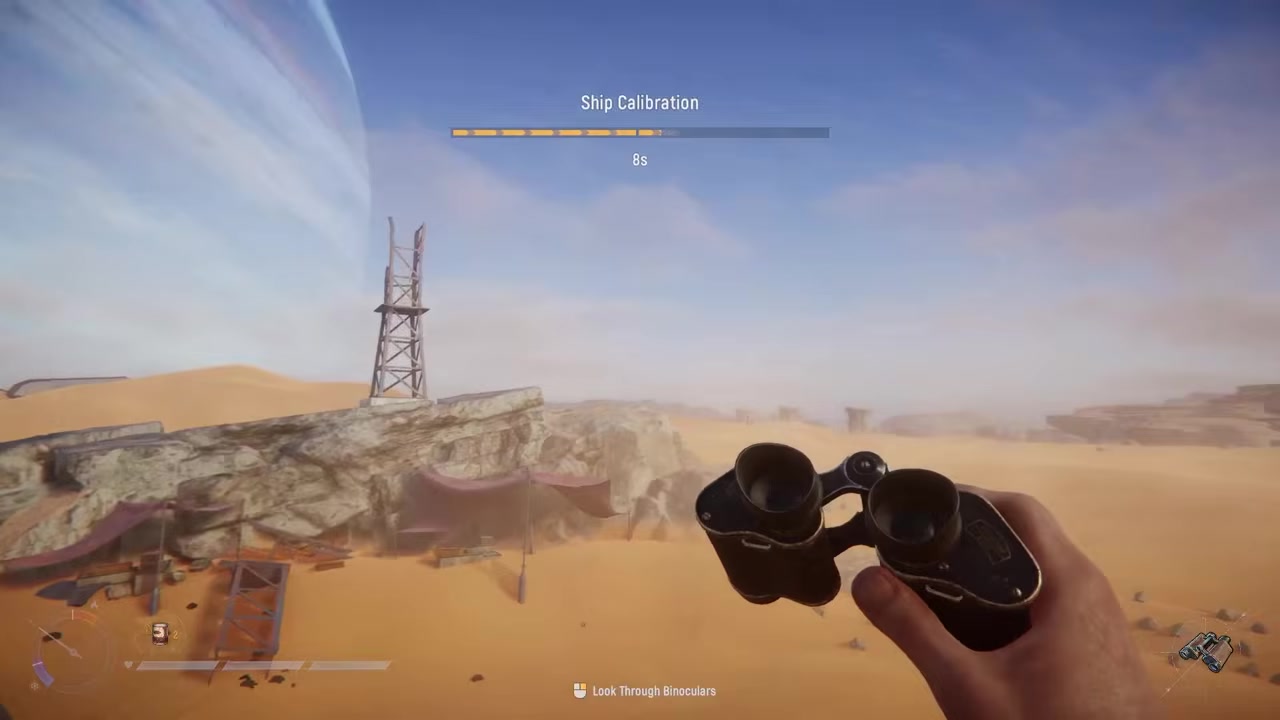
STEP 1/7
Find a door-icon evacuation zone

Look for the door icons scattered around the map, which mark the evacuation zones, and head toward one while staying alert for other players.
STEP 2/7
Drive your Trampler between the signal towers

When you near the extraction point, spot the two large signal towers in the distance and pilot your Trampler directly between them.
STEP 3/7
Follow the waypoint to the tower
Continue forward until a waypoint appears about 100 m away, then head to the tower it marks.
STEP 4/7
Climb the tower and use the radio
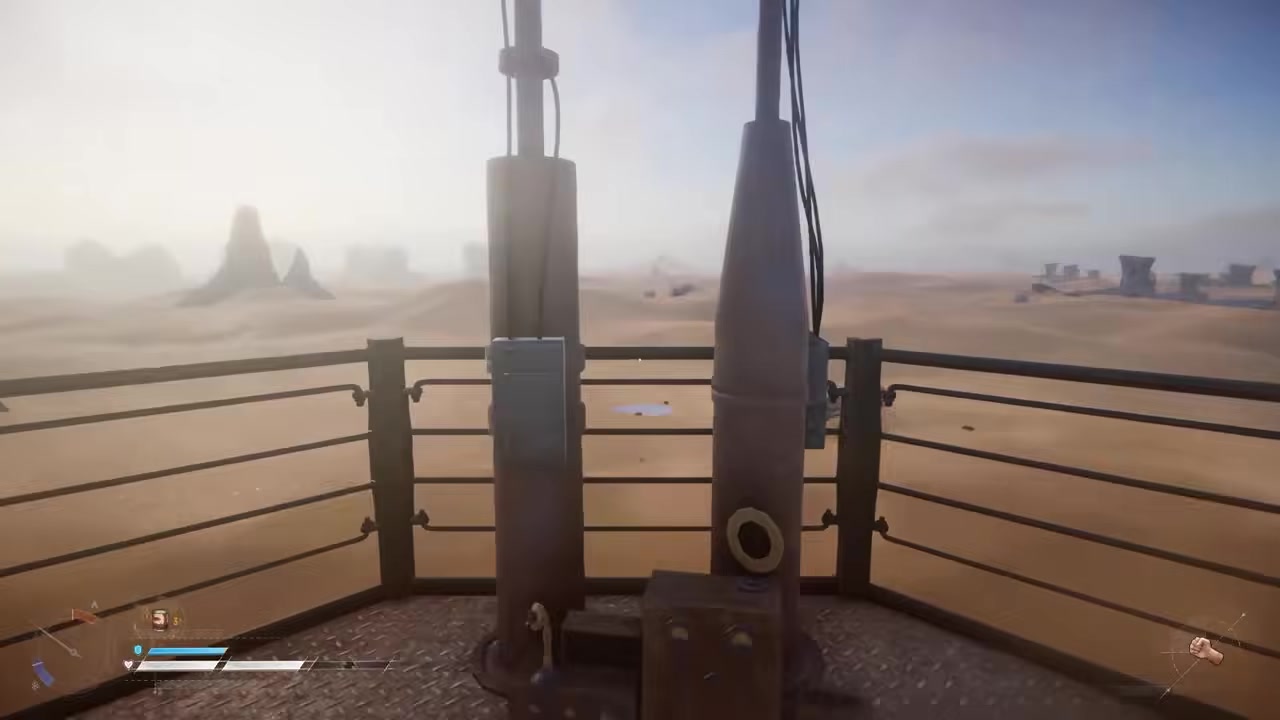
Climb to the top of the marked tower and interact with the radio there to call for extraction.
STEP 5/7
Survival the first countdown
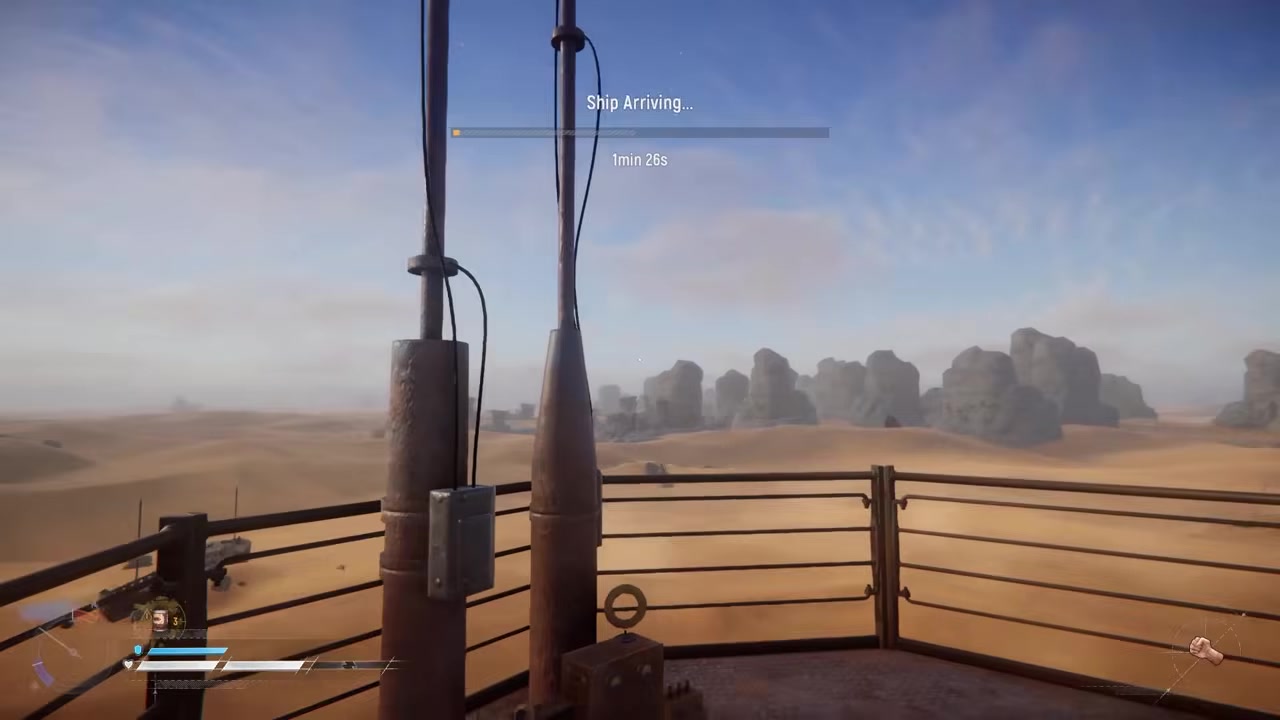
Wait out the first timer while your Trampler emits green smoke to mark the extraction point, keeping watch for enemy players.
STEP 6/7
Survival the second countdown
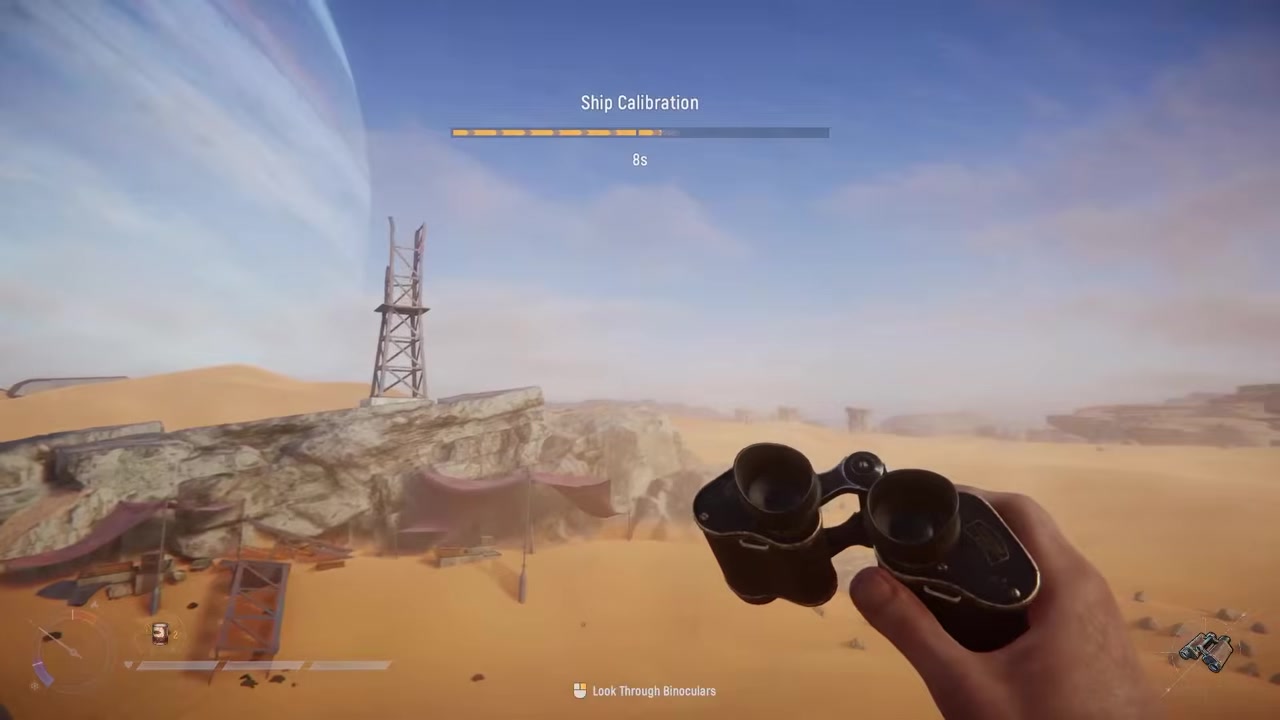
Let the extraction ship arrive and begin positioning while a second countdown runs.
STEP 7/7
Choose your exit
When the “ready for evacuation” message appears, either wait for the countdown to finish or jump off and use the extraction ropes marked by the waypoints to leave immediately.
Do not treat the “ready for evacuation” message as a safety guarantee — you remain at risk until the Trampler is physically lifted out, so stay alert through the final seconds.
Video help
Frequently Asked Questions
Can other players attack you while you’re extracting?
Yes. From the moment you activate the radio until your Trampler is actually extracted, you are fully vulnerable to enemy players. The green smoke and countdown timers advertise your position, and other raiders may rush the evac zone to steal your loot.
What’s the difference between waiting out the countdown and using the extraction ropes?
When the “ready for evacuation” message appears, you can either wait for the final countdown to finish inside your Trampler or jump off and use the extraction ropes marked by the waypoints to leave immediately. Waiting keeps you near your loot but exposed; the ropes offer a faster exit if the zone is overrun.
When exactly is your loot safe — when the ship arrives, or when the Trampler is lifted?
Your loot is only safe once the Trampler has actually been extracted. The ship arriving and the “ready for evacuation” message do not guarantee safety — you remain at risk through both countdown timers until the evacuation is complete.
How do you find an extraction point if no waypoint is showing yet?
Look for the door icons scattered around the map, which mark the evacuation zones. The waypoint to the specific tower only appears once you drive your Trampler between the two large signal towers and get within roughly 100 m of the extraction point.