Solve the Vault of Vengeance Abyss puzzle in Crimson Desert by powering the entrance, using Focus Shot and Nature’s Grasp, clearing the laser rooms, and claiming the Abyss Artifact.
The Vault of Vengeance Abyss puzzle is cleared by powering the entrance with Axiom Force, opening the door with a timed two-target Focus Shot plus Nature’s Grasp, lighting the four ceiling markers in the laser room with a four-arrow Focus Shot, grabbing the Golden Sword, crossing the laser hallway, and slotting the floating power modules with Force Palm to claim the Abyss Artifact.
The Vault of Vengeance is one of the instanced Abyss puzzle rooms in Crimson Desert, a sealed chamber you clear in a fixed order rather than an open-ended quest. The whole thing hinges on a single bow skill, and once you have it the room becomes a tidy run of powering the entrance, opening a door, clearing a laser room, and seating a few floating modules. Do it right and you leave with the Abyss Artifact.
What the Vault of Vengeance is
The Vault of Vengeance is an instanced Abyss puzzle room — you drop into a self-contained chamber, solve it in a set sequence, and leave. Its headline payoff is the Abyss Artifact, which you collect right at the end to mark the vault complete. Along the way you also pick up a Golden Sword and unlock the Abyss Nexus fast-travel point at the entrance, and there are several lootable chests dotted through the room — though exactly what they hold can shift from run to run, so don’t count on any specific drop beyond the artifact itself.
Skills and prerequisites you need first
| Skill | Used for |
|---|---|
| Focus Shot | Tagging the two door targets and the four laser-room ceiling markers in one volley |
| Axiom Force | Moving the power cubes onto their sockets to energize the entrance |
| Nature’s Grasp | Raising the stone door once the two targets are lit |
| Force Palm | Seating the floating power modules and activating the final Abyss device |
Unlock the Abyss Nexus fast-travel the instant you reach the entrance — if you arrive without Focus Shot, you can warp out, learn the skill, and warp right back instead of redoing the slow pillar-and-ring climb.
How to solve the Vault of Vengeance puzzle in Crimson Desert
Solving the Vault of Vengeance Abyss puzzle in Crimson Desert is a multi-stage challenge that takes you from the Secret Garden through the Abyss Nexus and its laser-guarded chambers. The steps below walk you through the entire sequence, from unlocking the path to opening the final secret chest.
Unlock the path from the Secret Garden
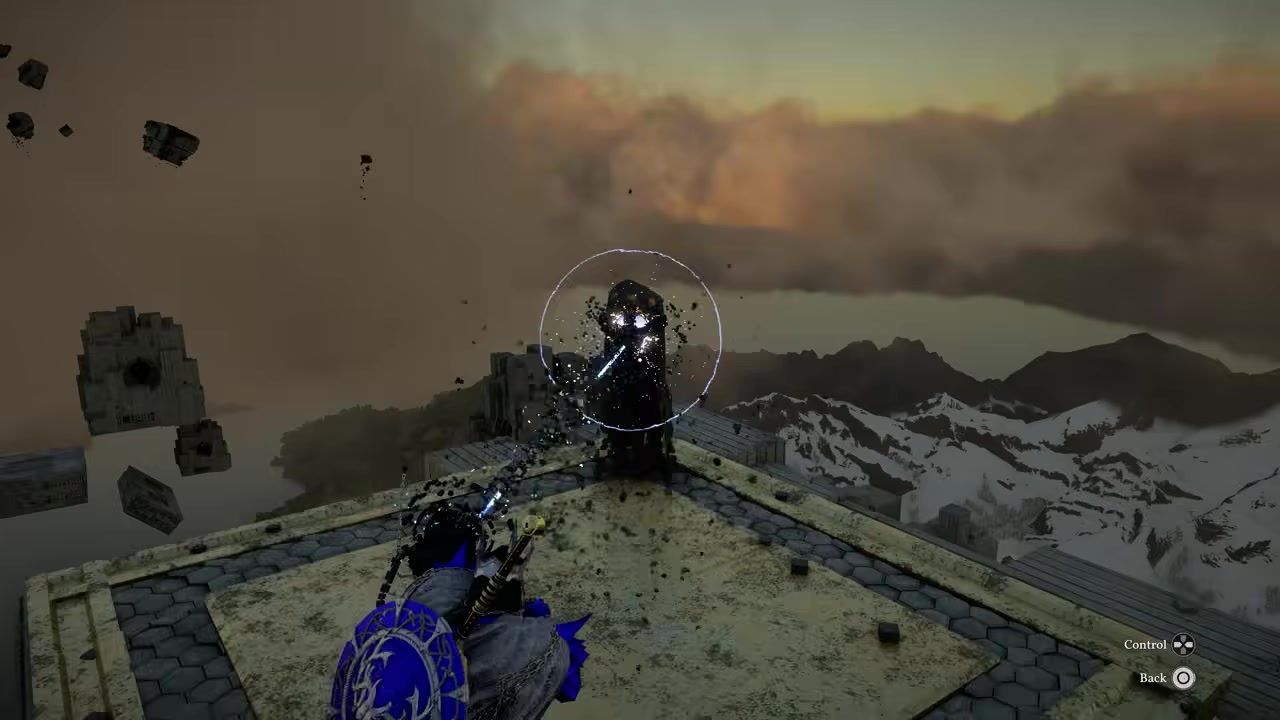
From the Secret Garden, turn the knob to release the run of platforms leading across to the vault.
Wait out the rising pillars
Jump across and wait for the slow rising-and-falling pillars to carry you forward — it's a timing wait, not a mechanic.
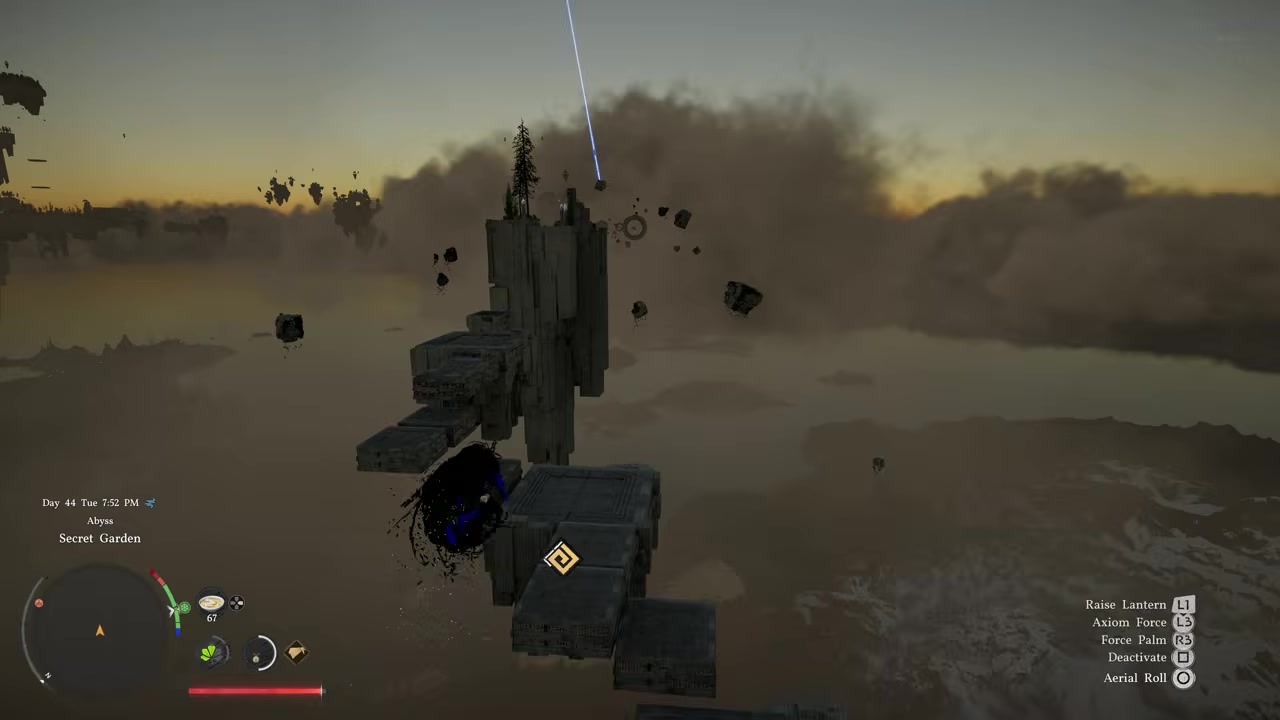
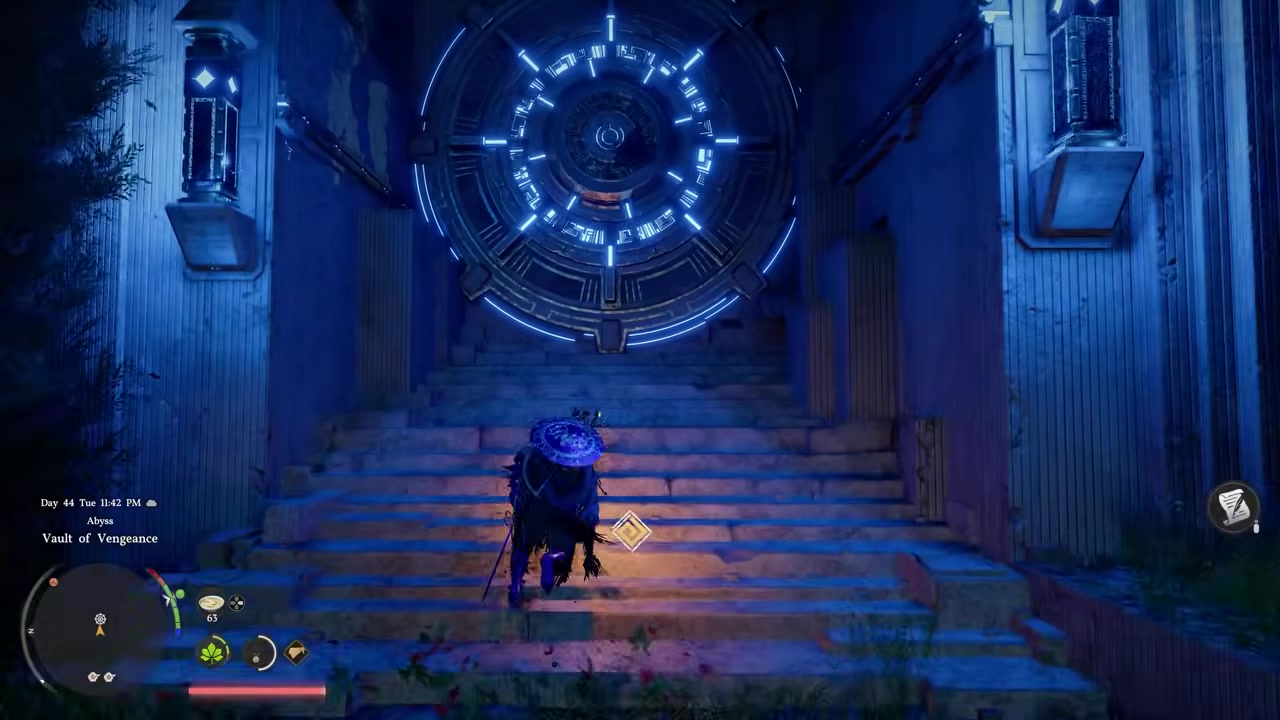
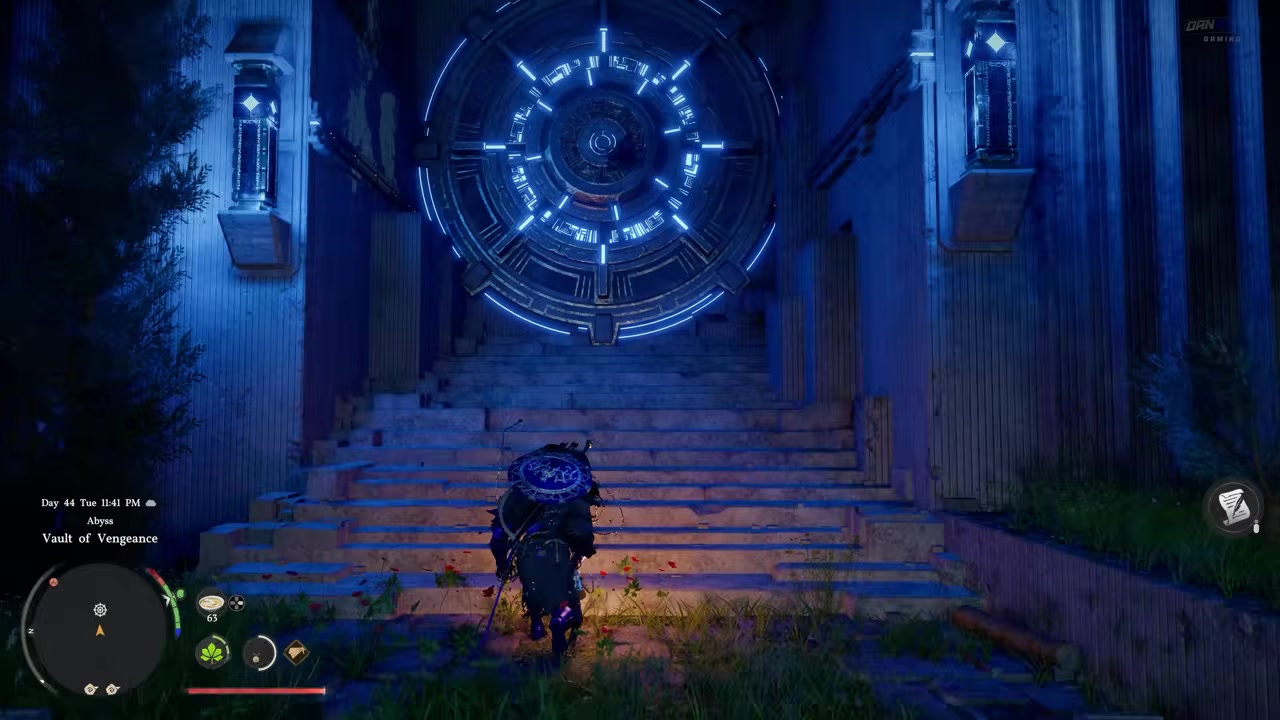
Ride the aerial rings

Step onto the launcher and float through the rings in the air, then clear one more set of timed pillars to reach the opening.
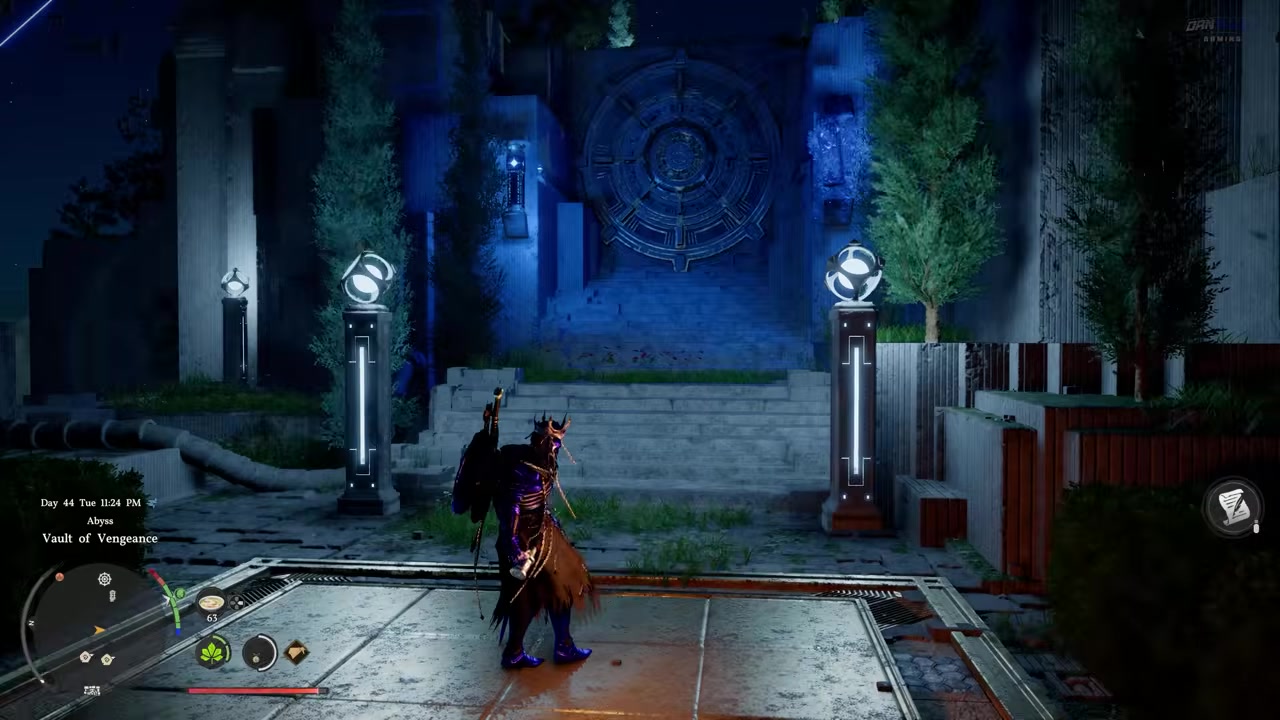
Unlock the Abyss Nexus
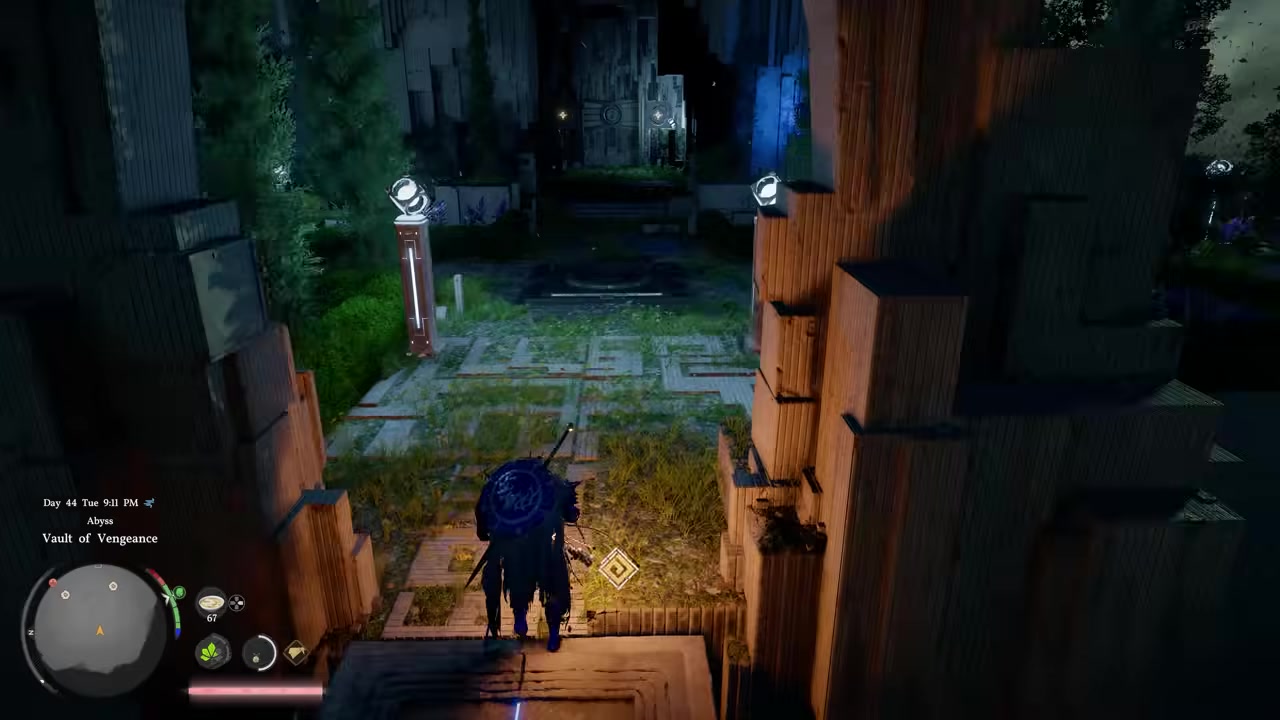
At the entrance, unlock the Abyss Nexus fast-travel point so you have a checkpoint to warp back to if anything goes wrong.
Power the entrance with the cubes
Grab a cube with L3 and slot it into the socket on the right, then bring the matching cube to the left to feed power to the door.
Mark the two door targets
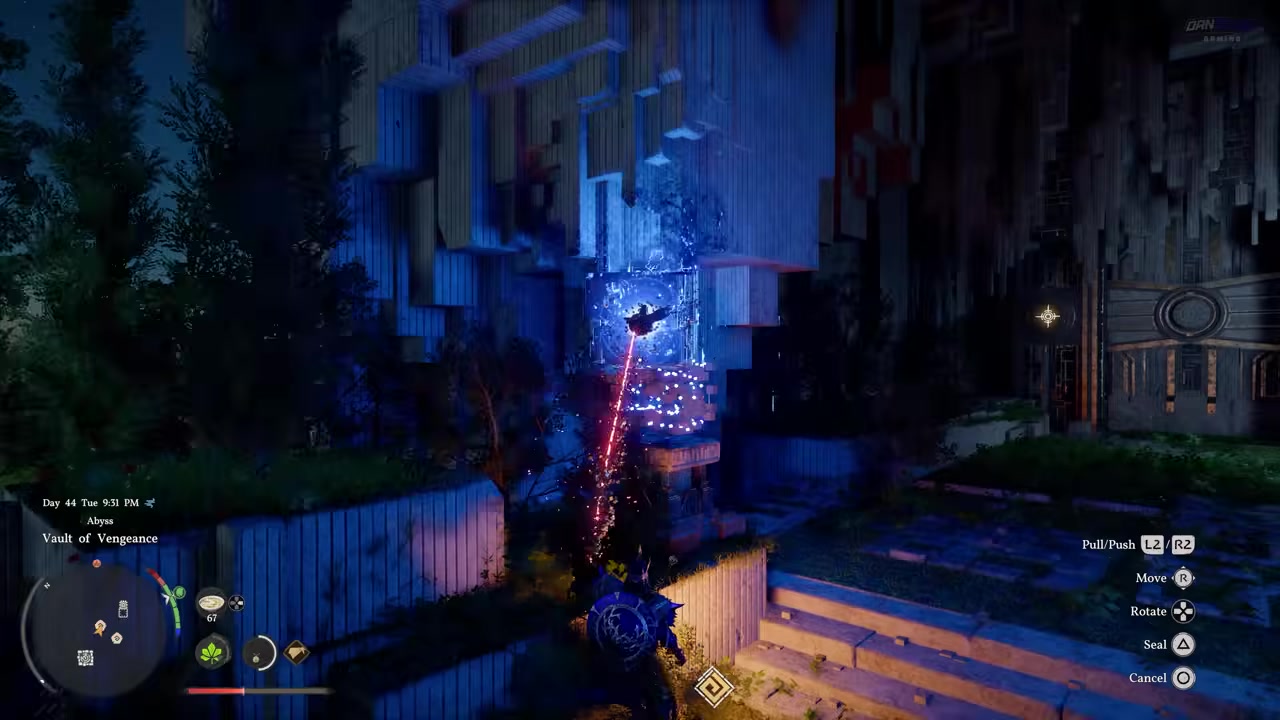
Equip your bow, aim down sights with L3 R3, tag both yellow targets with R1, and loose all arrows at once before the timer runs out.
Raise the stone door
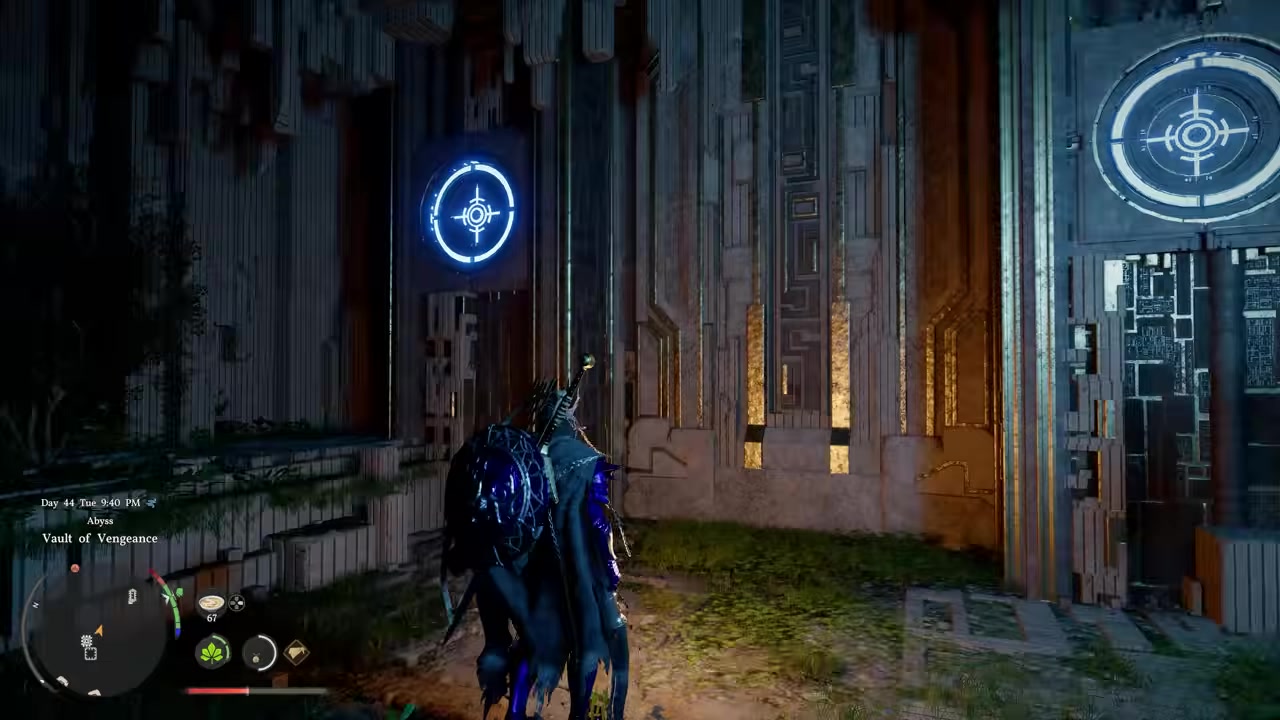
Step to the door and press the lift prompt (triangle/circle) to raise it with Nature's Grasp.
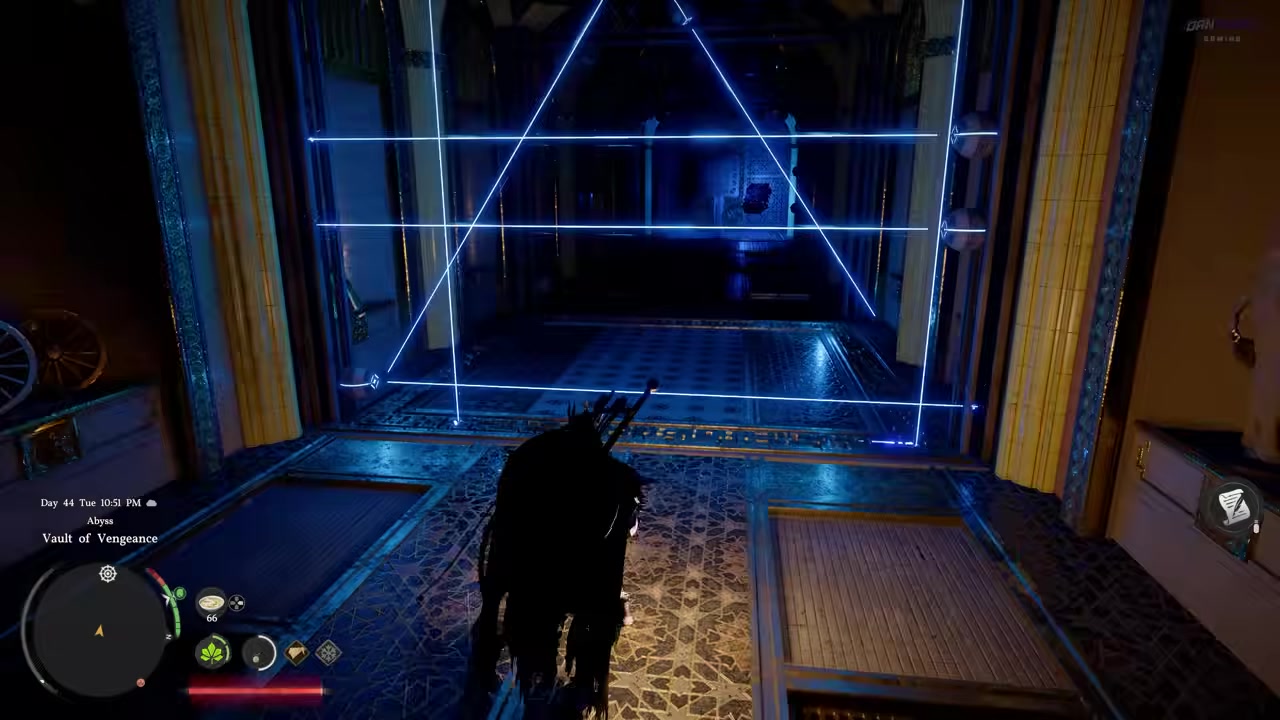
Light the four ceiling markers
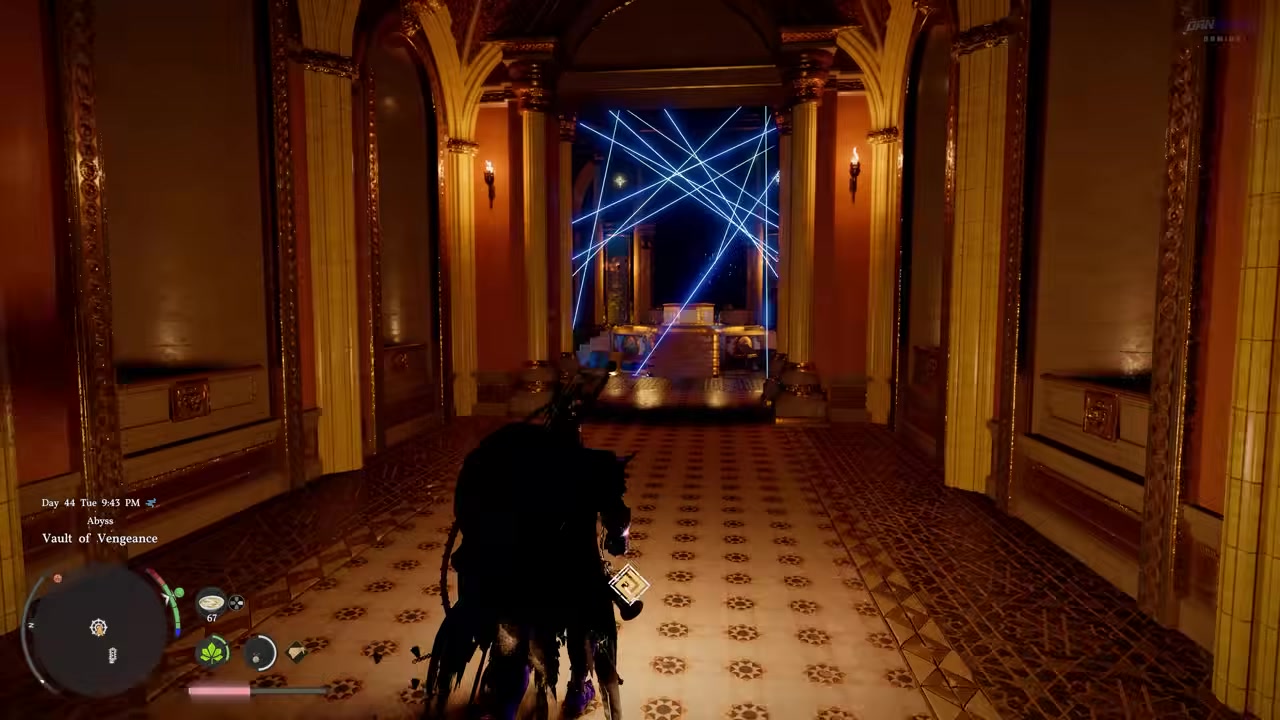
Through the door, use Focus Shot again to mark and hit all four ceiling markers in one volley — manual aiming fails here because the lasers disintegrate loose arrows.
Loot and take the Golden Sword
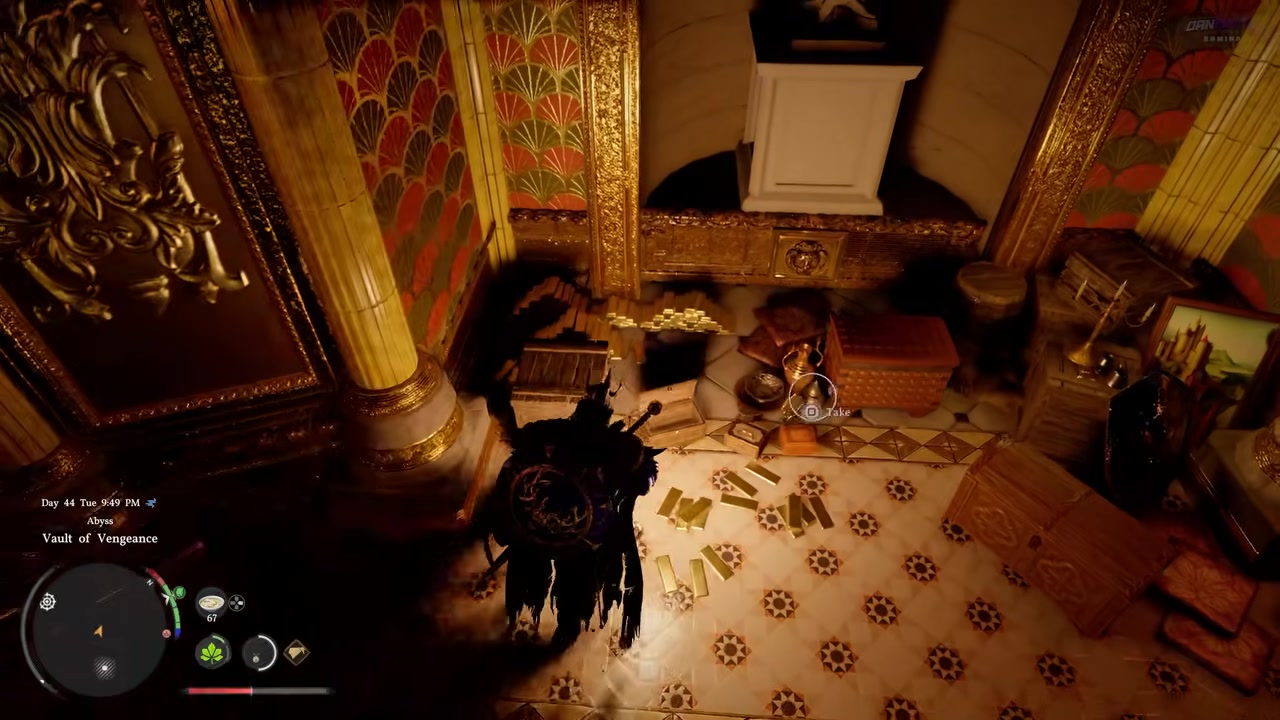
Clear the chests around the room, then grab the Golden Sword, which drops the central dais and opens the way down rather than ending the vault.
Cross the laser hallway
Ride the elevator down and cross the laser-grid hallway — edge through the gaps slowly, or sprint straight through and eat the hits if your health can spare it.
Seat the first module

Grab the floating module, drop it into its socket and Force Palm it into place, then step through the blue teleporter.
Seat the second module
On the right after the teleport, grab the next floating piece and Force Palm it into its slot.
Activate the final device
Force Palm the last circular plate to power the device — some runs describe this final lock as Force Current rather than Force Palm — then climb up.
Grab the Abyss Artifact
Head up the stairs and make sure you actually pick up the Abyss Artifact, which is easy to walk straight past, to complete the vault.
Open the secret chest

Turn around at the top, burn the vines, and open the hidden chest tucked just behind them.
Video help
Once the artifact is yours, turn around. There’s a secret chest tucked behind a wall of burnable vines just past the top of the stairs — set the vines alight and the chest is right behind them. That’s on top of the ordinary chests scattered around the vault earlier, so loot freely as you go; just keep in mind the contents aren’t fixed from one run to the next.
Where to go after the Vault of Vengeance
The Vault of Vengeance is one room in a longer string of Abyss puzzles, and the natural next stop is the Courtyard of Precision — the chamber most players tackle straight after this one. It keeps the same Abyss theme with its own spin on the mechanics, so if you enjoyed untangling this room, that’s where to head next.
Related guides
Frequently Asked Questions
Do you really need the Focus Shot skill to complete the Vault of Vengeance?
Yes. The puzzle has two timed shots that demand hitting multiple targets at once — two by the door, then four near the laser-room ceiling — and there’s no reliable way to do that by hand. In the laser room especially, loose arrows get disintegrated, so a single multi-target volley is the only thing that works. If your menu shows it as Focused Shot instead, that’s the same skill.
How do you get past the laser hallway?
There are two reported approaches and neither is the “wrong” one. You can edge through slowly, picking openings along the left side, or you can simply sprint straight through and absorb the hits if your health pool can take it. Some players also report skipping the hazard entirely with two mid-air Aerial Force Palms to vault over it.
What are the rewards for completing the Vault of Vengeance?
The confirmed completion reward is the Abyss Artifact. You also collect the Golden Sword (which advances the room rather than ending it) and unlock the Abyss Nexus fast-travel point, plus assorted chests around the vault — though those chest drops can vary between runs, so treat the artifact as the only guaranteed prize.
How do you reach the Vault of Vengeance, and what do you need to do first?
You get there through the Secret Garden — turn the knob to open the path, cross the slow pillars and aerial rings, and you’re at the entrance. The wider unlock chain isn’t fully pinned down, but it generally sits after Spire of the Stars and the Secret Garden, with some routes also requiring Sanctorum of Insight or Chapter IV progress. Unlock the Abyss Nexus on arrival so you can come back if you’re missing Focus Shot.
What Abyss puzzle comes after the Vault of Vengeance?
The Courtyard of Precision is the room most players move on to next, continuing the Abyss puzzle series with a fresh take on the mechanics.