Learn how to defend strikes in EA Sports UFC 6 by using slips, ducks, kick checks, lunges, and parry blocks to match each attack and create safer counters.
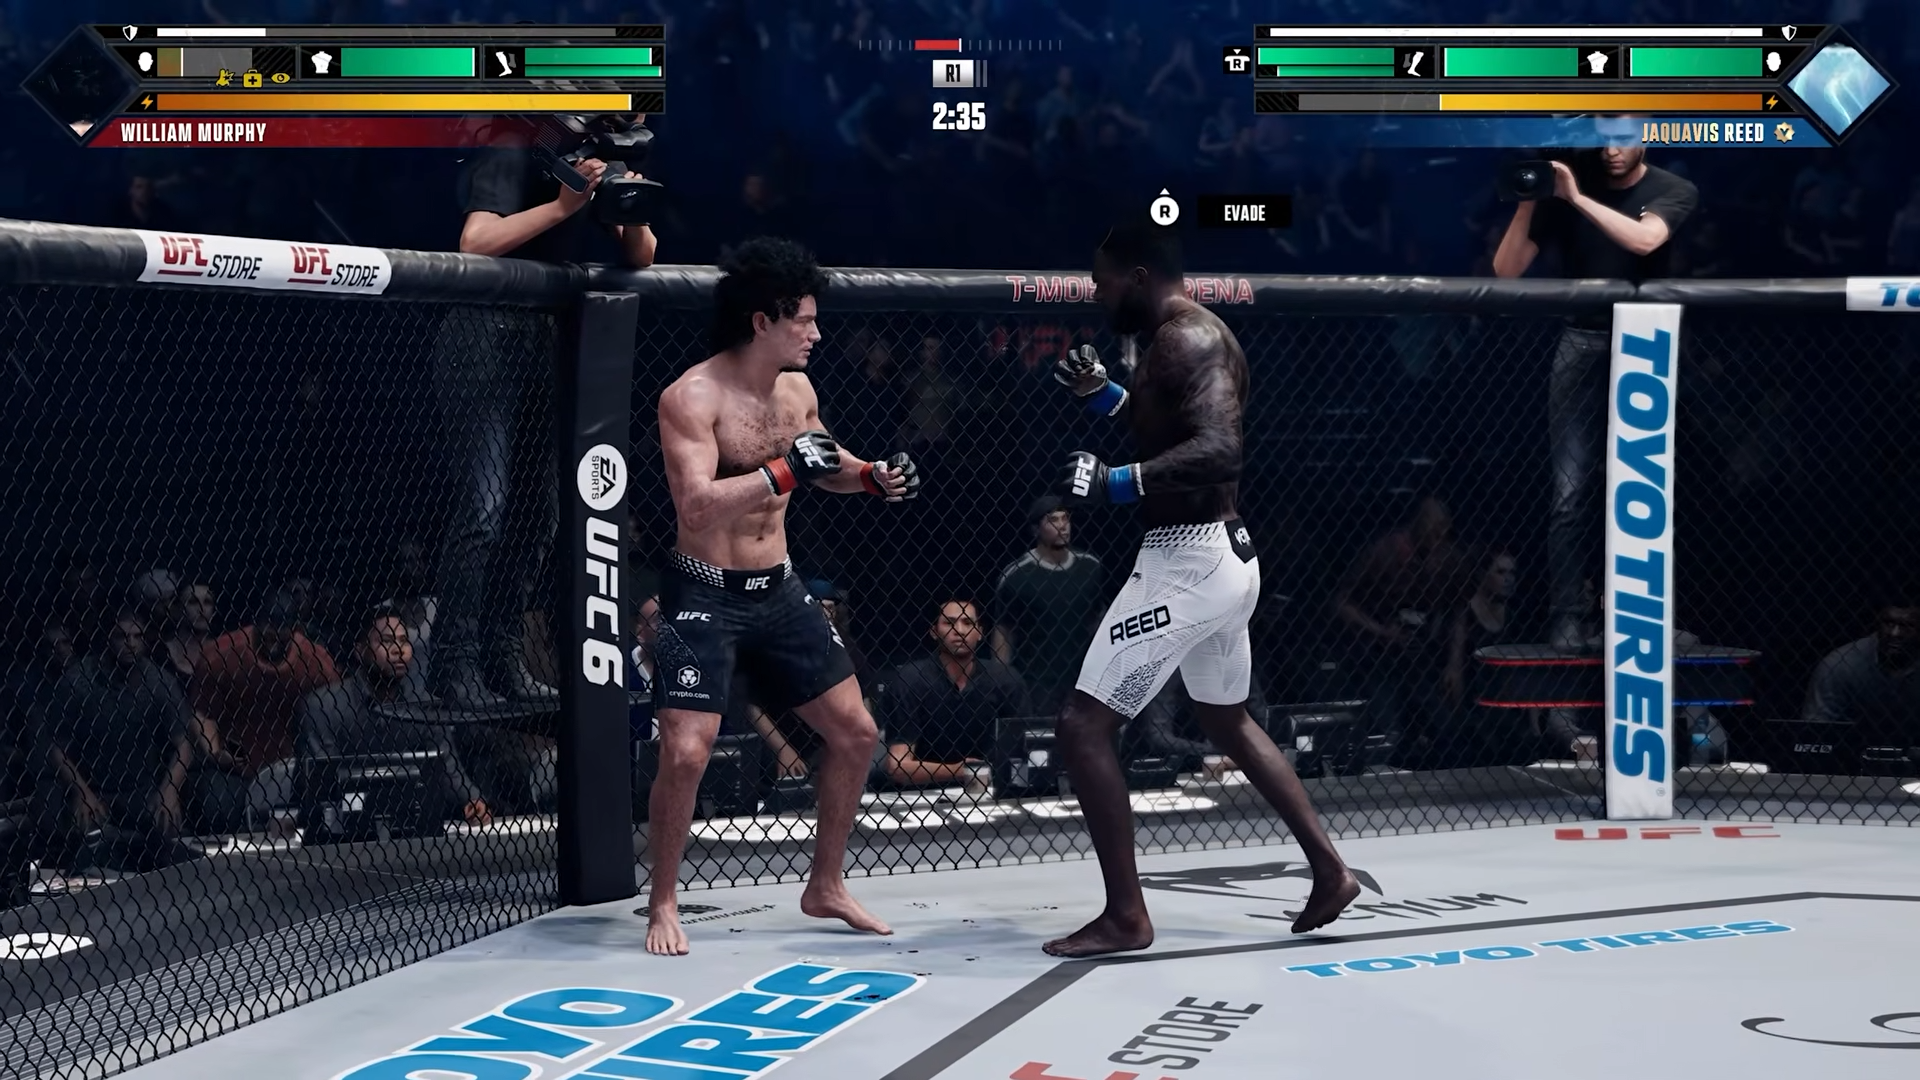
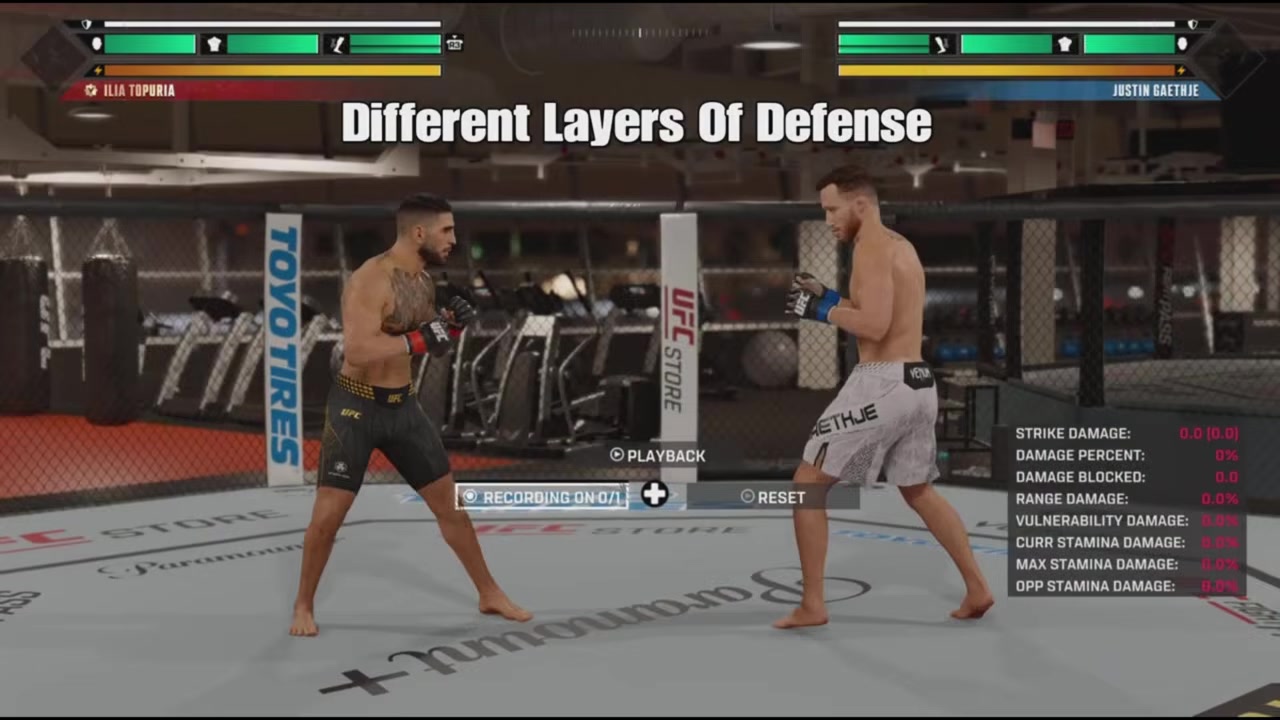
Good defense in EA Sports UFC 6 is built on layers, not on one reflex. The right answer changes depending on whether a strike comes straight down the middle, loops around the side, targets your legs, or spins in from an angle — and the players who get hit least are the ones who can switch between tools mid-exchange. This guide breaks the defensive kit into families, gives you the PS5 and Xbox inputs, and matches each defense to the strike it actually beats.
Striking defense in EA Sports UFC 6 isn’t a single button — you stay safe by matching the right tool (slip, duck, pull, kick check, lunge, or parry block) to each incoming strike and constantly mixing them so your opponent can’t read you.
The single most important idea here is defense first, offense after. Every clean counter you land starts with a clean read on what your opponent threw and the right tool to make it miss. There is no universal “safe” button in this game — what saves you against a jab will get you knocked out against a head kick.
Think of your options in four families: head movement (slips, ducks, and pulls on the right stick), block and parry block on the triggers, footwork (minor steps and major, back, and signature lunges), and kick checks. Each family covers a different category of incoming strike, and the rest of this guide pairs them up one by one.
The central mistake is overreliance. Leaning on any one tool — only blocking, only ducking, only pulling — is exactly what a good opponent wants, because once your defense is predictable it’s free to break. The fix is to read sequences and answer them with sequences: block, slip, block, slip, or block twice and then slip. Whatever keeps your opponent guessing is the right pattern.
Your defensive toolkit and the exact inputs
Here’s the reference backbone — every defensive mechanic and how to trigger it. Head movement all lives on the right stick: push it up, down, forward, or back to slip, duck, and pull. Footwork lives on the left stick and bumpers: flick the left stick for minor steps, or hold a bumper with a left-stick direction for the bigger lunges. The low block on both triggers is also what catches and checks kicks.
| Defensive tool | Input (PS5) | Input (Xbox) | What it’s for |
|---|---|---|---|
| Slip | RS left/right | RS left/right | Straight shots down the center line |
| Duck | RS down | RS down | Round and looping shots |
| Pull | R2 + RS back | RT + RS back | Head shots at the end of an opponent’s range |
| Low block / kick check | L2 + R2 | LT + RT | Blocks low, catches and checks kicks |
| Parry block | Hold block and pull the head straight back with timing (also R2 + RS back — the same input as a pull) | Hold block and pull the head straight back with timing (or RT + RS back) | Mitigates damage when your block is low or you’re being walked down |
| Minor step | LS up/down/forward/back | LS up/down/forward/back | Small repositioning and range management |
| Back lunge | L1 + LS back | LB + LS back | Retreat from blitzes and kicks |
| Major lunge | L1 + LS direction | LB + LS direction | Big evasive move that opens a counter window |
| Signature lunge | R1 + RS (select fighters) | R1 + RS (select fighters) | Fighter-specific evasions (e.g. Cruz, TJ) |
| Evasive lunge | R1 + RS up/down (select fighters) | R1 + RS up/down (select fighters) | Timing-based evasion that cuts a counter angle |
A note before you drill these. Signature lunges on R1 + RS only exist for certain fighters — Dominick Cruz and TJ Dillashaw are the obvious examples — so don’t expect them on everyone.
Matching each defense to the strike coming at you
This is the part that actually wins rounds. The rule of thumb: slips for straight shots, ducks for round shots, pulls at the end of range, checks for leg kicks, and movement (duck, pull, or lunge) for the dangerous spinning and airborne stuff rather than trusting a block.
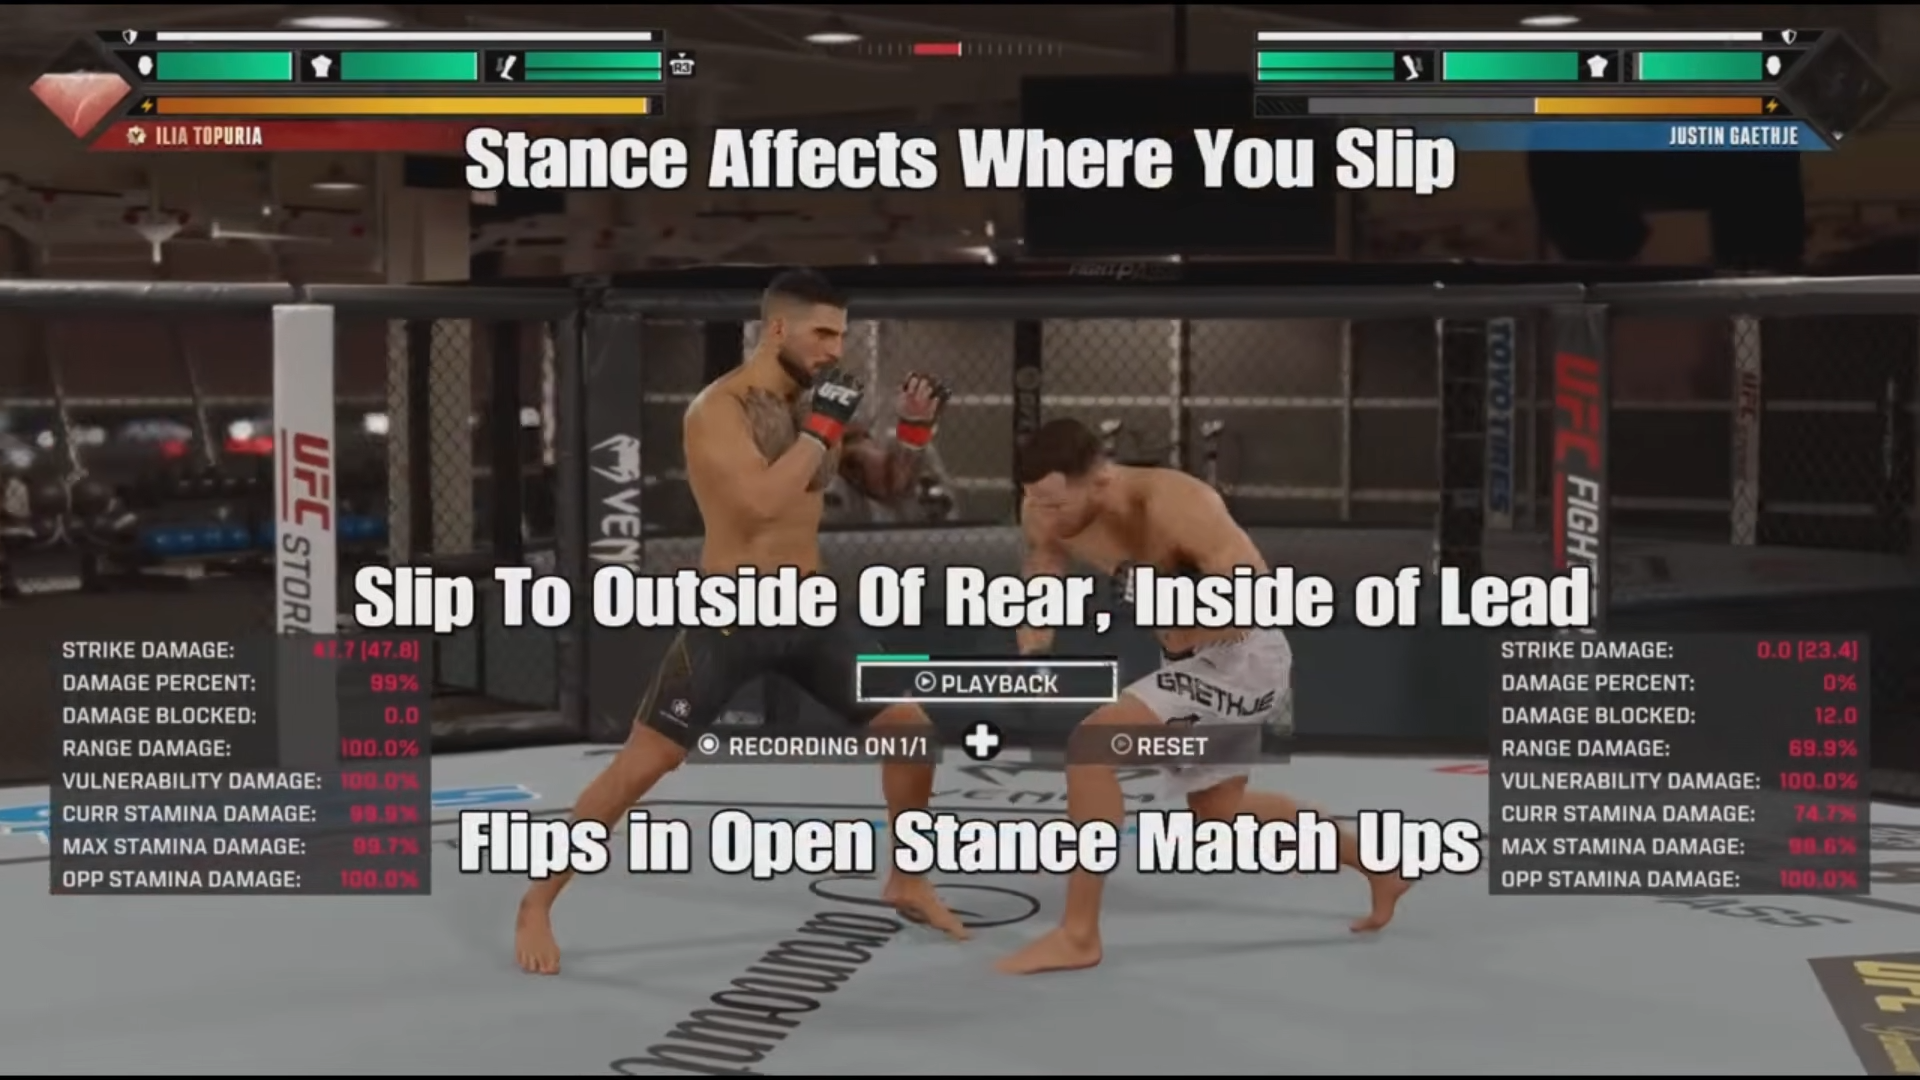
Two matchups deserve extra care. Overhands are designed to punish a pull, so head movement is safer — but which way you slip flips with stance. Against a rear overhand in the same stance you slip to the outside; a lead overhand inside flips around in an open-stance matchup, so always check where your opponent’s lead foot is before you commit.
Uppercuts can be pulled or slipped, and while most players instinctively pull, a pull leaves your body open to a follow-up shot — so slipping is often the cleaner read.
| Incoming strike | Best defensive option(s) | Risk / watch out for |
|---|---|---|
| Jabs, crosses, front kicks, spinning side kicks | Slip | These travel the center line — wrong-way head movement still eats them |
| Hooks and round shots | Duck | Ducking straights and round shots exposes you to knees, uppercuts, and front kicks up the middle |
| Overhands | Slip outside (or duck); pull is risky | Slip side flips with same vs open stance; overhands are built to counter pulls |
| Uppercuts | Slip or pull | Pulling can leave you open to body shots — slip is often safer |
| End-of-range head shots | Pull | Only works at range; fails up close where punches don’t need to reach |
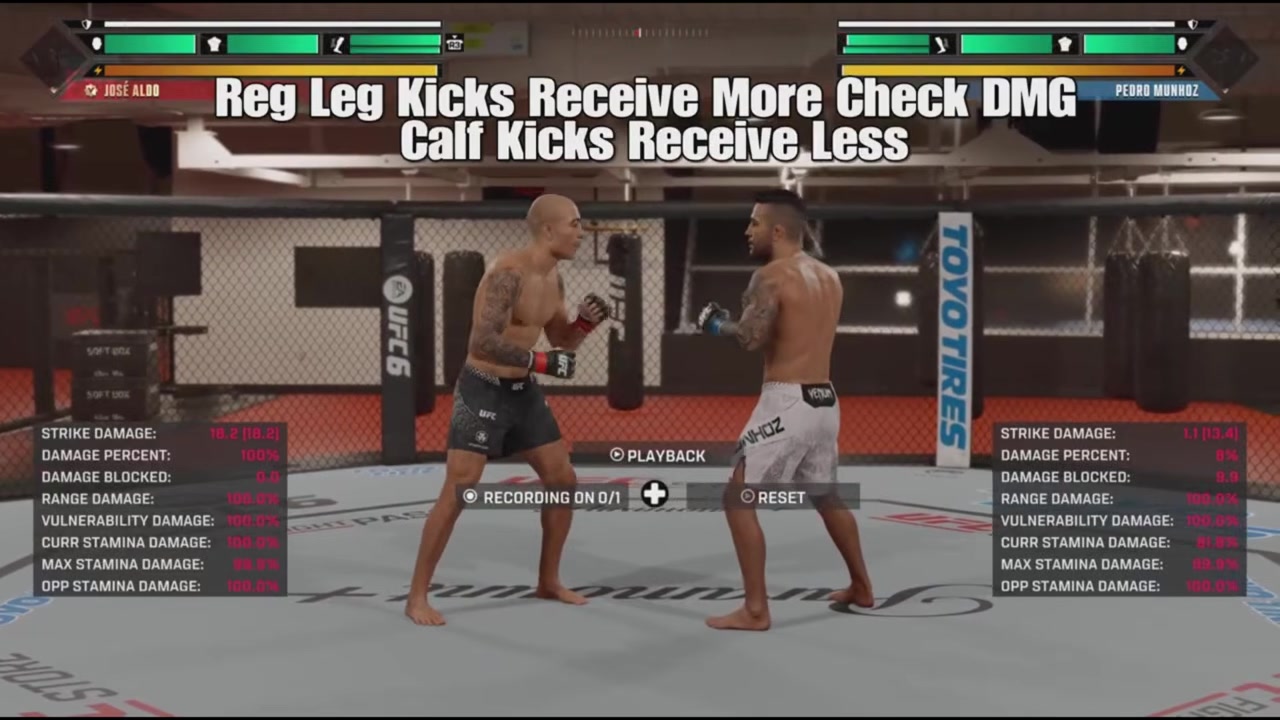
| Leg kicks | Check (L2 + R2 / LT + RT) | Mistimed, you wear the full kick instead of checking it |
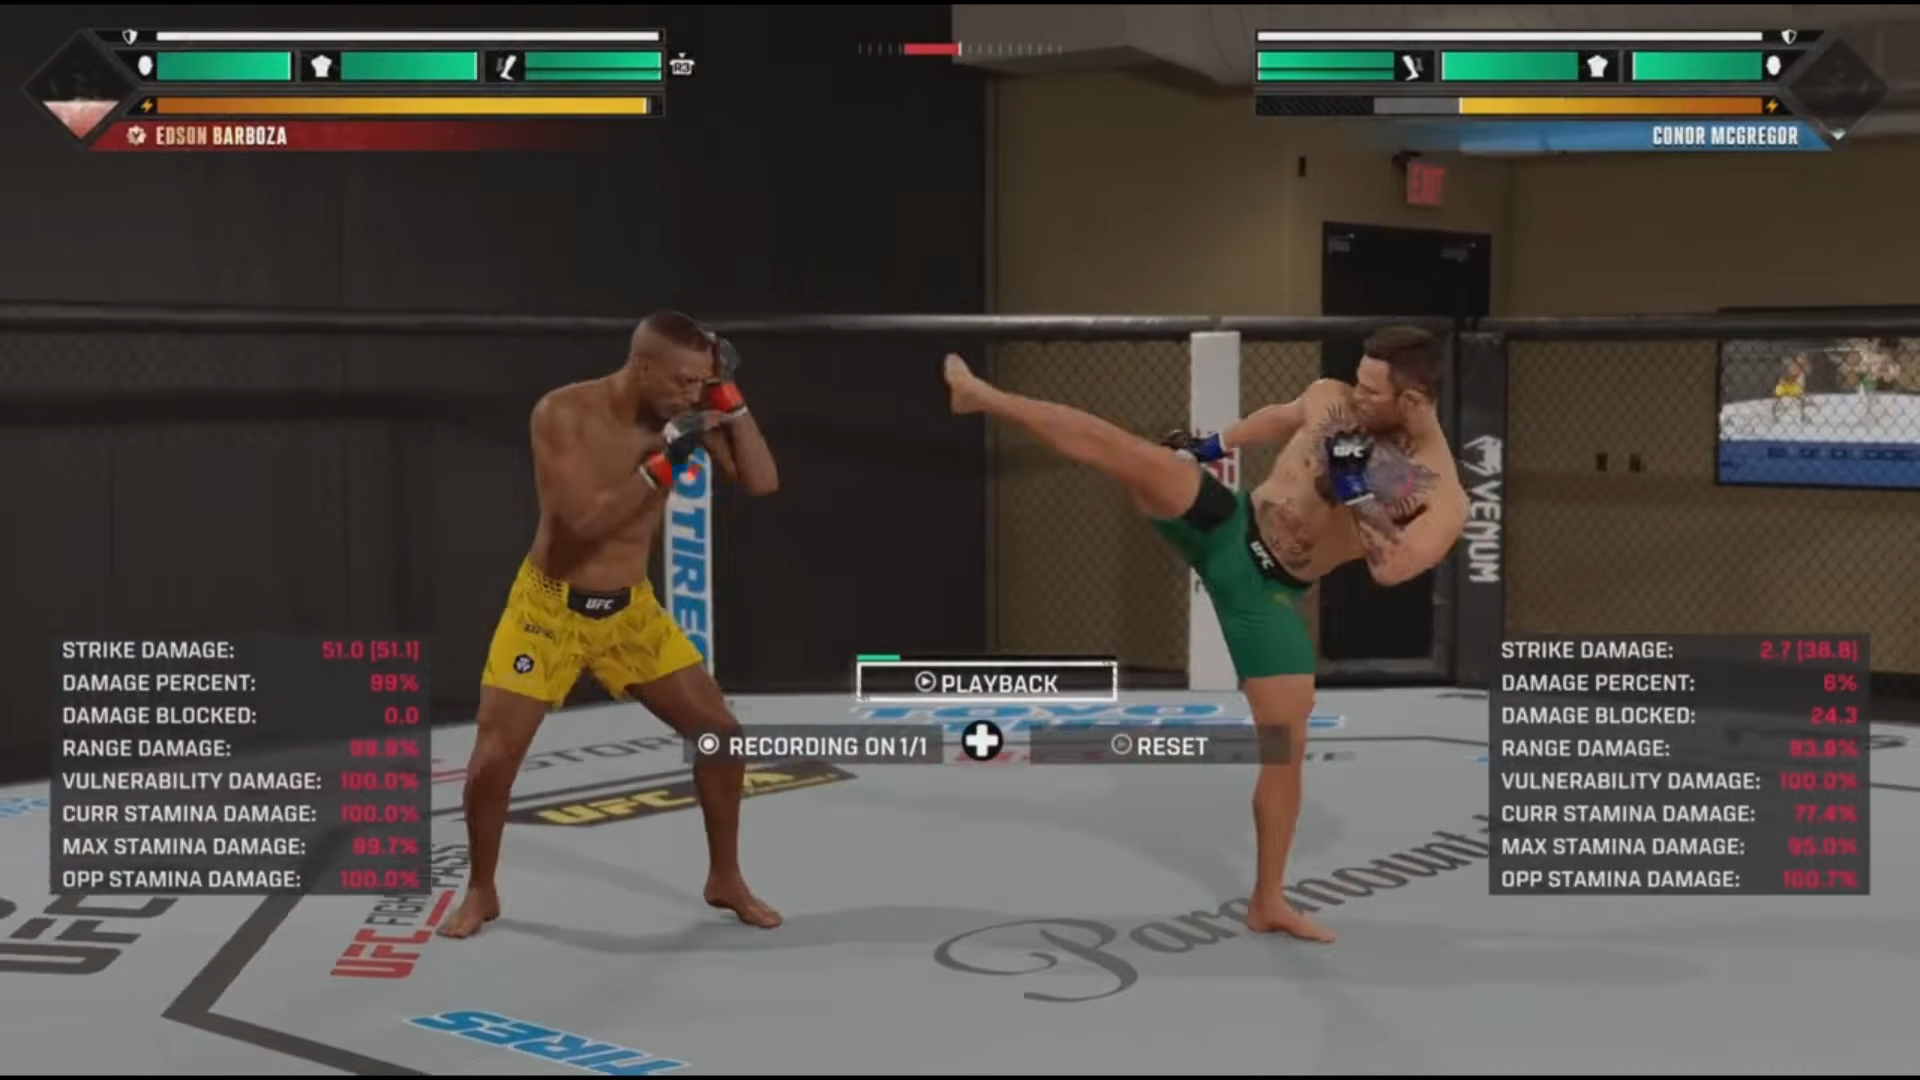
| Head kicks | Duck, pull, back lunge, or lunge away in the kick’s direction | Height matters — a duck can get caught by the knee; back lunge takes you out of counter range |
| Spinning heel / spinning body kicks | Duck, pull, back lunge, or lunge to the rear-leg side | Blocking is dangerous; lunging to the lead-leg side can track to you |
| Flying knees | Head movement, back lunge, major lunge, or side step | Mistimed lunges and side steps can be tracked or punished |
Kick checks pay off beyond just blocking damage. Rear leg kicks take more damage when they come off a check, calf kicks a little less, and successful checks reduce the power of your opponent’s leg.
Stack enough of them and you can trigger a leg-health event — and one thing worth knowing is that the fighter can keep limping even after that event once the damage adds up. On the spinning and head-kick side, a well-timed back lunge triggers an evasive animation that either moves you clear or, if the kick still lands, mitigates the damage so you take much less.
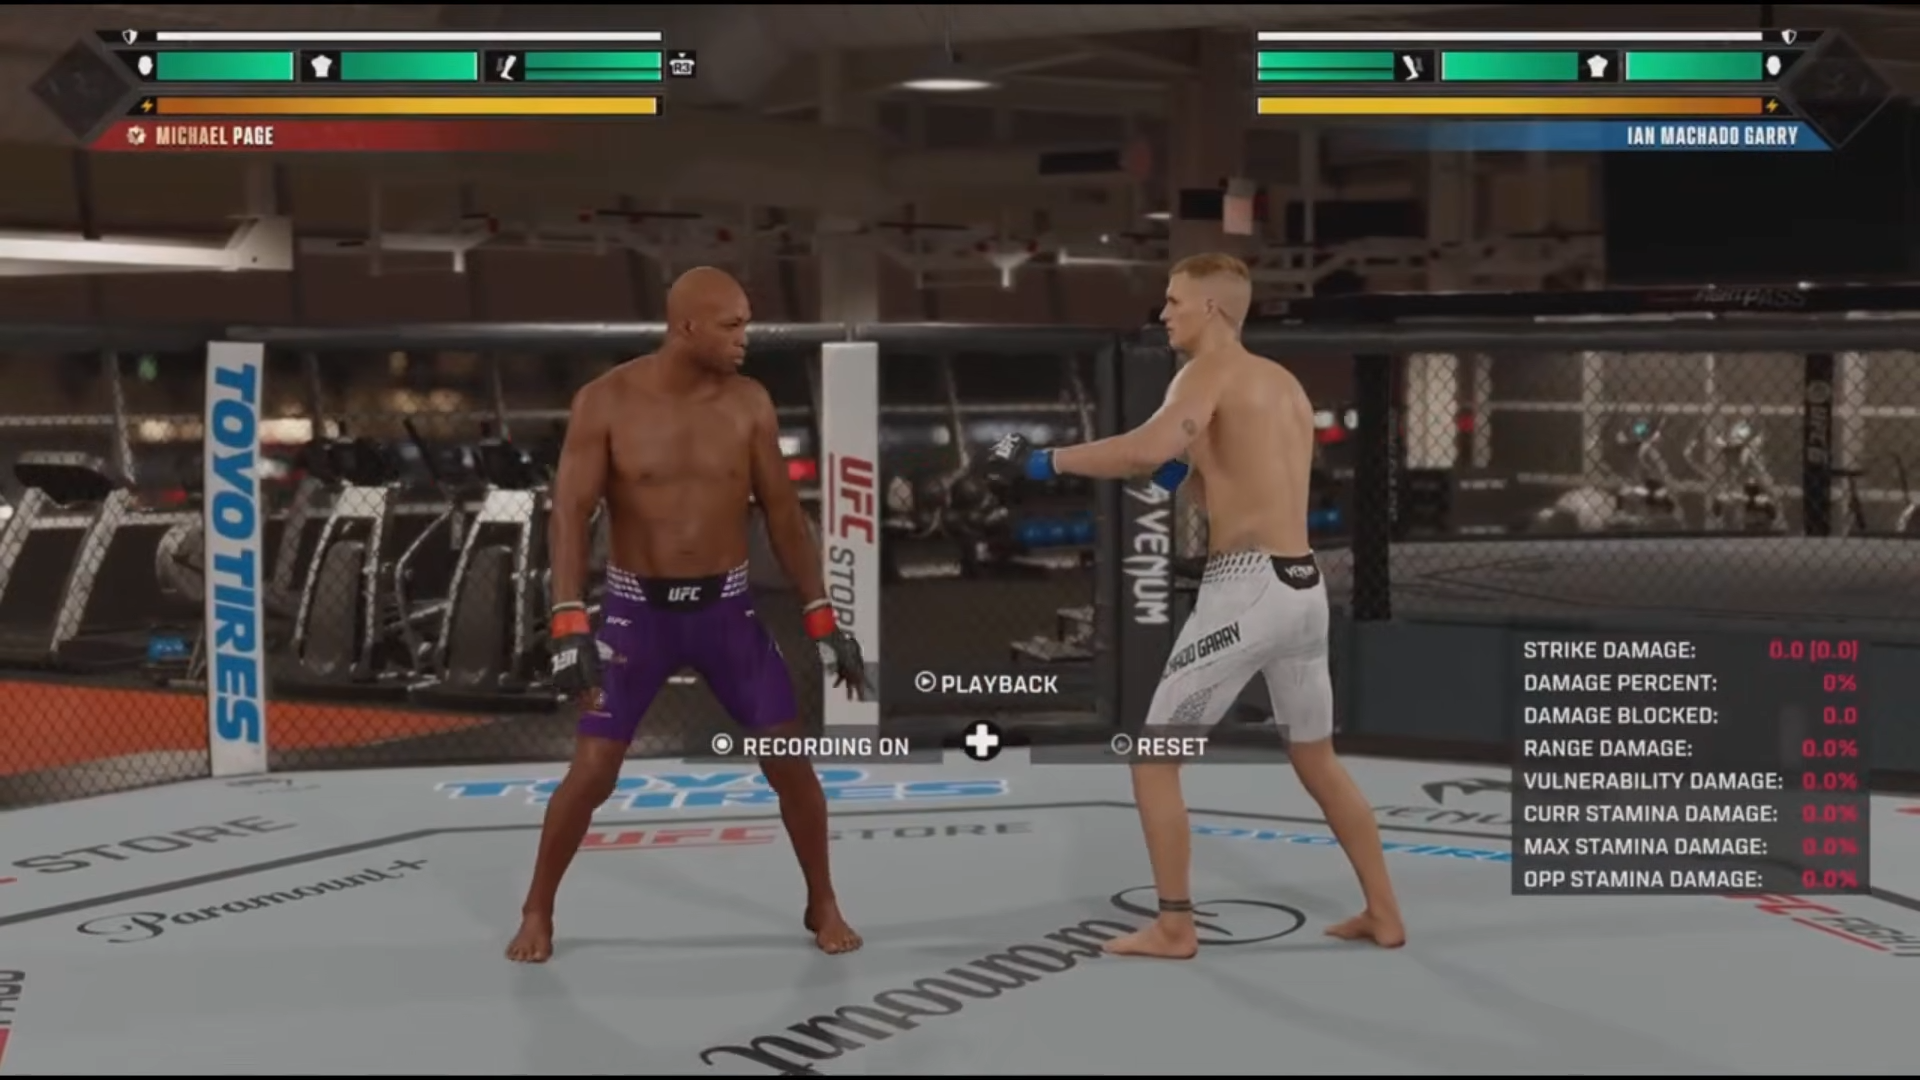
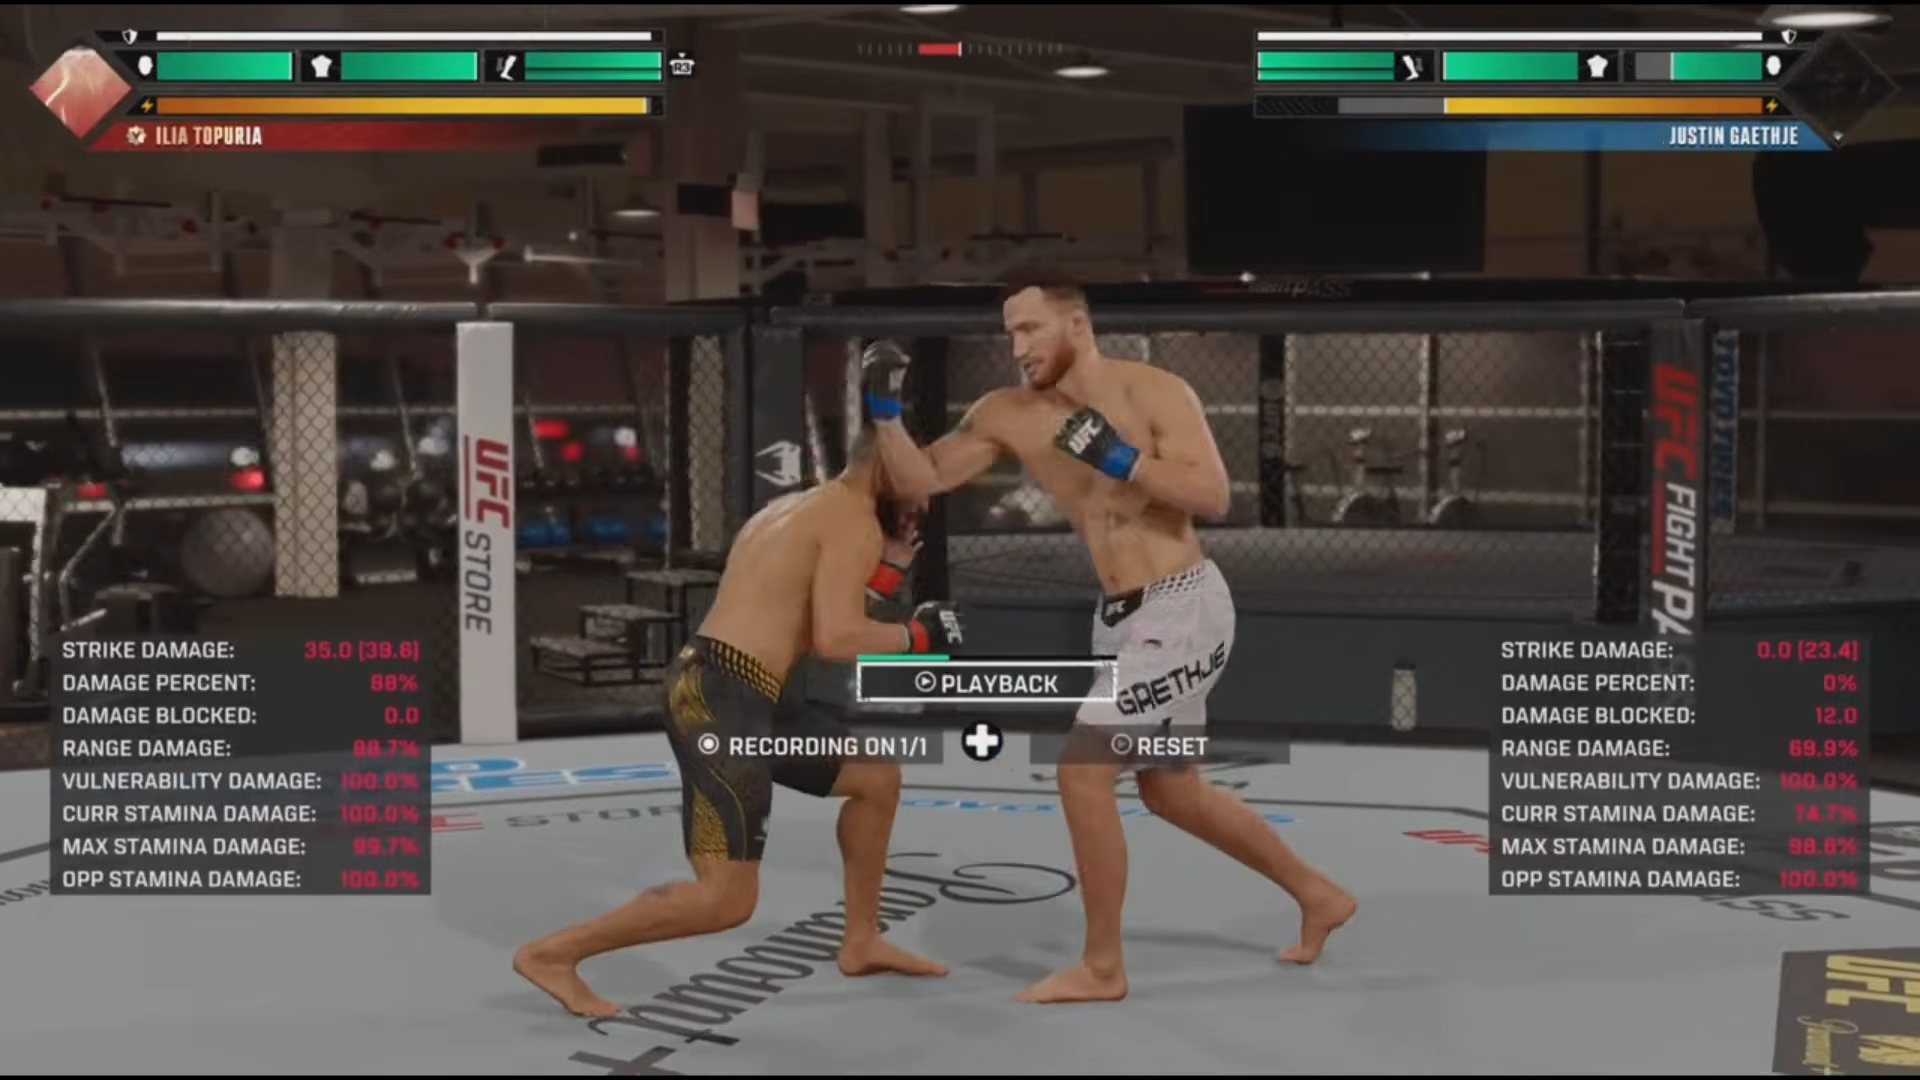
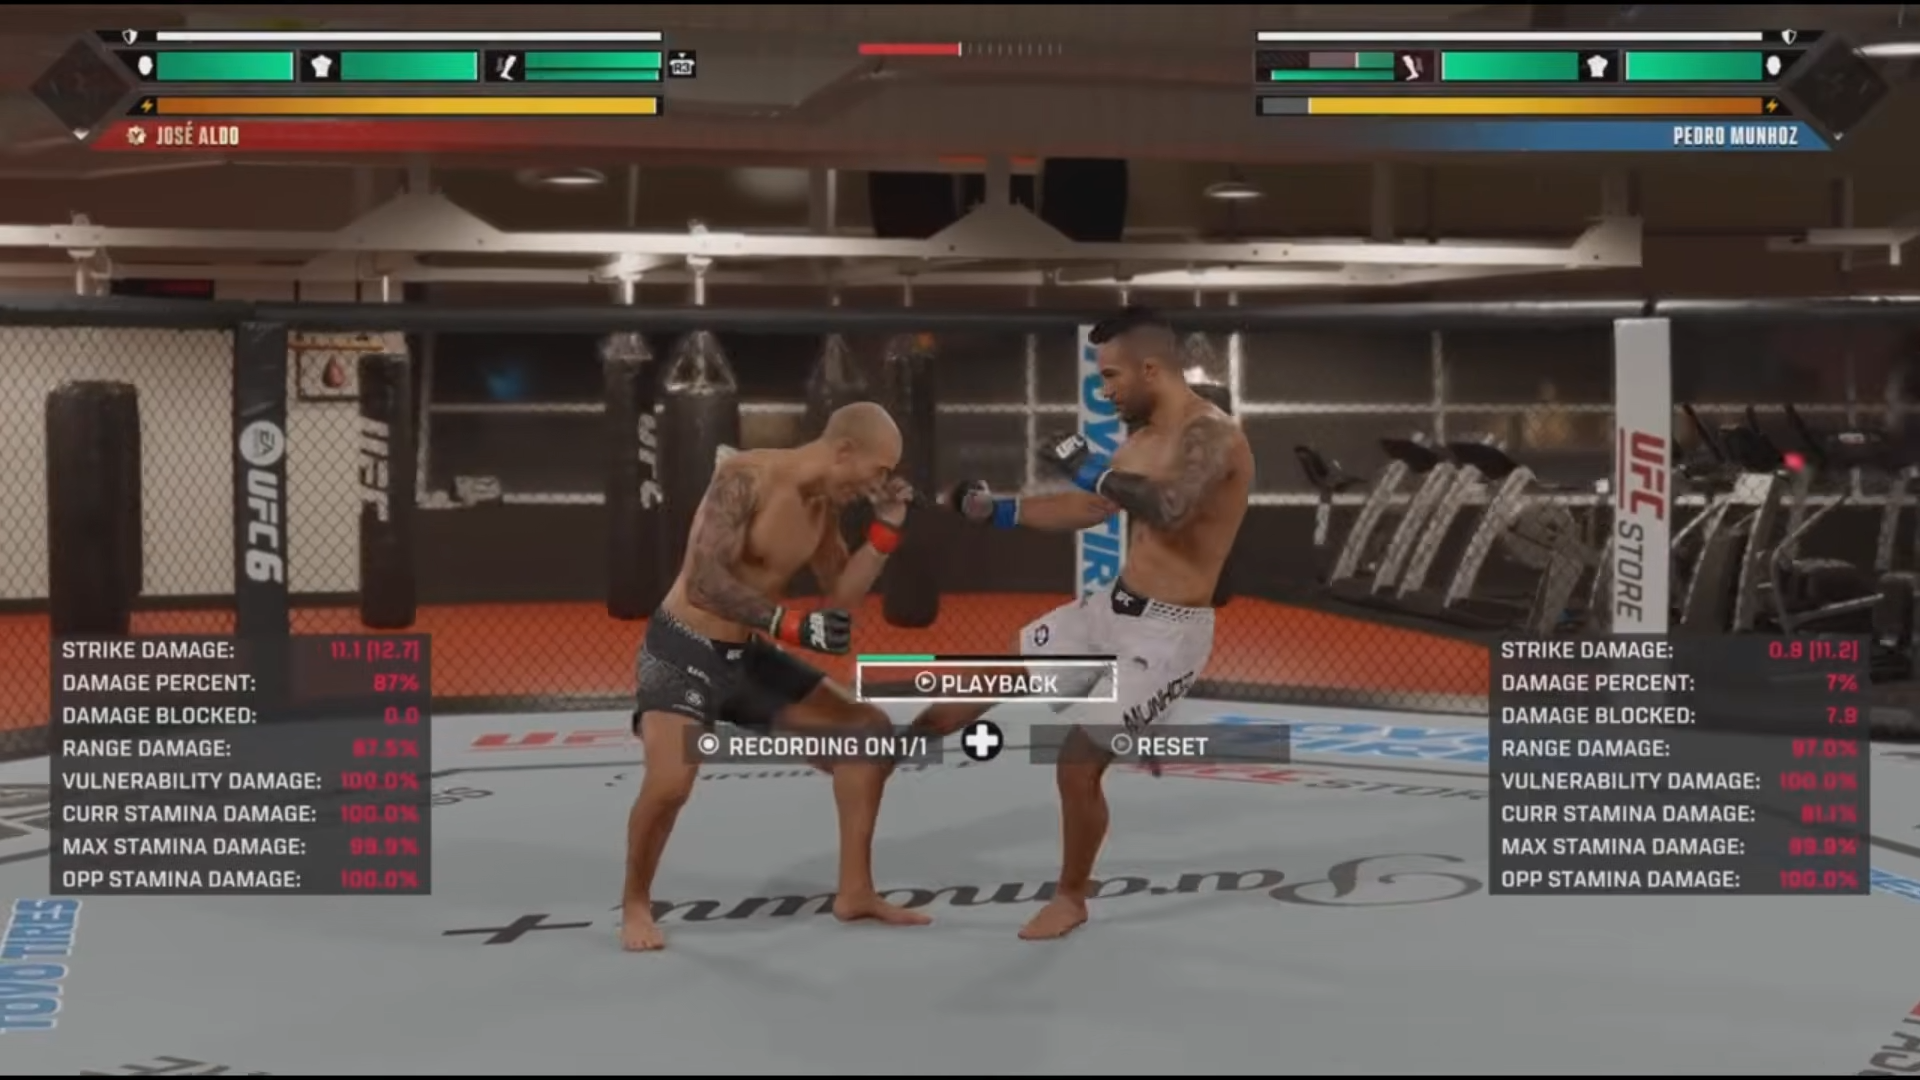
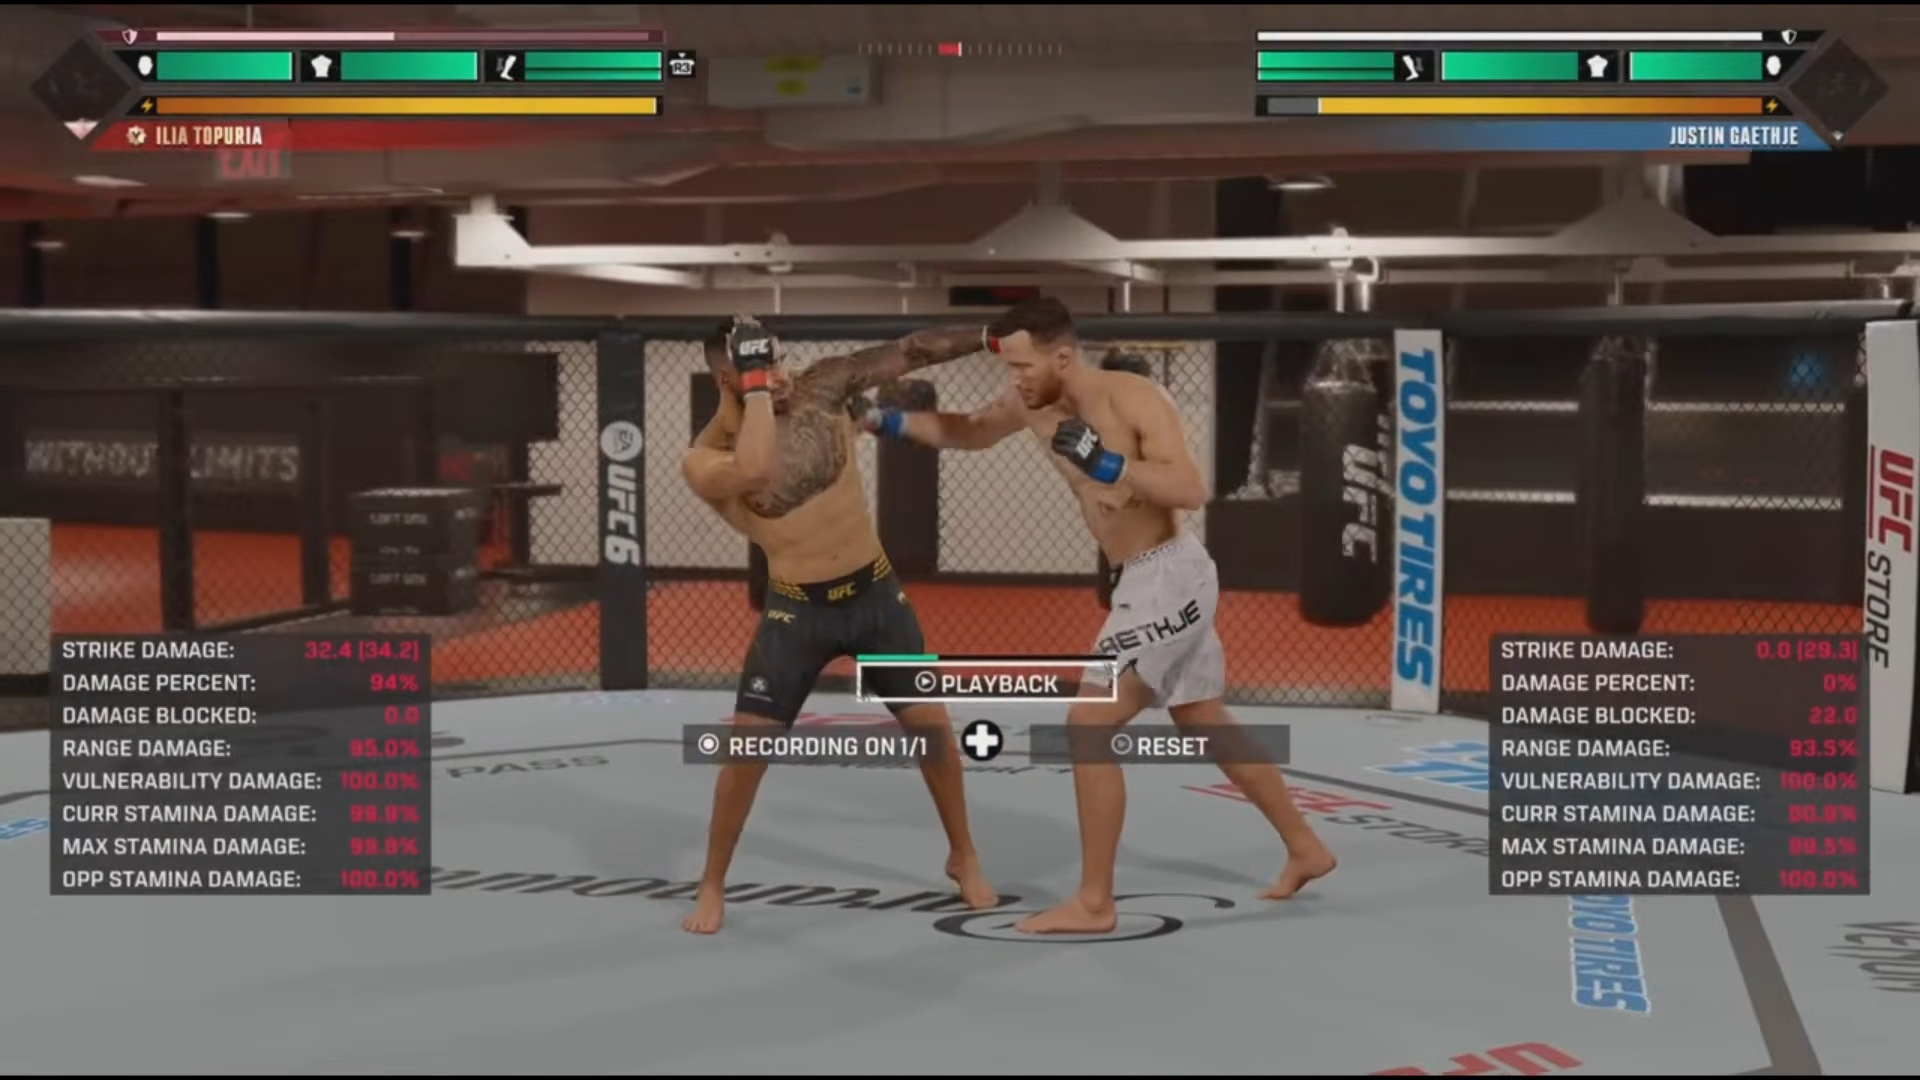
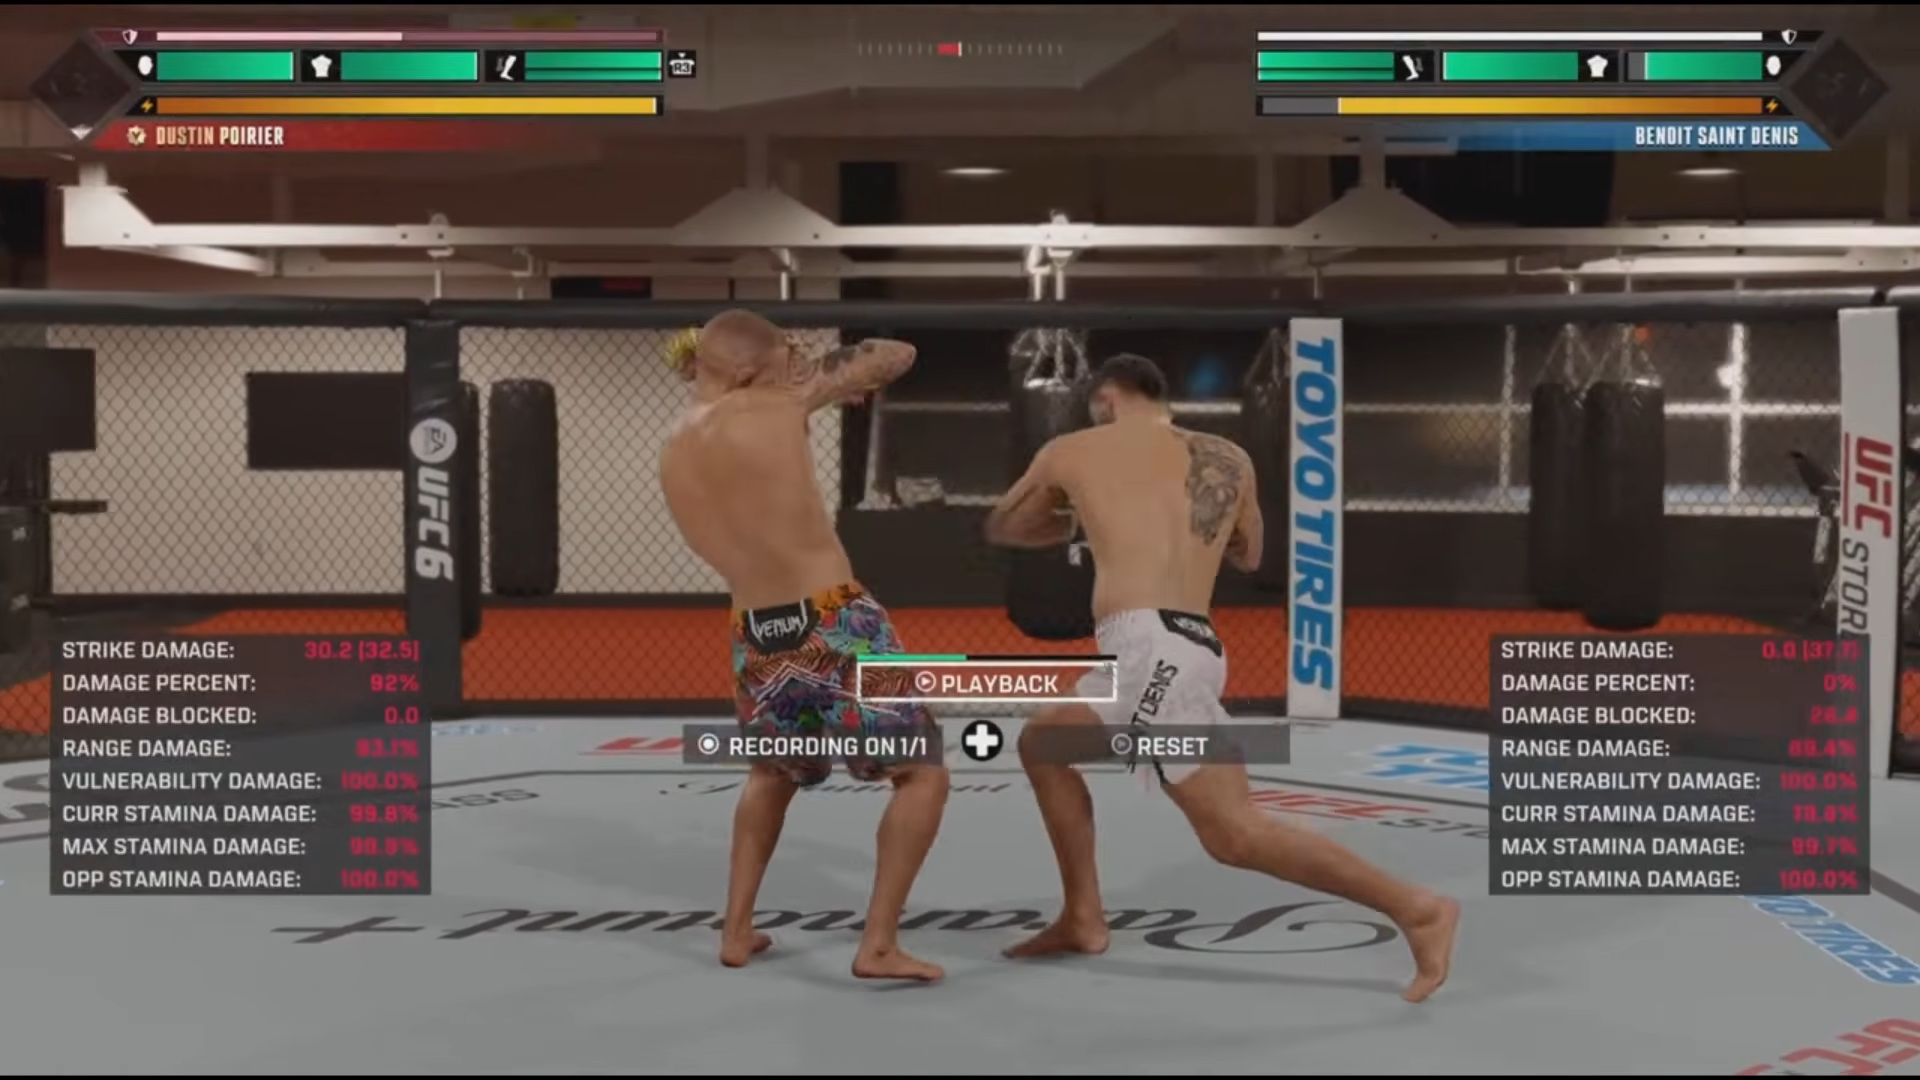
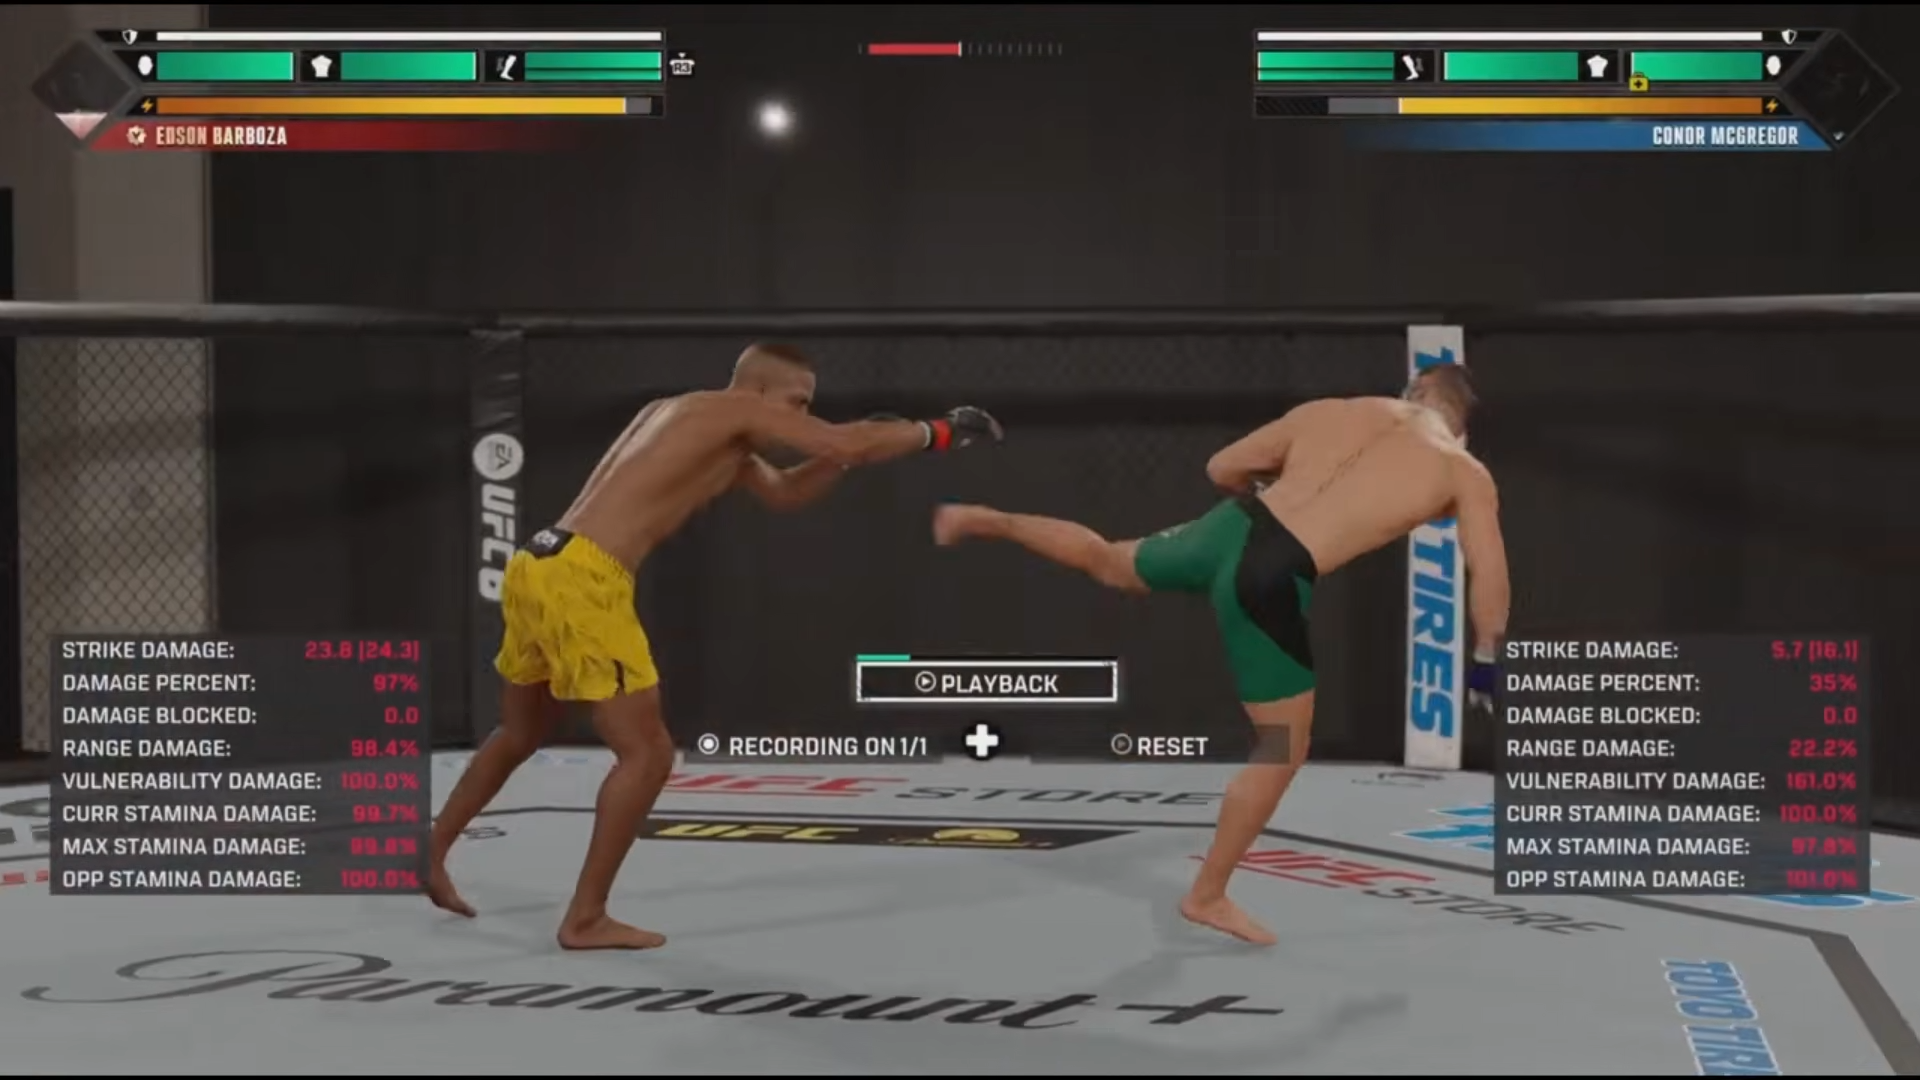
Turn on Strike Recording in Practice Mode, record the exact combo that keeps beating you, and loop it so the AI throws it back — then drill the correct slip, duck, pull, or check against that specific sequence until the timing is automatic.
Advanced parry, Philly-shell, and evasive-lunge tech worth testing
Treat everything in this section as material to add to your arsenal, not guaranteed tech. The parry block in UFC 6 doesn’t work like the parry in UFC 2 — instead of flipping the exchange, it mainly mitigates damage when your block is low. It shines when you’re getting block-broken by someone rummaging through your guard, it costs little stamina to initiate, and it buys you breathing room to survive a bad spot.
Fighters with a Philly shell — Dustin Poirier is a strong example — get a different parry animation, and some of their strikes appear to flow well off it. That flow is exactly the part the sources describe as still being explored, so experiment with it rather than building a game plan around it.
The last is an evasive lunge on R1 + RS up or down, available to certain slicker fighters such as Michael Venom Page and Ilia Topuria.
It chains with head movement and blocking, and its evasive properties are timing-based: against a one-two you can flow off to the side, cut an angle off the center line, and counter. But the timing turns strict against hooks — go too early after a jab and the hook lands — and it loses hard to overhands, which counter it cleanly even against shorter fighters. The best use is mid-combination, to make your opponent lose tracking, not as a standalone dodge.
Mistakes that get you hit, and where to go next
Most defensive losses trace back to the same handful of habits. Only blocking melts your block health until you get broken. Only ducking walks you into knees and uppercuts. Only pulling fails at close range, where punches don’t need to reach to land. There’s also a subtler one: holding block while mashing head movement buffers your input and slows the slip-counter animation, so you defend but never get to counter. And pulling at close range instead of at the end of range simply doesn’t move your head far enough.
The fix for all of them is the same — mix slips, ducks, pulls, lunges, checks, and parries so no single read beats you, and drill those reactions against recorded combos until the timing is muscle memory. Once your defense is clean, the natural next skill is counter striking: turning those slips, pulls, and back lunges into the counter windows they open up.
Frequently Asked Questions
How do you parry block in UFC 6, and what does it actually do?
The most consistent description is to hold block and pull your head straight back with precise timing — though R2 + RS back (PS5) or RT + RS back (Xbox) also works, which is the same input given for a regular pull. Unlike UFC 2’s parry, it mitigates damage when your block is low and buys breathing room when you’re being walked down or block-broken, for very little stamina.
What’s the best way to defend leg kicks, and what is a leg-health event?
Check them with the low block — L2 + R2 on PS5 or LT + RT on Xbox — as the kick comes in. A successful check reduces the damage you take and hurts your opponent’s leg health; rear leg kicks take more damage off a check than calf kicks. Stack enough checks and you can trigger a leg-health event, and the opponent can keep limping even after it once the damage adds up.
How do you avoid spinning kicks, head kicks, and flying knees?
Use movement, not a block. For head kicks, duck (mind the knee), pull by leaning back, back lunge, or lunge away in the kick’s direction. For spinning heel and body kicks, blocking is dangerous — duck, pull, back lunge, or lunge to the rear-leg side, since lunging to the lead-leg side can let the kick track you. For flying knees, head movement, a back lunge, a major lunge, or a side step all work, but mistimed lunges and steps can be tracked or punished.
Why do I keep getting hit or countered even though I’m blocking?
Because blocking alone is predictable. Pure blocking melts your block health until it breaks, and holding block while flicking head movement buffers your input, which slows your slip counter so you never get to fire back. Break the pattern up — block, slip, block, slip — and mix in ducks, pulls, and checks so your opponent can’t settle into one rhythm.
What’s the fastest way to practice defensive timing?
Use Practice Mode recording. Set the AI to capture strikes, throw the combo you struggle against with your fighter, and the AI will throw it right back at you on loop. Turn health, stamina, and the damage indicator on, then drill the correct slip, duck, pull, lunge, or check against that exact sequence until the timing is automatic.