In Solarpunk, the correct switch setup is this – Power Source → Switch → Device connected in a single straight line with cables. This is the exact wiring path that makes the switch work in Solarpunk.
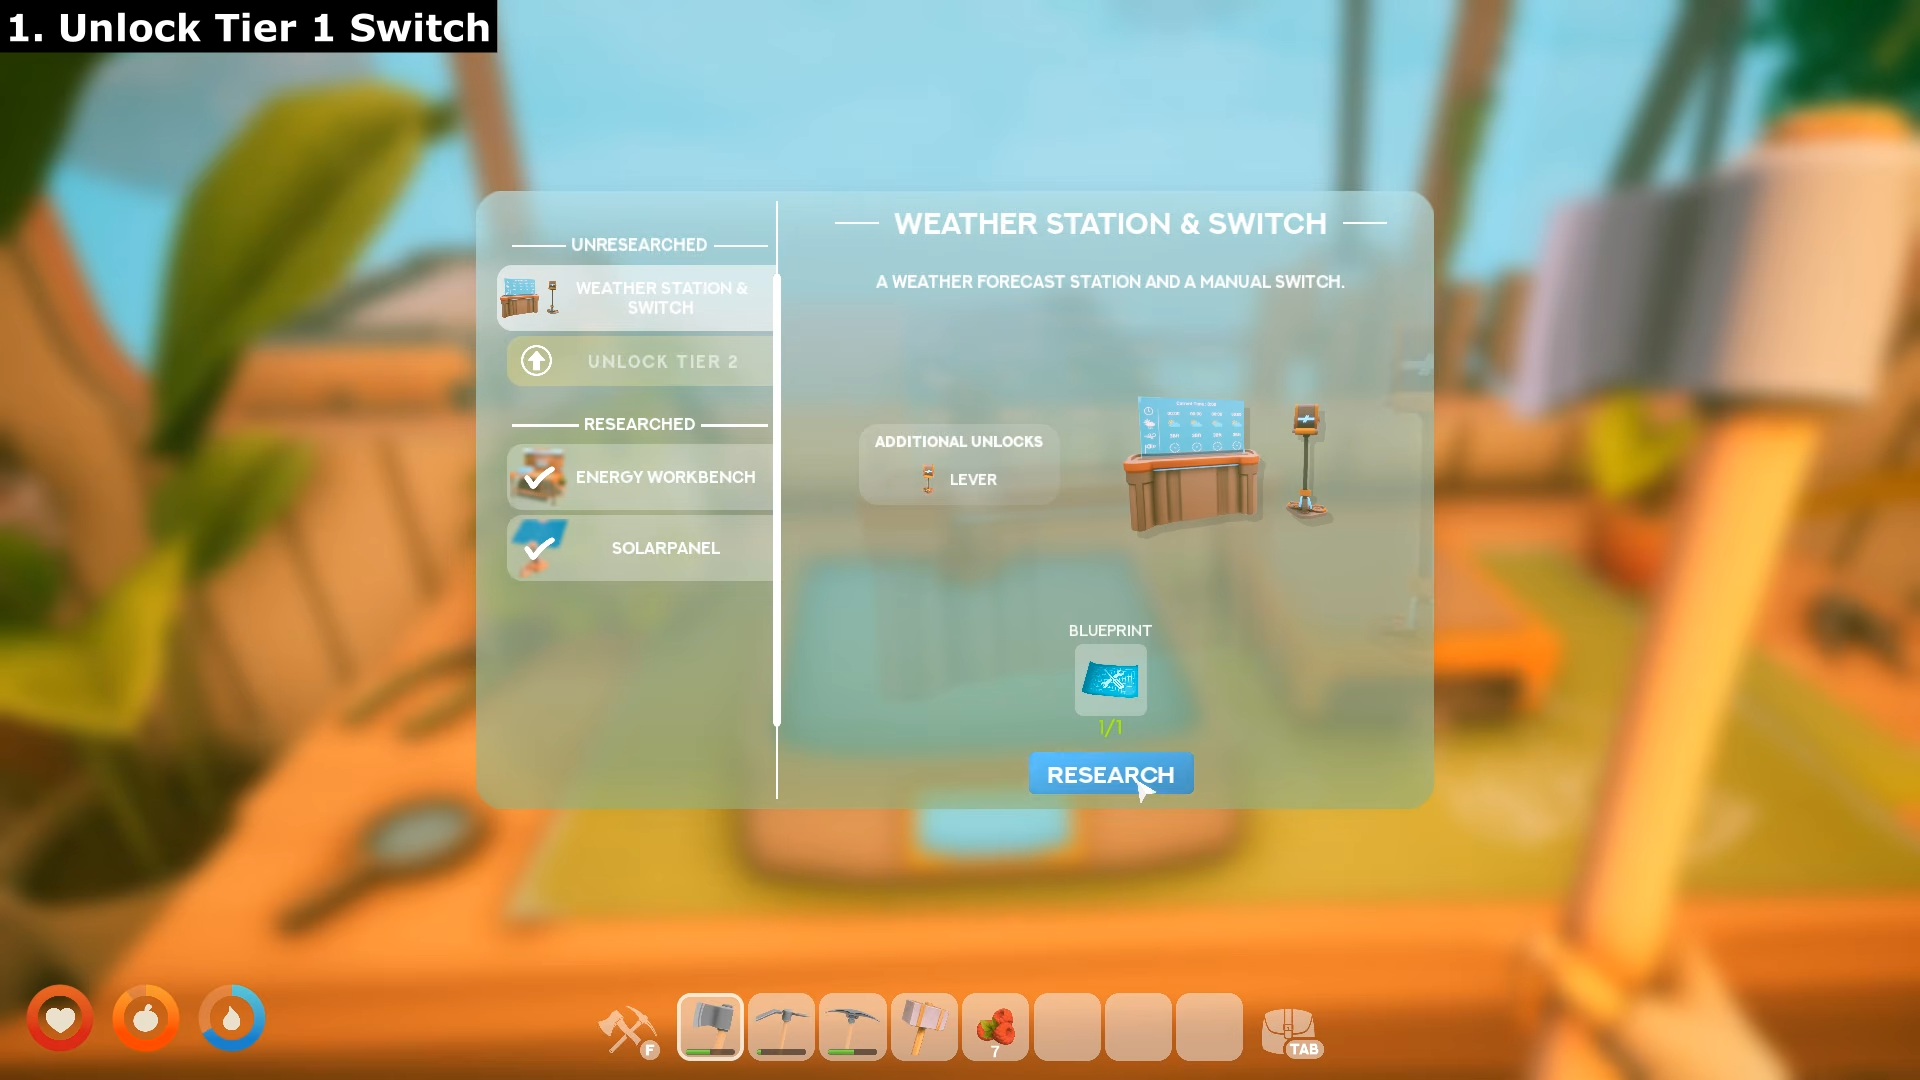
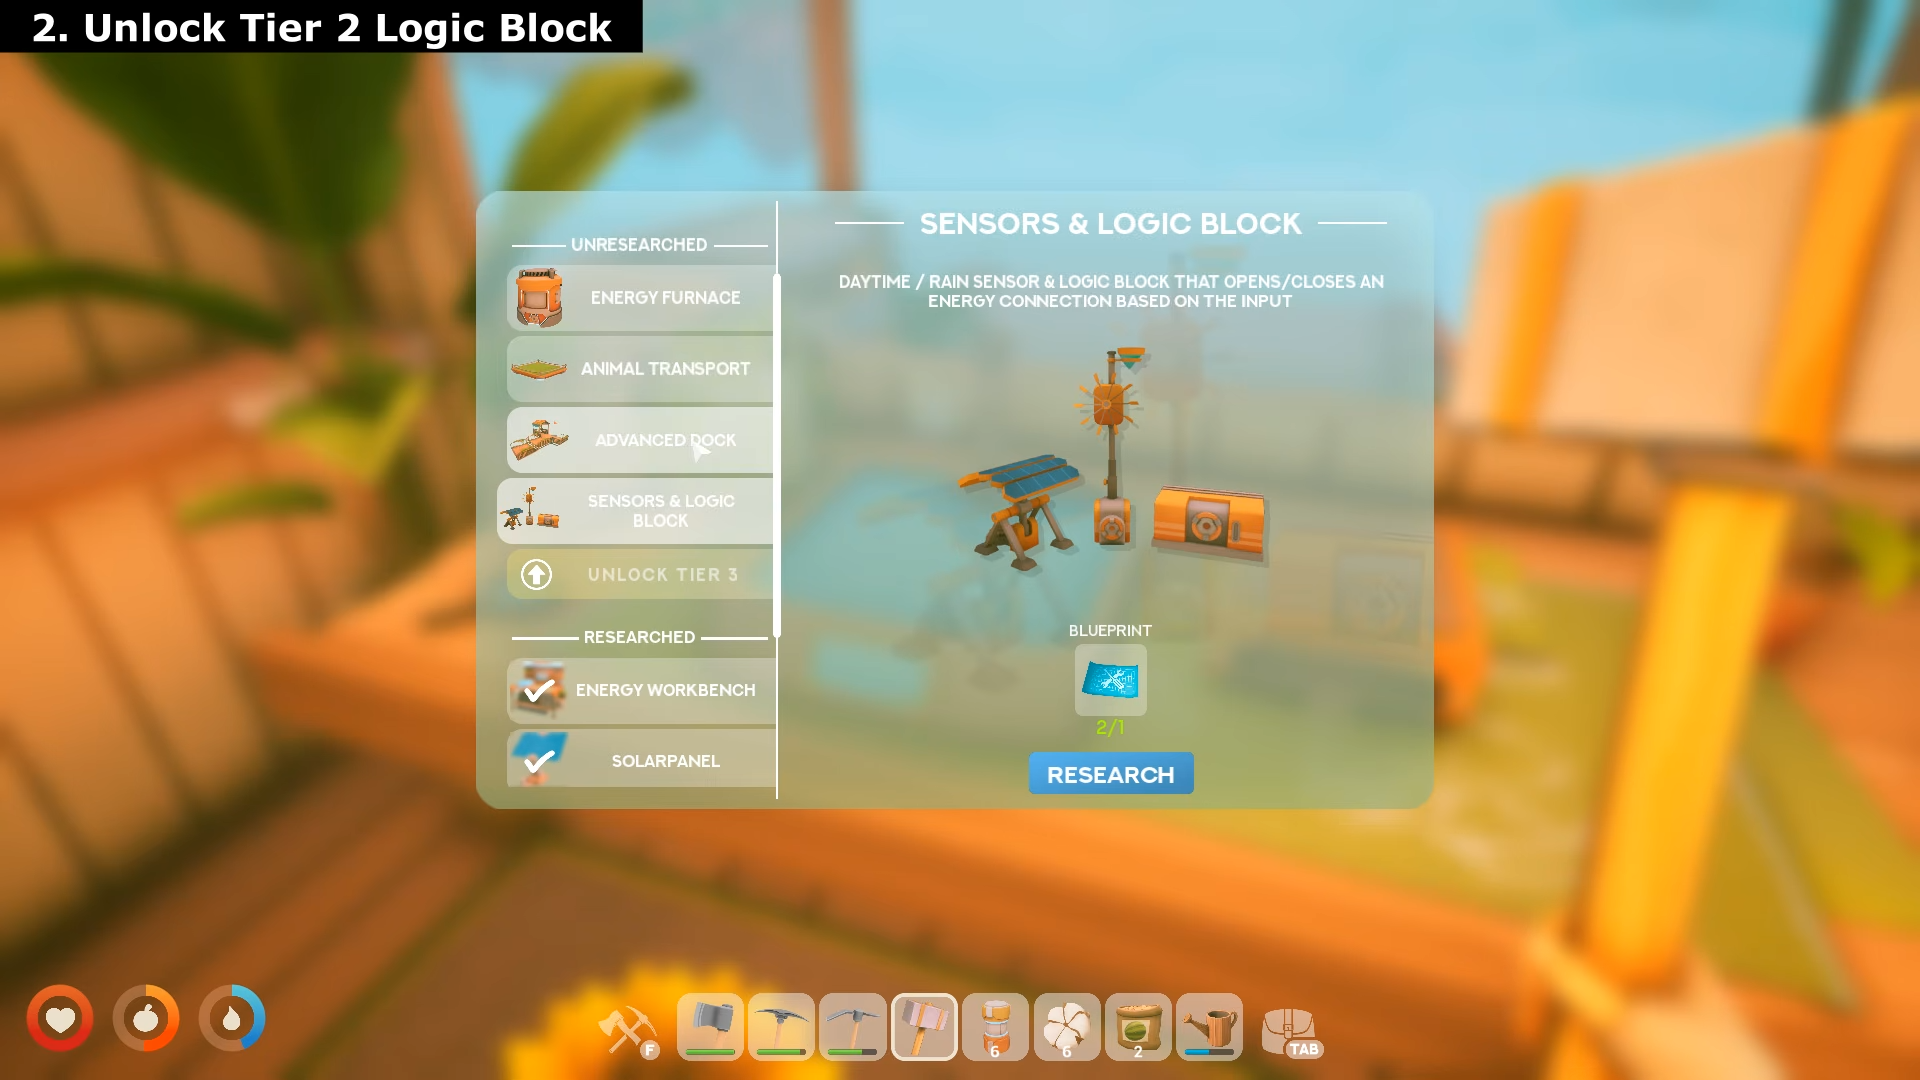
Unlock Tier 1 Switch and Tier 2 Logic Block
Firstly, go to your bench and research “Weather Station & Switch“.
Once that is unlocked, research “Sensors and & Logic Block“.
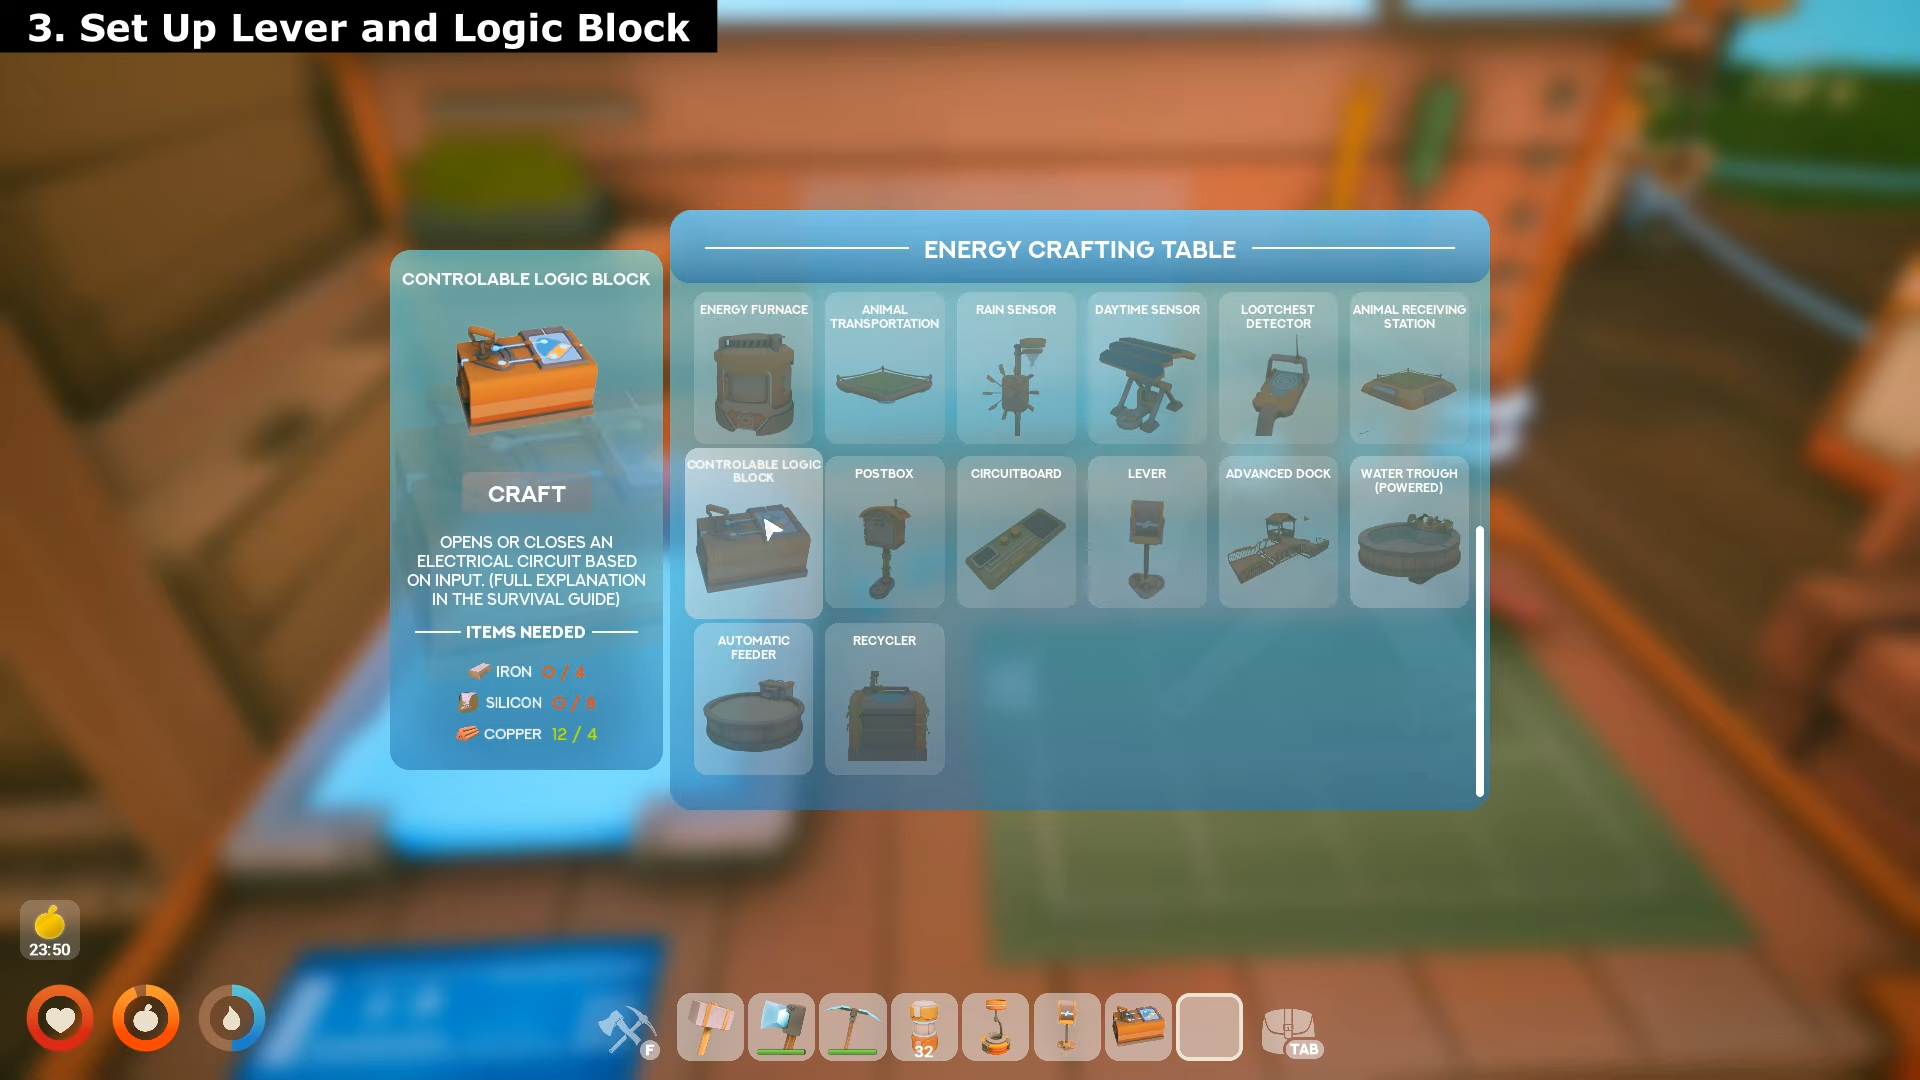
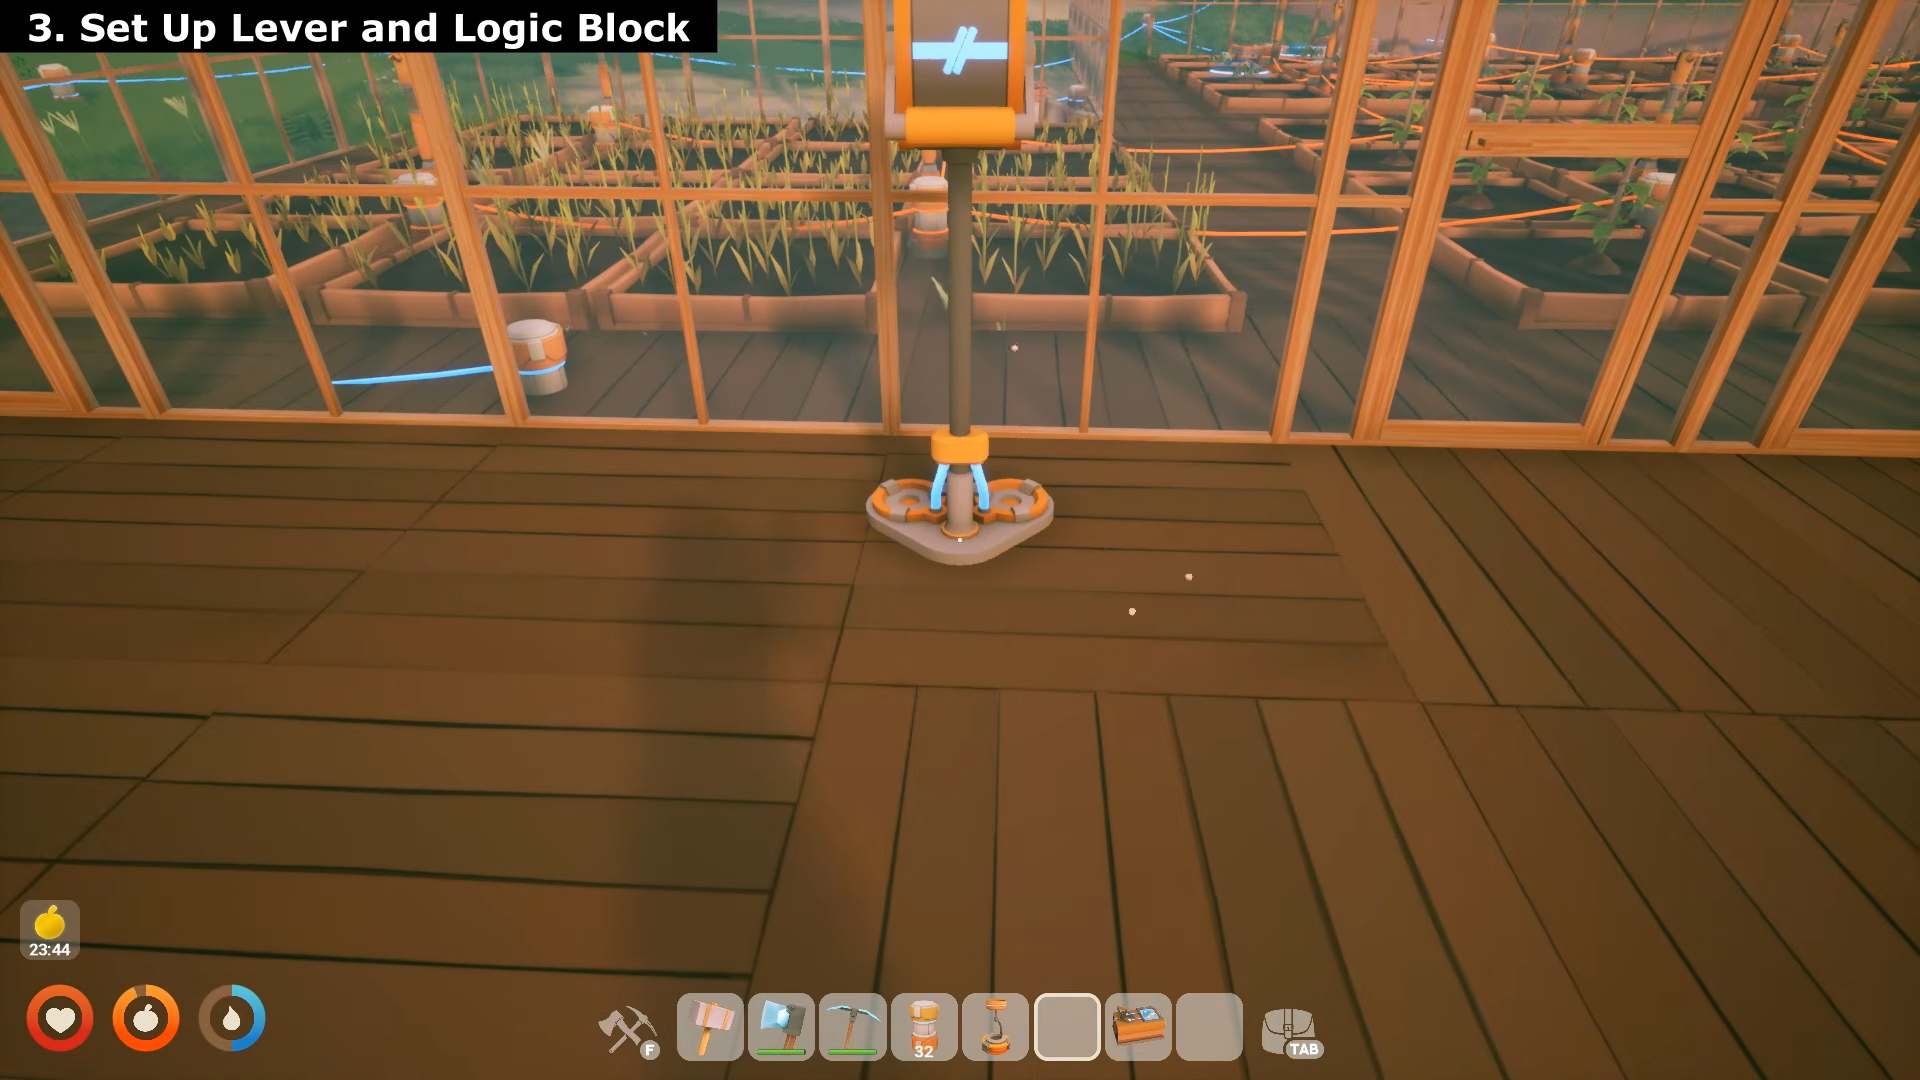
Set up Lever and Logic Block
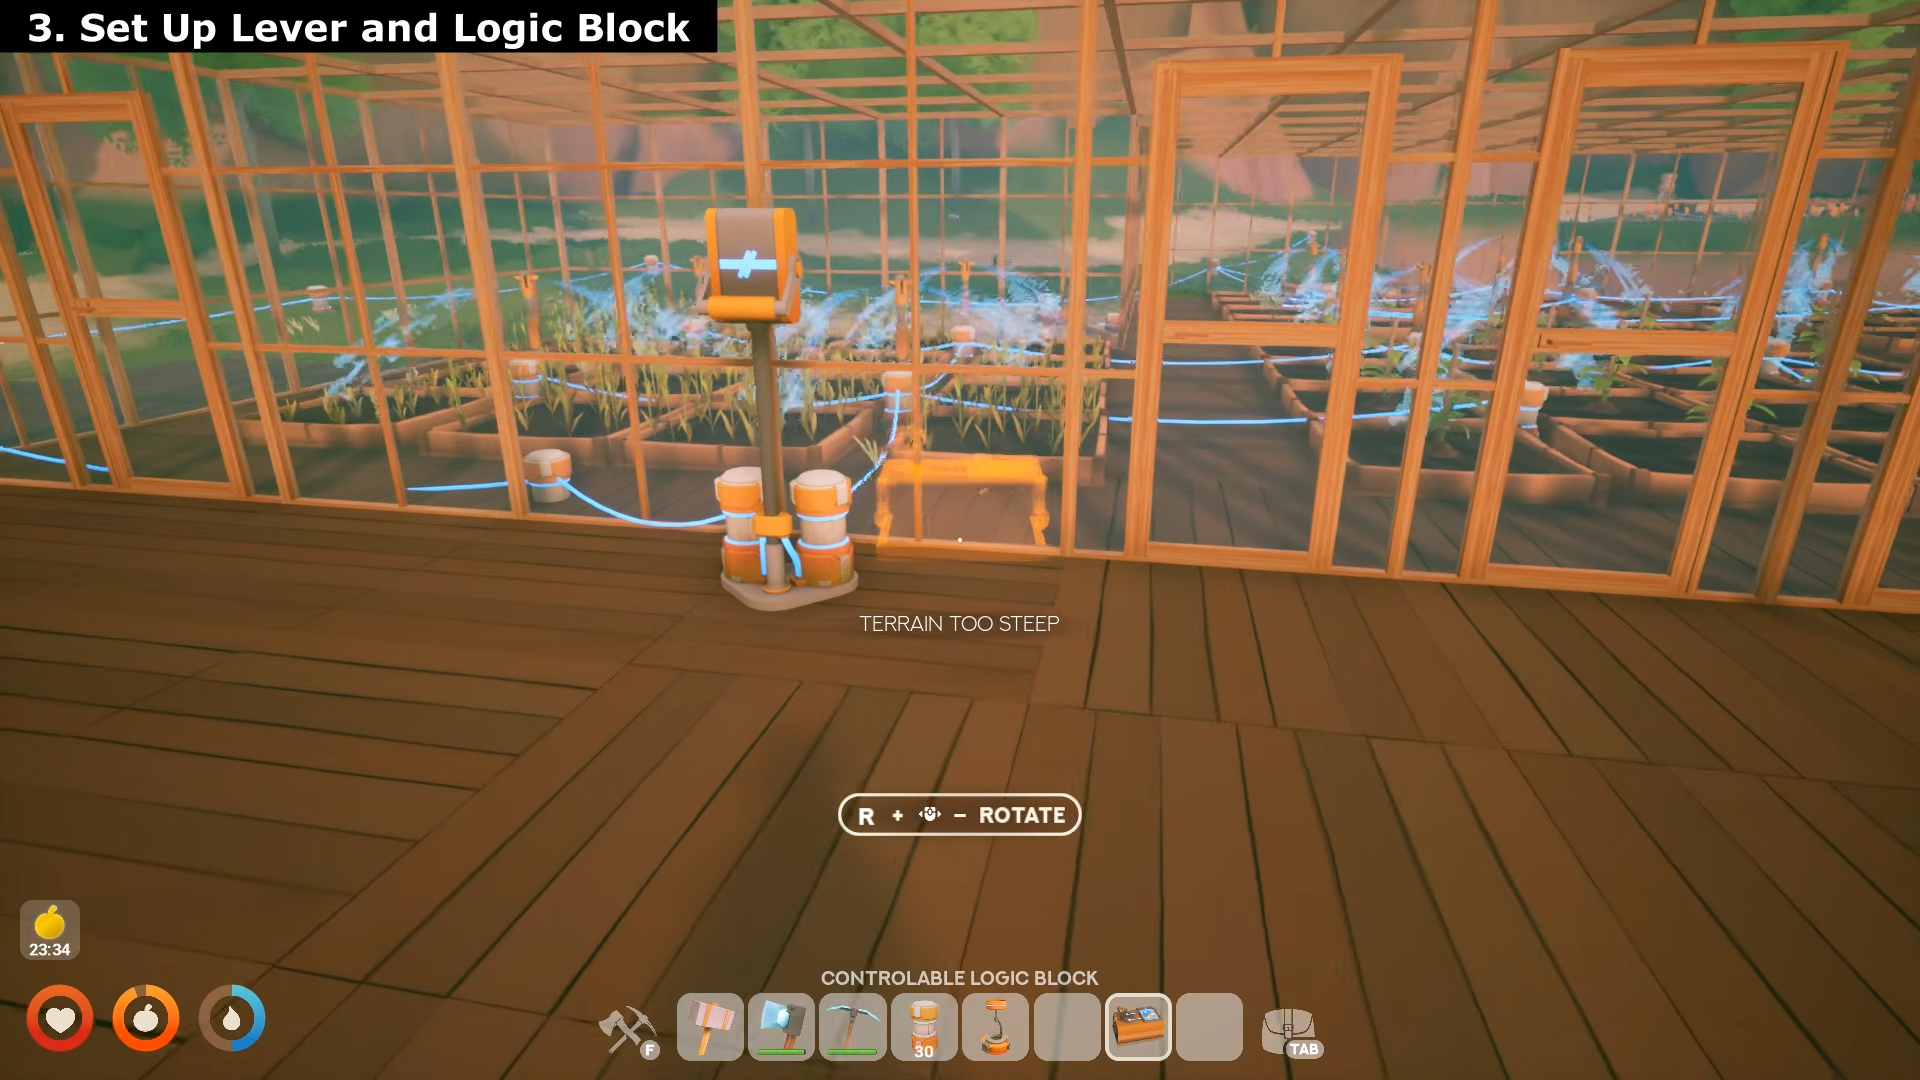
Step 1: Place Your Power Source
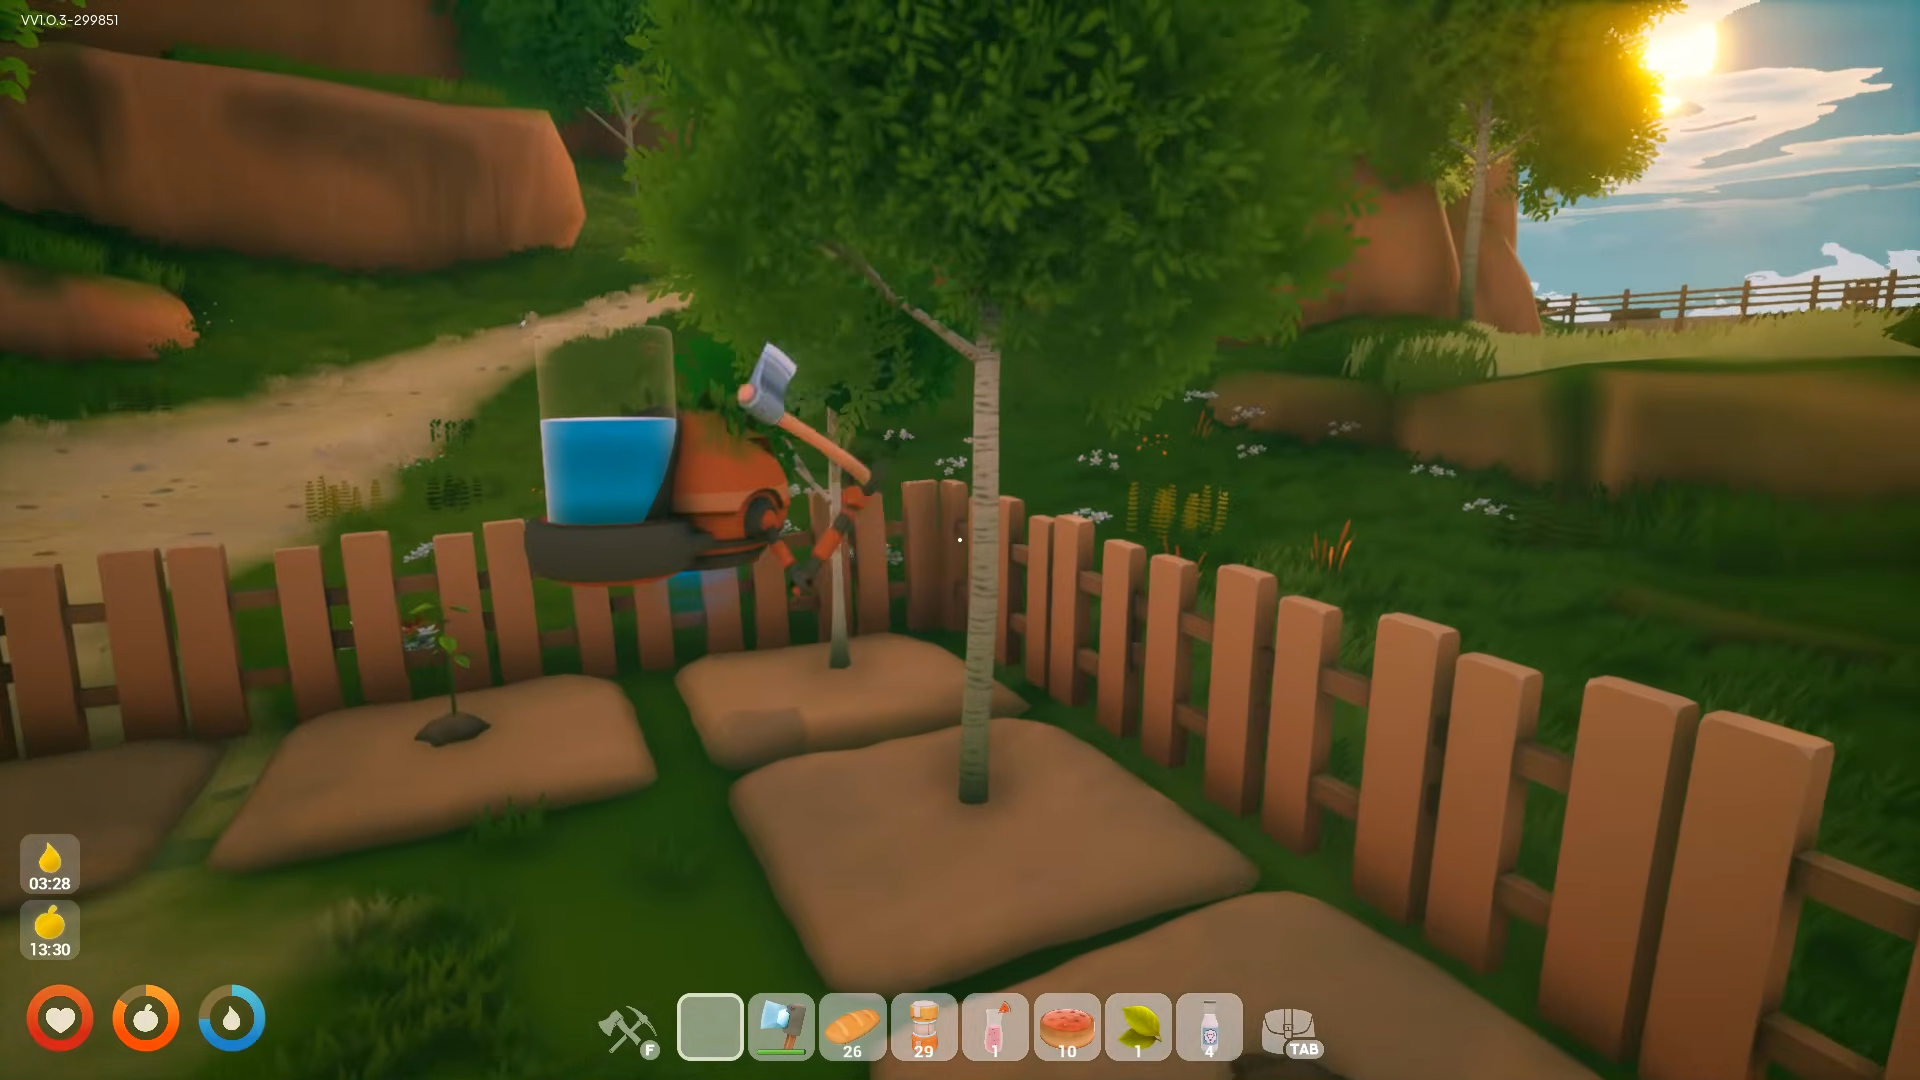
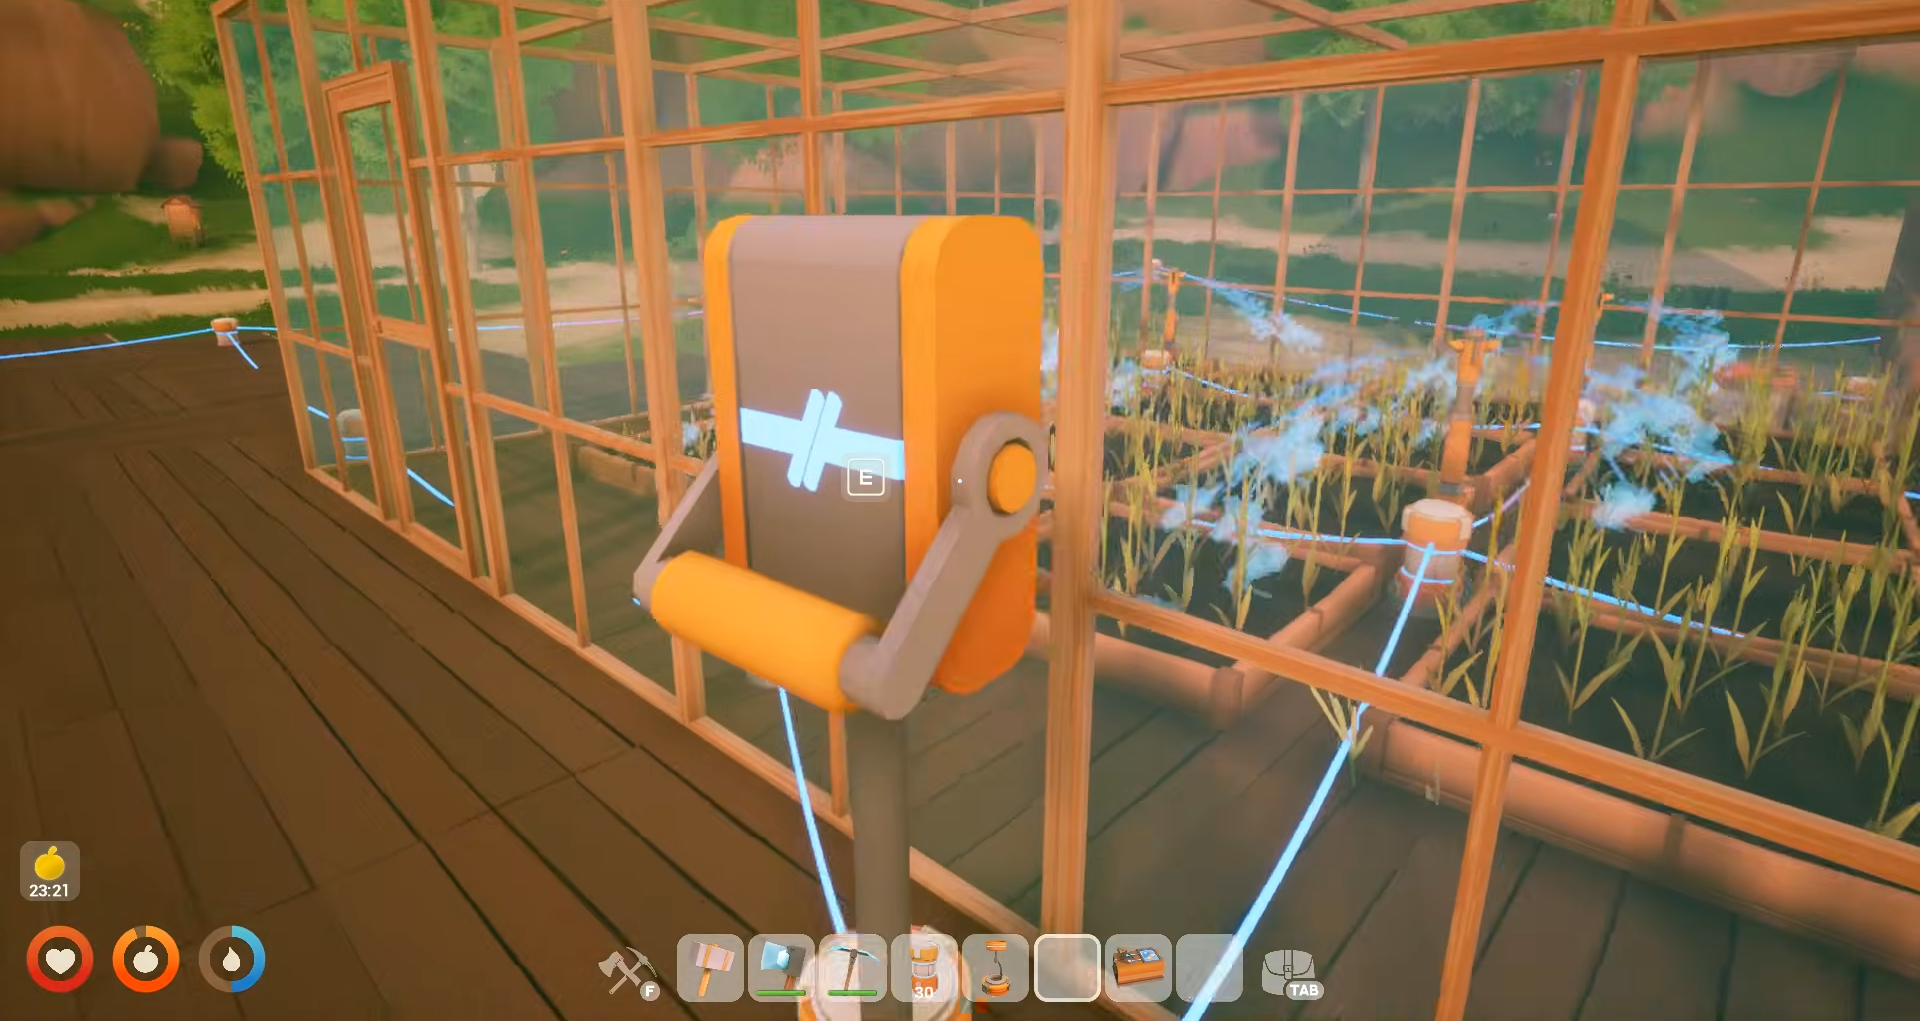
Build or locate your power generator — this can be a Solar Panel, Wind Turbine, or Battery. Place it where it has clear sky exposure (for solar) or wind access (for wind turbines). Connect cables from the power source’s output connector.
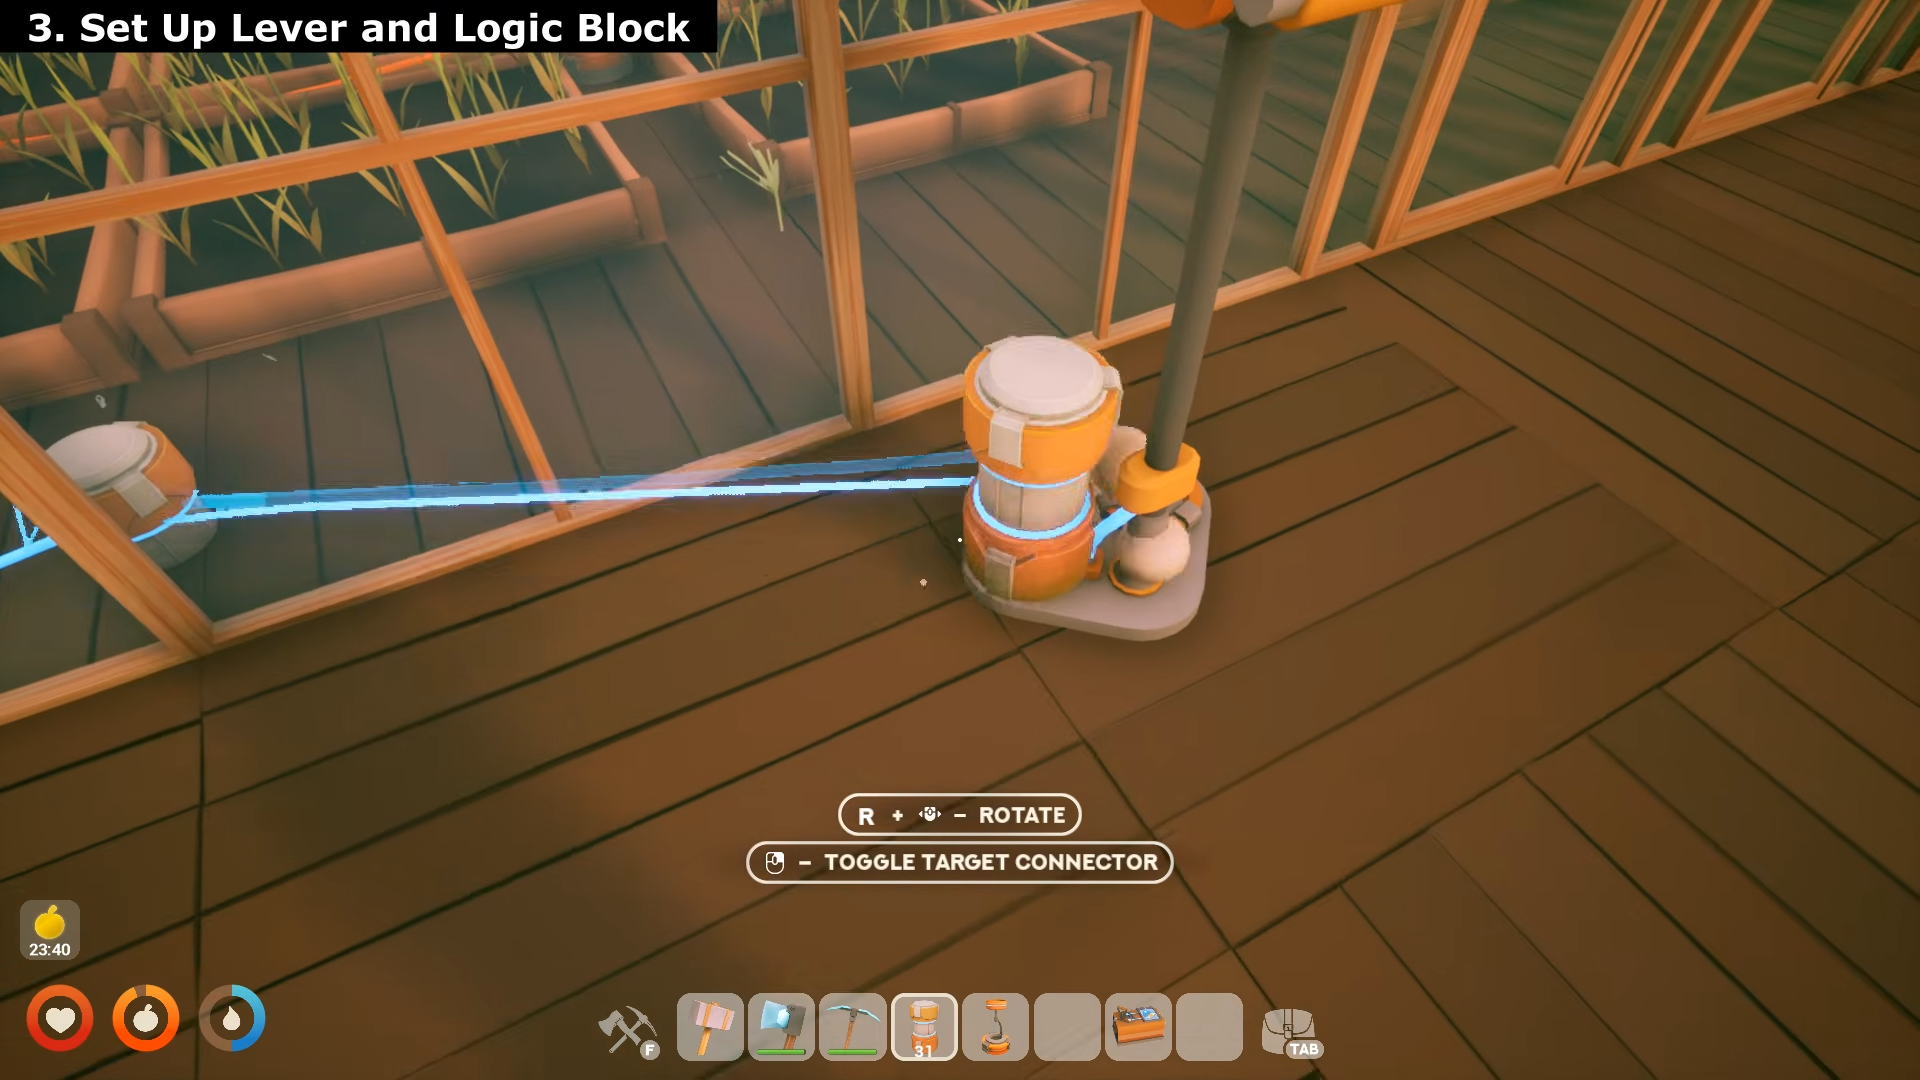
Step 2: Add the Switch in the Middle
Place the Switch component between your power source and device.
This is the critical step many players miss: the switch must be in the direct power path, not connected separately. Connect a cable from your power source to the switch’s input, then connect another cable from the switch’s output to your device.
Step 3: Connect Your Device
Attach cables to your powered device — lights, sprinklers, drills, or any electrical machine. The device must connect only through the switch, not directly to the power source.
If you bypass the switch with a direct cable connection, the switch won’t work.
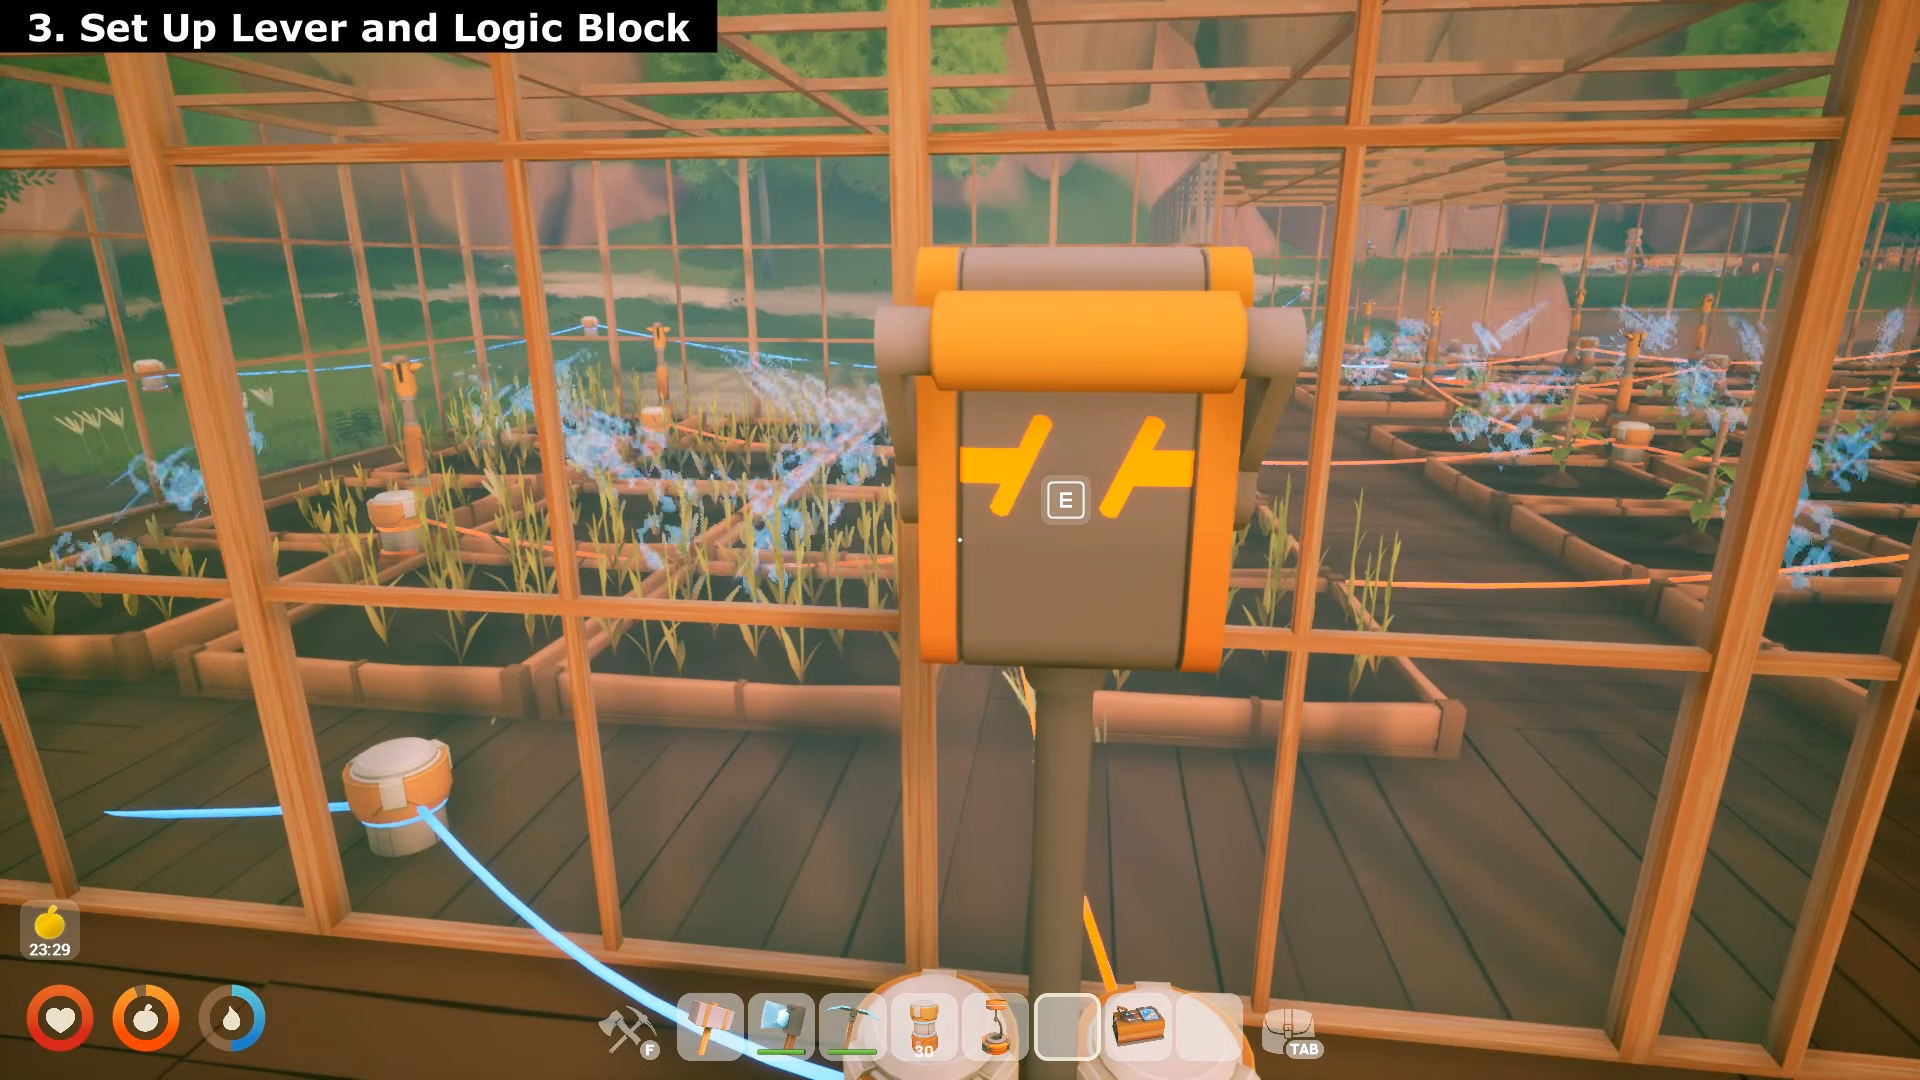
Step 4: Test the Switch
Interact with the switch to toggle it on and off. When on, power flows through to your device. When off, the circuit breaks and the device stops. The switch sends a signal that toggles connected devices.
Critical Mistakes to Avoid
-
Wrong wiring path: Power must flow Source → Switch → Device, NOT Source → Device with switch connected separately.
-
Direct bypass: If a power switch doesn’t work, check for a direct cable connection bypassing the switch.
-
Isolated networks: Don’t create multiple separate electrical networks — connect all power sources and devices to the same unified network.
-
No battery buffer: For reliable switching, add a Battery between your source and switch to smooth out power fluctuations during day/night cycles.
Tips for Completion
-
Use a Network Display once your network gets large — it helps maintain overview of which circuits are powered.
-
Start small: Test with one light or sprinkler first before expanding to multiple devices.
-
Manual before automation: Build the manual switch route first, then add automation (Daytime Sensor, Rain Sensor, Logic Block) only after the basic network works.
-
Debug order: If something stops working, check: (1) generation, (2) cable connection, (3) battery storage, (4) consumer powered.
The switch is essential for manually controlling lights at night, sprinklers during specific times, or drills when you need them — giving you direct control before automating with sensors later.