What to know
- A single sprinkler can cover up to 12 crop plots when positioned correctly.
- The plots should be arranged in a tight plus-shaped pattern around the sprinkler.
- The sprinkler must sit exactly in the center so its watering radius touches every plot.
- This setup works both outdoors and inside farm buildings or greenhouses.
If you’re trying to maximize farming efficiency in Solarpunk, one of the best early-game tricks is using a single sprinkler to water twelve crop plots at once. Since sprinklers require resources and power infrastructure, reducing the number you need can significantly streamline your farming operation.
| Feature | Details |
|---|---|
| Total plots covered | 12 |
| Sprinklers required | 1 |
| Recommended stage | Early to Mid Game |
| Power usage | Minimal |
| Works indoors | Yes |
| Works outdoors | Yes |
| Main benefit | Maximum coverage per sprinkler |
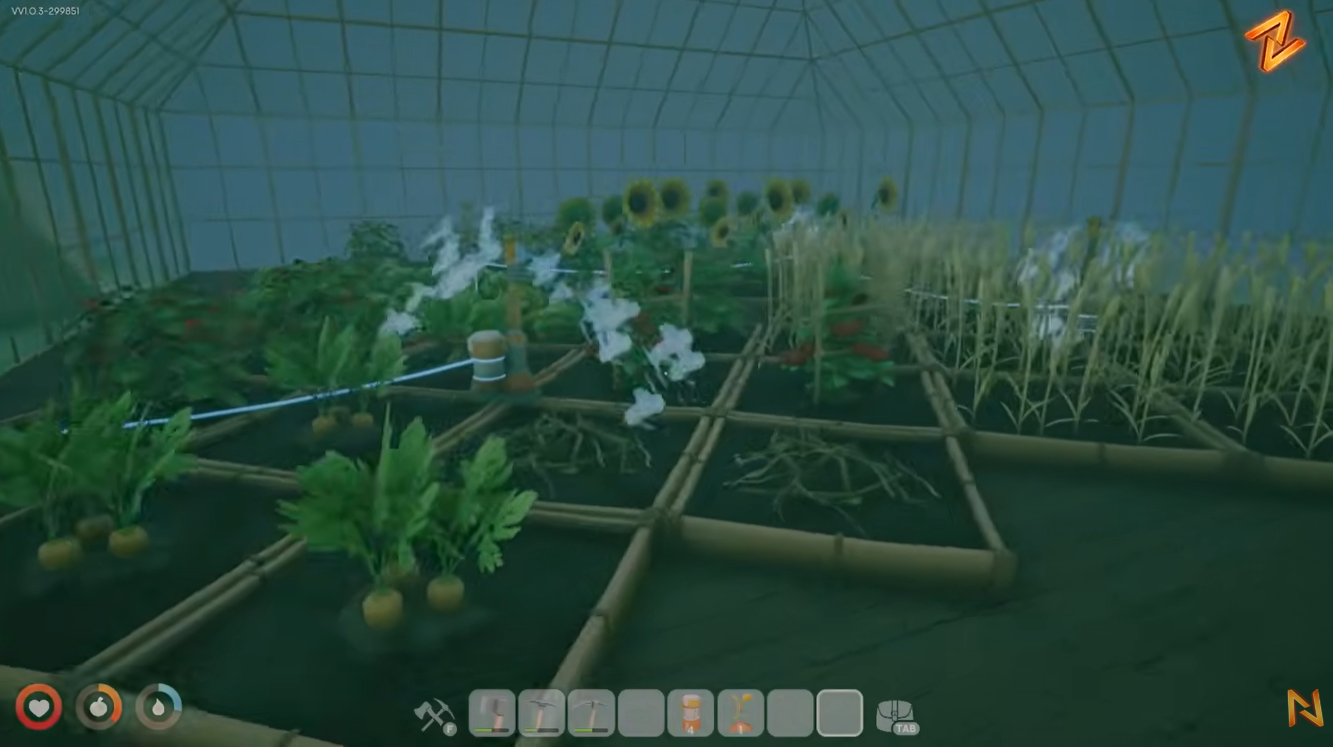
How the 12-plot sprinkler layout works
The goal is to place all twelve plots as close together as possible while leaving enough space for a sprinkler in the middle. Think of the arrangement as a large plus sign. Instead of creating a traditional rectangular field, you cluster plots tightly around a central point.
The sprinkler’s watering radius extends outward in all directions. By positioning crop plots so their edges are barely touched by the sprinkler’s range, you can fit twelve plots within a single coverage area.
Example layout
    [P]
 [P][P][P]
[P][P][S][P][P]
 [P][P][P]
    [P]
Legend:
- P = Crop Plot
- S = Sprinkler
The exact positioning may vary slightly depending on terrain and placement snapping, but the important part is keeping all plots tightly packed around the sprinkler.
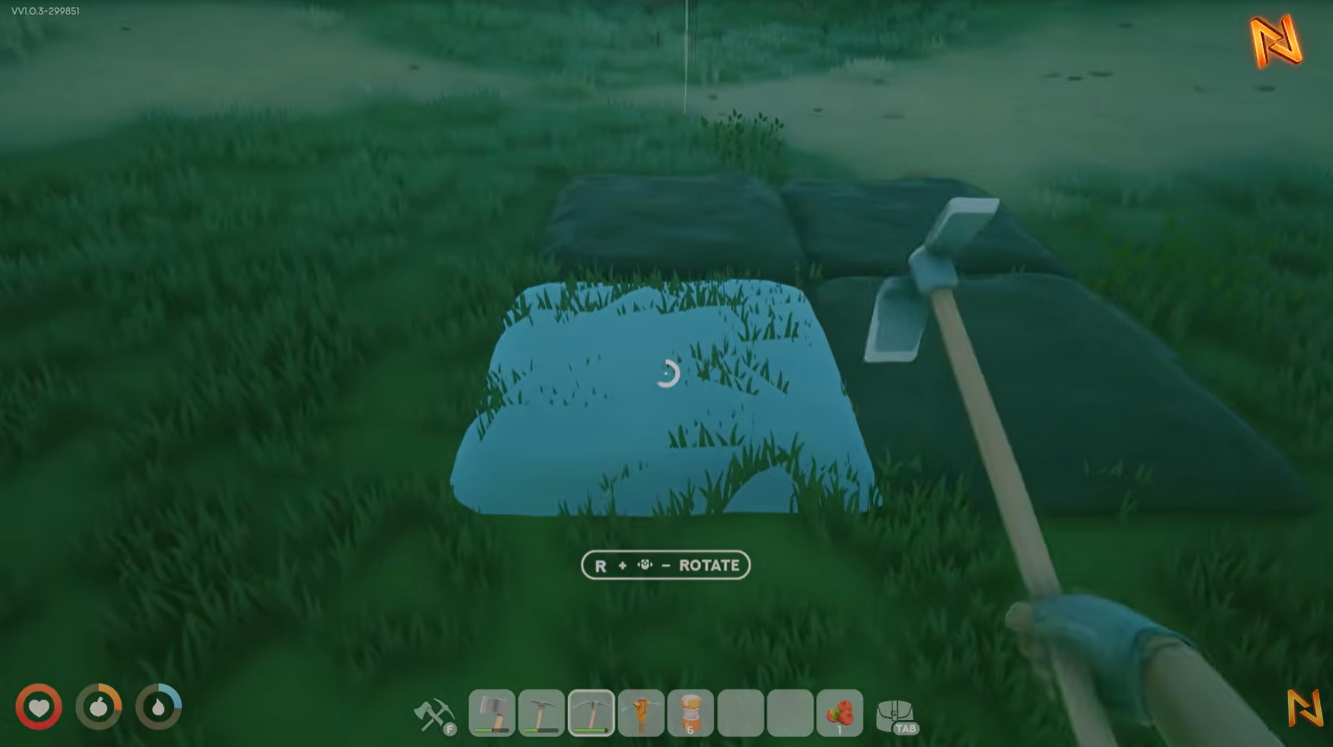
How to build the setup
Step #1
Choose a flat area for your farm. Uneven terrain can make precise plot placement more difficult.
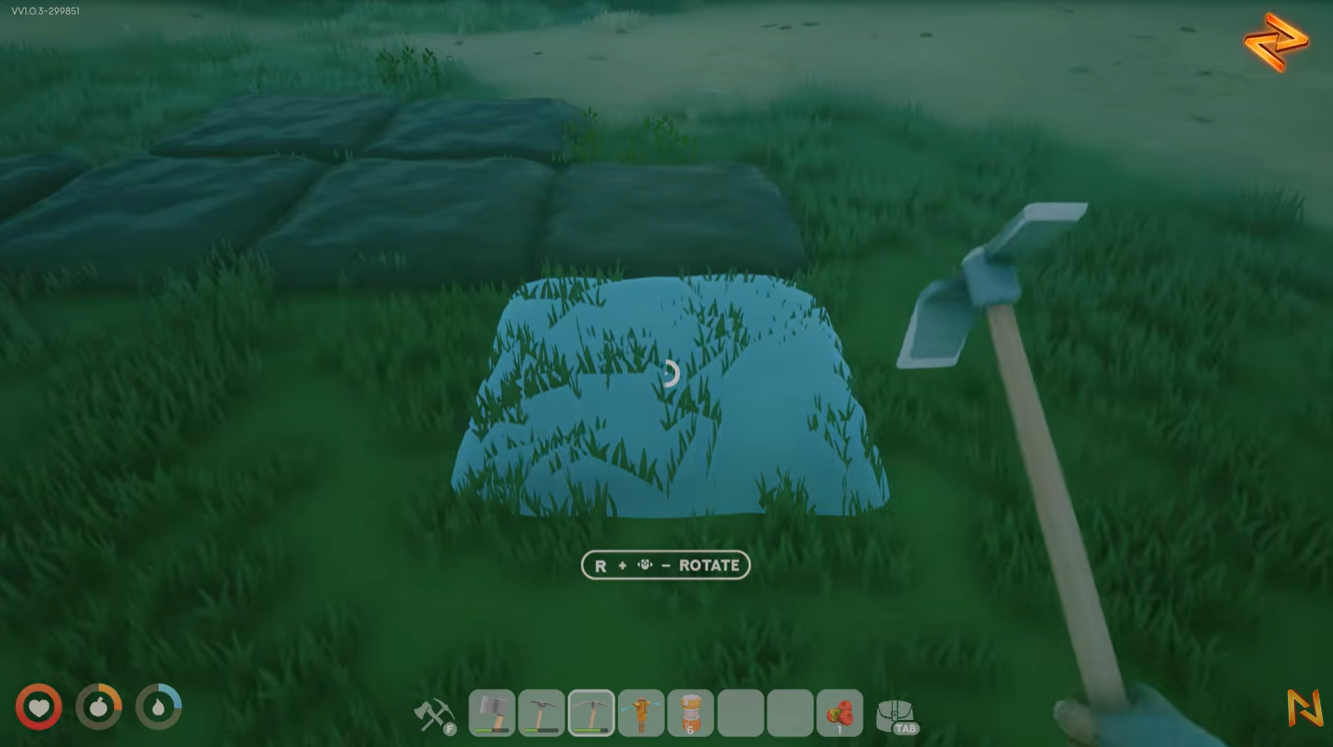
Step #2
Place your crop plots close together, gradually forming a plus-shaped arrangement. Avoid leaving large gaps between plots.
Step #3
Count your plots to ensure you have twelve total before placing the sprinkler.
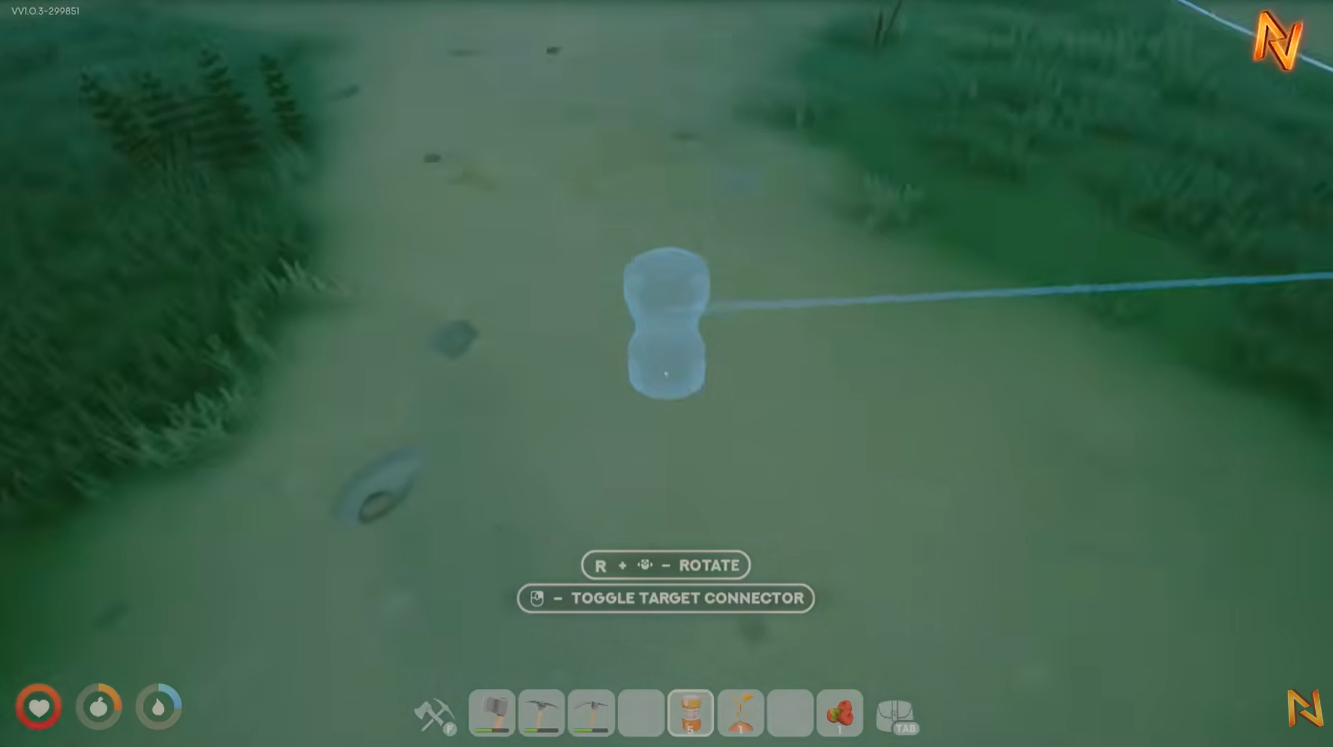
Step #4
Install the sprinkler directly in the center of the formation. The sprinkler should be positioned so its watering radius barely reaches the outer edges of the furthest plots.

Step #5
Connect the sprinkler to your water and power systems as normal.
Step #6
Plant crops in all twelve plots and verify that the watering effect reaches every plot. If one plot remains dry, slightly adjust its position closer to the center.

Why this layout is useful
Using one sprinkler instead of multiple units reduces crafting costs and conserves power. This becomes especially valuable during the early stages of Solarpunk when resources such as metal components and energy production are limited.
The design also keeps your farm compact, making harvesting faster because all crops are located within a small area. As your farm expands, you can replicate the same module multiple times rather than creating large inefficient fields.
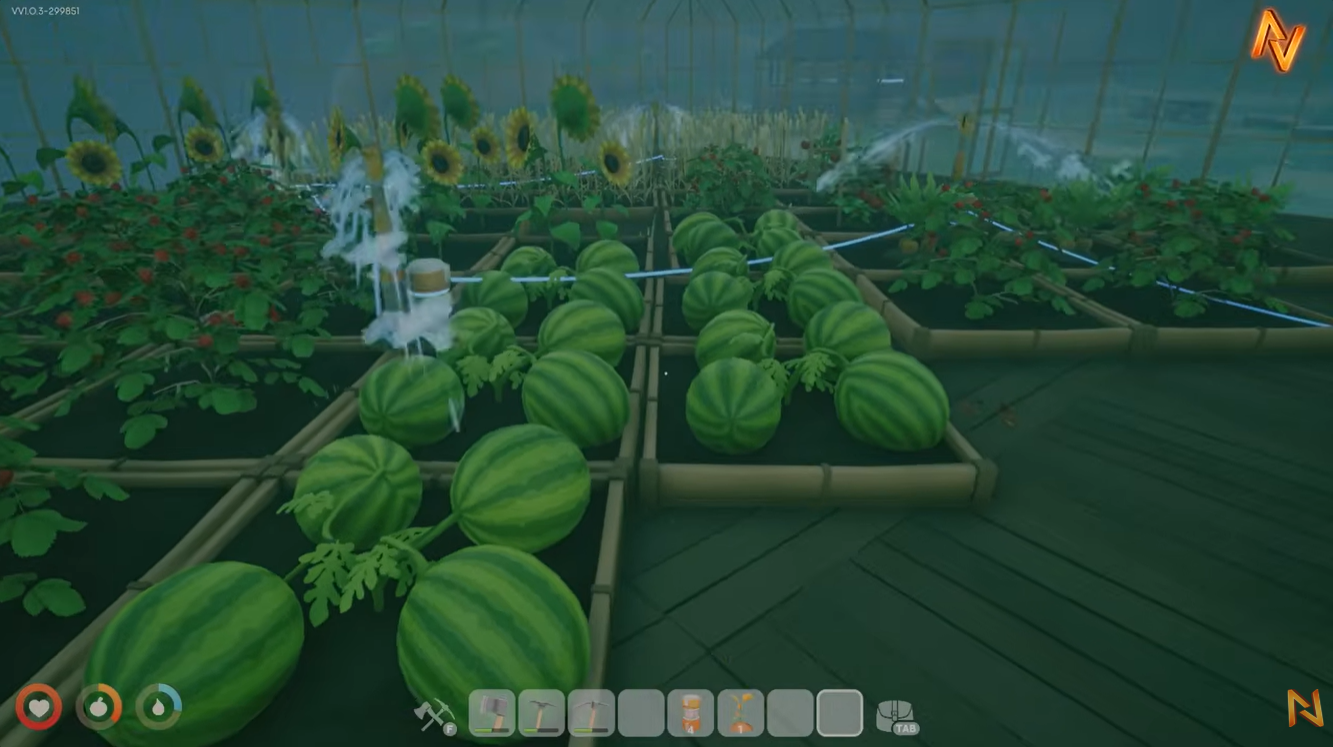
Indoor and greenhouse usage
One advantage of this layout is its flexibility. The same arrangement functions inside enclosed farming buildings, greenhouses, and outdoor fields. Many players use this design inside protected structures to create highly efficient crop production areas without sacrificing valuable interior space.
Common mistakes to avoid
| Mistake | Result |
|---|---|
| Placing plots too far apart | Some plots won’t receive water |
| Off-center sprinkler placement | Uneven coverage |
| Using a rectangular field | Wasted sprinkler range |
| Building on uneven terrain | Difficult alignment |
| Not testing coverage after planting | Missed plots and slower growth |
Best use cases for the layout
This design is particularly effective for:
- Early-game food production
- Compact greenhouse farms
- Automated farming systems
- Resource-efficient farming bases
- Players with limited sprinkler materials
The 12-plot, single-sprinkler layout is one of the most efficient farming designs currently used in Solarpunk. By arranging plots in a compact plus-shaped pattern and placing the sprinkler precisely in the center, you can achieve maximum watering coverage while minimizing resource costs. Whether you’re building a small starter farm or a large greenhouse complex, this setup provides an excellent foundation for efficient crop production.