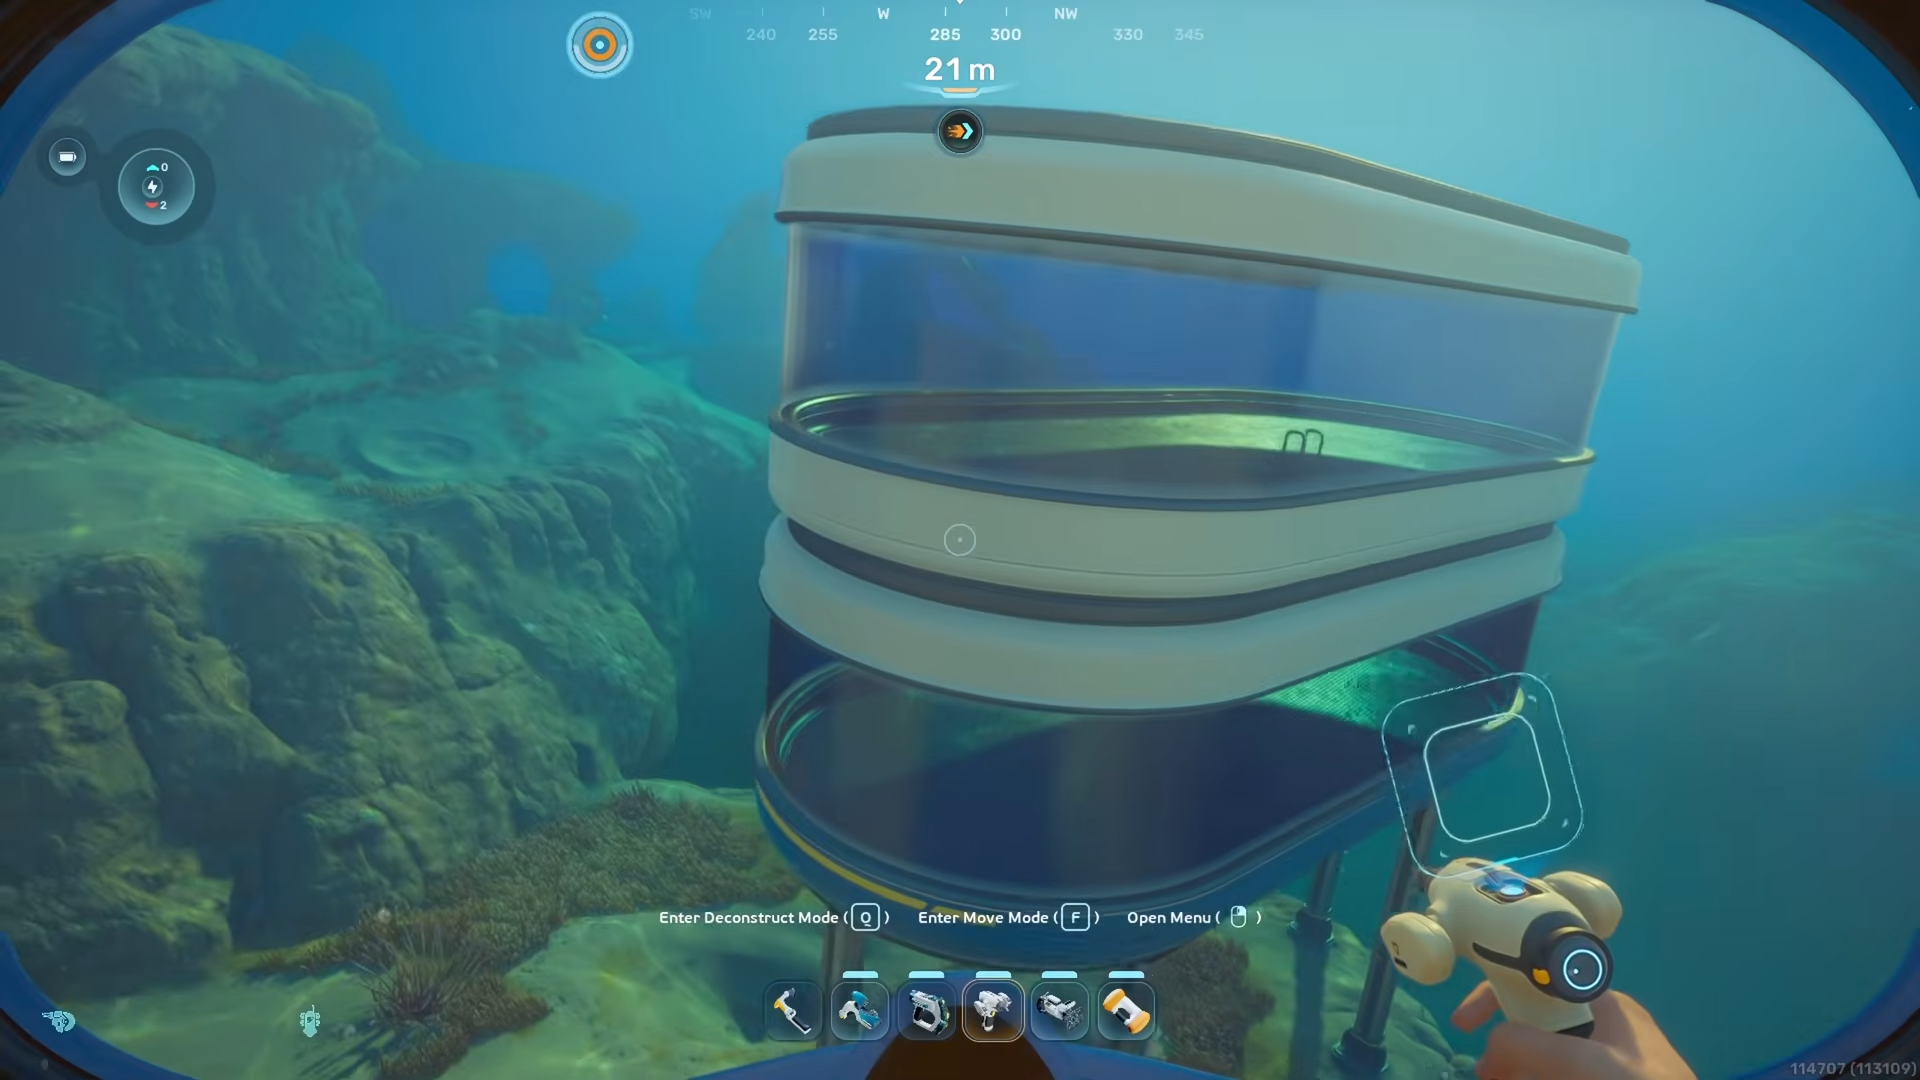
Subnautica 2 lets you build a fully glassed oval‑style room by cleverly stacking Square Rooms and Half‑Round Rooms around a shrink‑optimized Moonpool instead of relying on a true round room module.
Below is a complete, step‑by‑step breakdown of the hacks, plus a compact cheat‑sheet table so you can skim it mid‑build.
How to create the Subnautica 2 round‑room
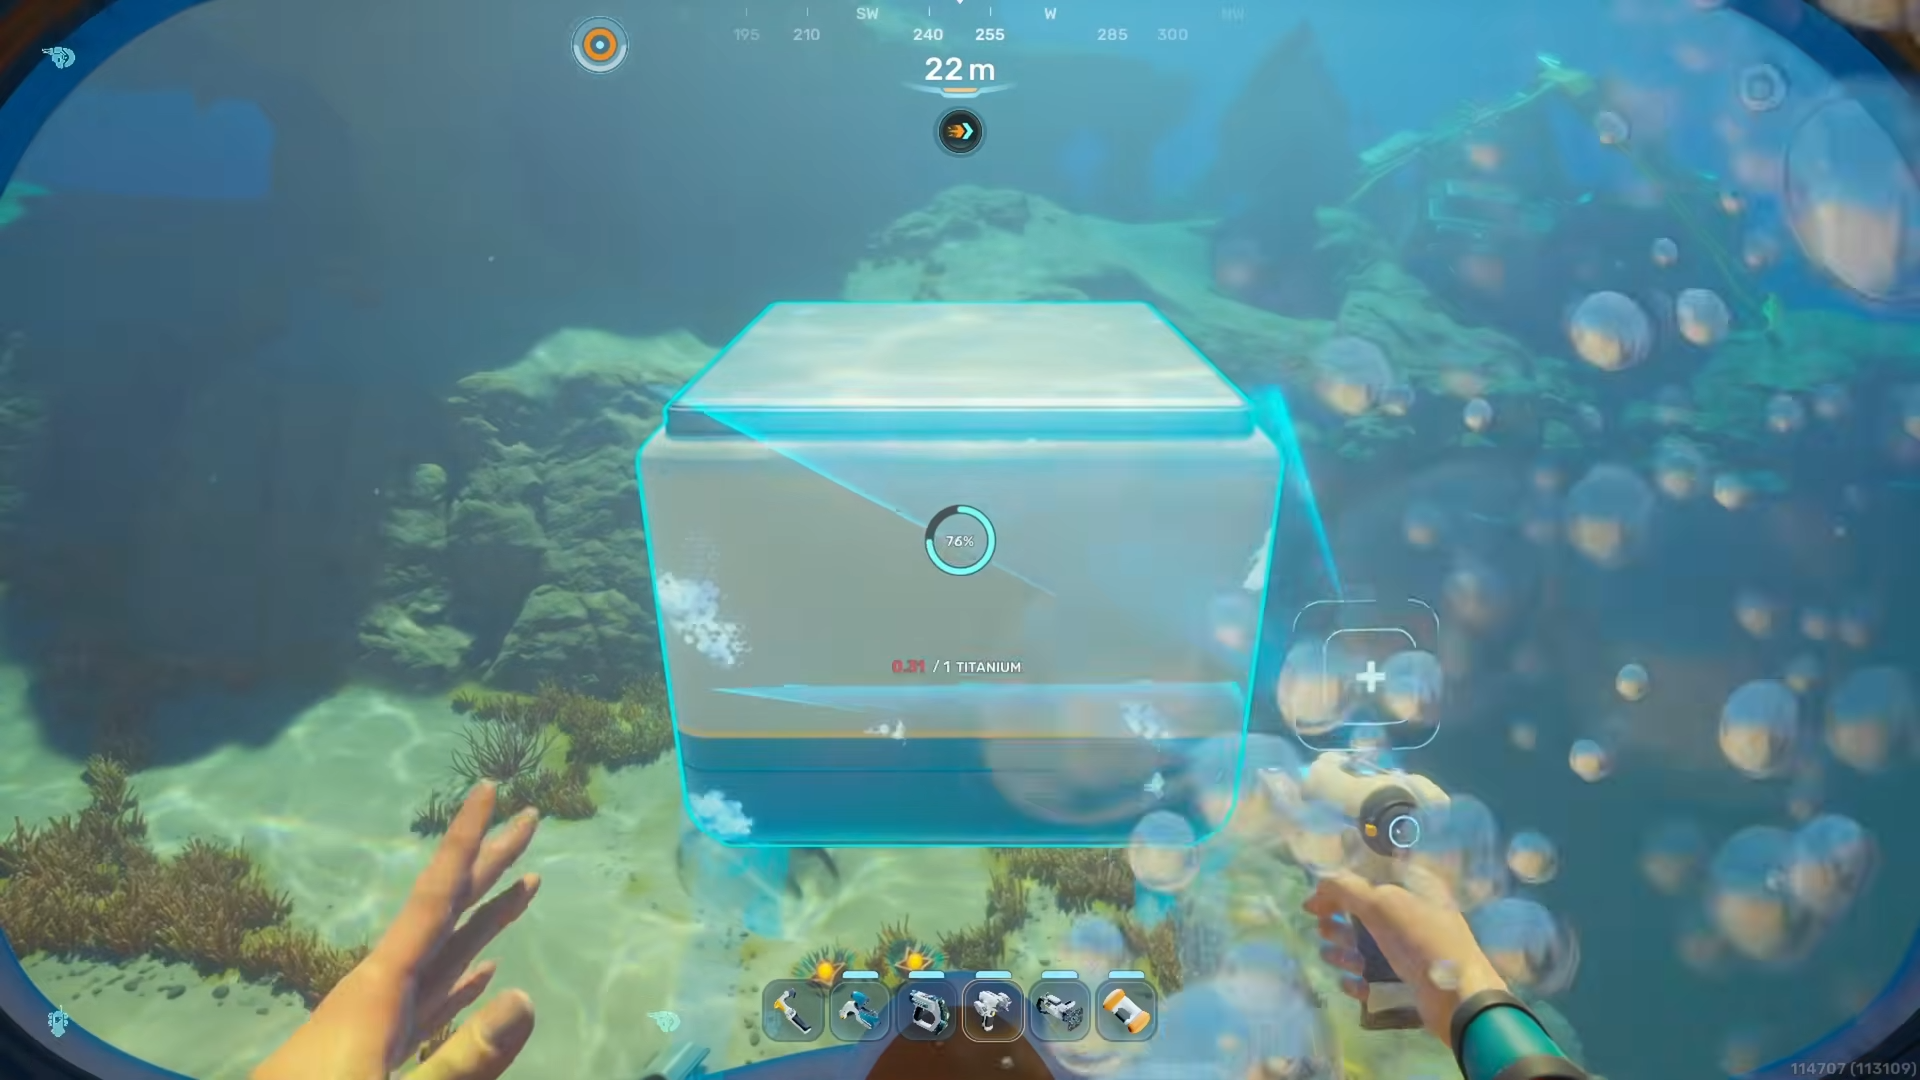
Step 1: Start with a Square Room
Build a basic Square Room on the seabed at your chosen base location. In the Habitat Builder UI, select Square Room, place it on the ground, and confirm placement so you have a solid 4‑wall box interior.
Step 2: Place the Moonpool in the center
Inside the Square Room, place a Moonpool so it sits on the floor and is roughly centered.
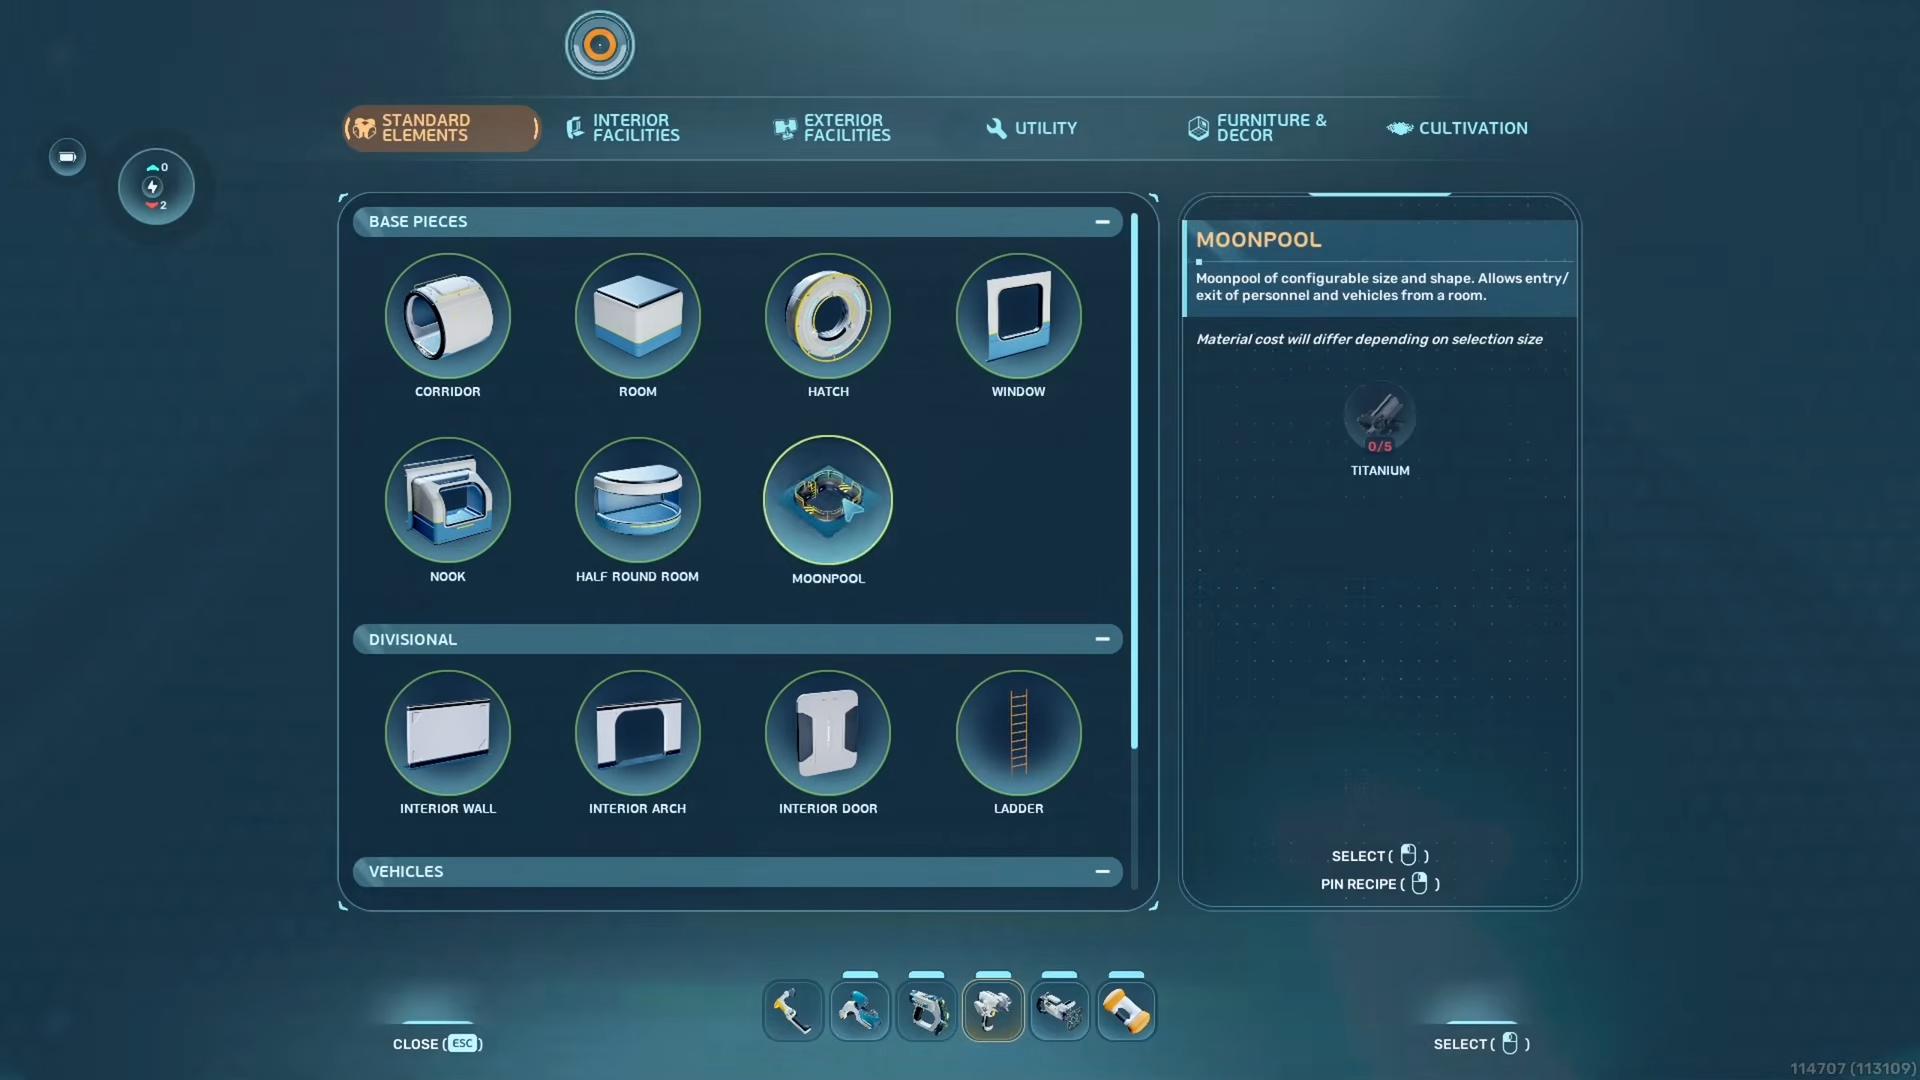
Ensure the Moonpool’s hatch is visible and that you can comfortably walk or swim through the air space when it’s open.
Step 3: Shrink the Moonpool to minimum size
Switch the Habitat Builder to shrink mode (the opposite of the default expand button) and select the Moonpool.
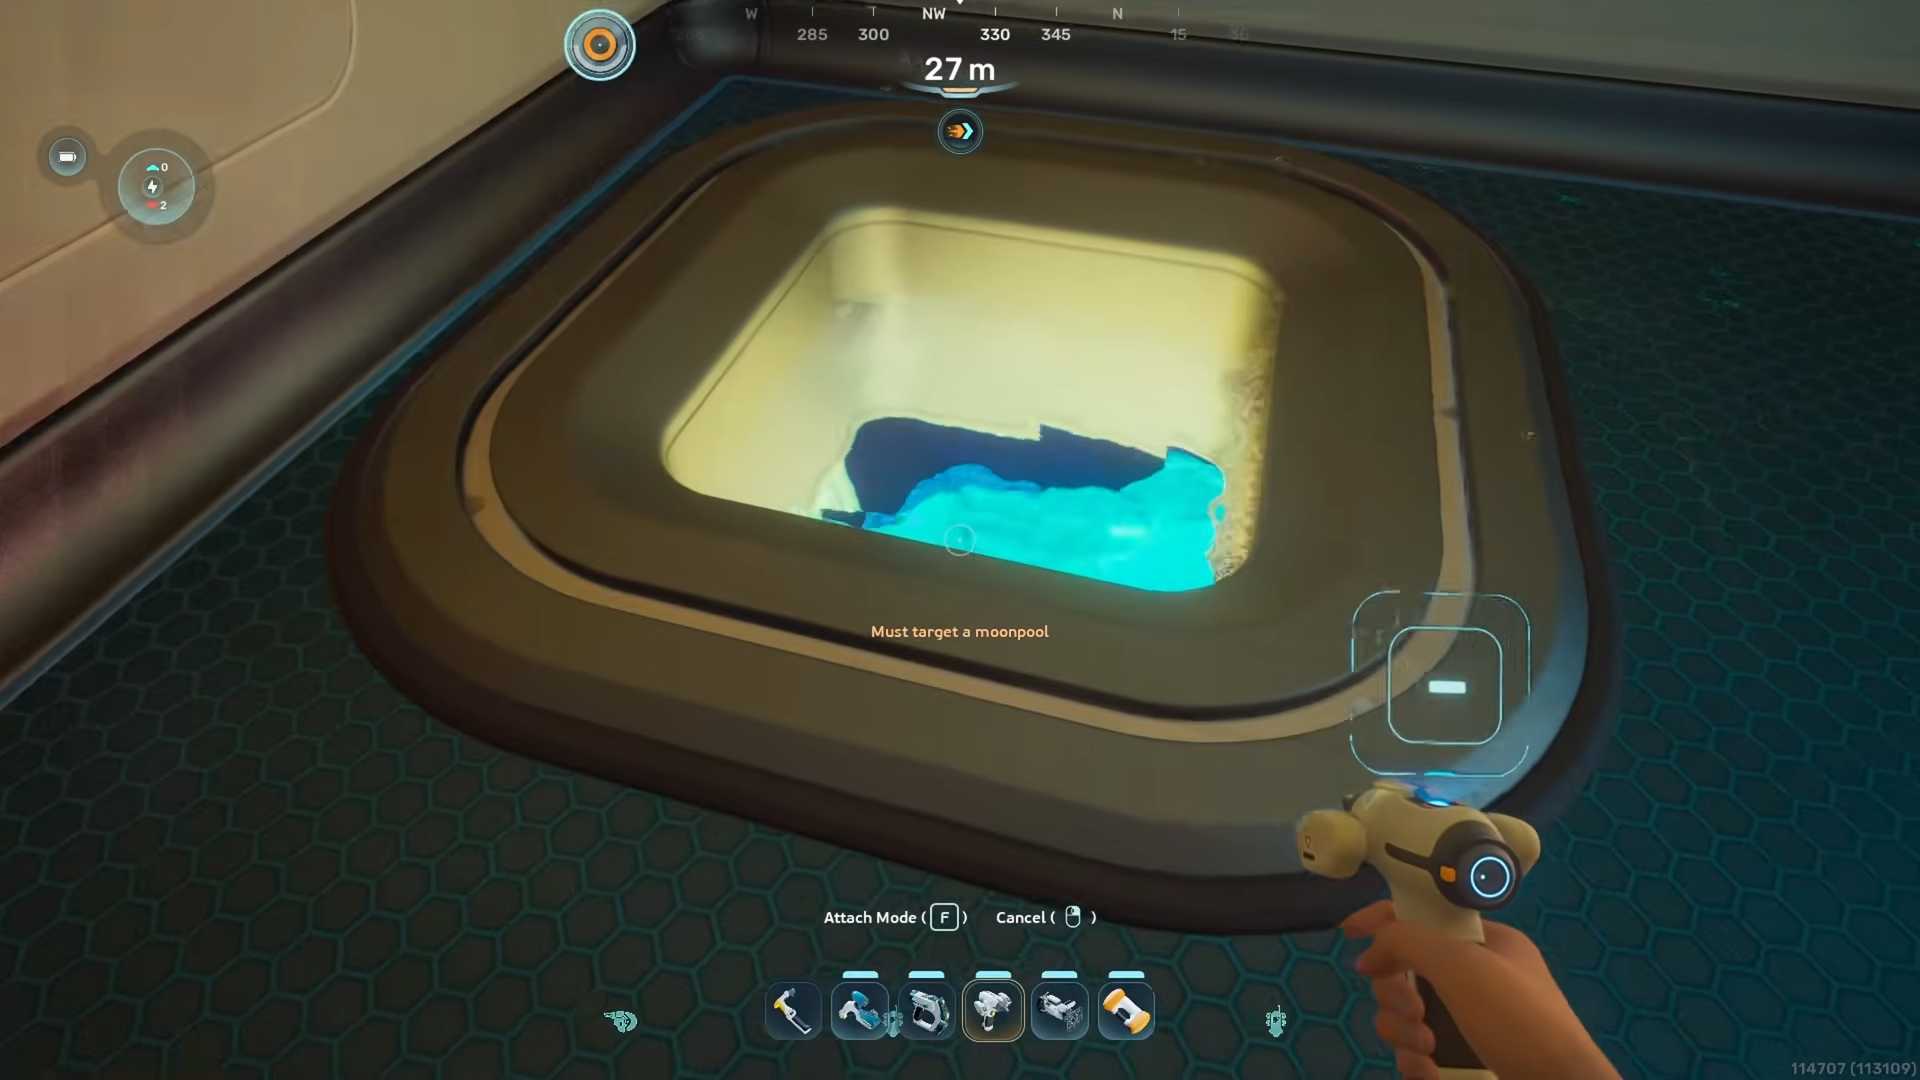
Shrink the Moonpool to the smallest square size where you can still enter and exit; this is usually a 1×1 or 2×2 footprint depending on the module.
Step 4: Remove hatch and re‑shrink
Exit the Moonpool and remove its hatch so the interior is just an open frame.
Then shrink the Moonpool again to the absolute smallest allowable size, which will help give you more room for the Half‑Round Room’s glass arc.
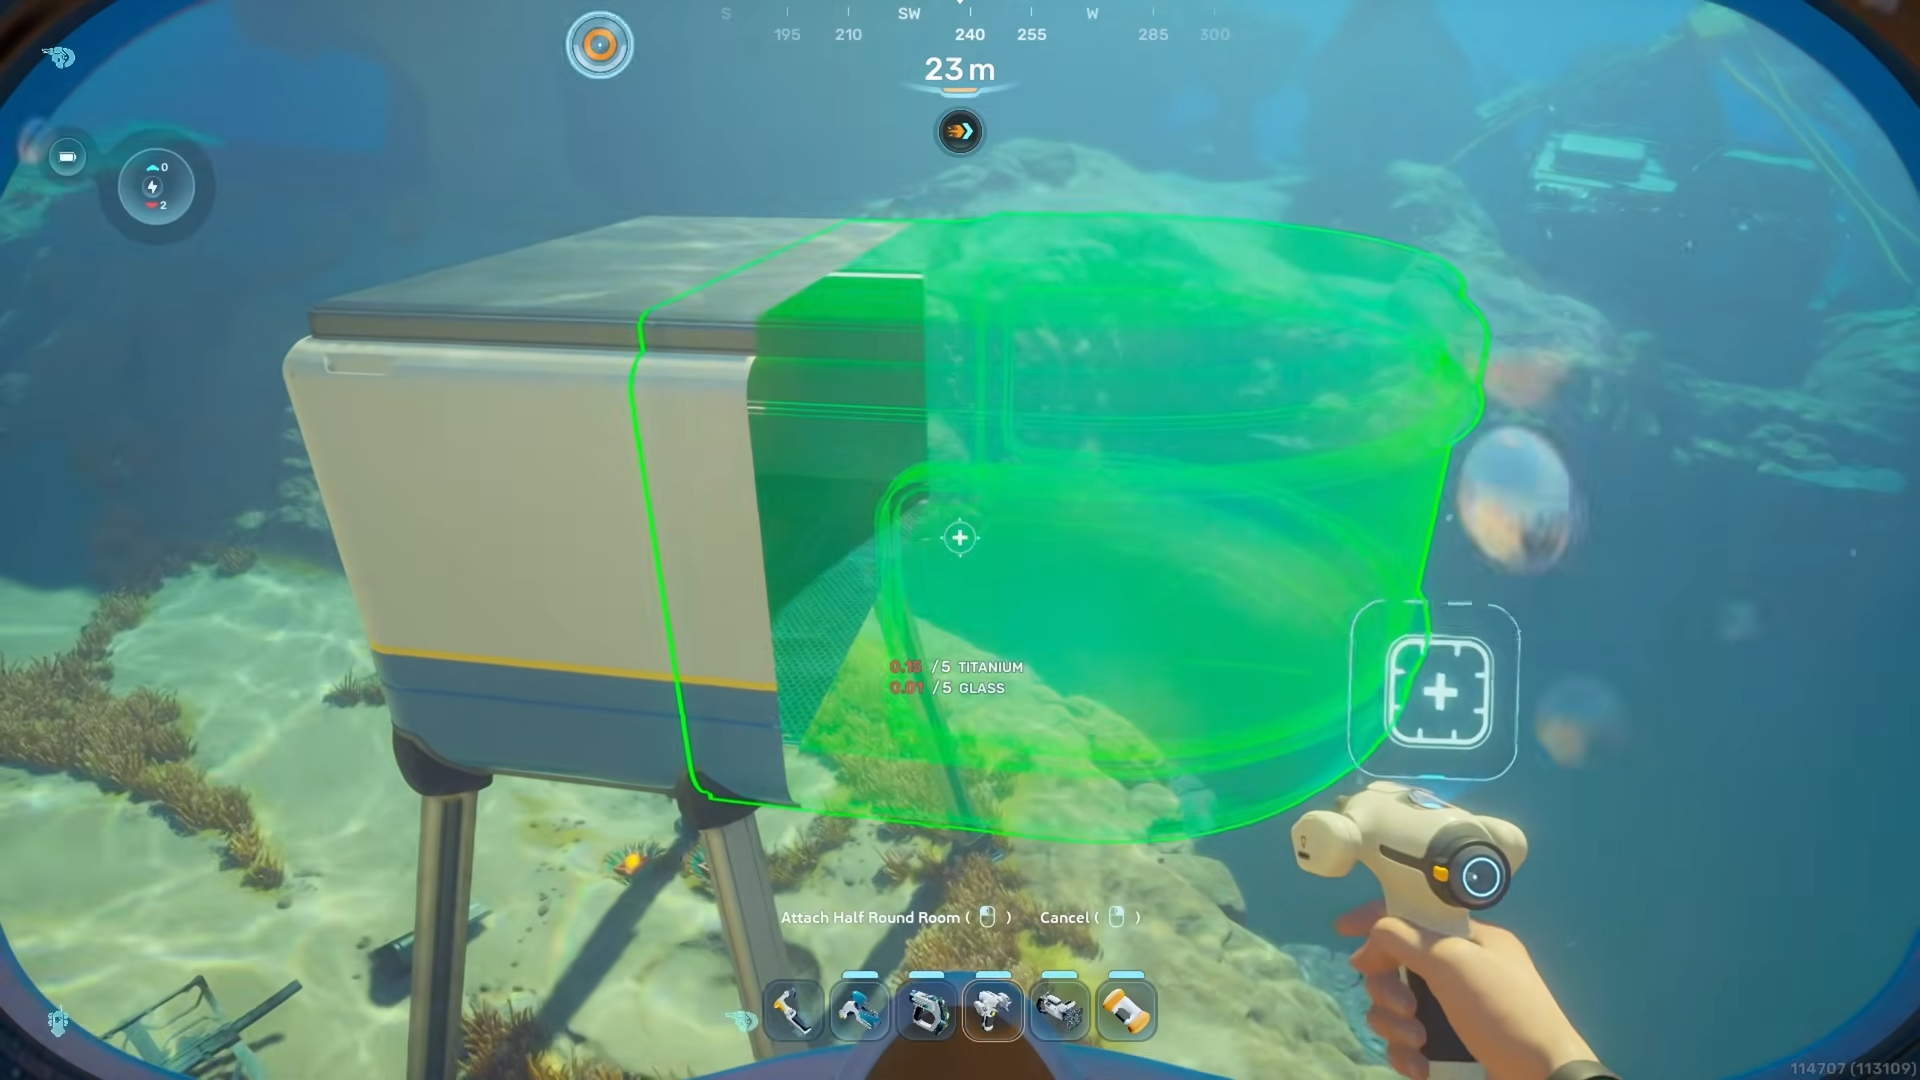
Step 5: Slightly widen the Square Room
Use the Habitat Builder to slightly expand the Square Room in width so its outer walls match the wider footprint of the Half‑Round Room.
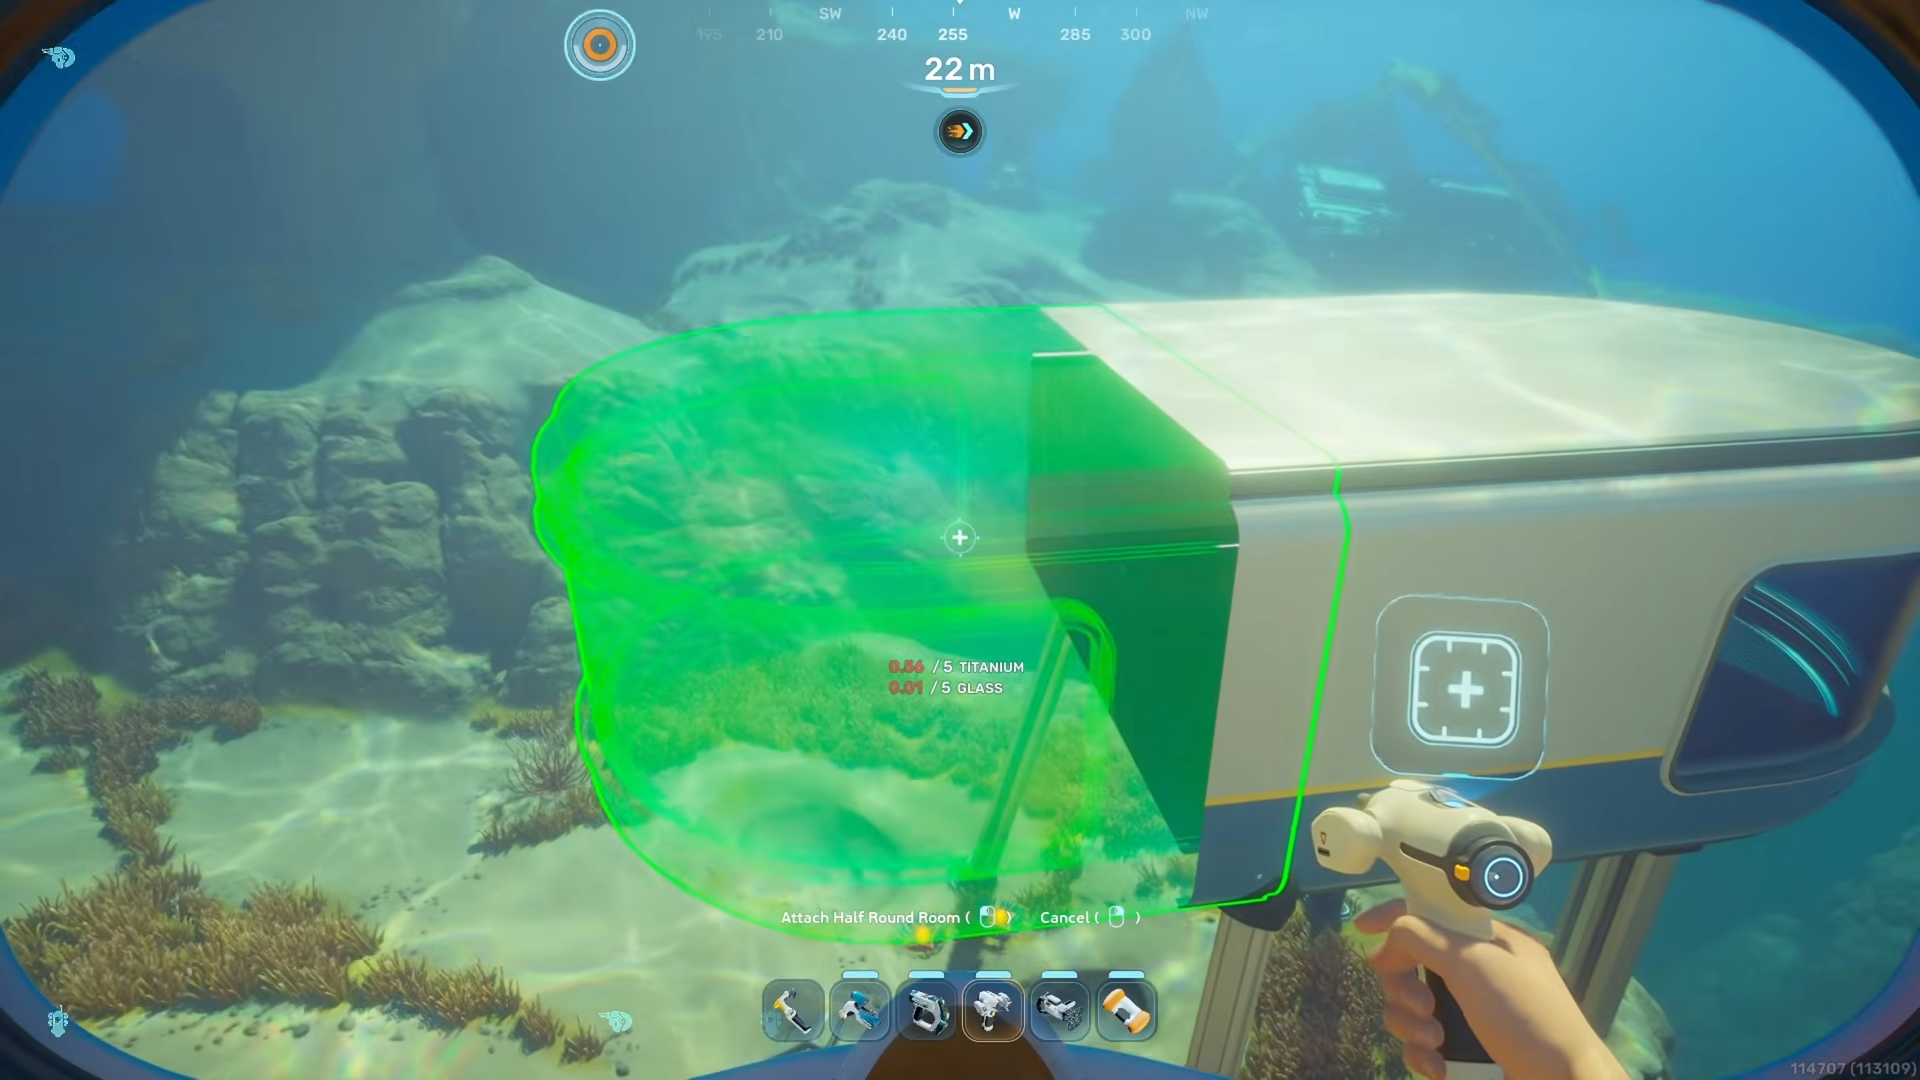
Do not make it huge; you only need to widen it enough so the Half‑Round Room can sit flush against the long side without clipping.
Step 6: Add the first Half‑Round Room
With the wider Square Room in place, attach a Half‑Round Room to one of the long sides of the Square Room.
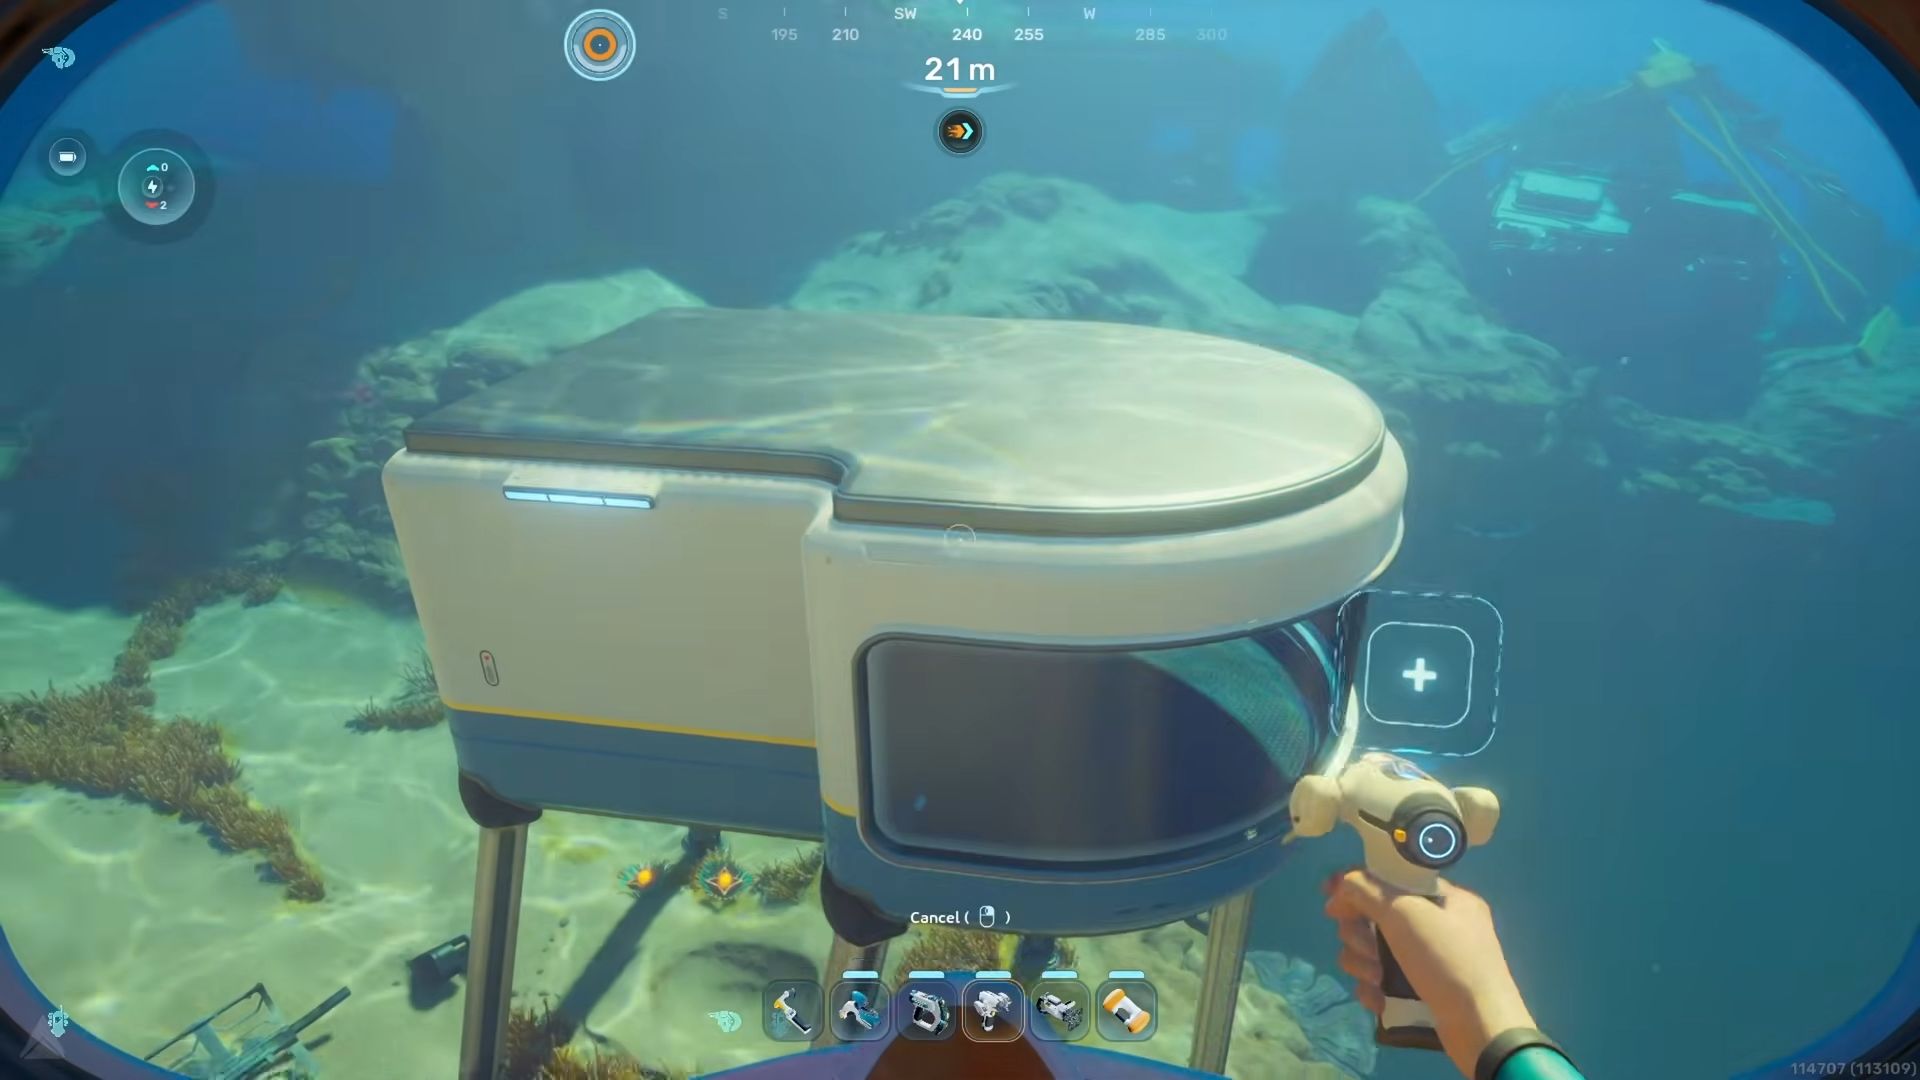
This creates one glass “bulge” on that side; the Square Room now acts as the connecting core between two Half‑Round Rooms.
Step 7: Adjust the room using the Moonpool
Go back into the Moonpool to reposition and nudge the Square Room slightly relative to the attached Half‑Round Room.
Then switch the Habitat Builder to shrink mode again and shrink the Square Room as much as possible while keeping structure connections intact so the interior still feels open.
Step 8: Attach the second Half‑Round Room
On the opposite long side of the Square Room, place another Half‑Round Room, aligning it so it matches the glass arc of the first.
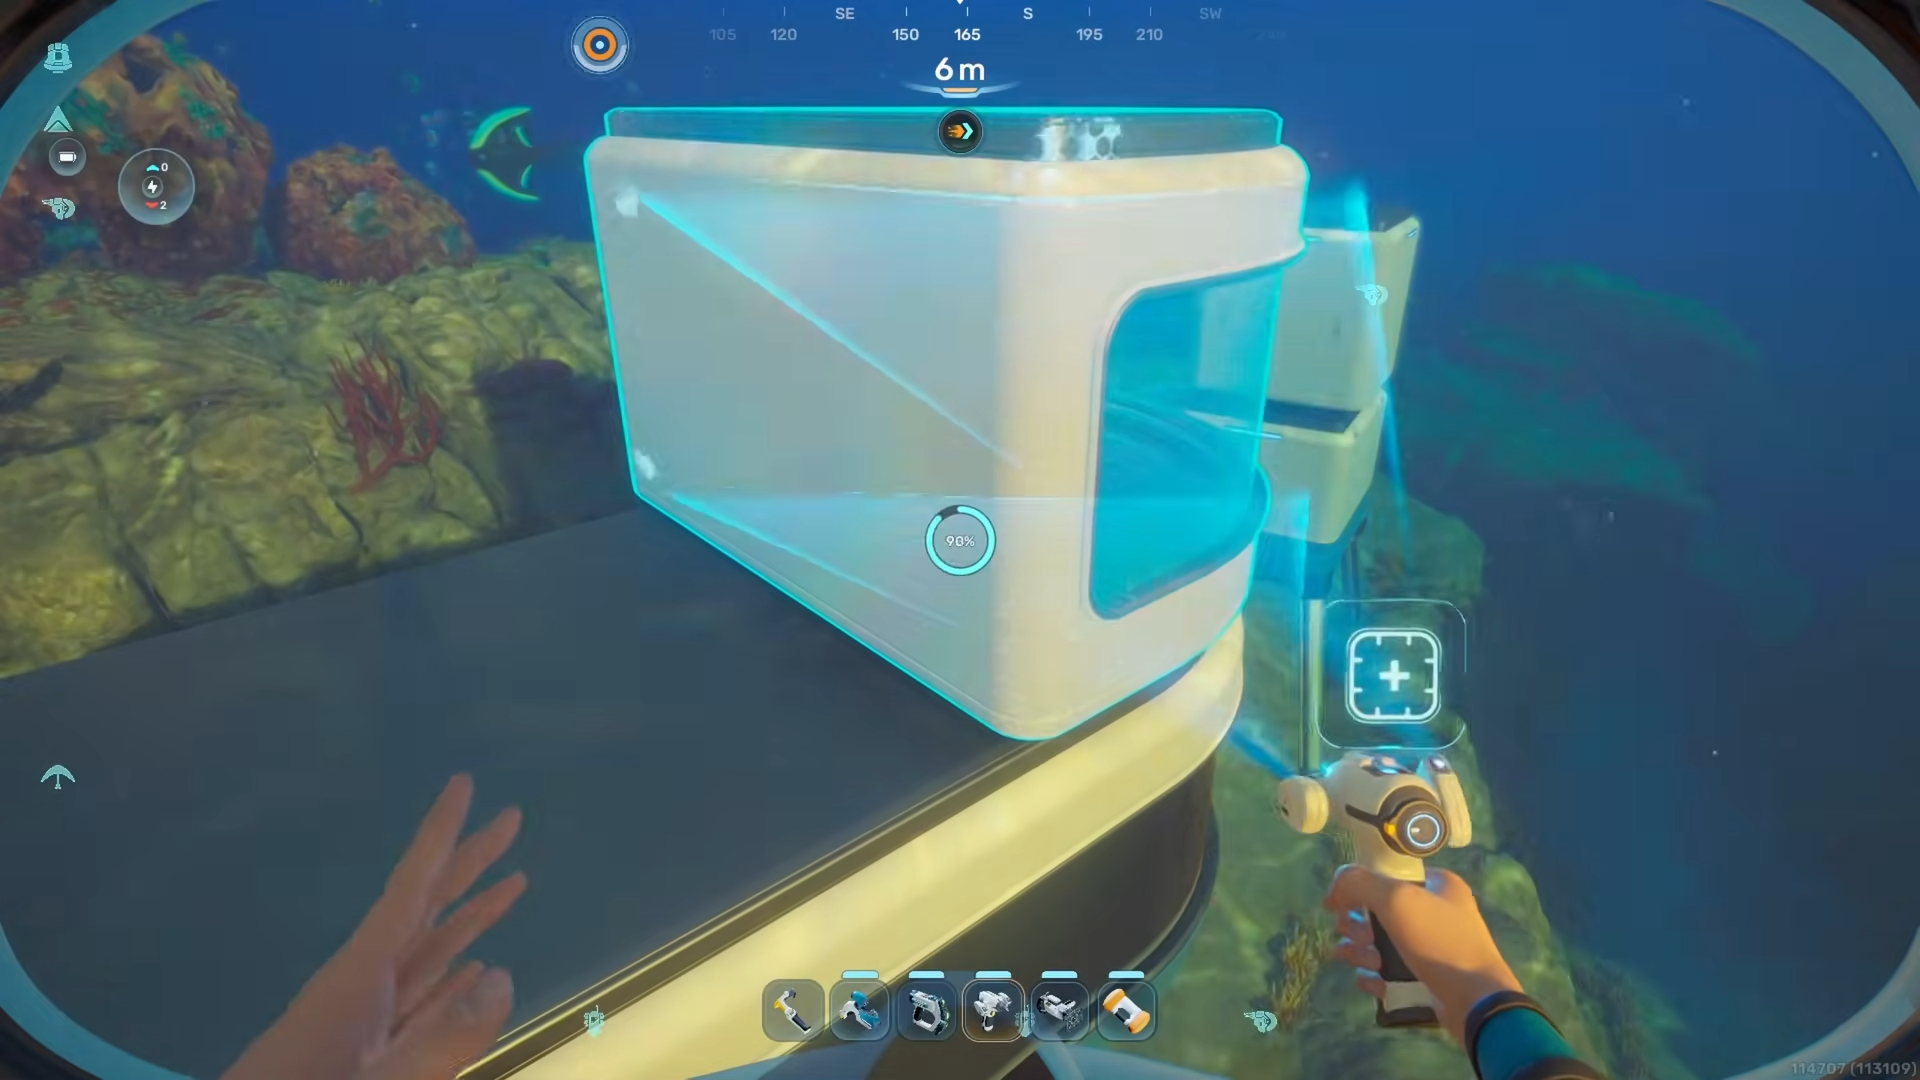
Expand the Square Room’s side slightly if needed so the second Half‑Round Room connects cleanly; you’re essentially sandwiching the Square Room between two Half‑Round Rooms.
Step 9: Add windows to complete the oval
With both Half‑Round Rooms attached, use the Window module to place glass on all remaining flat metal walls of the Square Room.
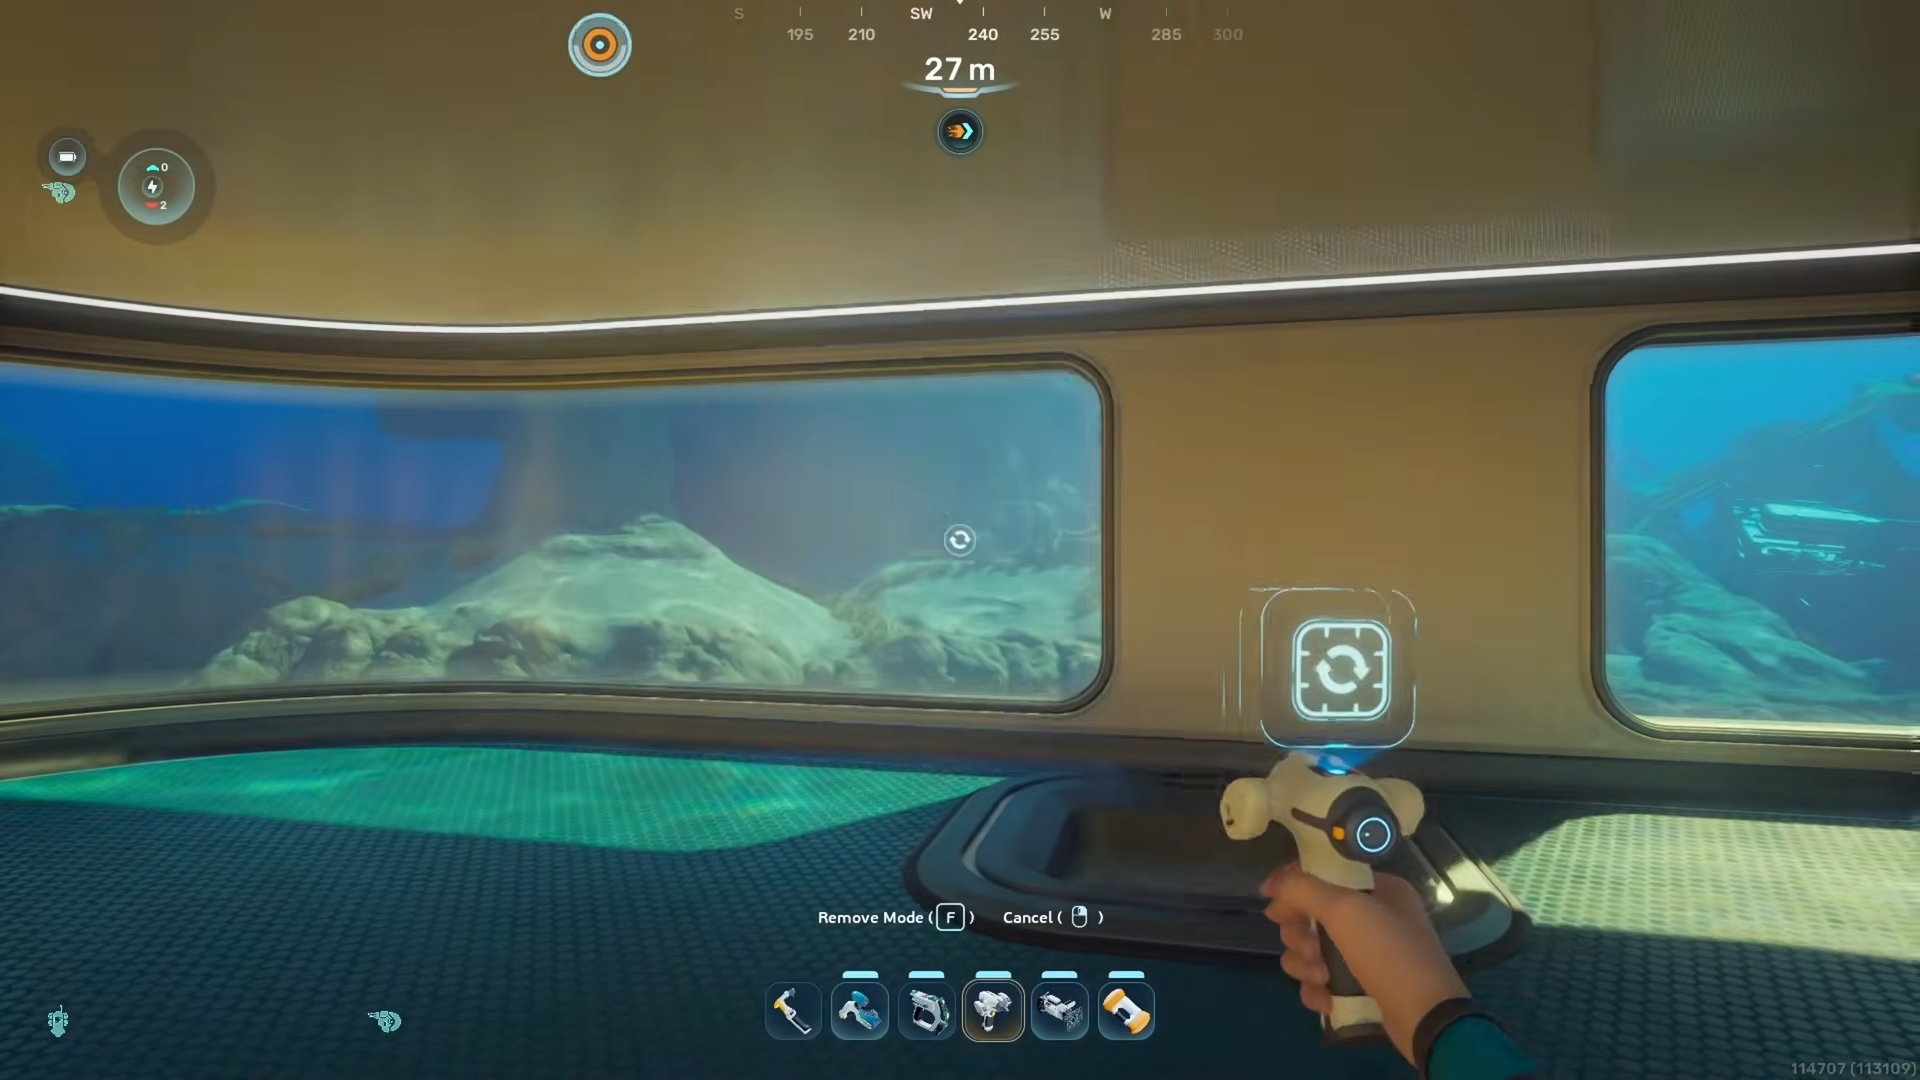
This turns the whole loop into a full oval glass room: the two Half‑Round Rooms form the rounded ends, while the Square Room’s glassed walls form the straight‑ish “sides” in the middle.
Step 10: Add a second story (optional)
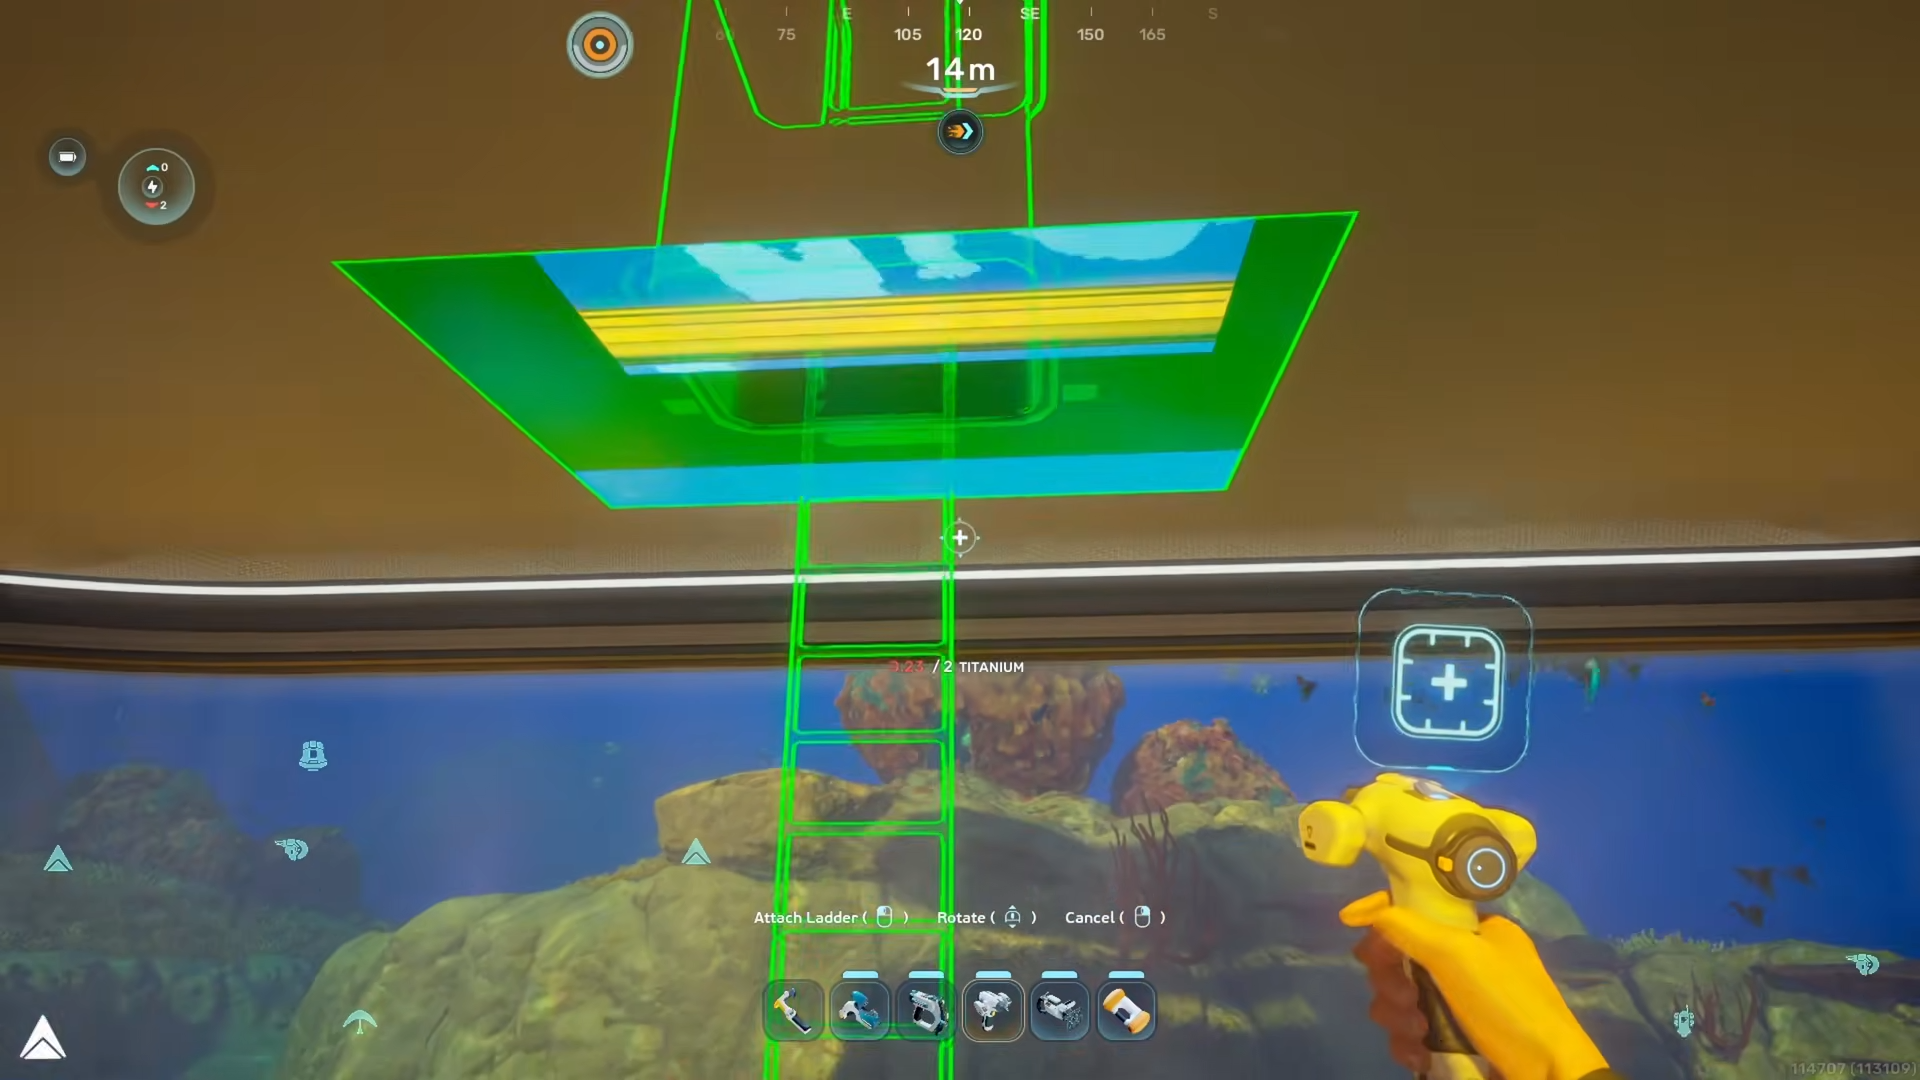
To give the oval room a second floor, go outside the base and place two Half‑Round Rooms on top of the existing ones, aligned exactly with the first‑floor arcs.
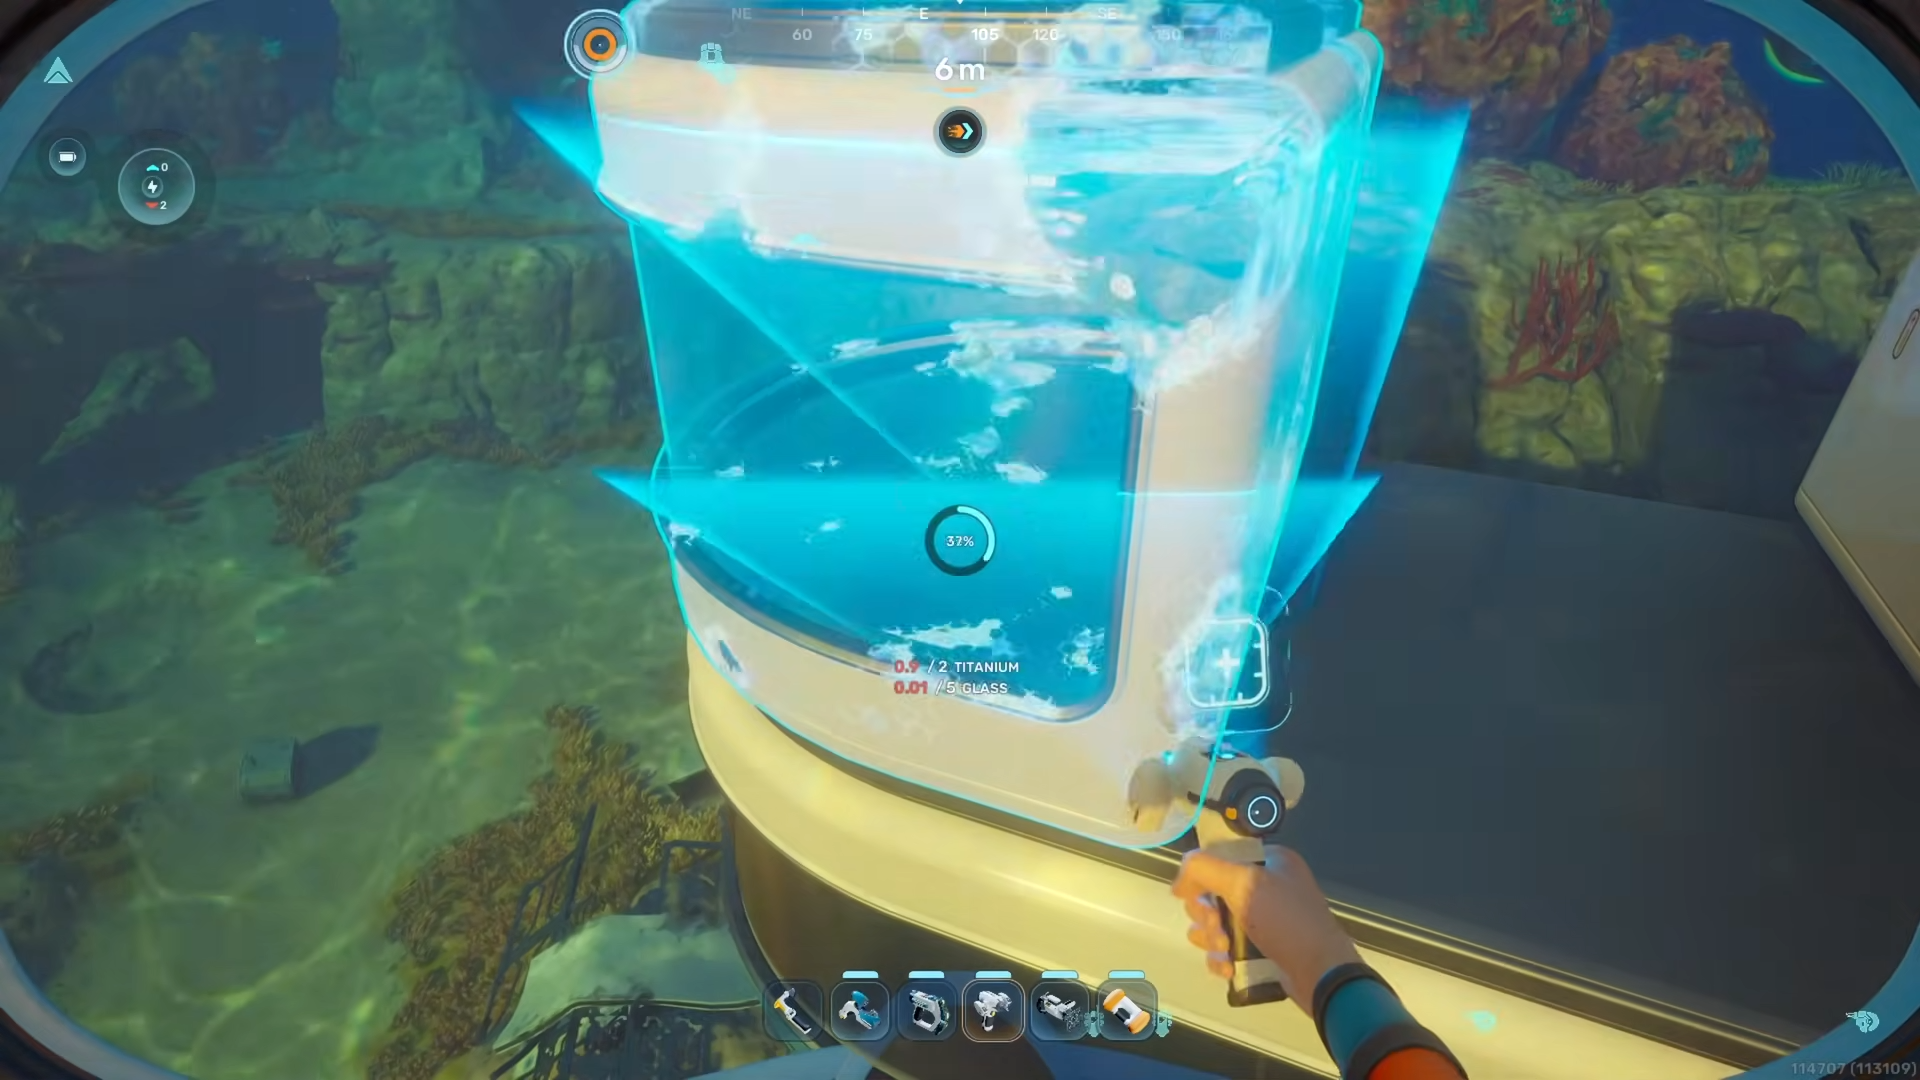
Then expand the upper Half‑Round Rooms until they connect, and finally drop a Ladder in the center of the lower floor so it extends up through the middle of the structure.
Critical mistakes to avoid
-
Trying to put a Moonpool inside a Half‑Round Room: The Moonpool must start in the Square Room; the Half‑Round Room shape does not allow the Moonpool to fit properly.
-
Forgetting to shrink the Moonpool and Square Room: If both remain at default size, the Half‑Round Rooms will not connect cleanly and the oval will look distorted or have gaps.
-
Placing the Ladder off‑center upstairs: The game only allows the ladder in the middle of the lower floor; if you place it off‑center, you cannot connect it to an upper Half‑Round Room.
-
Overlapping Half‑Round Rooms incorrectly: If you try to stack the Half‑Round Rooms on the same side instead of opposite sides, the structure will either refuse to connect or look like a bulge instead of a clean oval.
Once the oval room is built, you can use Subnautica 2’s hidden structural variants to tweak the look.
-
Select Windows in the Habitat Builder, then cycle through corner variants to create slanted or angled window edges for a more polished curved‑glass look instead of rigid squares.
-
Experiment with Moonpool outer‑edge variants (if available in your build) to change how the Moonpool frame blends with the oval‑room aesthetic.
Using The Subnautica 2 Round Room Building Hack, you can turn stiff square and half‑round rooms into a fully glass oval module that feels like a true round room, without waiting for additional blueprint updates. This trick not only improves your base’s aesthetics but also lets you maximize underwater views and light while keeping core gameplay systems like the Moonpool and ladders fully functional.