What to know
- Hotbar upgrades are unlocked inside Biohacking Chambers scattered across the map.
- Scanner Stations help locate these chambers within a 300m detection radius.
- Some chambers reward inventory expansions, while others increase hotbar slots.
- Building multiple scanner outposts makes finding upgrades much easier in mid-game exploration.
Managing tools efficiently becomes much more important as you unlock advanced gear in Subnautica 2. Early on, the limited hotbar space can feel restrictive, especially when you constantly swap between scanners, repair tools, weapons, oxygen gear, and vehicles. Fortunately, the game includes permanent hotbar upgrades that can dramatically improve exploration comfort once you know where to look.
Quick overview of hotbar upgrades in Subnautica 2
| Feature | Details |
|---|---|
| Upgrade Type | Permanent Hotbar Expansion |
| Found In | Biohacking Chambers |
| Main Requirement | Scanner Station access |
| Scanner Range | 300 meters |
| Possible Rewards | Hotbar Slots or Inventory Space |
| Recommended Progression | Mid-game exploration |
| Best Strategy | Multiple scanning outposts |
How Biohacking Chambers work in Subnautica 2
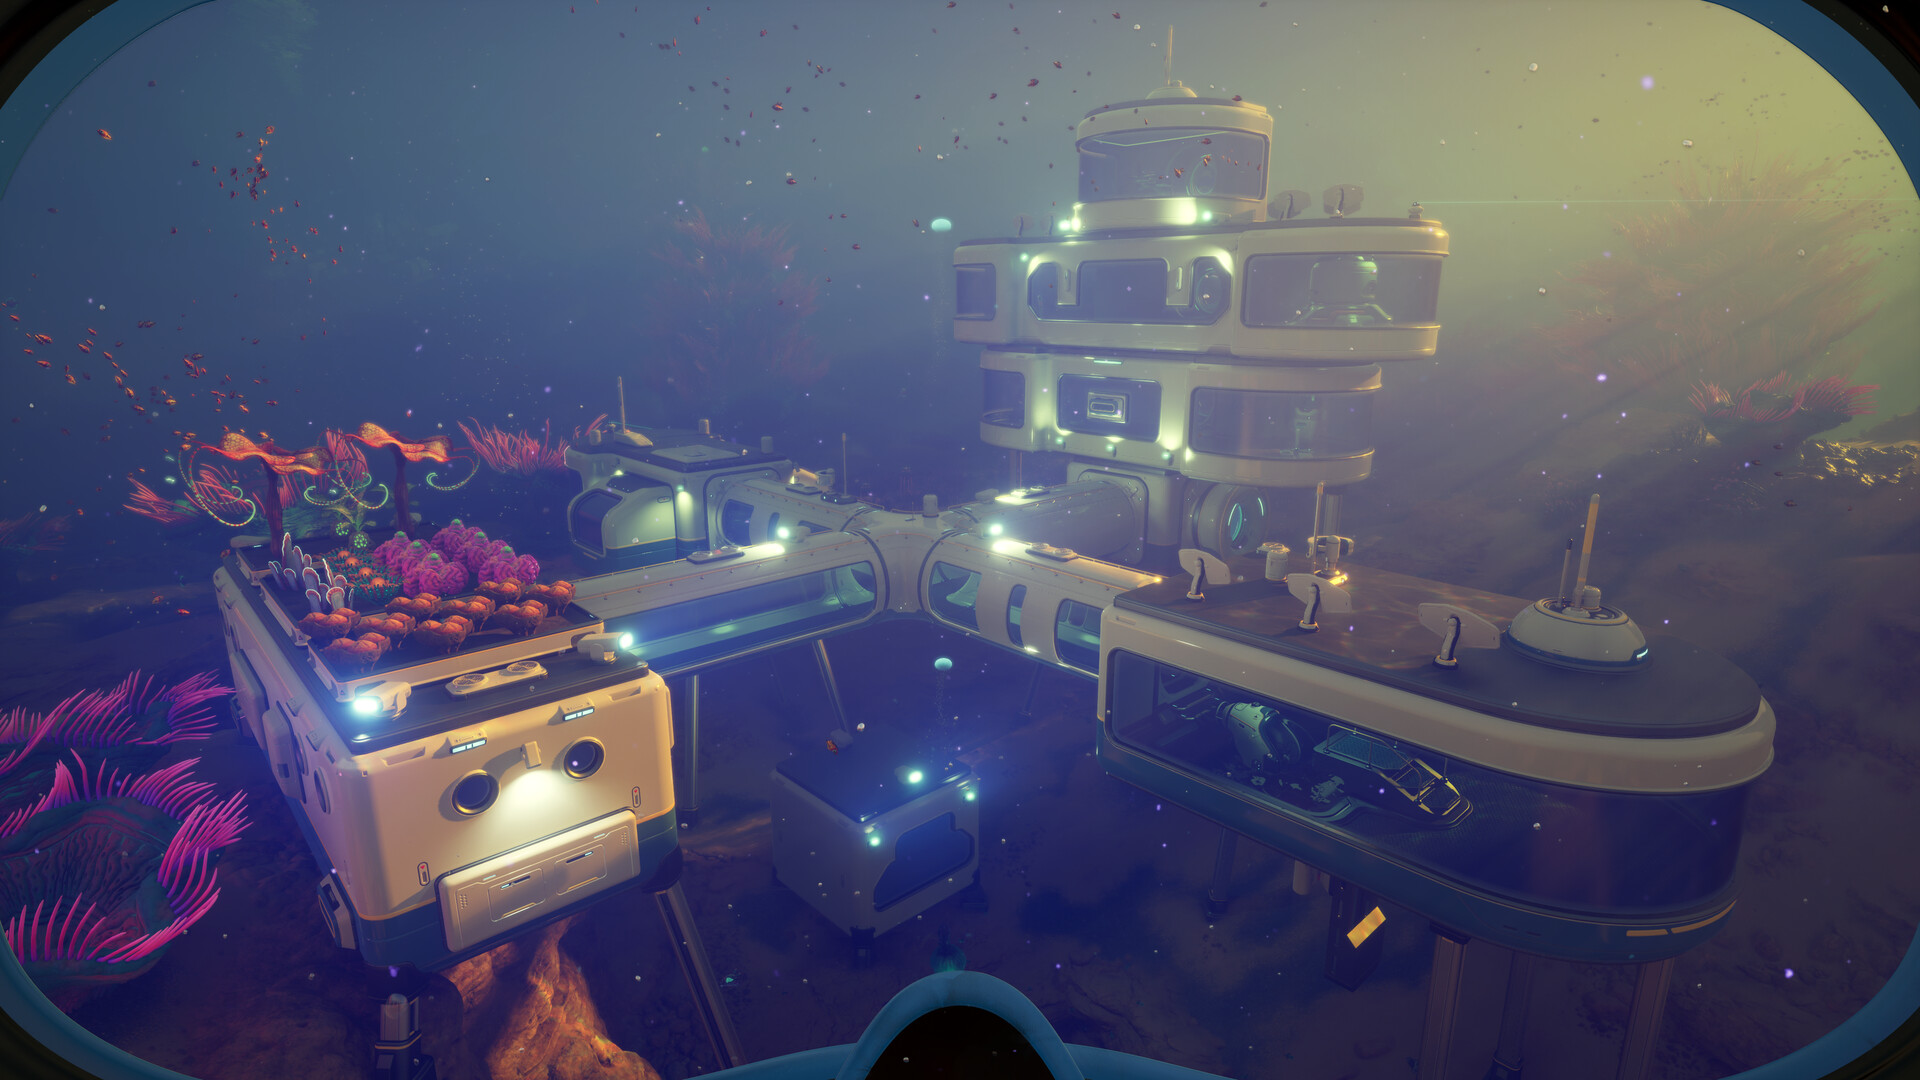
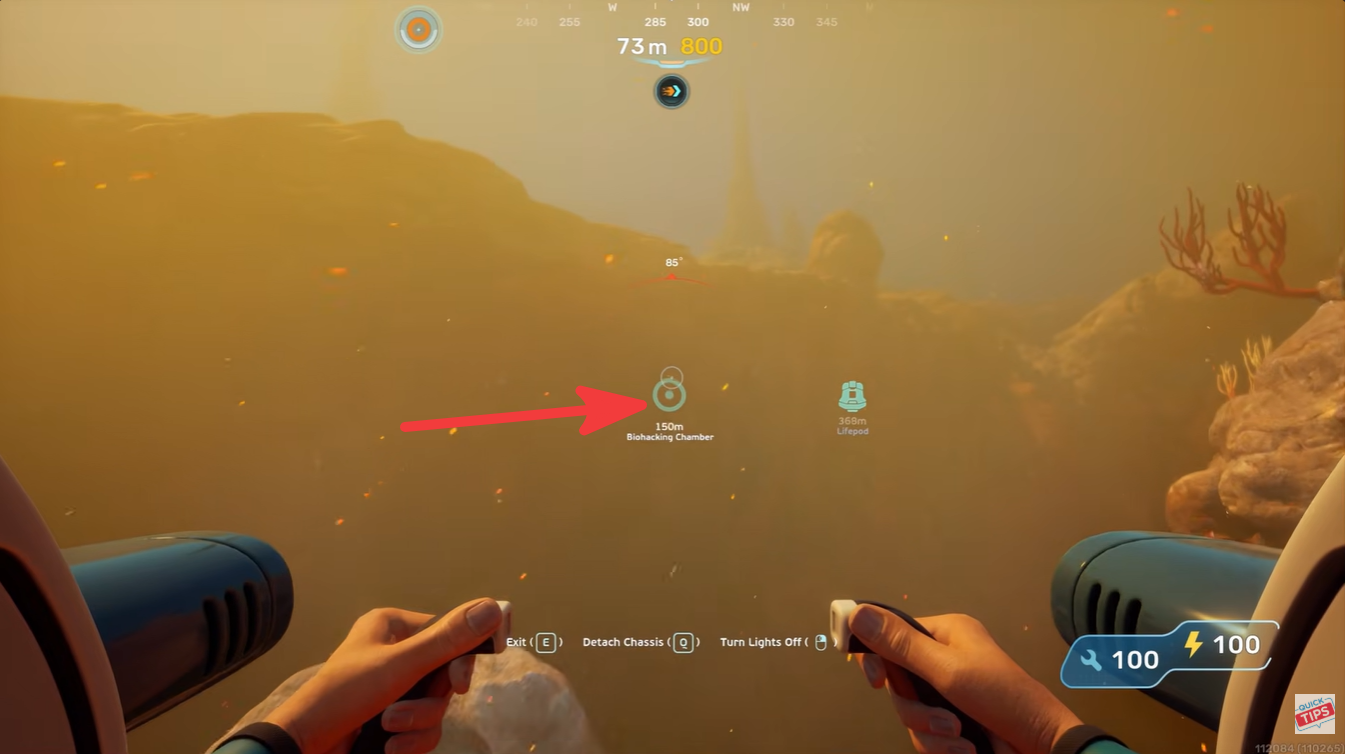
Biohacking Chambers are special facilities hidden throughout the underwater world. These chambers usually contain advanced upgrade systems tied to player enhancements rather than standard crafting blueprints. Unlike normal loot locations, these facilities provide direct permanent upgrades after interacting with internal terminals.
Most players first discover these chambers accidentally during exploration, but the much faster approach involves Scanner Stations.
You can identify many Biohacking Chambers through their distinct external lighting, which often stands out against darker biomes. These illuminated structures are especially noticeable when exploring deeper waters or cave entrances at night.
How to locate Biohacking Chambers faster
The easiest method is using a Scanner Station network. Since every Scanner Station only covers a radius of roughly 300 meters, relying on a single base limits your ability to detect hidden structures.
A much better strategy involves building several small scanner outposts across important regions of the map. This creates overlapping coverage zones that dramatically improve your chances of detecting nearby Biohacking Chambers.
Recommended scanner setup
| Base Type | Purpose |
|---|---|
| Main Base | Crafting and storage |
| Exploration Outposts | Extend scanner coverage |
| Deep Biome Stations | Search late-game regions |
| Resource Hubs | Combine farming and scanning |
Placing scanner outposts near biome transition areas works especially well because many hidden facilities appear close to cliffs, trenches, and cave systems.

How to get the hotbar upgrade
Once you discover a Biohacking Chamber, the process itself is fairly simple.
Step 1
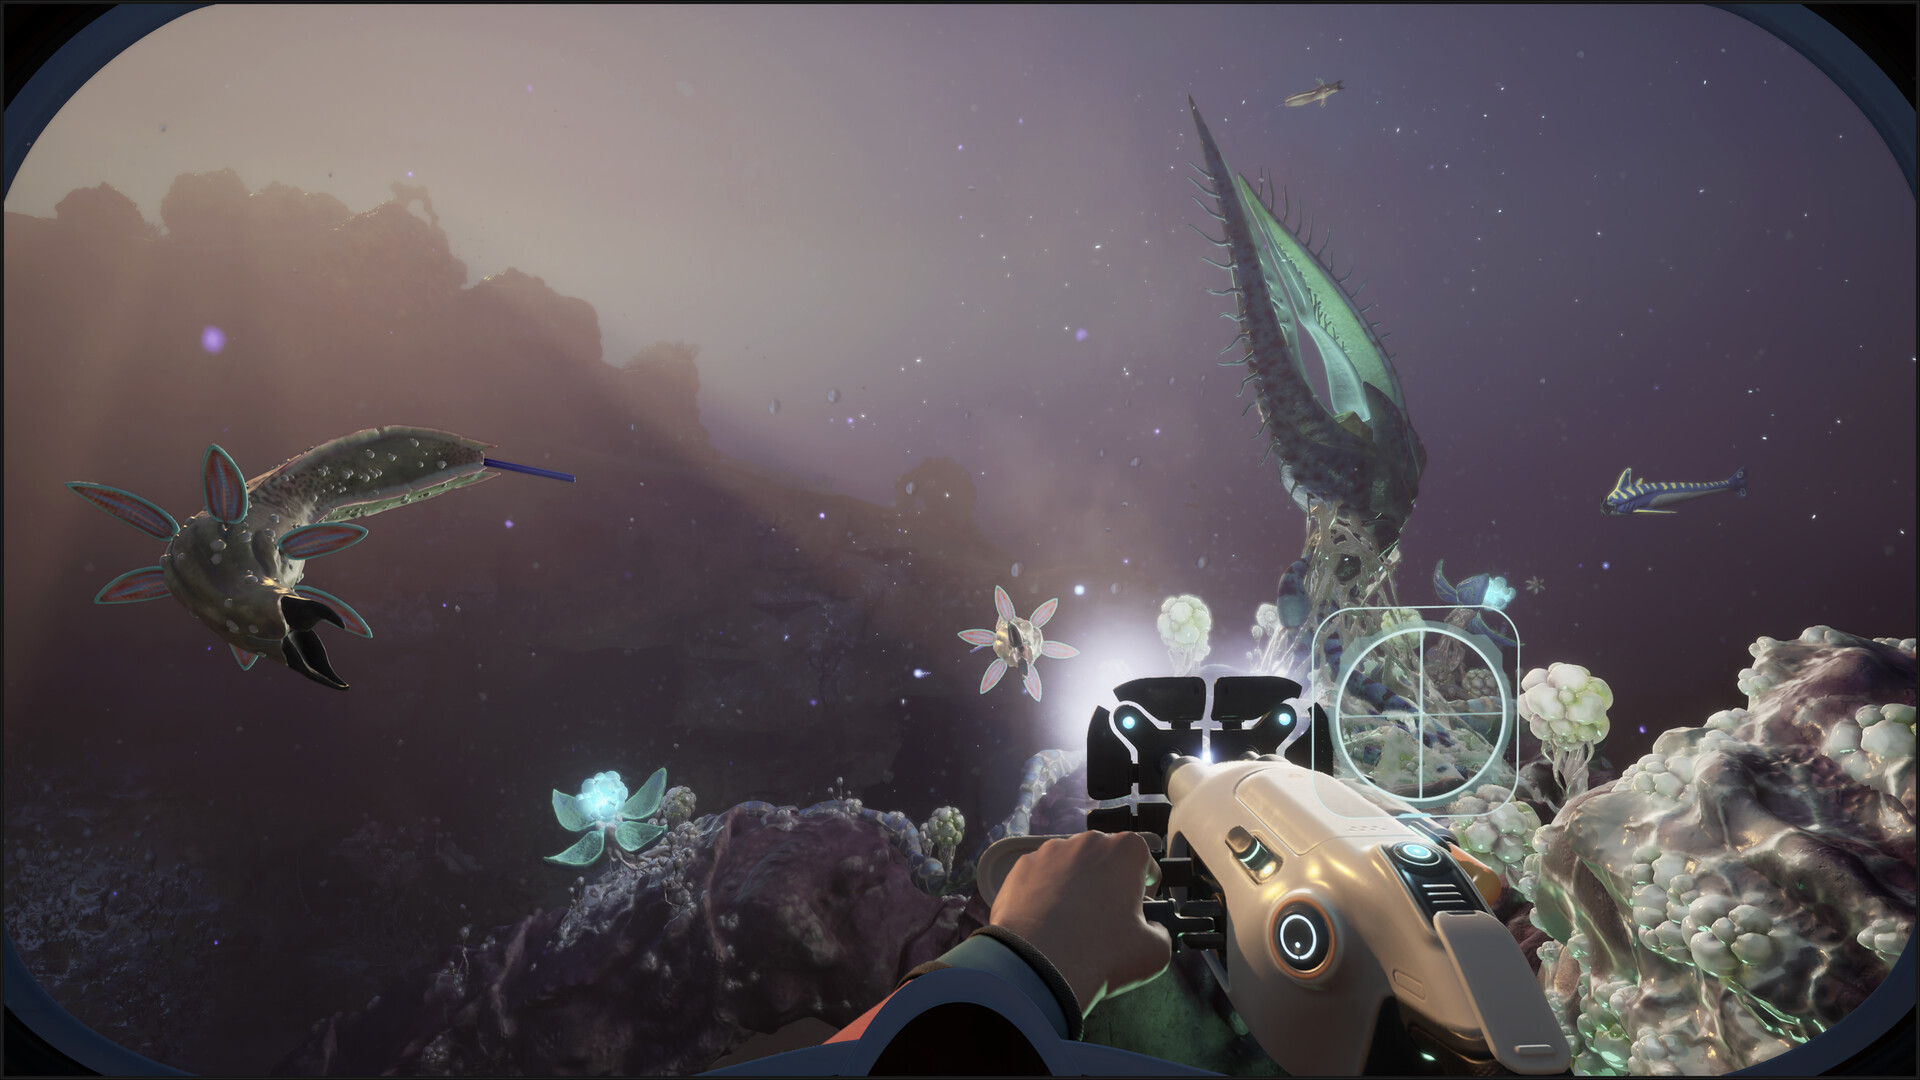
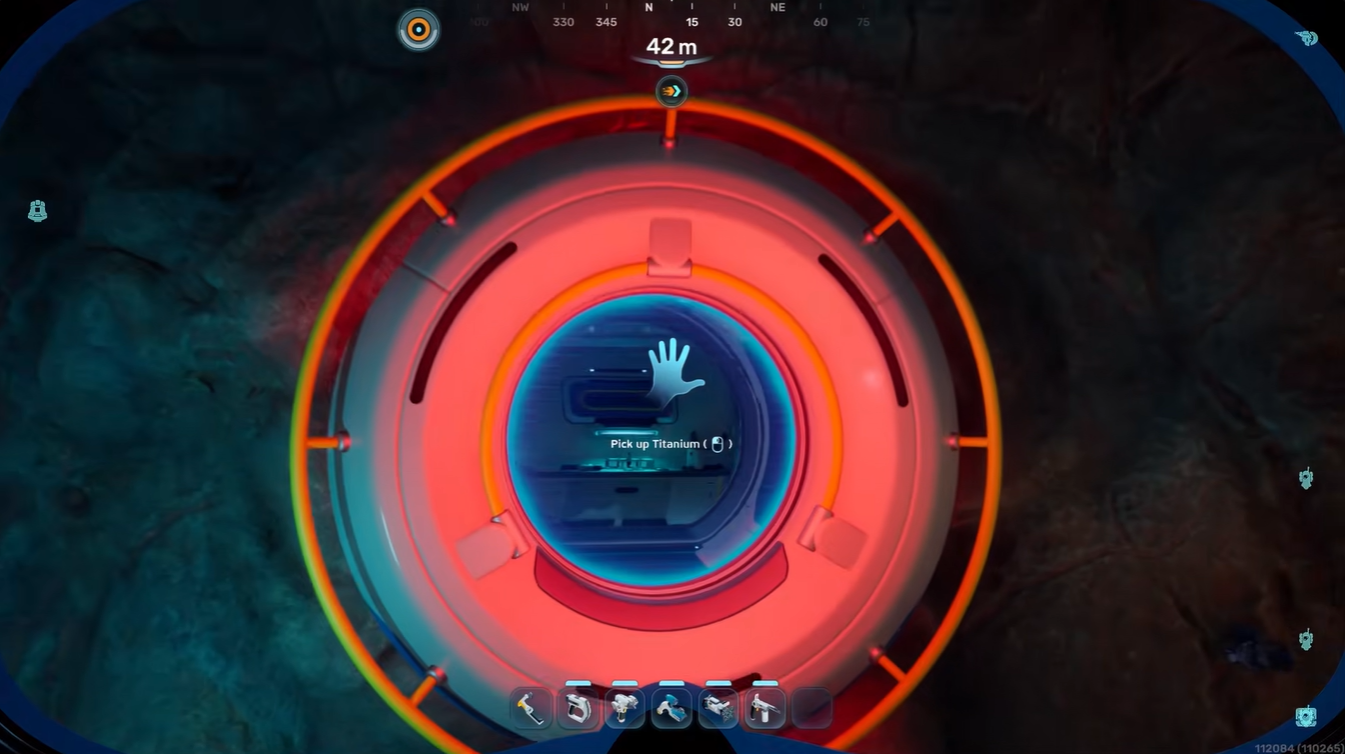
Travel to the detected Biohacking Chamber location using your preferred vehicle or diving setup. Bring enough oxygen and power supplies because some chambers are located far from safe zones.
Step 2
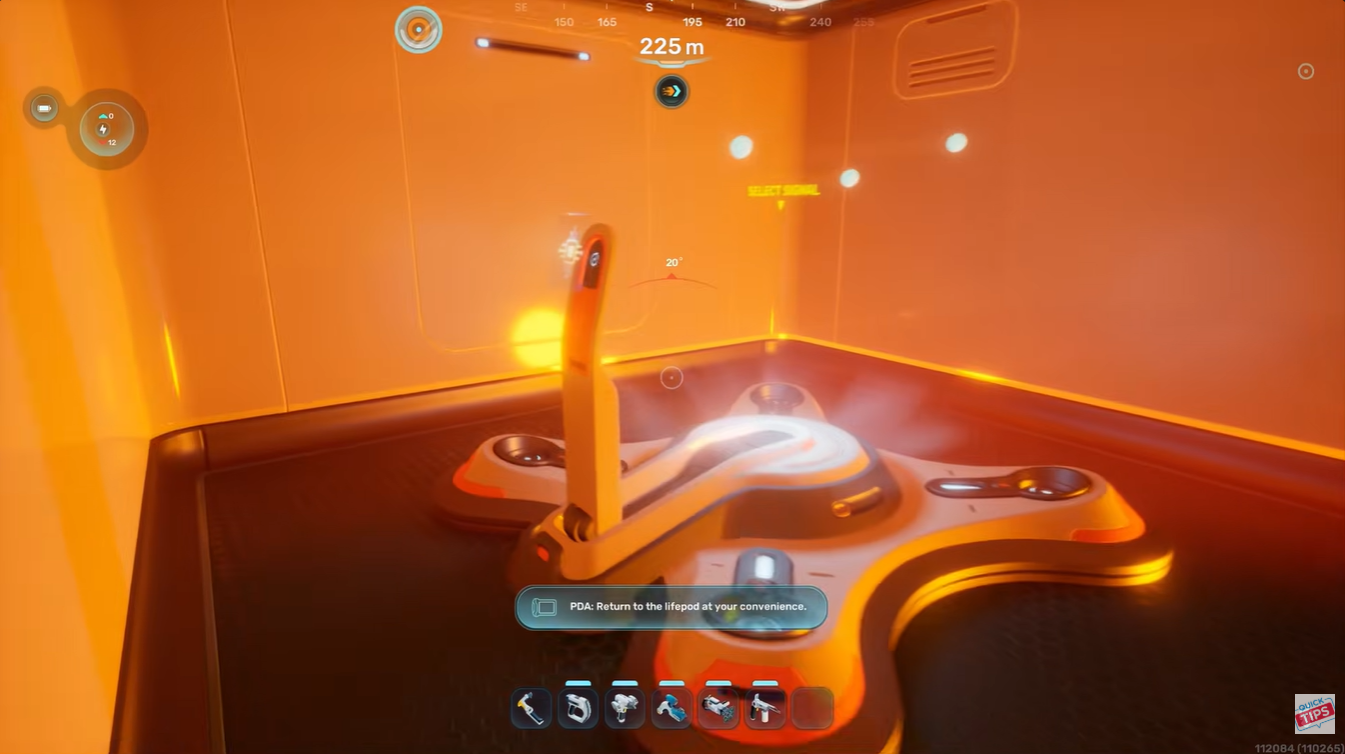
Enter the facility and search for the bio bed or upgrade terminal area. The interior is usually compact, making the key interaction point easy to locate.
Step 3
Interact with the screen attached to the bio bed system. This activates the enhancement sequence.
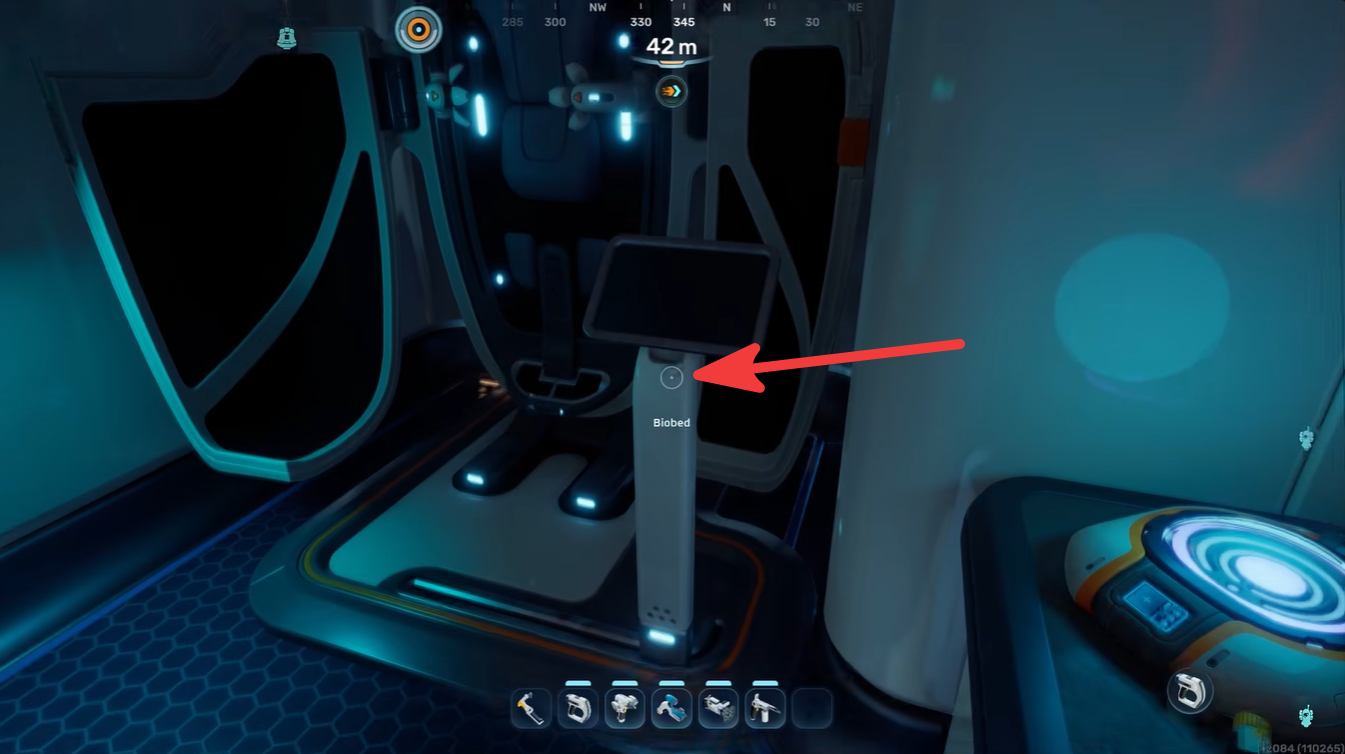
Step 4
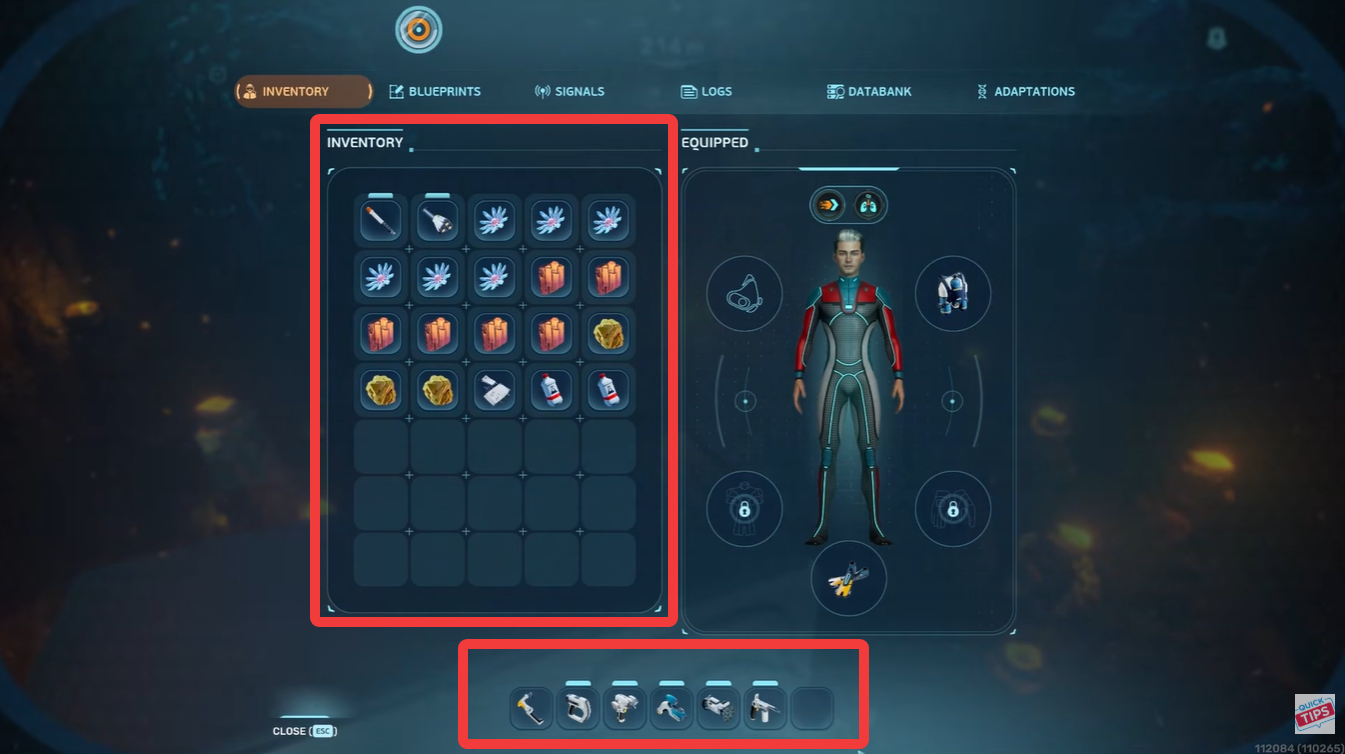
Receive your reward. The system can provide either:
| Possible Upgrade | Effect |
|---|---|
| Hotbar Expansion | Adds more usable quick slots |
| Inventory Expansion | Increases carrying capacity |
The rewards appear to vary depending on the chamber you discover, so exploring multiple locations is worthwhile.
Why the hotbar upgrade matters
The additional hotbar space becomes increasingly valuable once your equipment loadout expands. By mid-game, players often juggle:
- Repair tools
- Scanners
- Flashlights
- Healing items
- Oxygen tools
- Defensive gear
- Resource tools
Without extra slots, constant inventory management interrupts exploration flow. The upgrade allows you to keep essential equipment ready at all times, especially during dangerous biome exploration or long-distance expeditions.
This becomes even more useful after unlocking vehicles like the Subnautica 2 Tadpole, where managing tools efficiently while navigating hostile regions can make survival significantly easier.
Building a long-term scanner network
One of the smartest progression strategies in Subnautica 2 is establishing a decentralized scanner network. Instead of constantly relocating your main base, smaller powered outposts let you steadily reveal hidden content across the map.
A typical setup includes:
| Outpost Component | Recommended |
|---|---|
| Scanner Station | Essential |
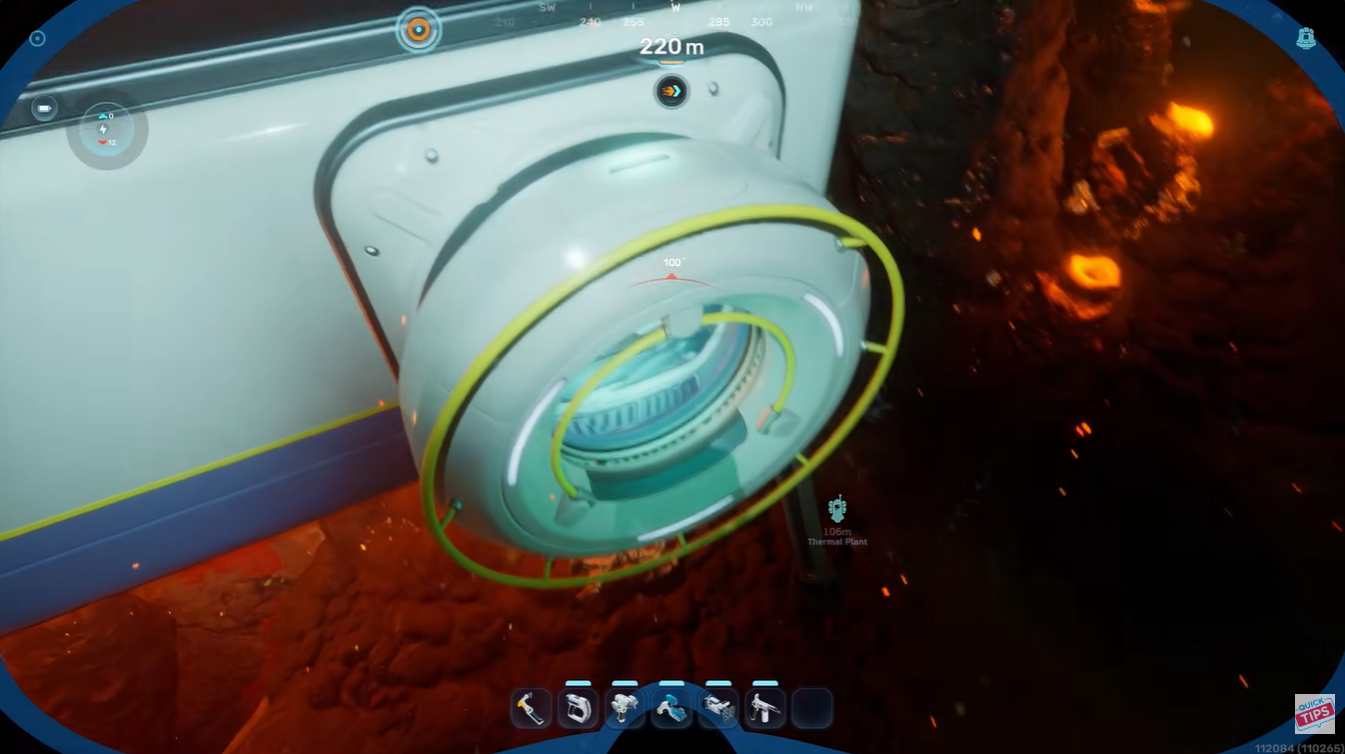
| Solar or Thermal Power | Recommended |
| Beacon | Highly useful |
| Small Storage | Optional |
| Fabricator | Optional |
This approach not only helps with Biohacking Chambers but also improves farming for rare resources, wrecks, fragments, and upgrade materials later in the game.
Why this upgrade is easy to miss
Many players overlook the hotbar expansion because the game does not heavily direct you toward Biohacking Chambers early on. If you focus only on story progression or resource gathering, you can spend dozens of hours without realizing permanent player upgrades even exist.
The limited Scanner Station range also contributes to this problem. Without multiple bases, many chambers remain completely outside scanning coverage.
Once you begin using a broader scanning network, however, these hidden upgrades become much easier to discover consistently.
Getting more hotbar space in Subnautica 2 is one of the most useful quality-of-life upgrades available during exploration-heavy gameplay. By locating Biohacking Chambers through Scanner Stations and interacting with their bio bed terminals, you can permanently improve your equipment management and reduce constant inventory swapping.
The upgrade may seem small initially, but during longer expeditions into deeper biomes, the additional quick slots make survival and navigation much smoother.