What to know
-
The Depth Module Mk. 1 is a physical item you find in the world, not a blueprint you unlock through research.
-
You must travel roughly 1400 m from the Lifepod in a specific bearing, then dive to a structure and cave system to reach the module.
-
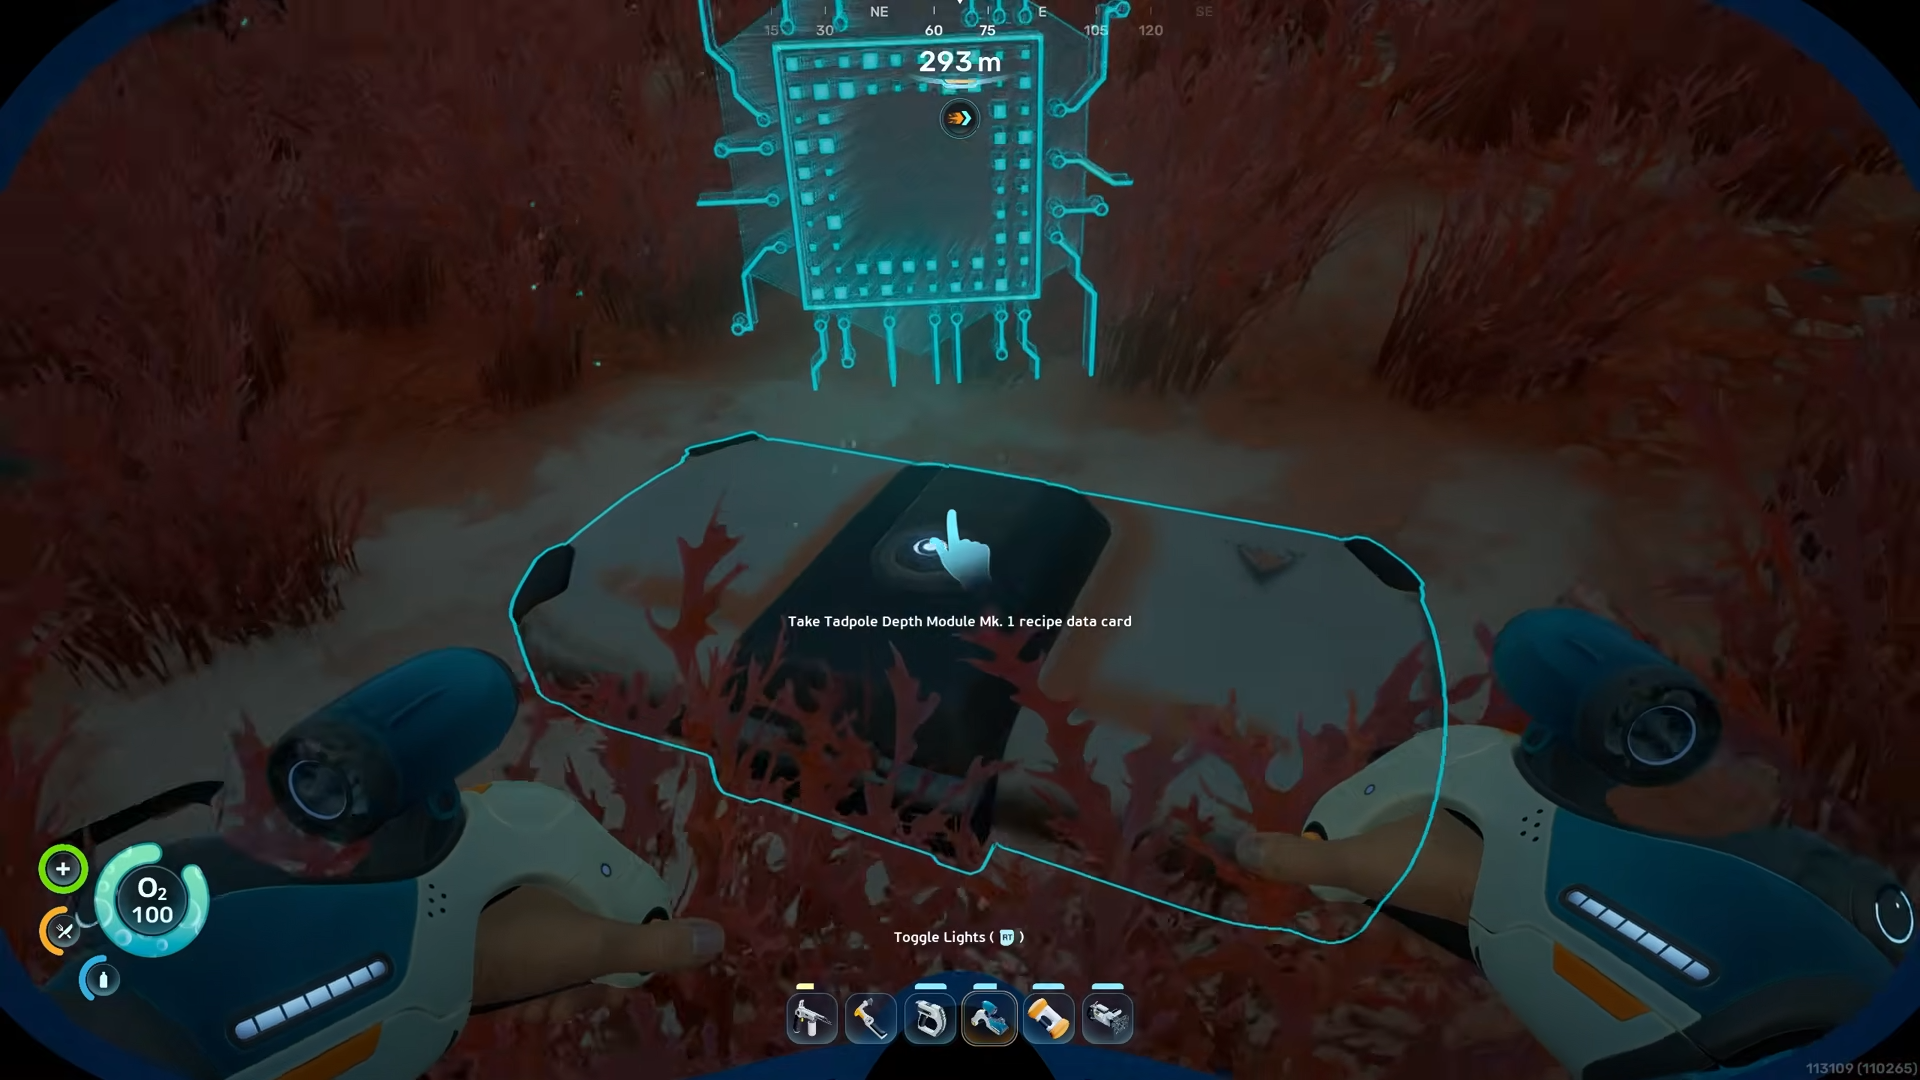
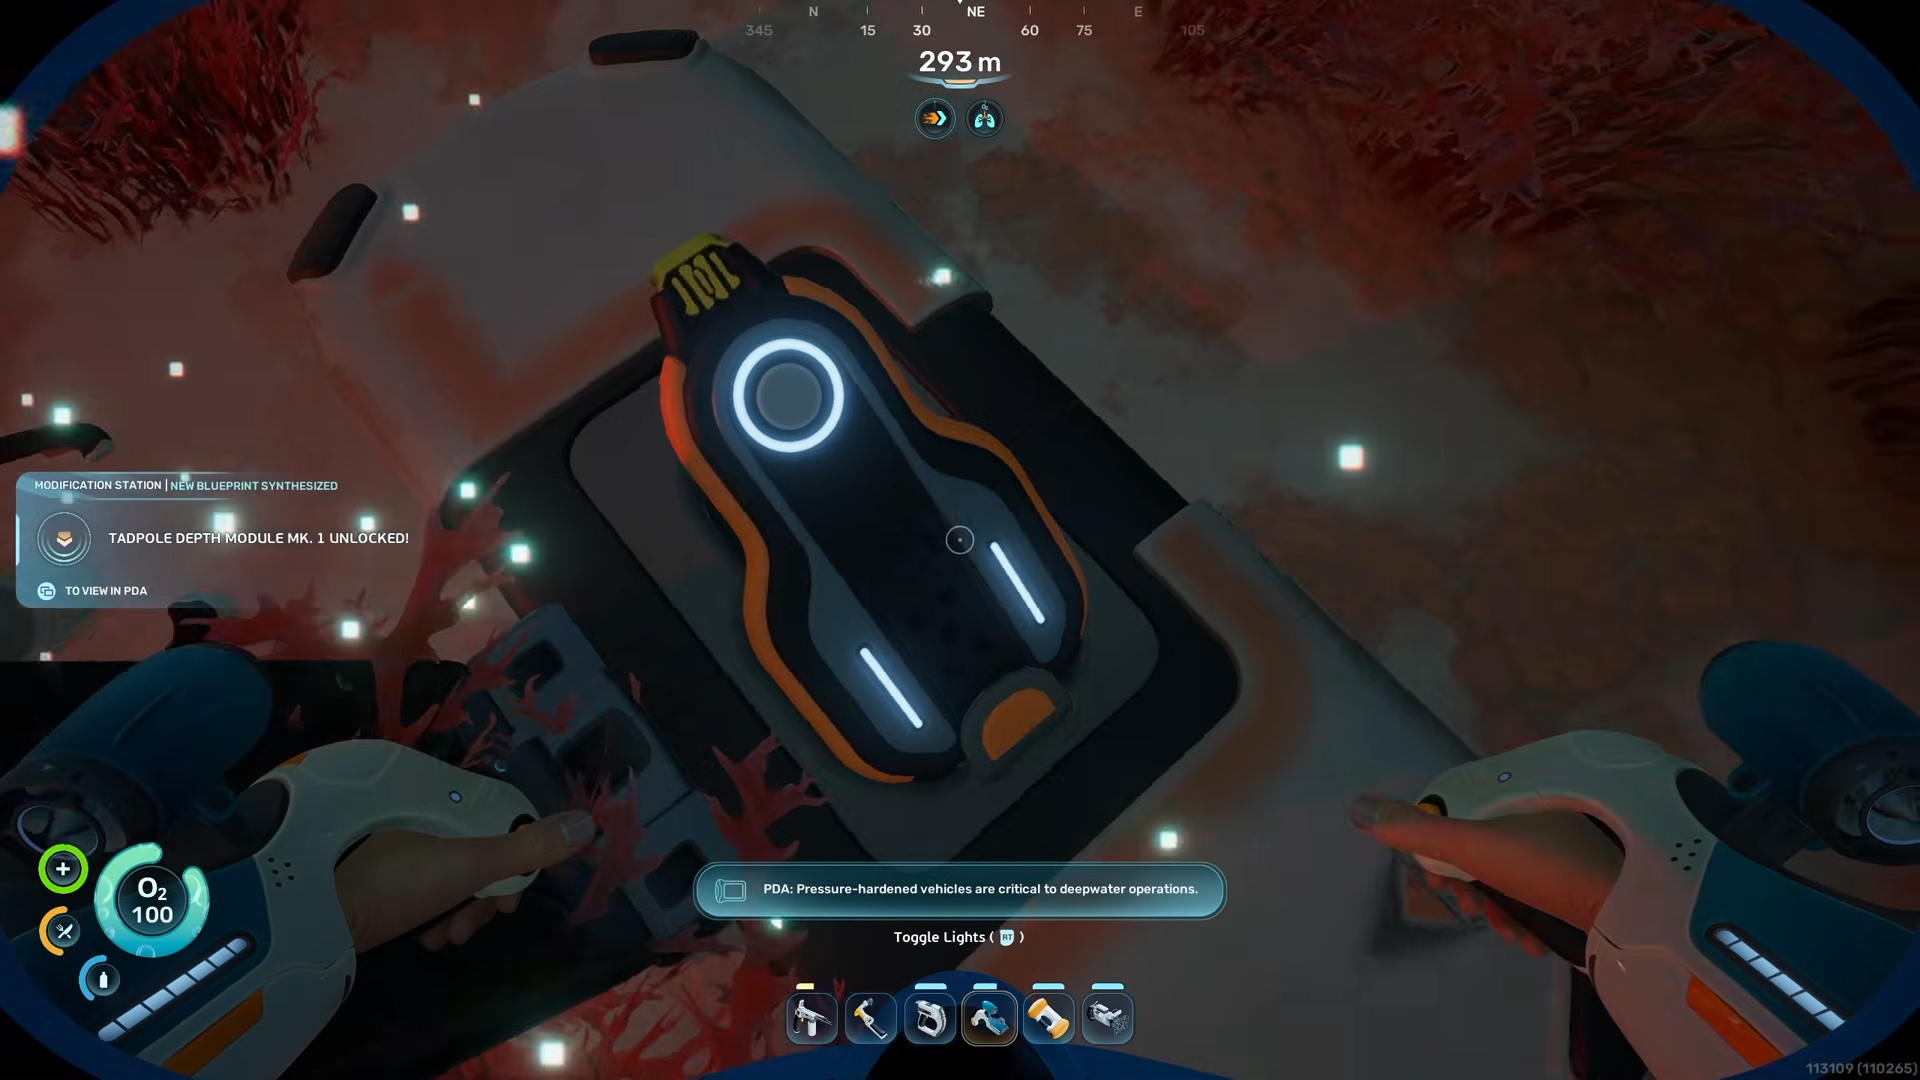
Before you can craft the module at a Modification Station, you need to locate and scan the wrecked device so your PDA learns the recipe.
-
After installing the upgrade, the Tadpole’s maximum safe depth rises, letting you descend deeper without the vehicle breaking.
In Subnautica 2, the Tadpole Depth Module Mk. 1 is a small data pack you grab from a specific cave, and once you have it you can craft and install the upgrade to push your Tadpole past its default depth limit. Here’s how to get it.
Tadpole Depth Module Mk. 1 details
How to travel from the Lifepod to the module
From the Lifepod, align your compass so you are heading straight between the E (East) marker and the 105 degree mark. Maintain that bearing as you move across the seabed and through the water column.
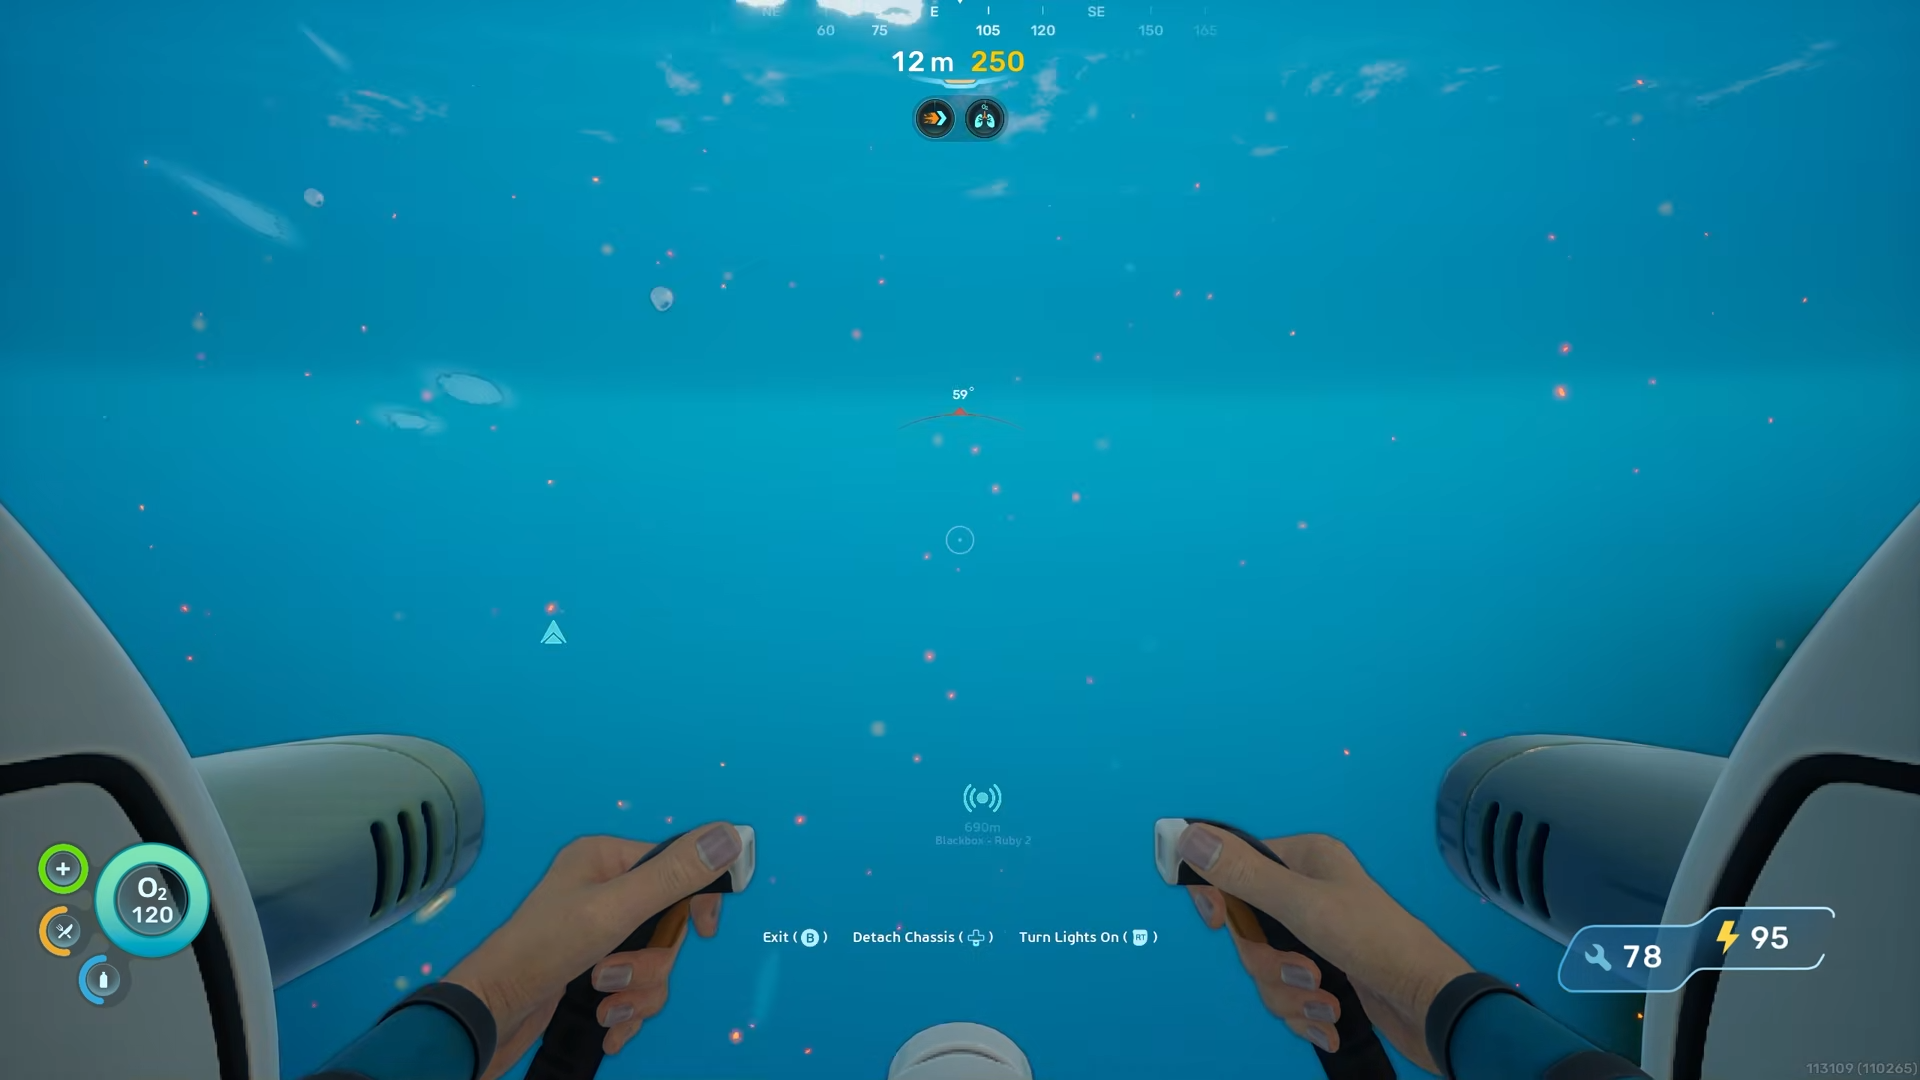
The first 1000 m will mostly look like open ocean with little to see, so keep your heading steady and periodically check your distance from the Lifepod to roughly track progress.
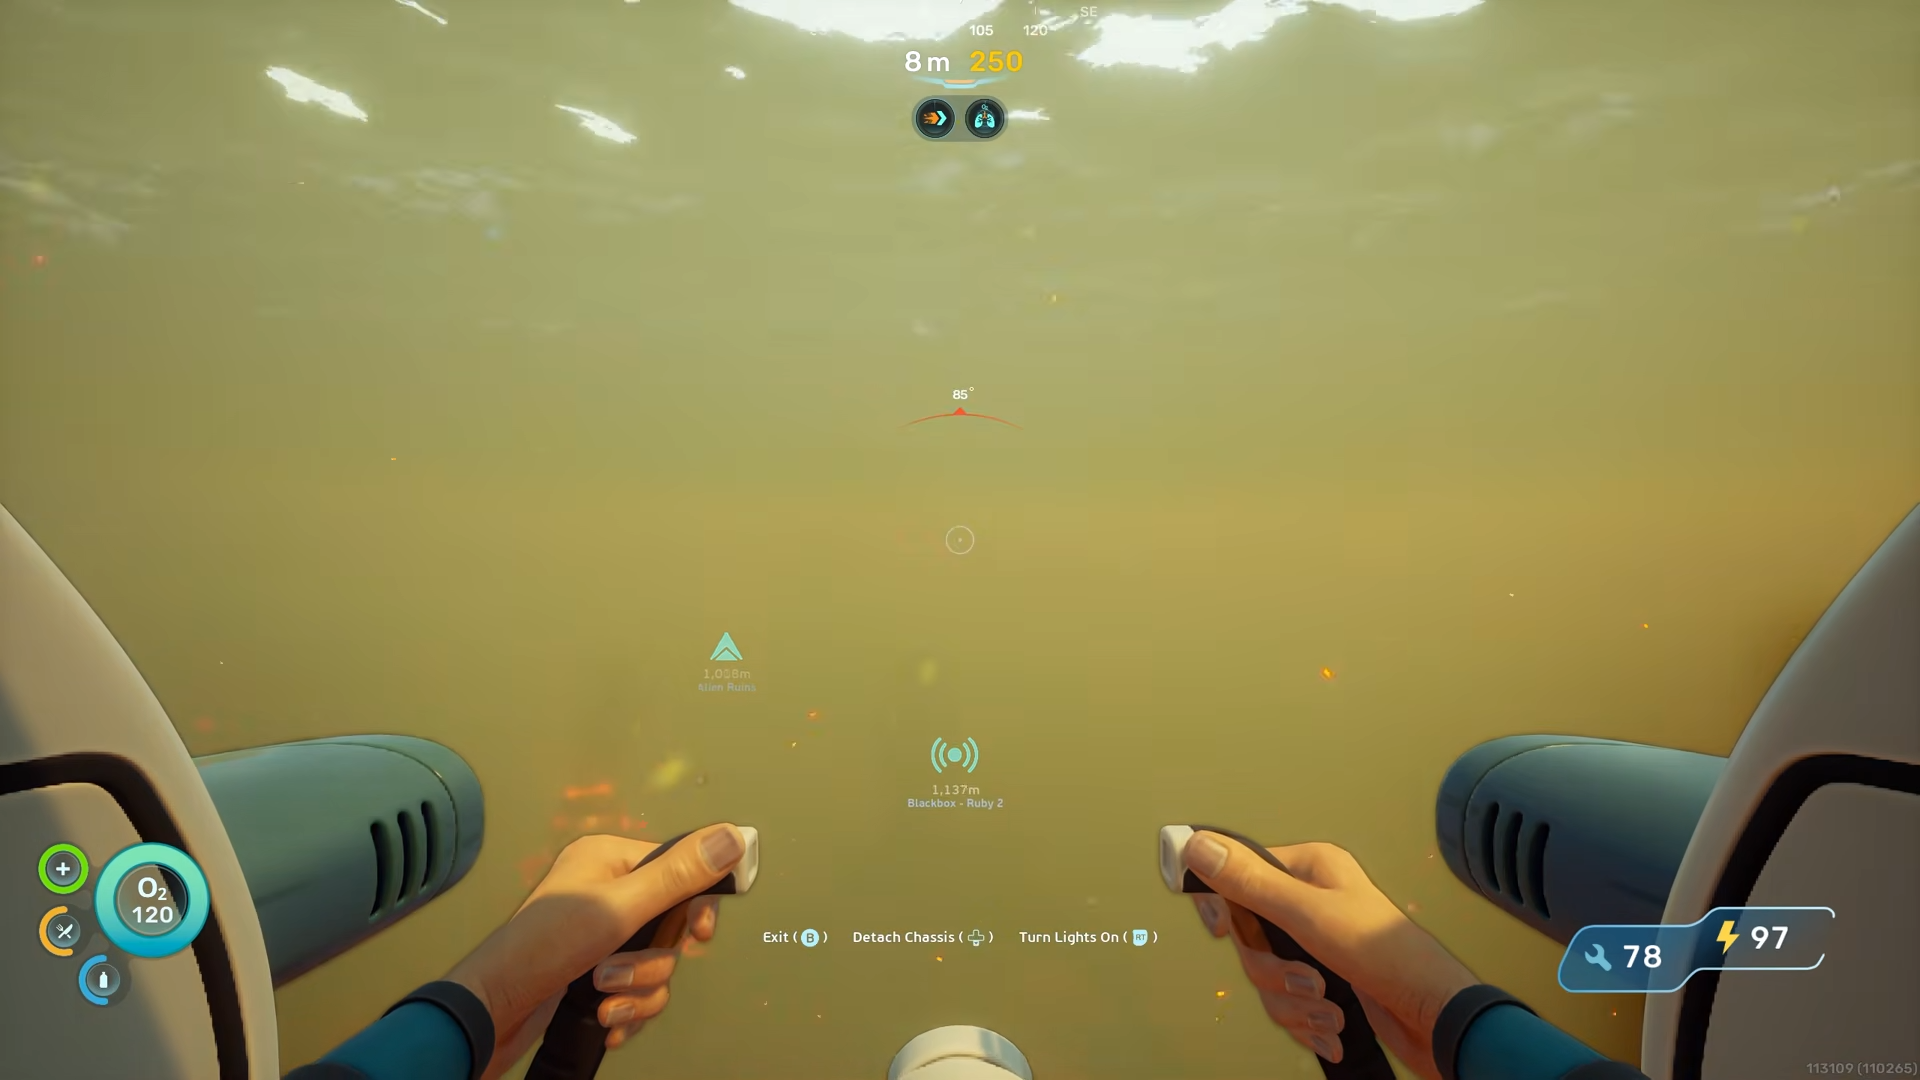
As you get closer to the 1400 m mark the environment starts to change. The water shade shifts toward a darker blue, which signals you are approaching the right area.
Shorty after that you will see a medium‑sized underwater structure appear as if it suddenly emerges from the murk.
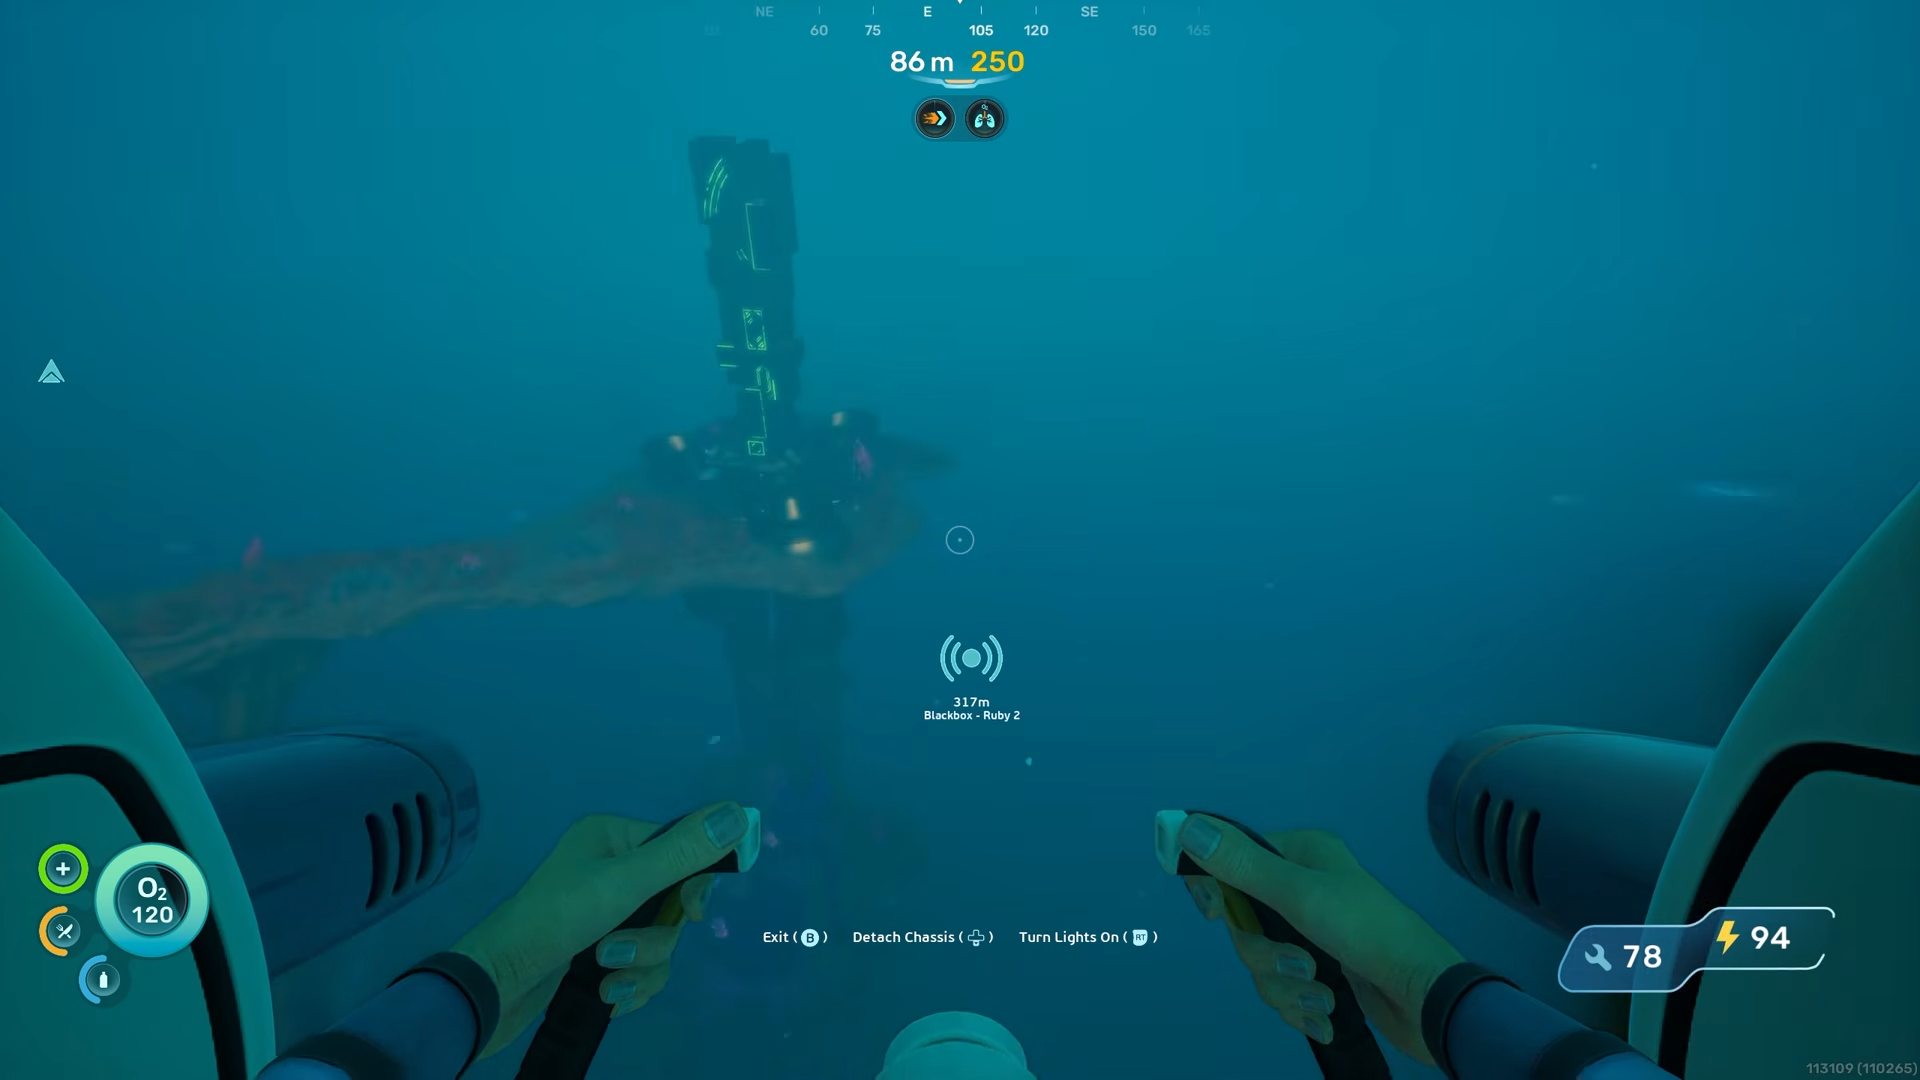
Keep moving past this structure in the same direction; you should now be around 1200 m from the Lifepod.
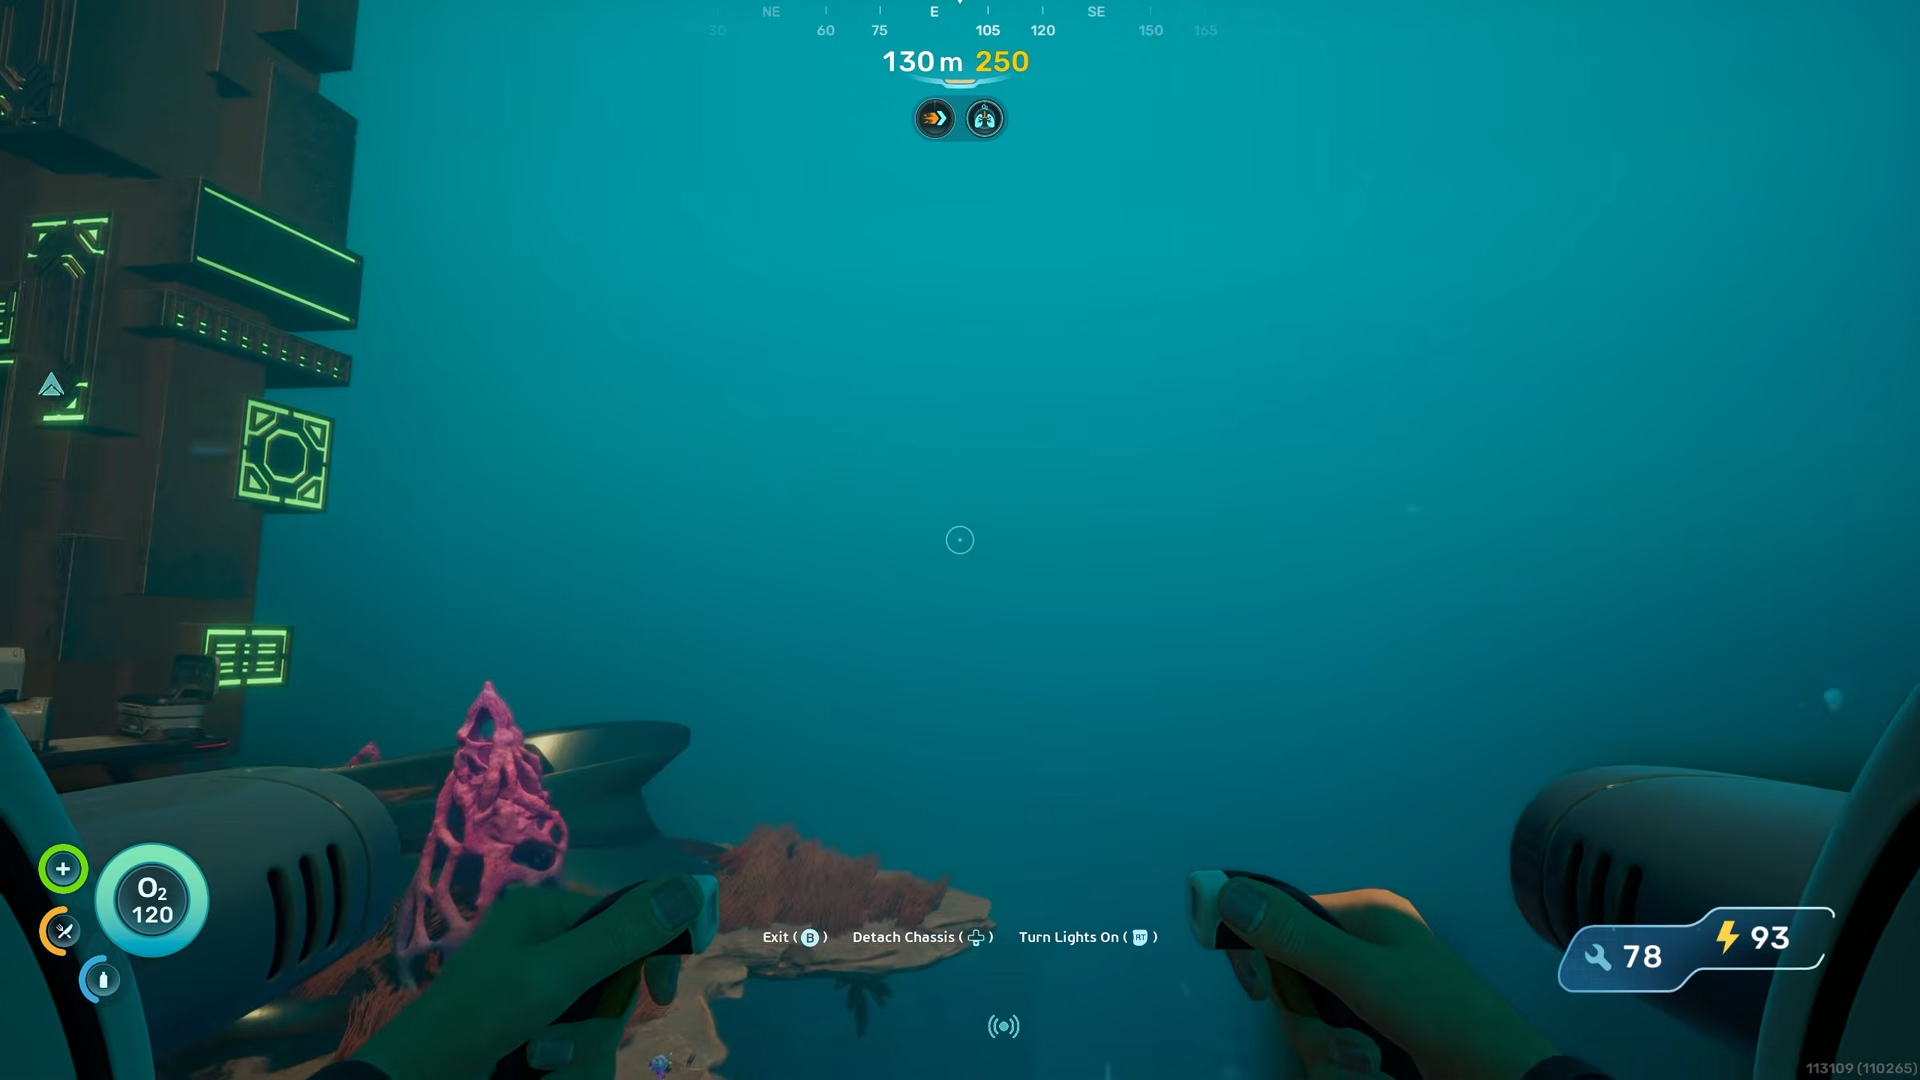
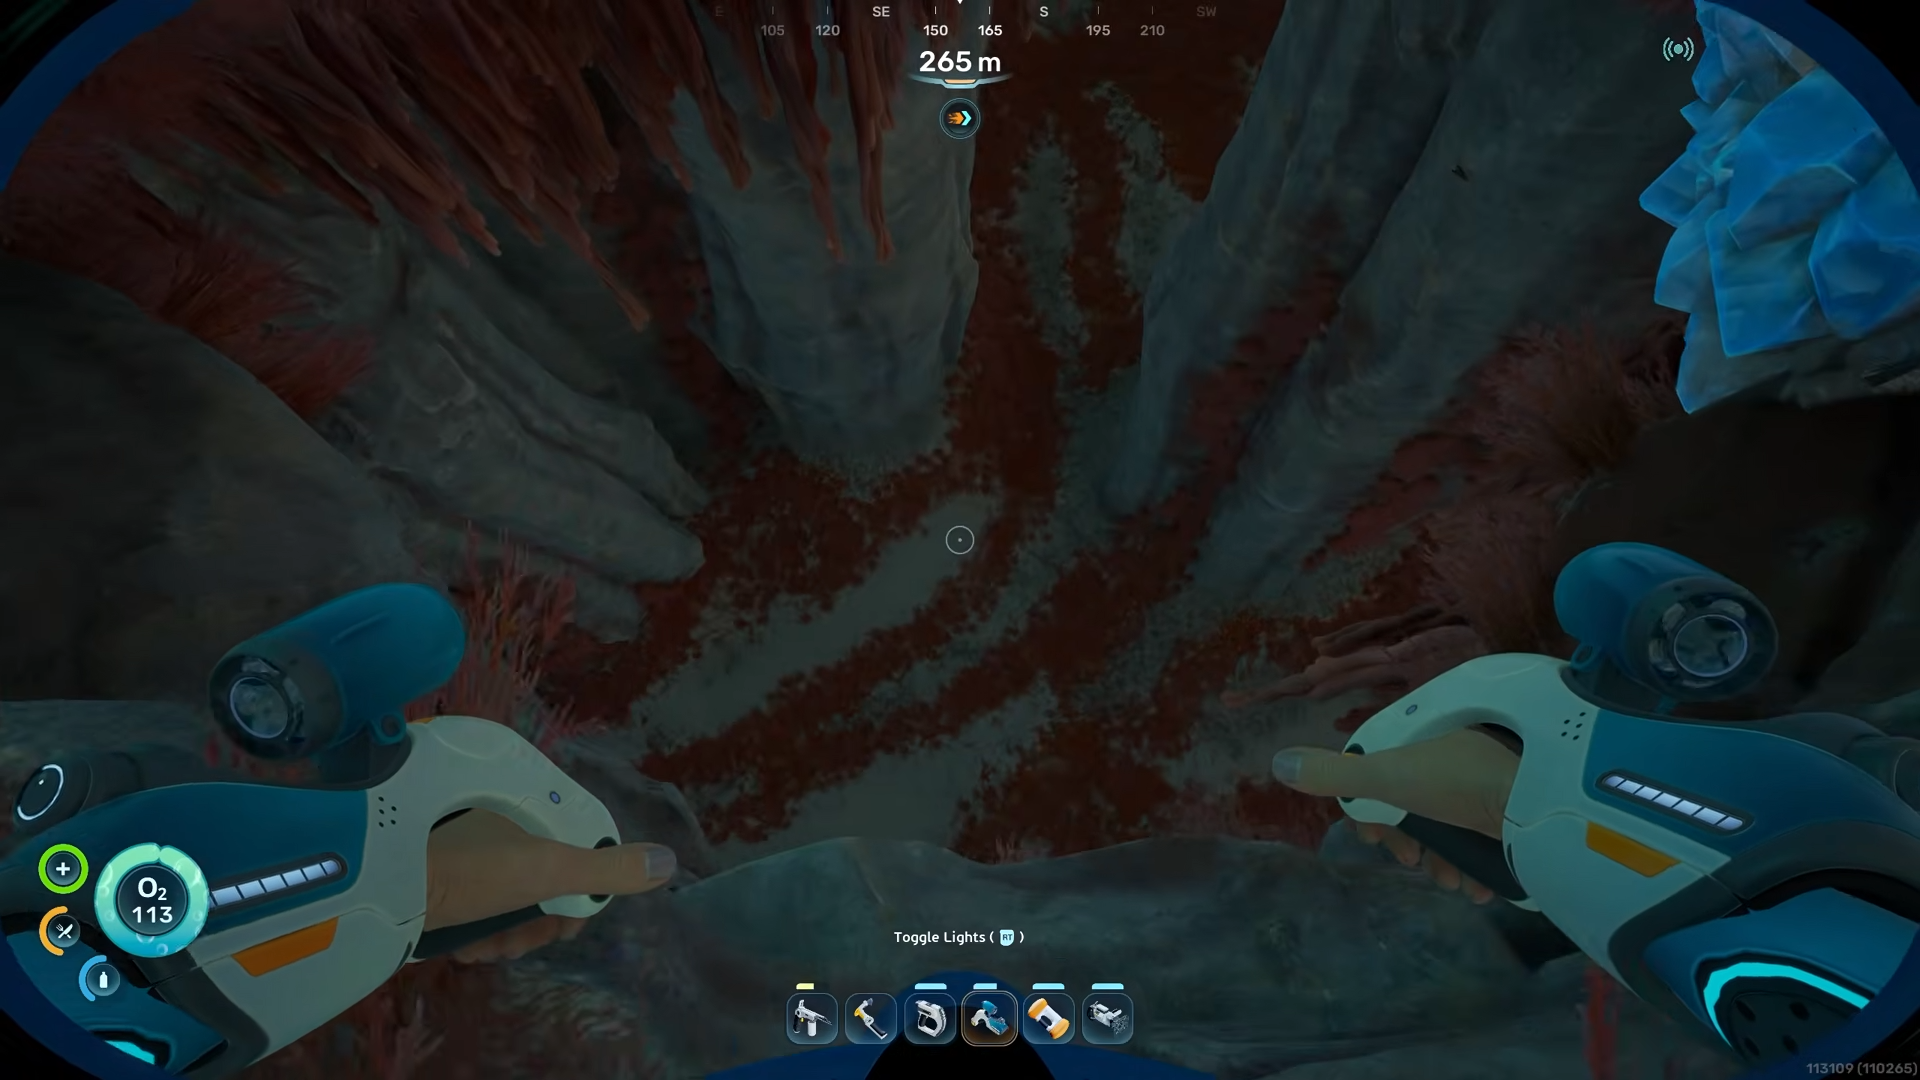
Once you pass that first structure, keep going and descend a bit more, still holding the same E–105 bearing.
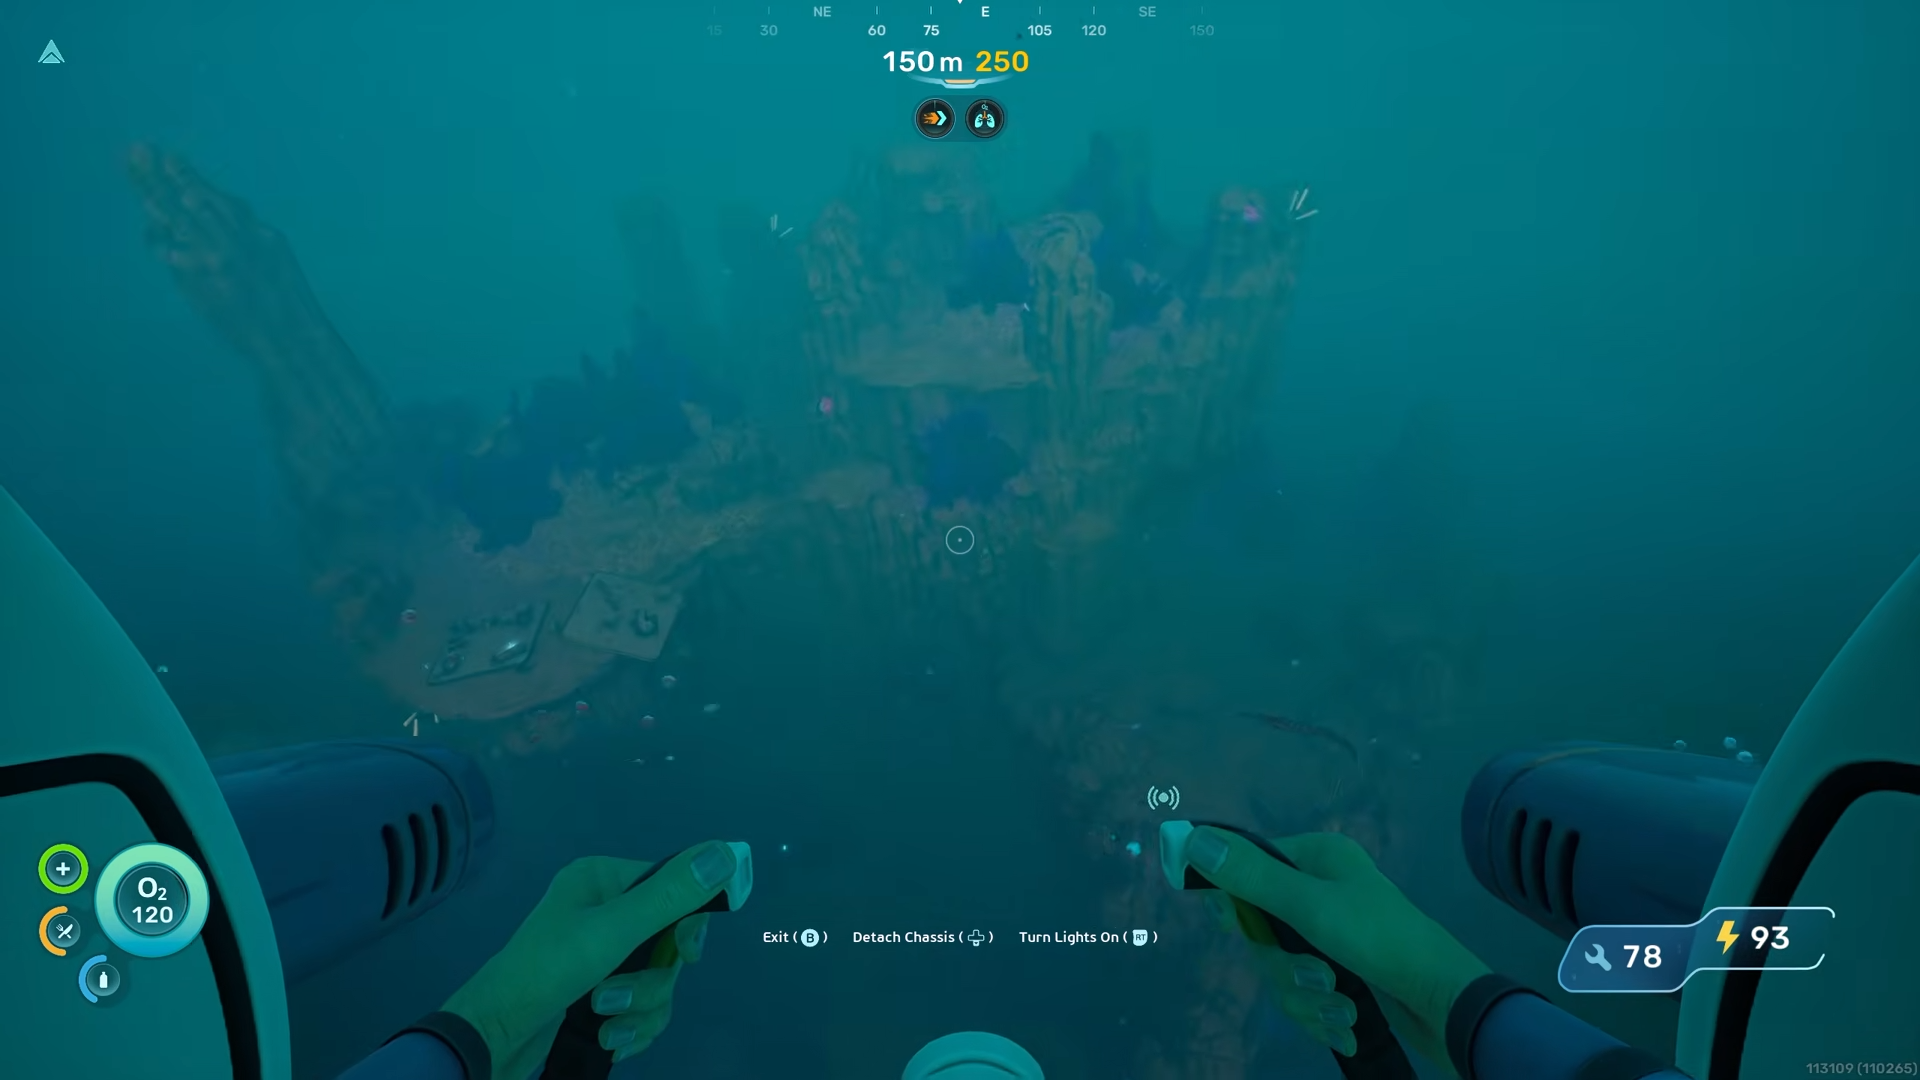
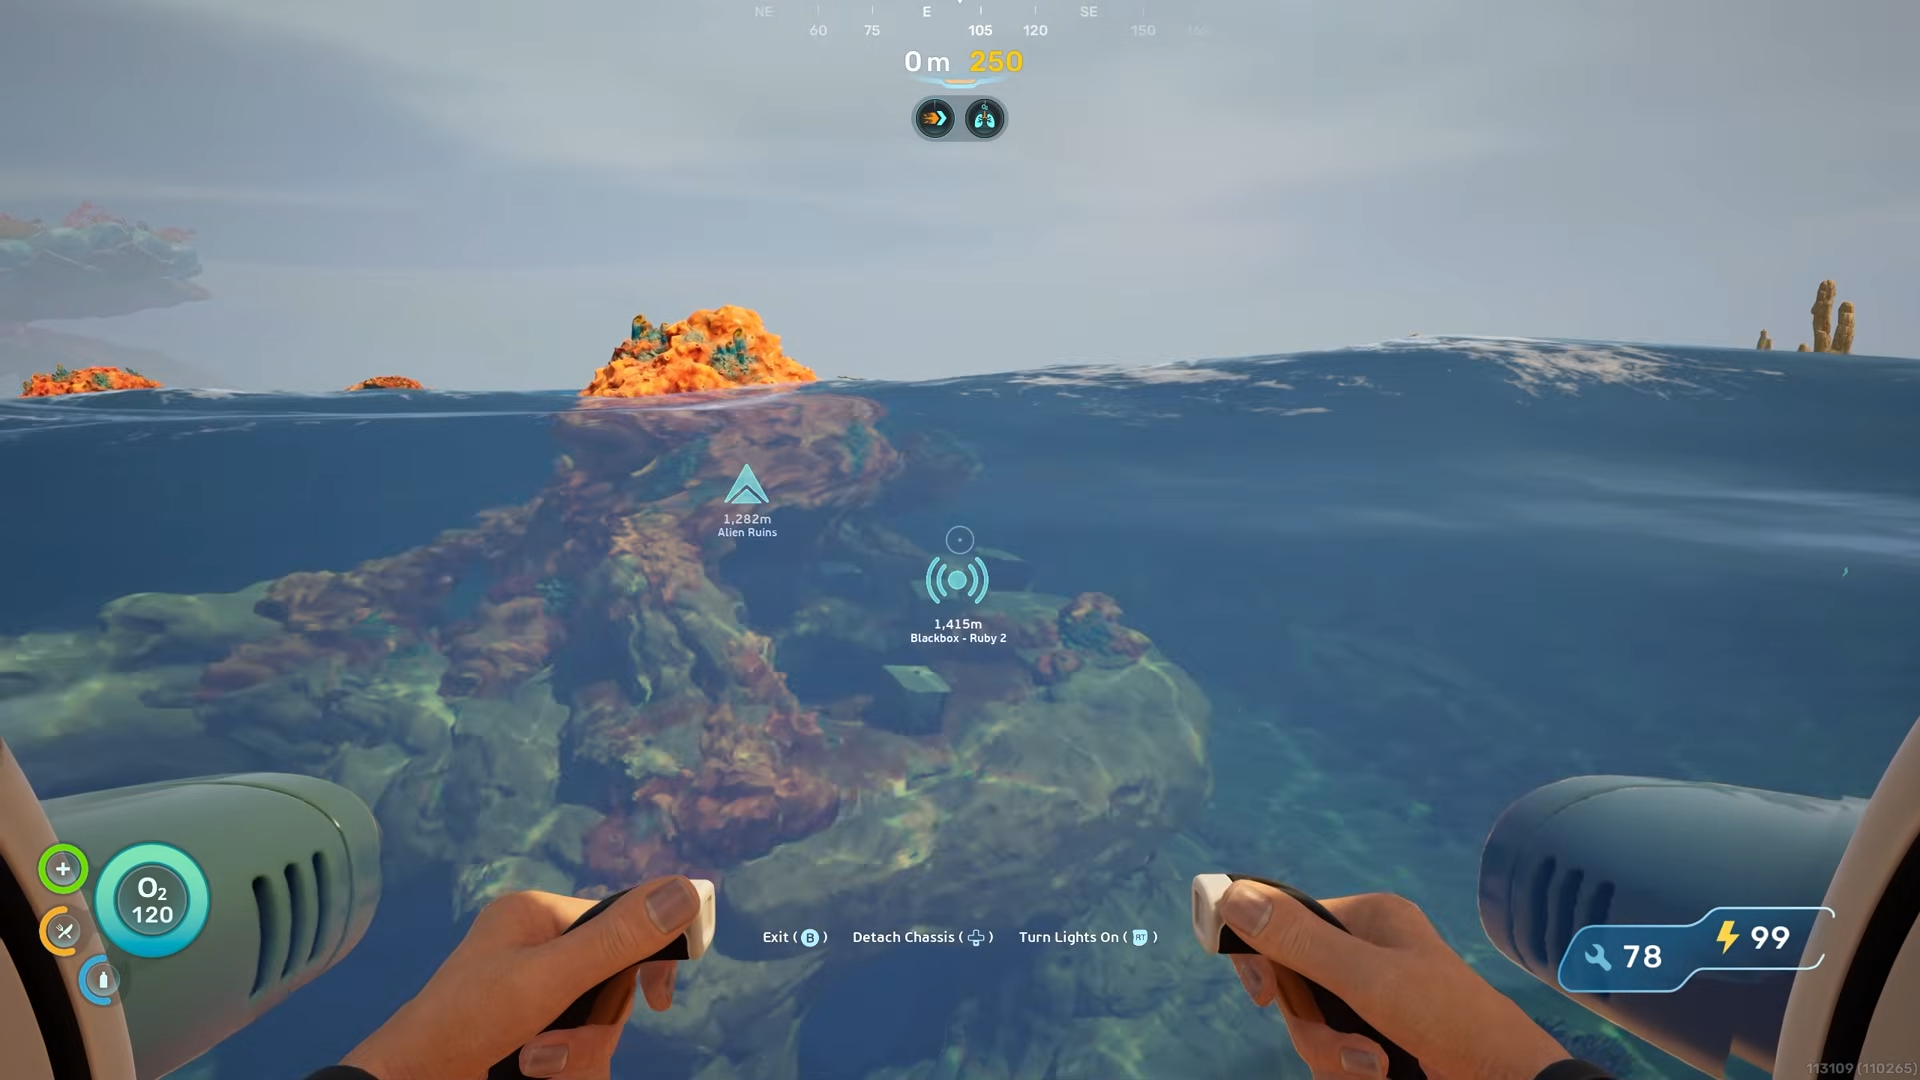
A much larger, more prominent structure will appear below you. This is the main landmark you are aiming for and it marks the general area where the upgrade is located.

How to enter the cave and reach the Depth Module Mk. 1
Approach the big structure from its backside, where you can see at least one white‑lit entrance.
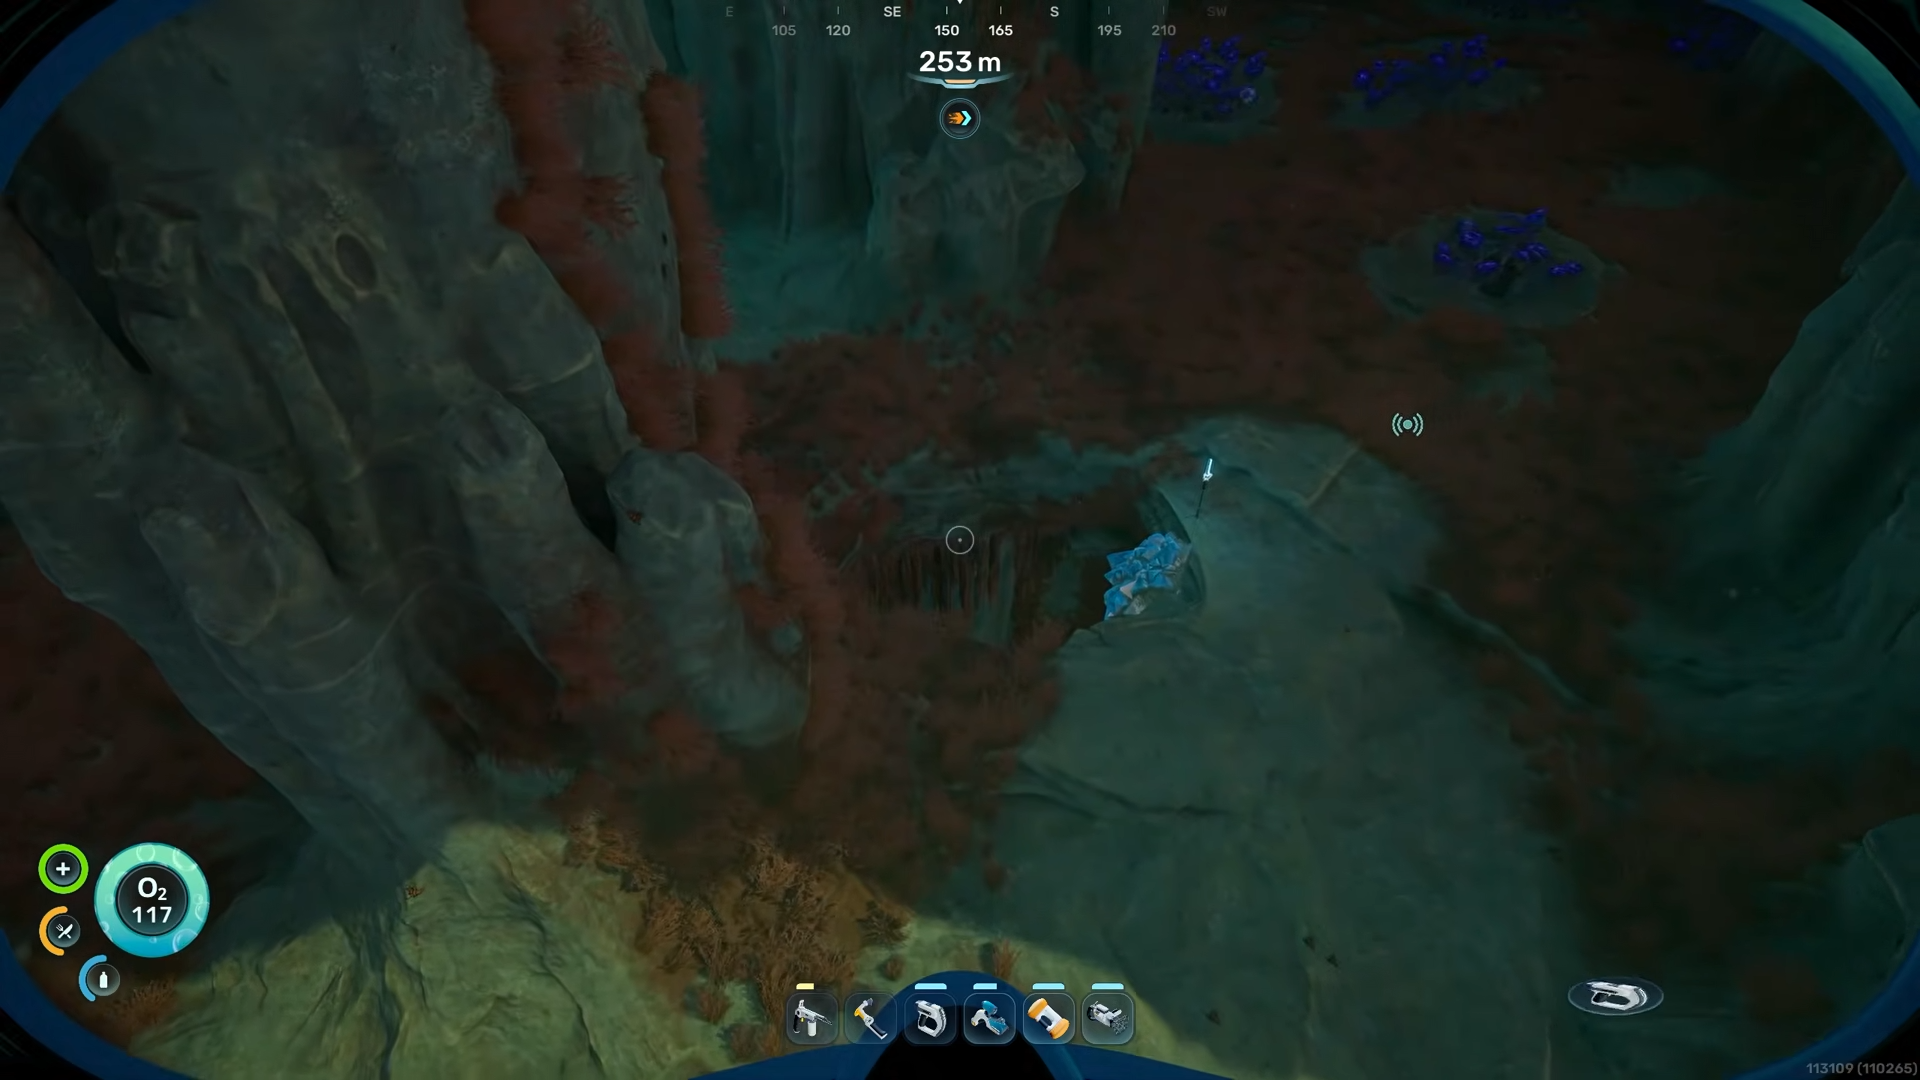
Carefully maneuver the Tadpole into that opening and follow the cave until you see another white‑lit hole further inside. The Tadpole is fragile at greater depths, so do not let it go below 250 m or it can break, which will cut your progress short.
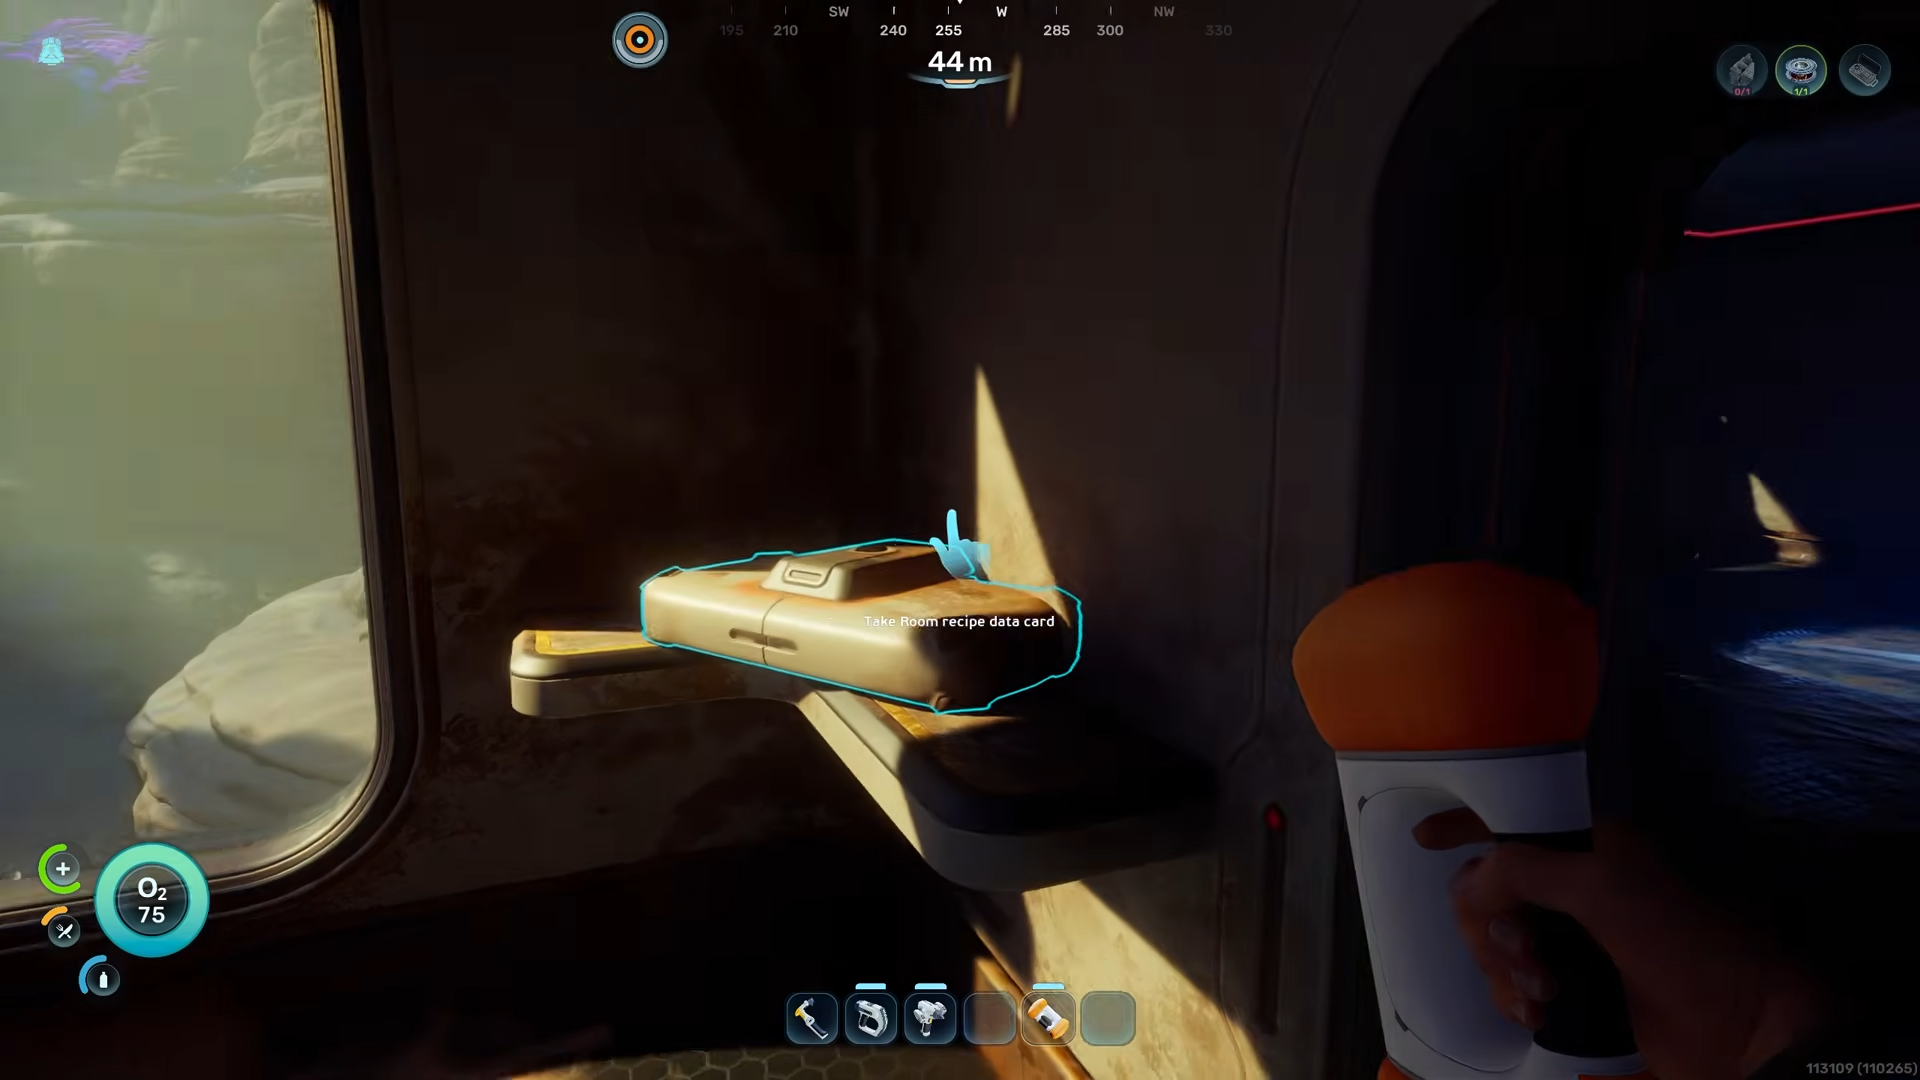
Once you are inside the second cave, bring the Tadpole back up to a depth above 250 m inside the chamber, then exit the vehicle on foot. Swim through the hole toward the rear of that section of the cave. You may encounter hostile fish along the way, so move cautiously and avoid getting swarmed. Your goal is the red‑flashing light deeper in this tunnel.
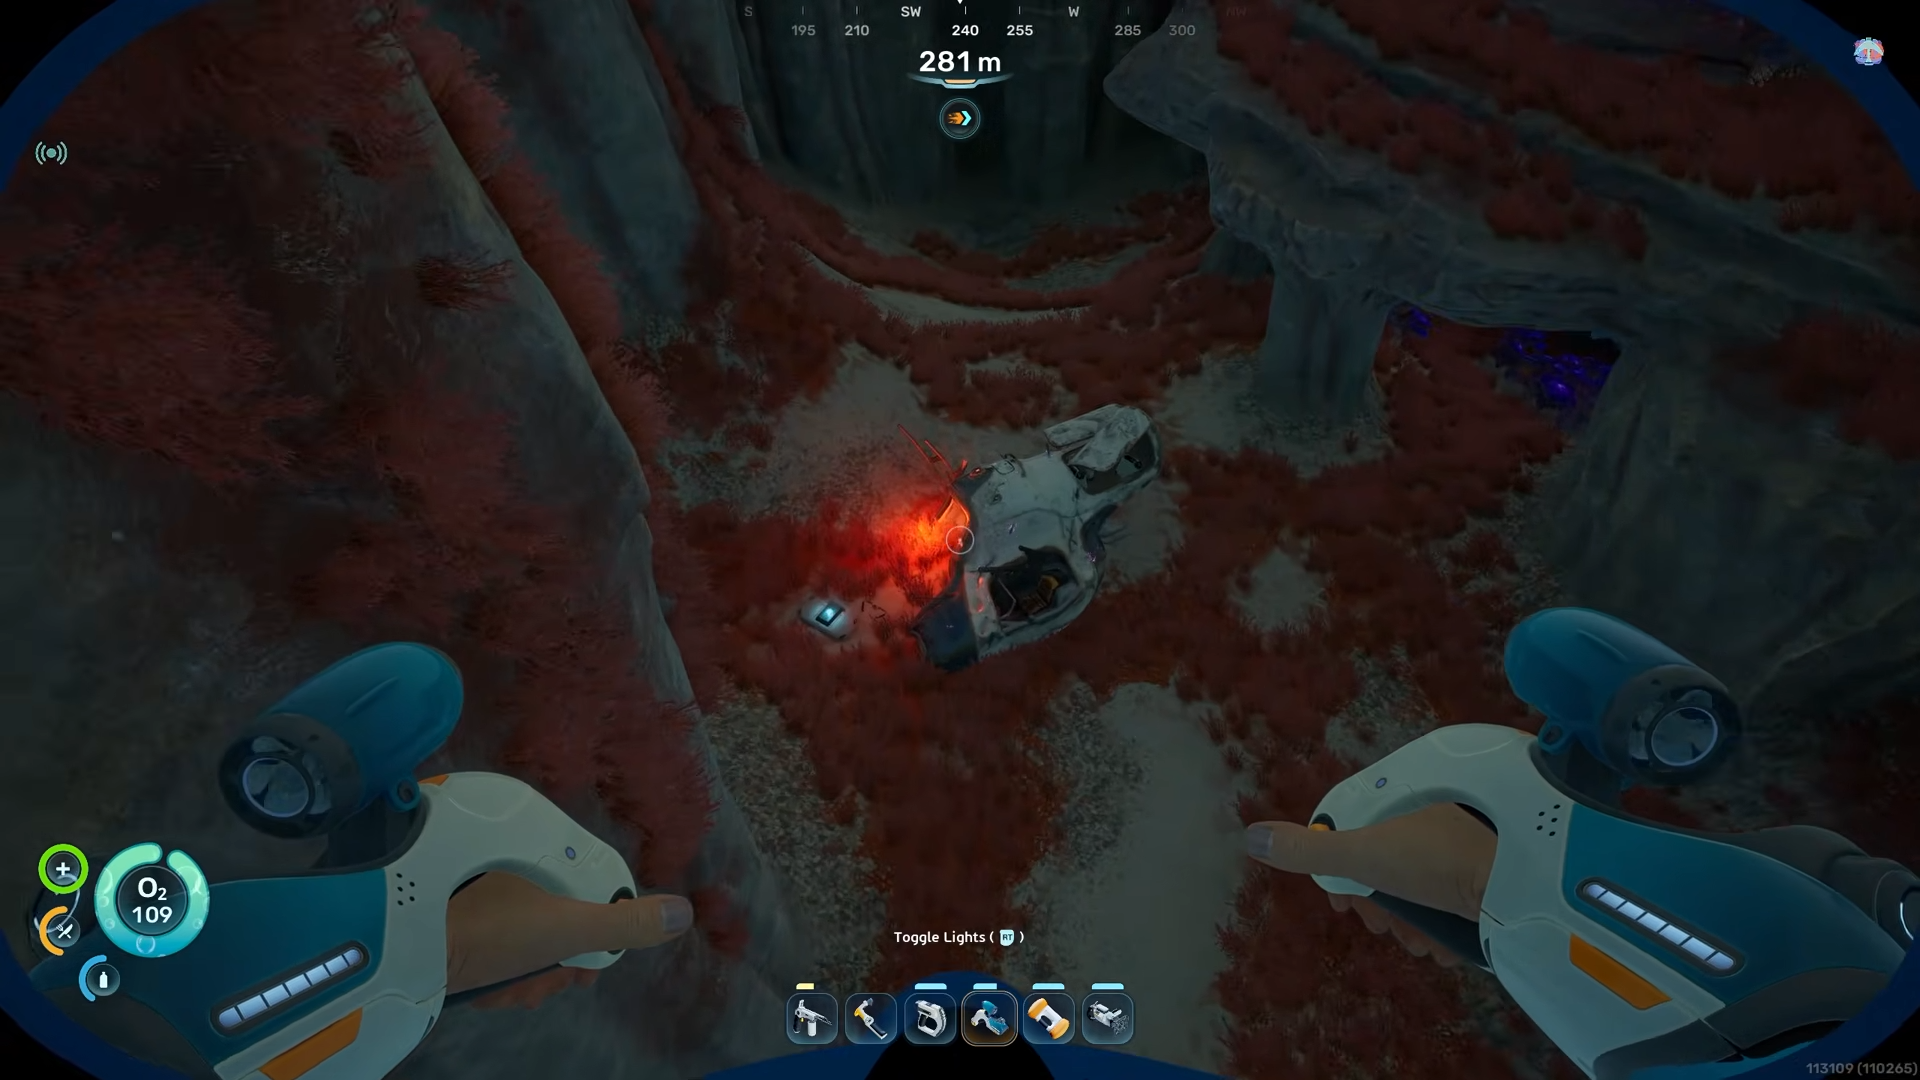
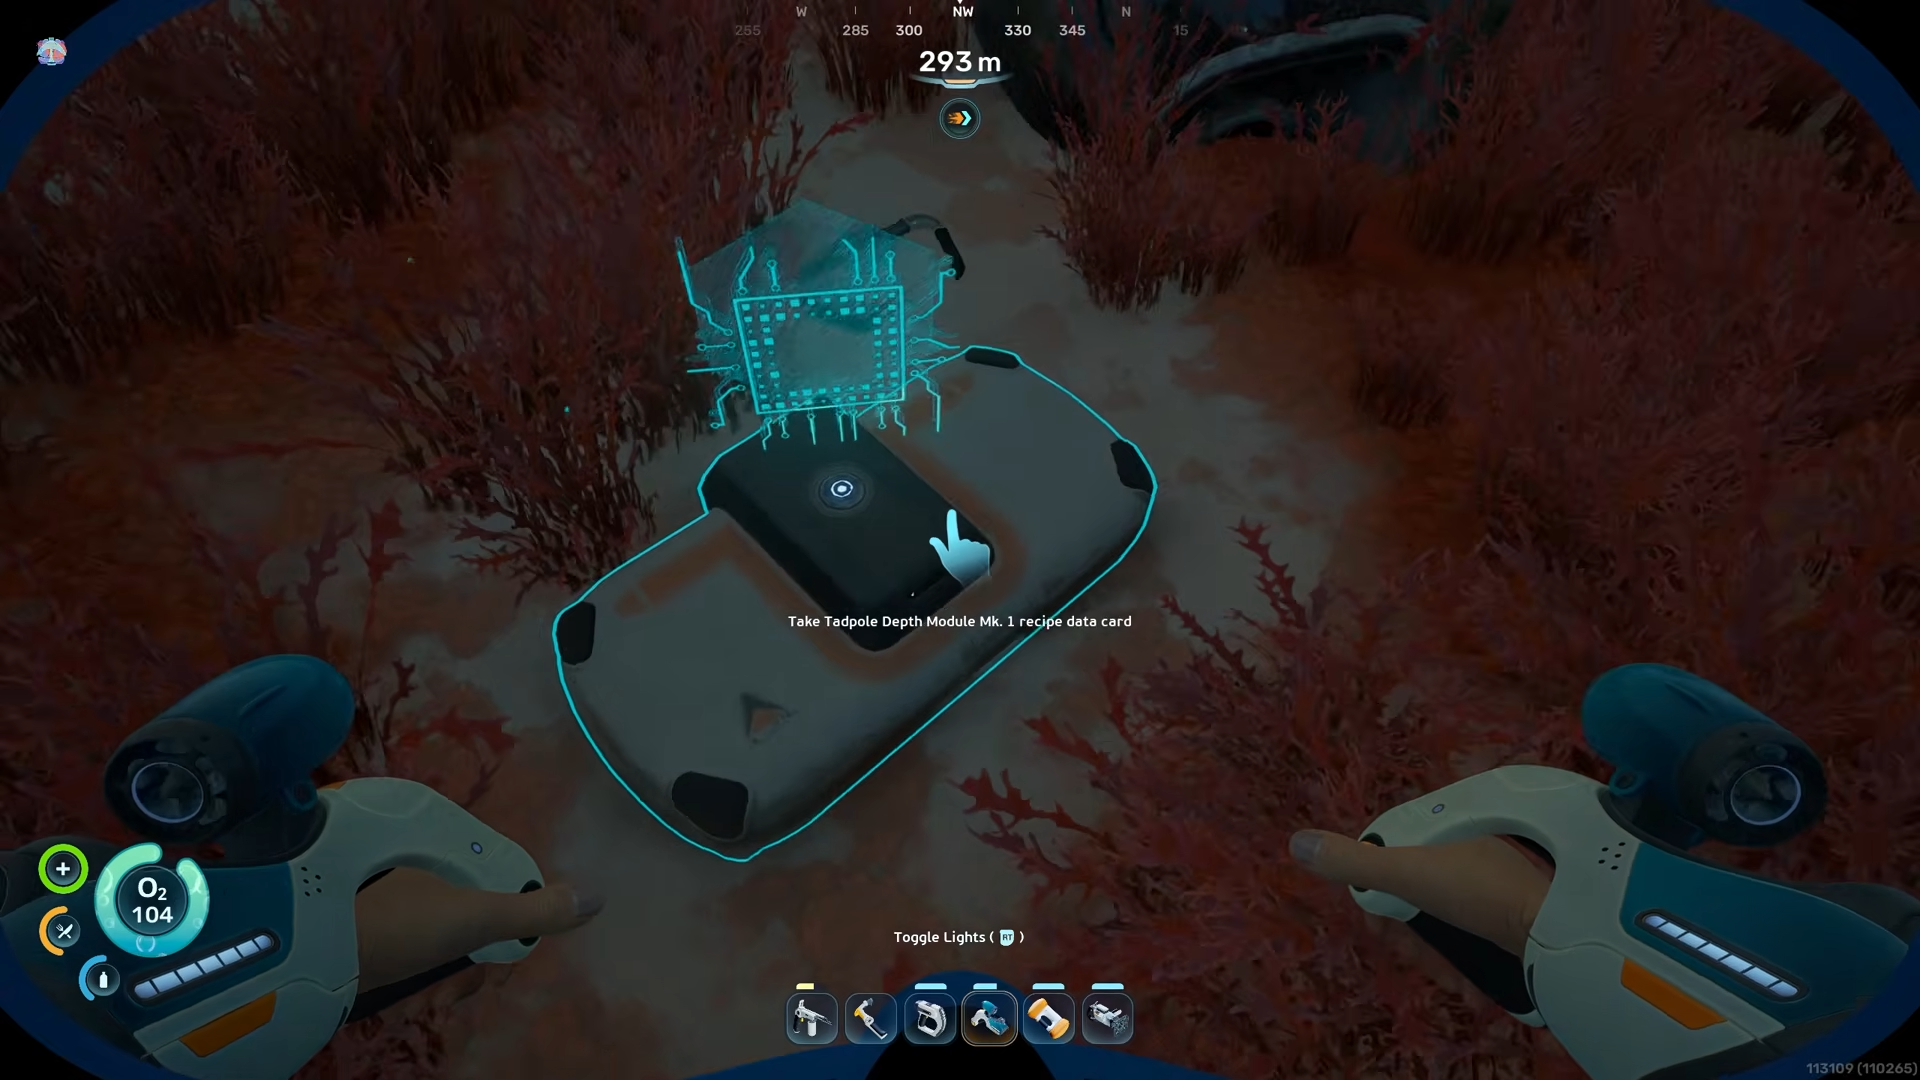
Follow the red light until you reach a small chamber or alcove on the seafloor. There, sitting on the ground, is a small data‑pack‑style object emitting that red pulse.
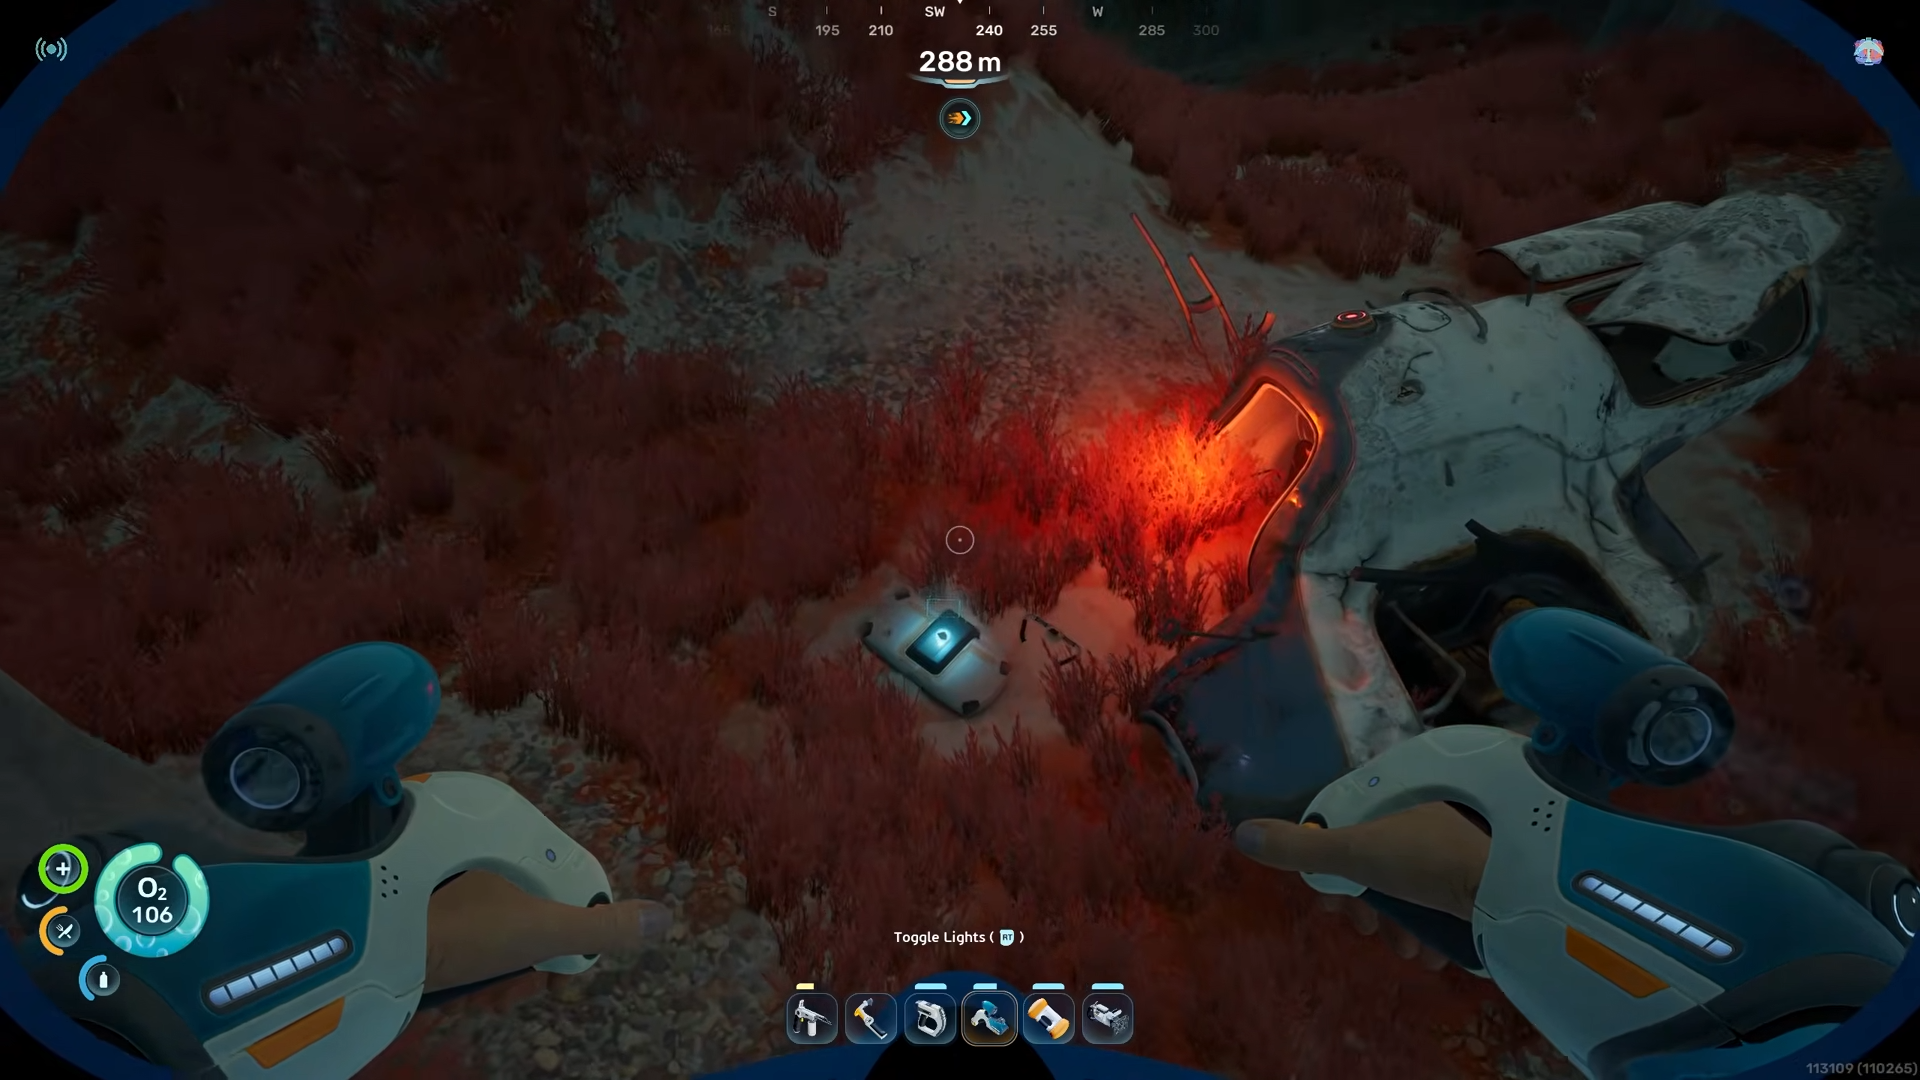
This is the Tadple Depth Module Mk. 1. Interact with it to pick it up and store it in your inventory. Once you have it, you now know how the depth‑increase mechanic works for the Tadpole.
How to craft and install the Tadpole Depth Module Mk. 1
Before you can install the module, you need to build a Modification Station at your base. The exact recipe for the station is separate from the module, but once the station is active you can access the Tadpole‑related upgrades. In the crafting line‑up, you will now see the Depth Module Mk. 1 option; select it and craft the physical module using the materials required by that recipe.
Take the crafted Depth Module Mk. 1 to your Tadpole and move to the back of the vehicle where the Modification Hatch is located. Interact with the hatch to open the module bay, then confirm the upgrade installation. The Tadpole will visually update and its readout will reflect a higher maximum safe depth. After this, you can descend deeper than before without triggering the same depth‑break threshold that would previously destroy the vehicle.