What to know
-
Unlock the challenge via a Sealed Abyss Artifact southeast of Beighen Candlery in Pailune.
-
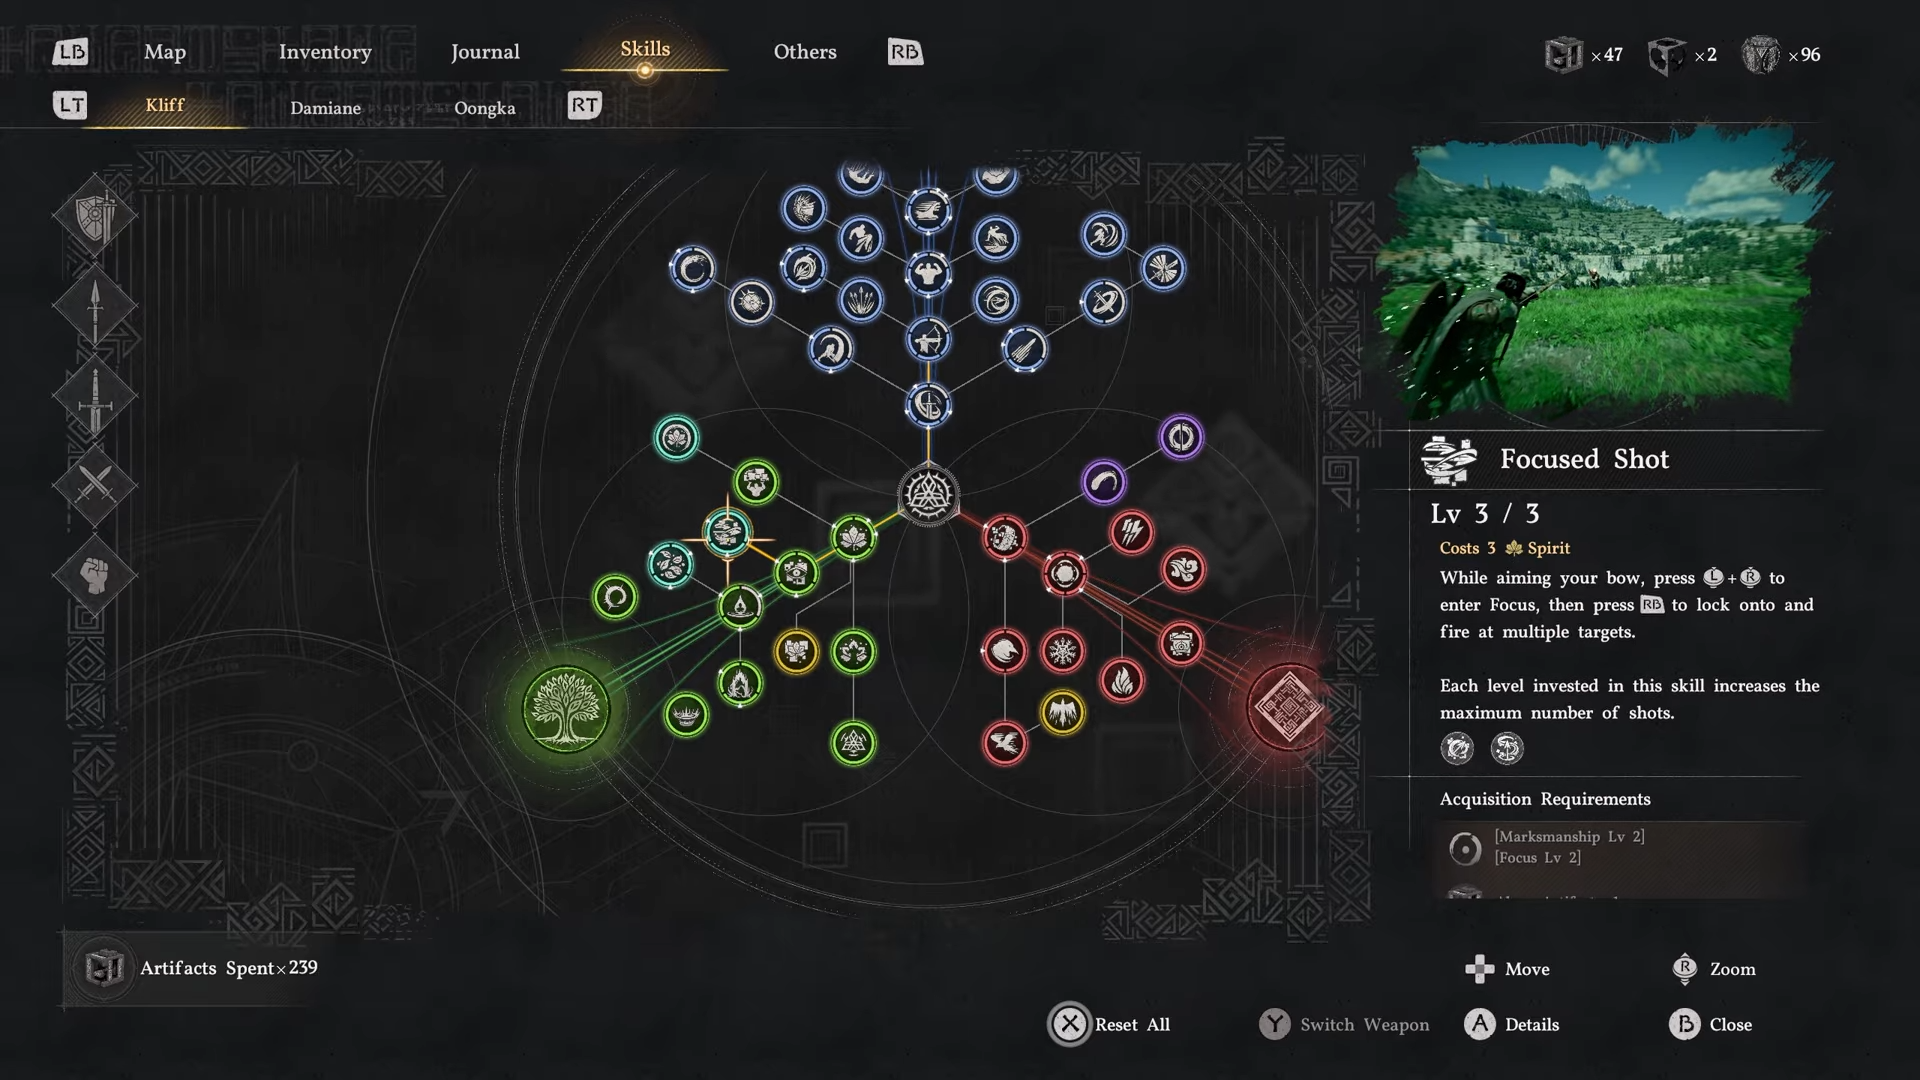
Requires Focus Shot skill to slow time and tag multiple targets while airborne.
-
Jump from an Abyss or high point near an enemy camp for maximum air time.
-
Landing resets the combo, so chain glides and shots seamlessly.
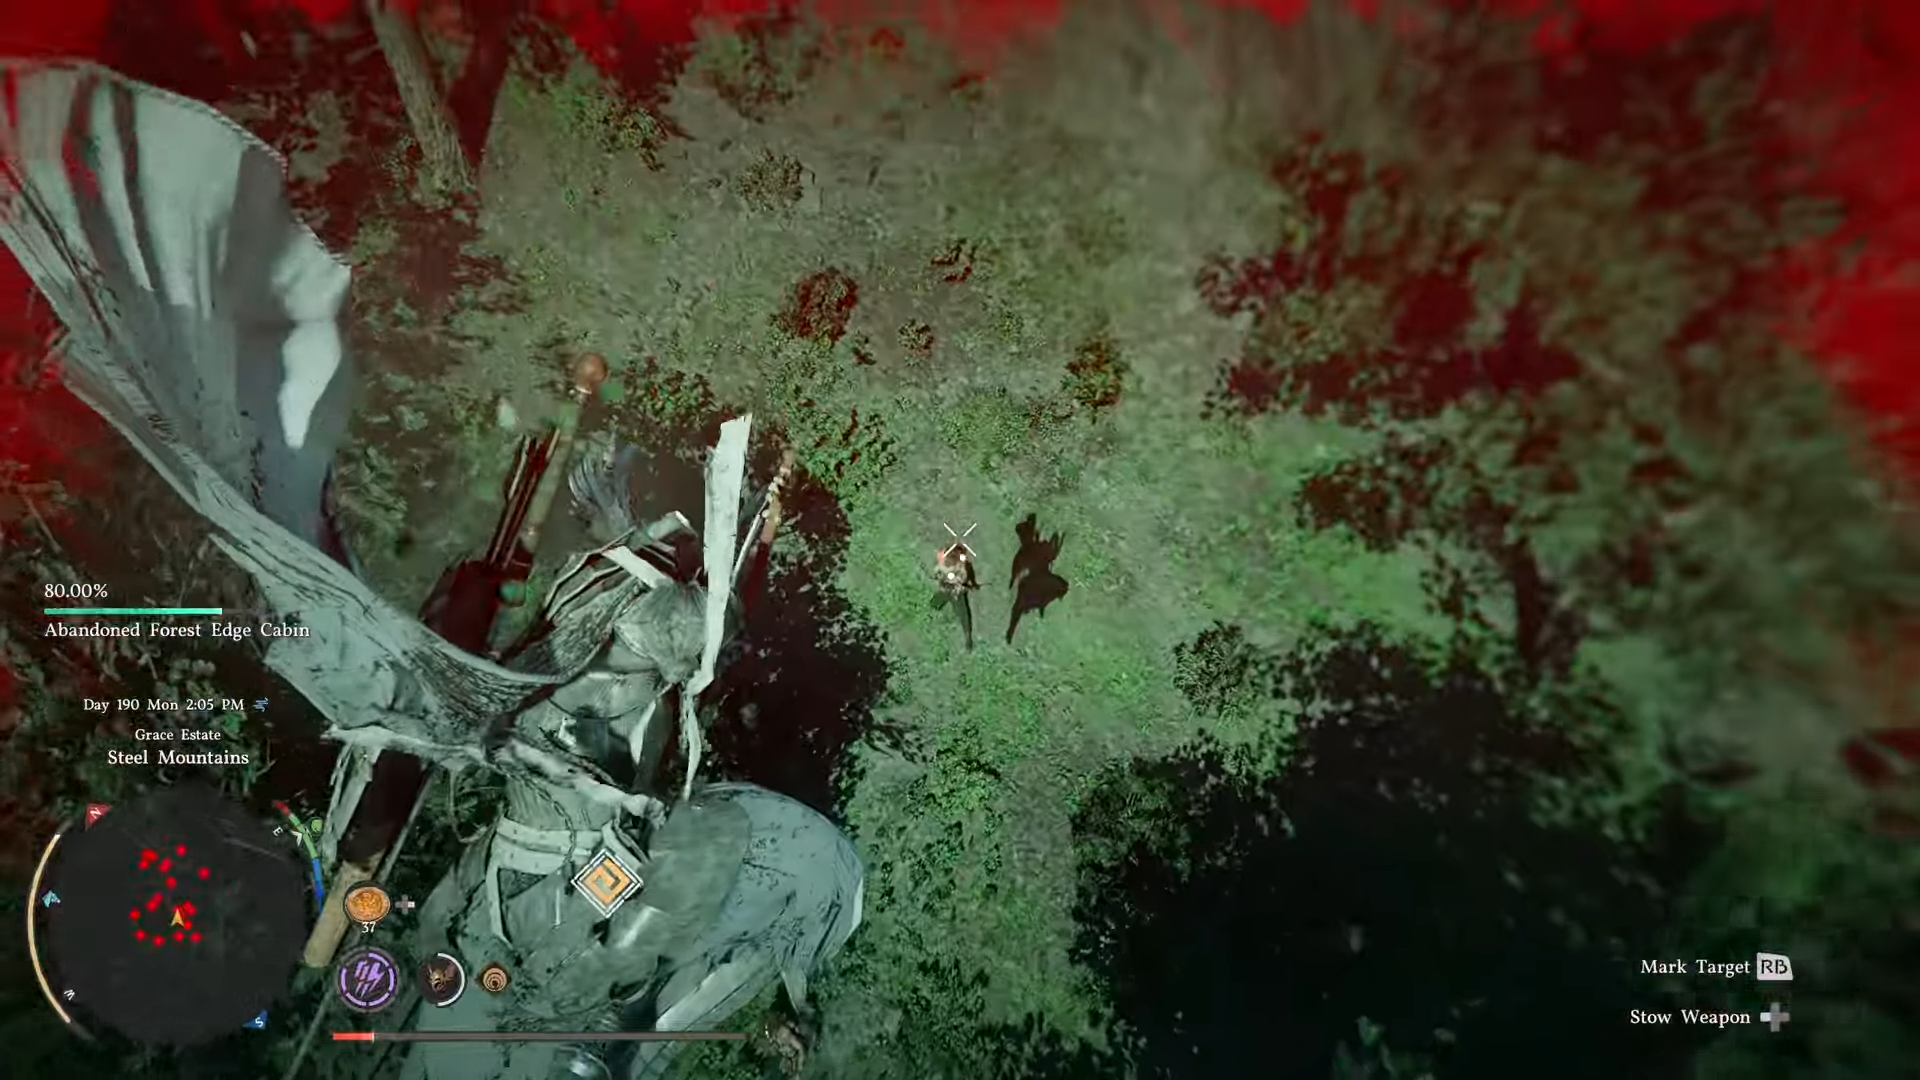
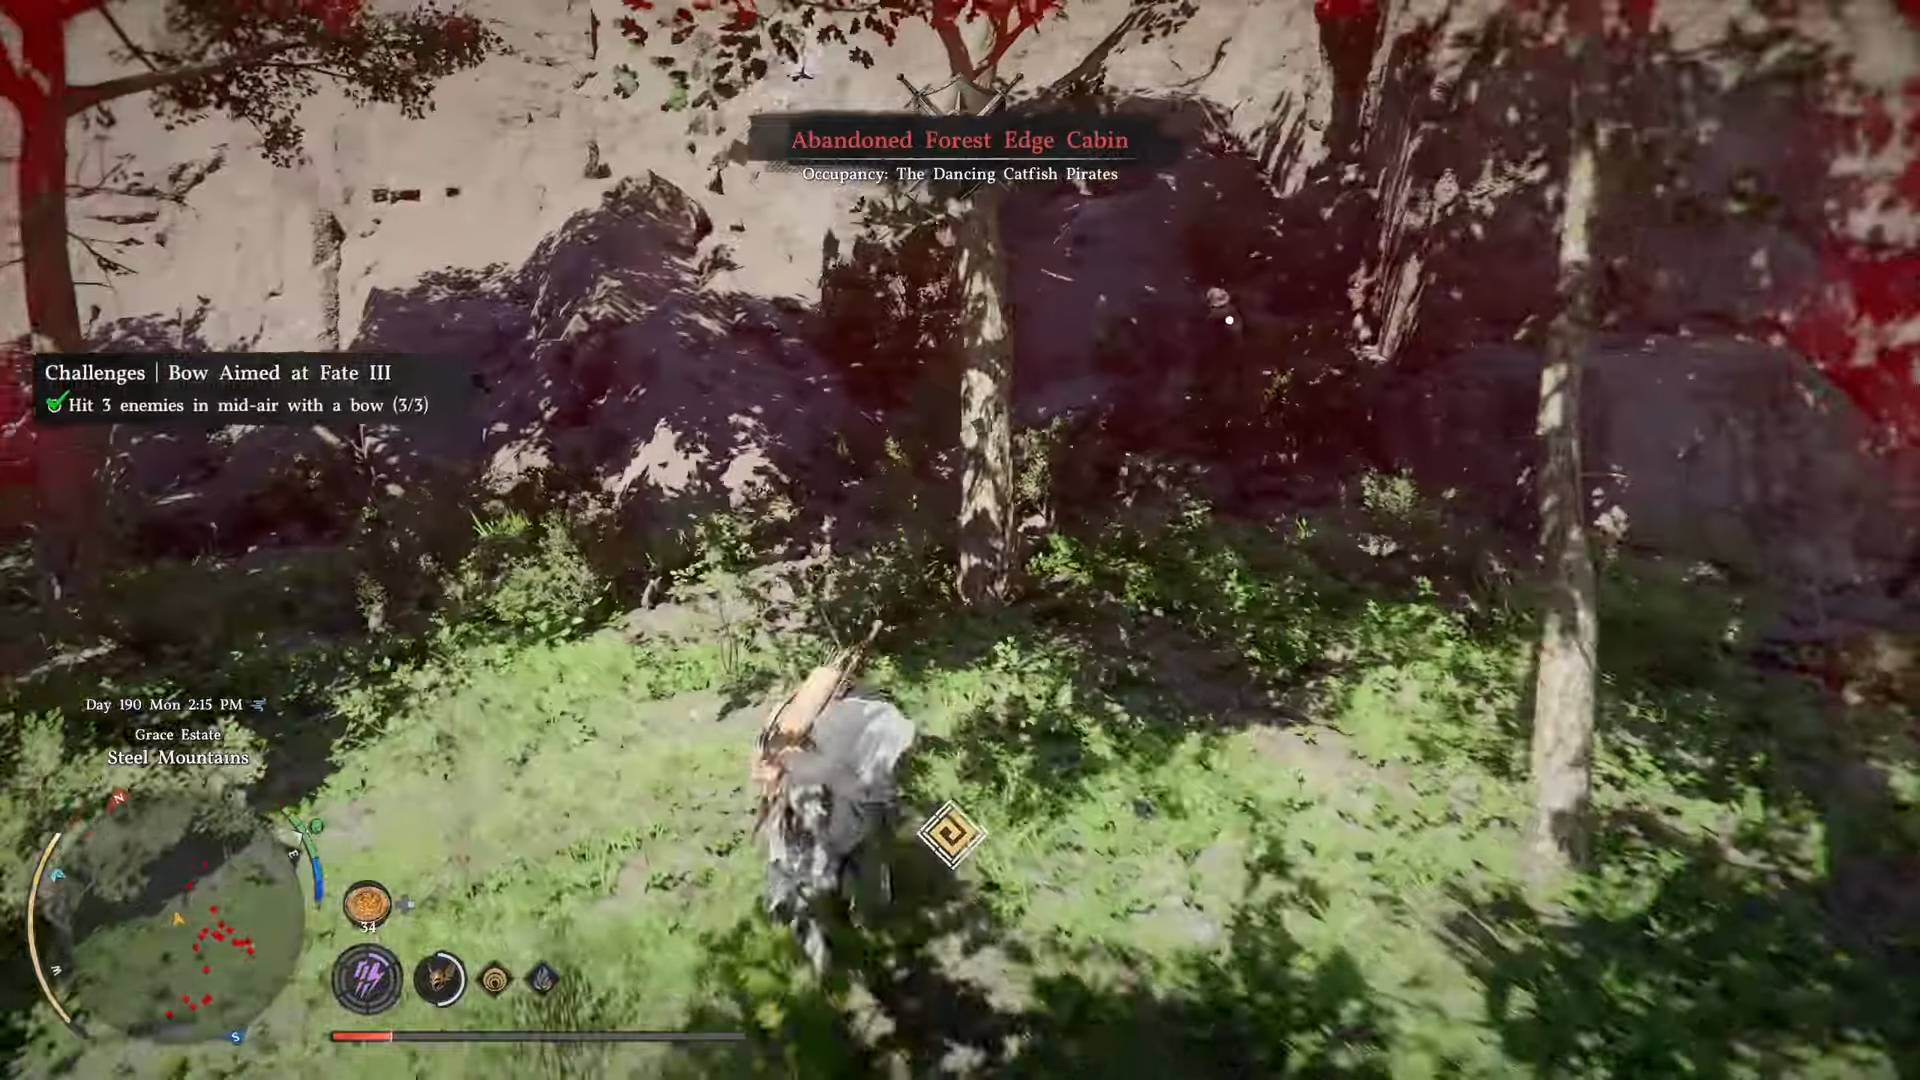
The Bow Aimed at Fate III challenge tests your aerial archery skills in Crimson Desert, demanding you strike three foes without touching ground.
Bow Aimed at Fate III locations
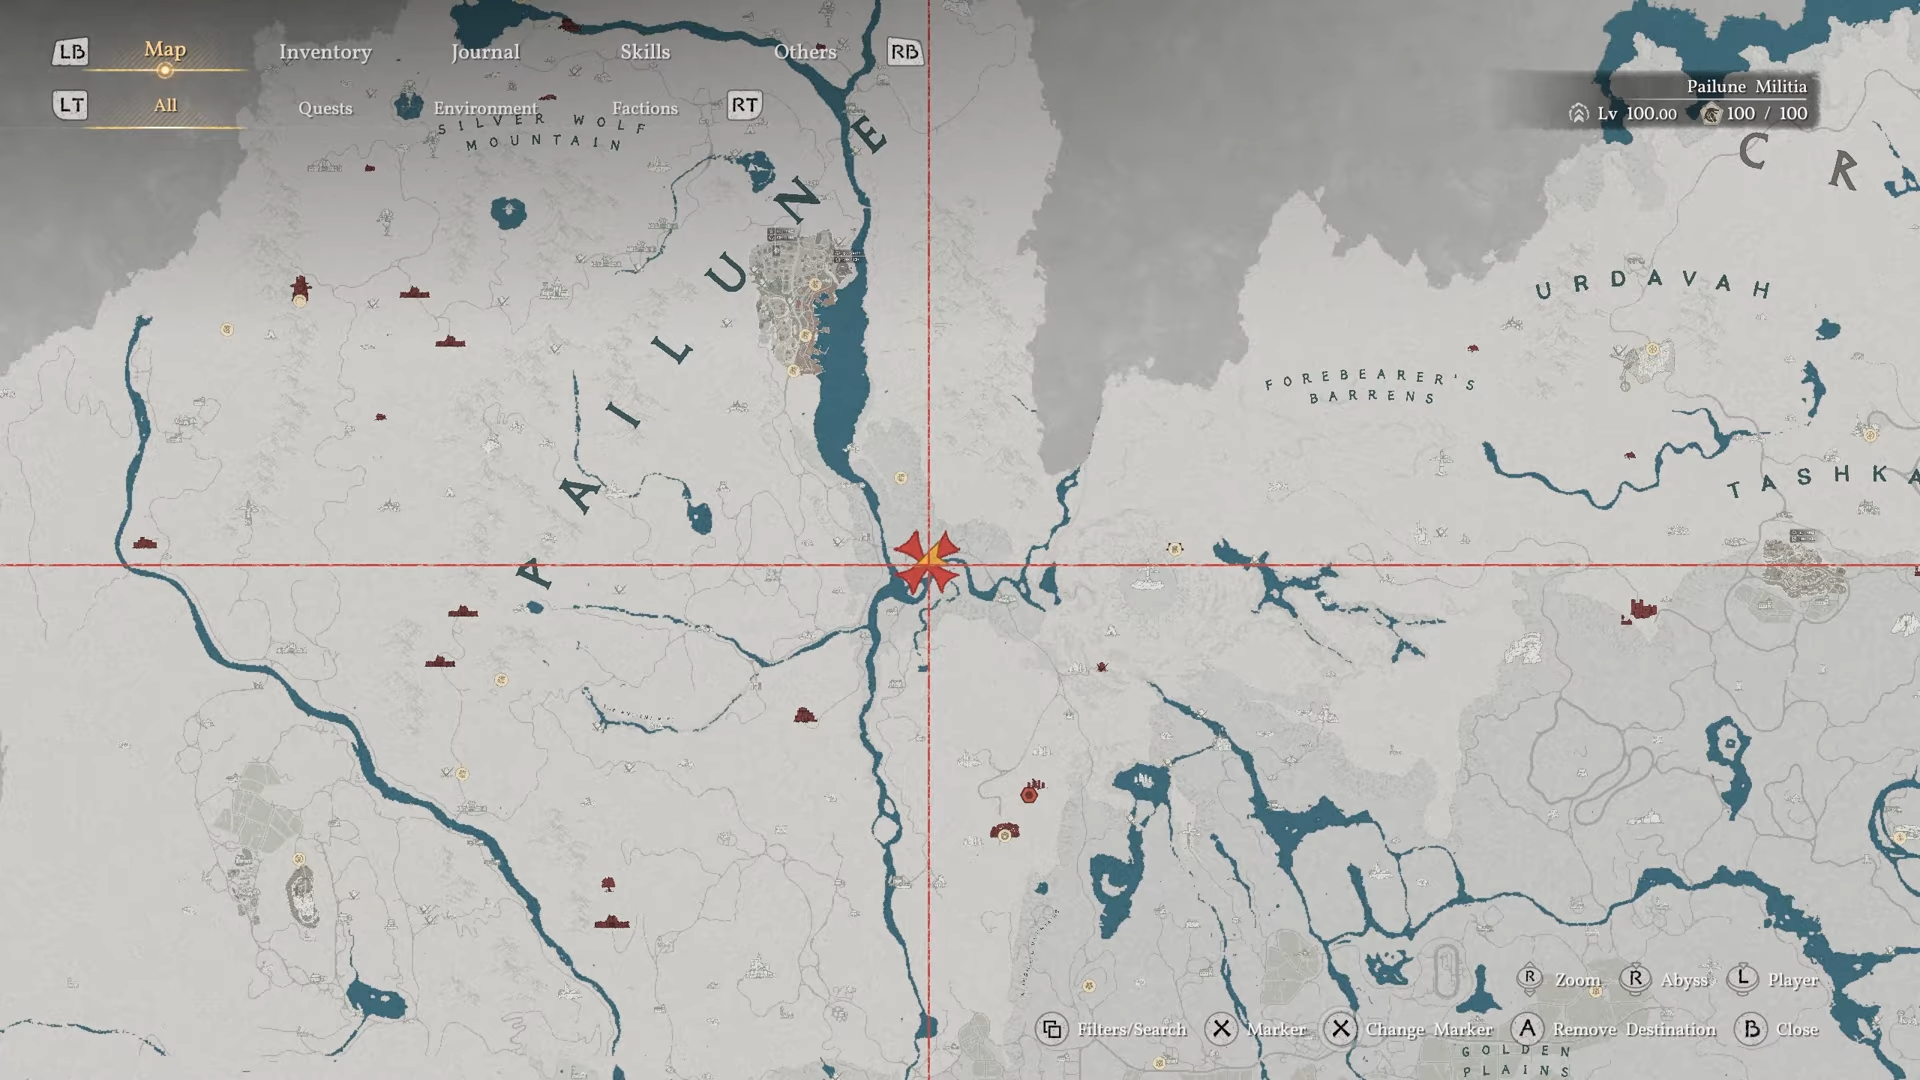
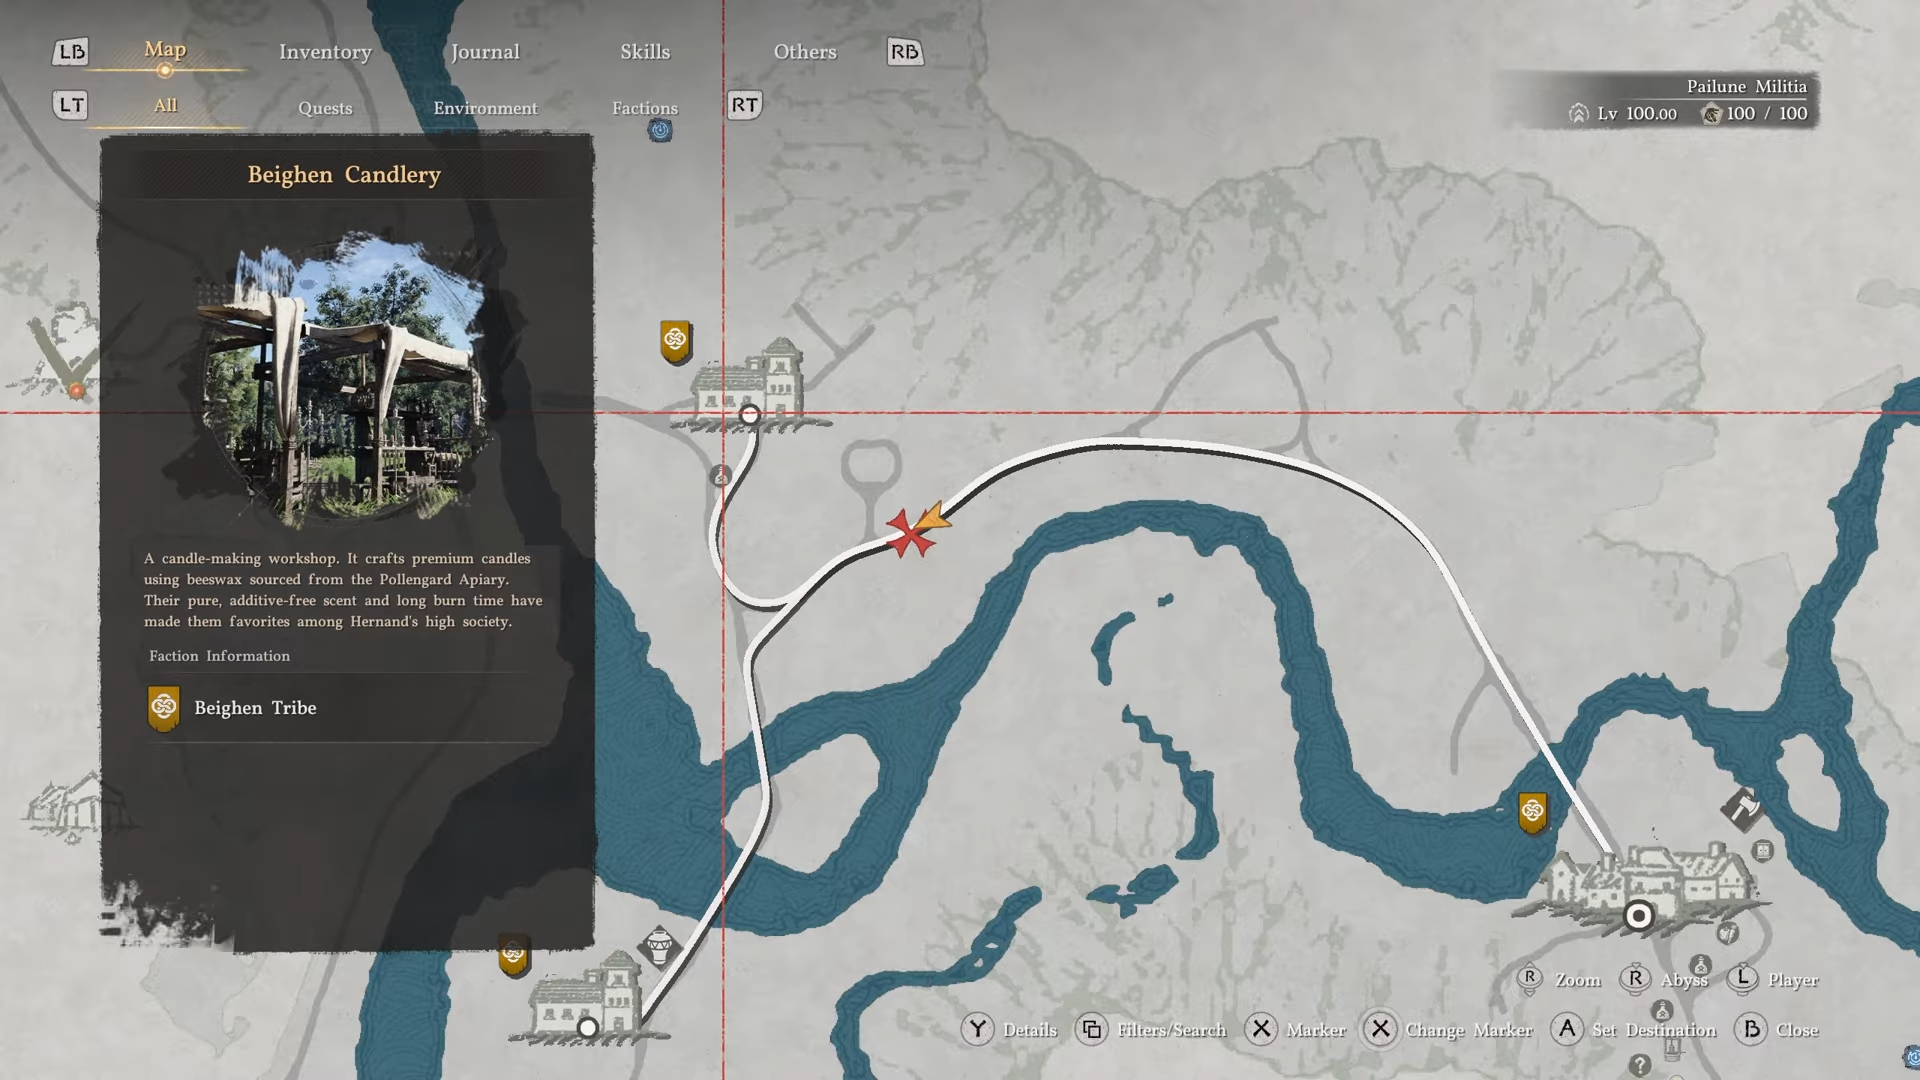
The Sealed Abyss Artifact sits on a roadside shrine just southeast of Beighen Candlery in Pailune.
For execution, fast travel to a nearby Abyss floating above an enemy camp in the same southeastern Pailune area, providing ideal height and clustered foes below without needing extensive travel.
How to activate Bow Aimed at Fate III
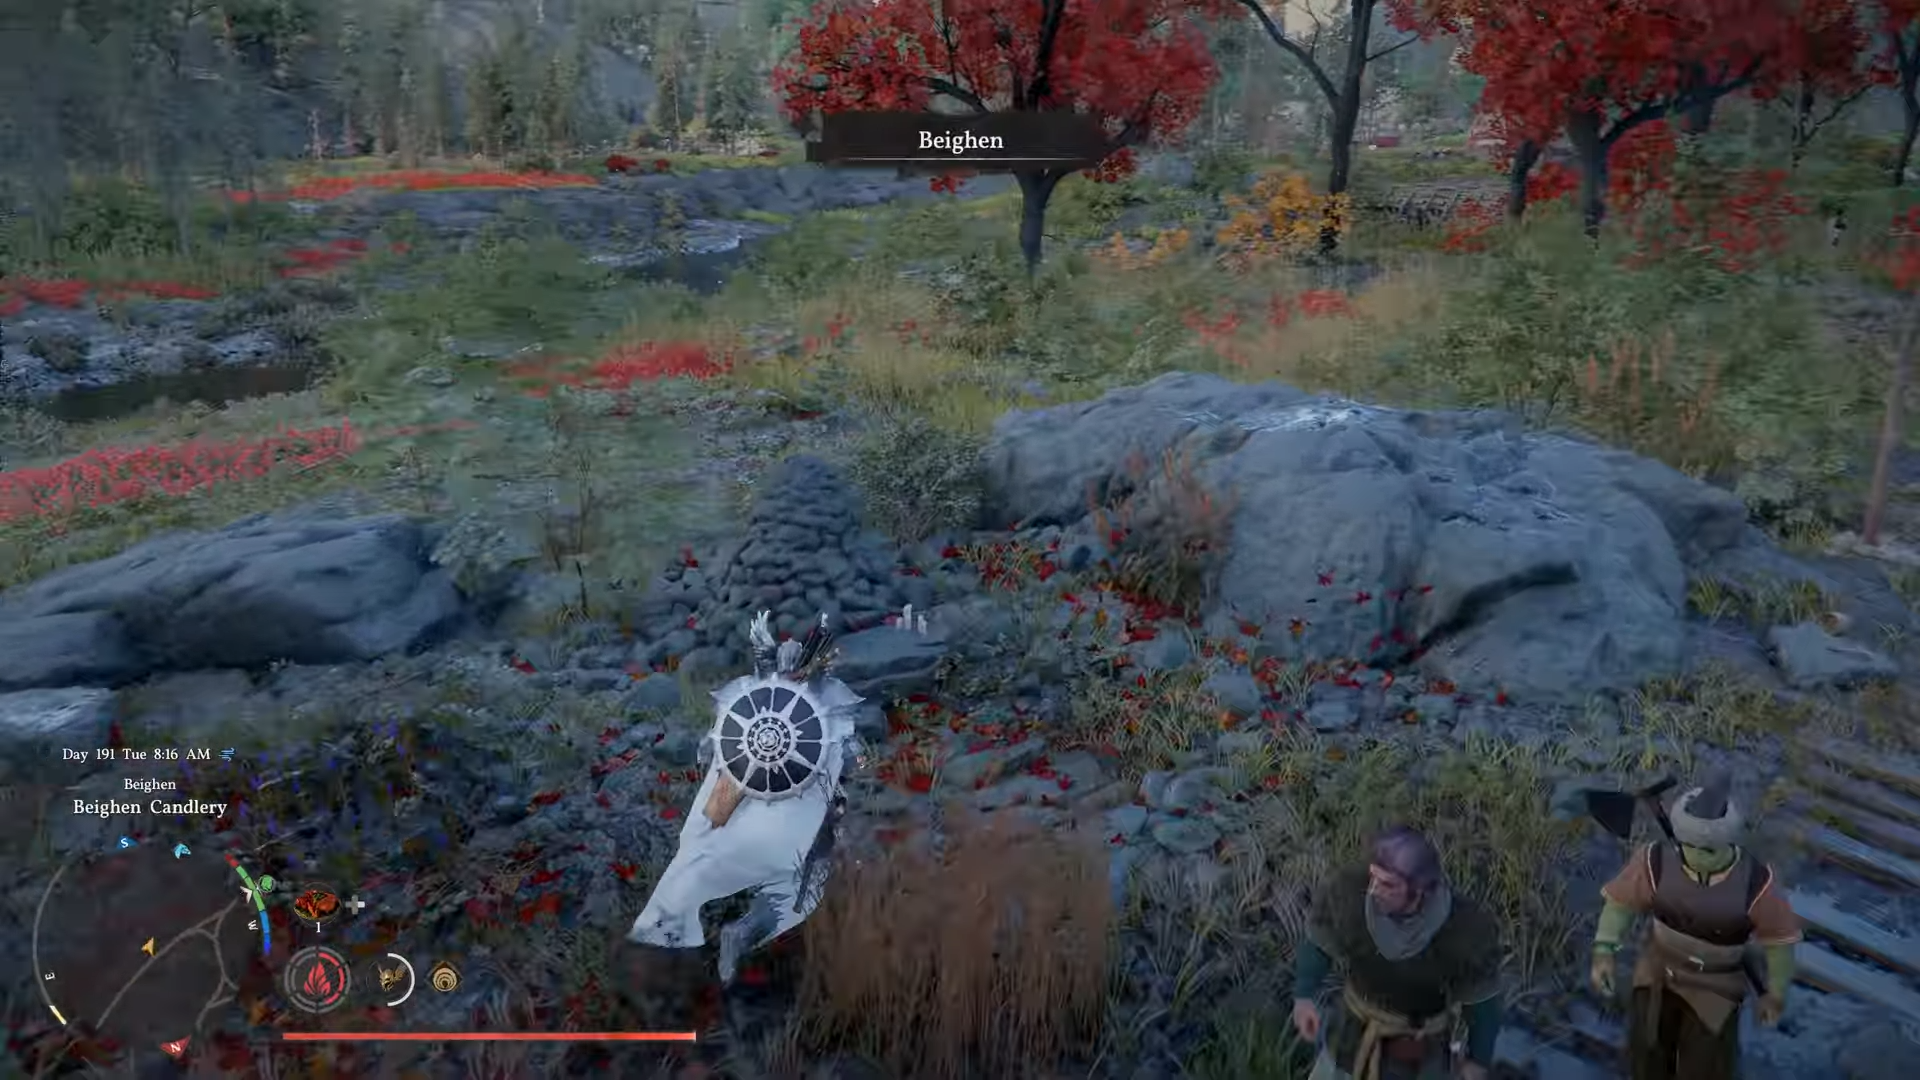
Approach the shrine southeast of Beighen Candlery. Interact with the Sealed Abyss Artifact to pick it up. Stand still, sheathe weapons, and use the artifact from inventory to spawn the Abyss core nearby, officially starting the challenge timer.
Prerequisites
Unlock Focus Shot from the skill tree as it auto-activates in air for slowed time and lets you mark targets.
Equip any reliable bow with arrows, and ensure your bow skill level supports precision aiming. Scout an enemy camp under an Abyss nexus for 3+ foes close together, avoiding spread-out groups that complicate tagging.
How to hit 3 enemies mid-air step by step
Follow these detailed steps to chain shots without landing, using glide to extend air time.
Step 1
Fast travel to the Abyss directly above the enemy camp in southeastern Pailune. Ensure 3+ enemies patrol below.
Step 2
Jump off the Abyss edge toward the camp to build initial height and momentum.
Step 3
Immediately glide (fly) to control descent and position yourself centrally over the enemies, hovering roughly 10-15 meters above.
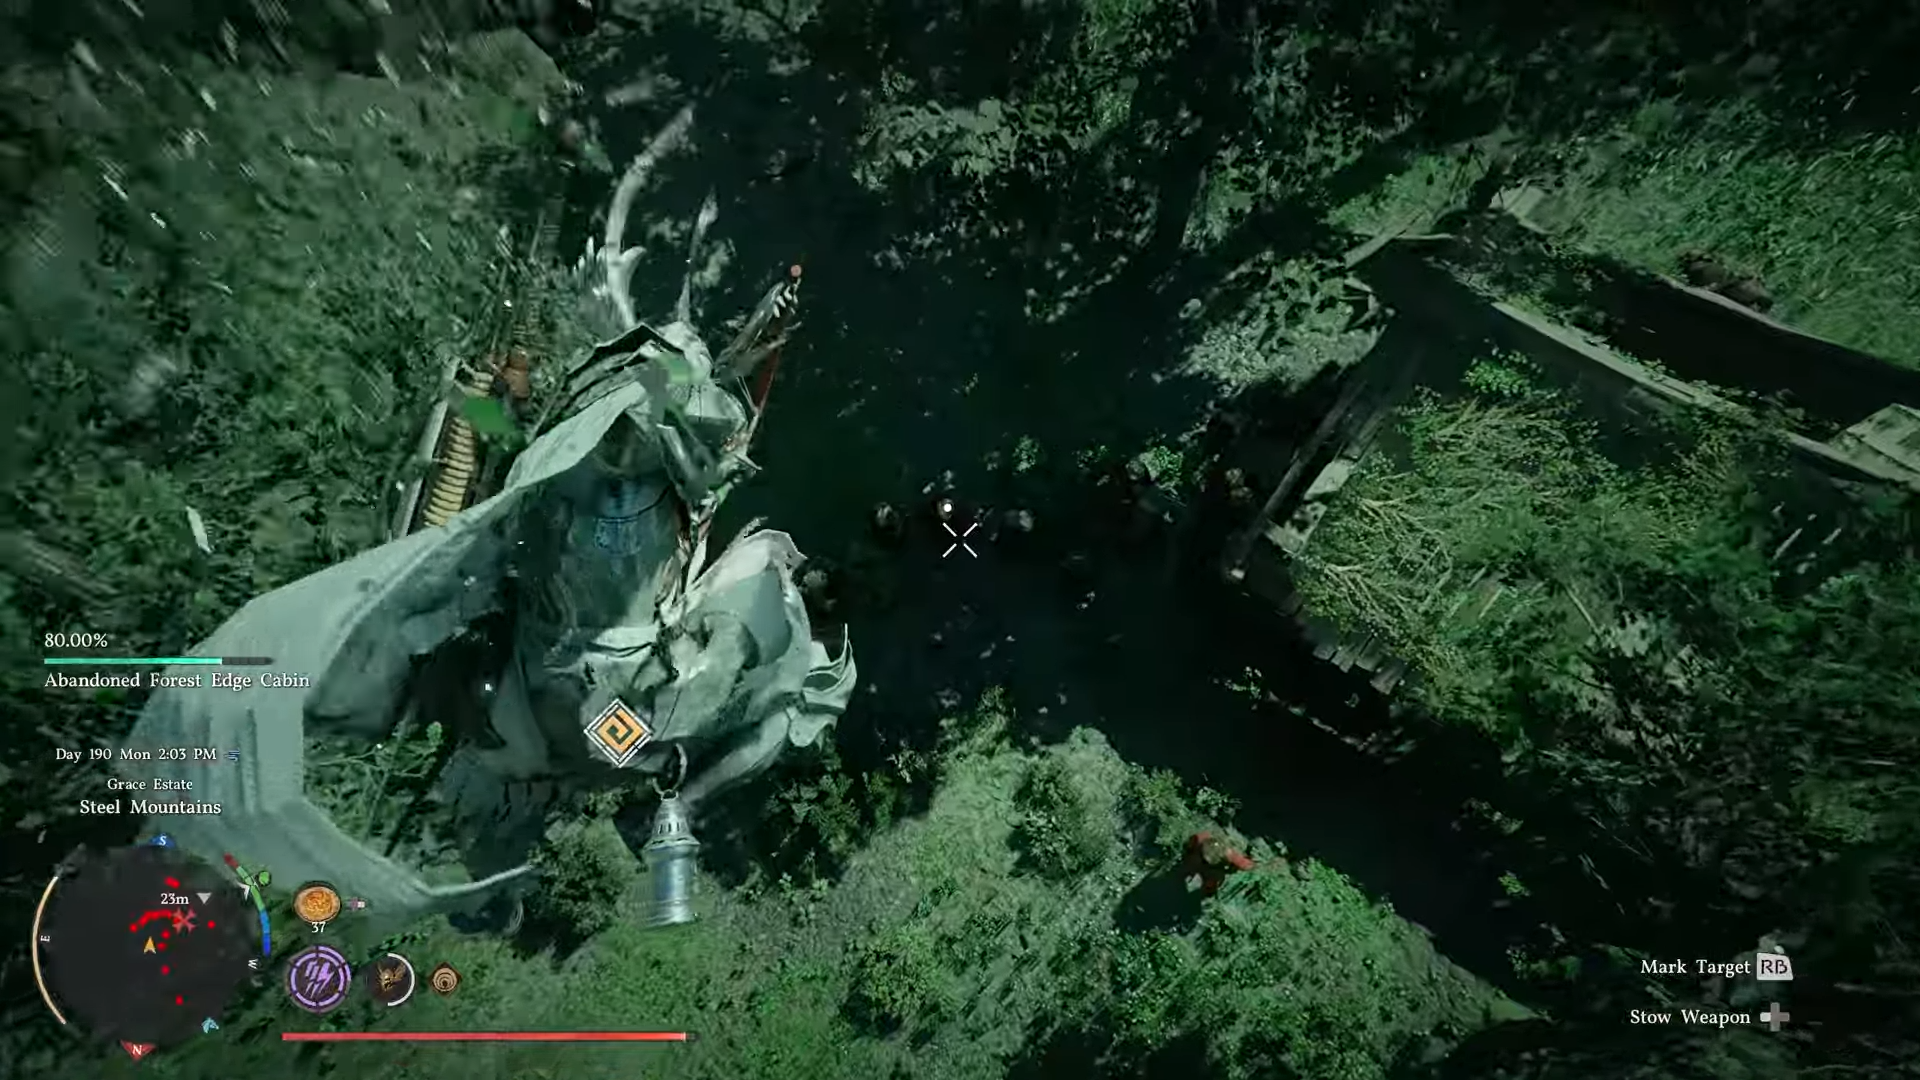
Step 4
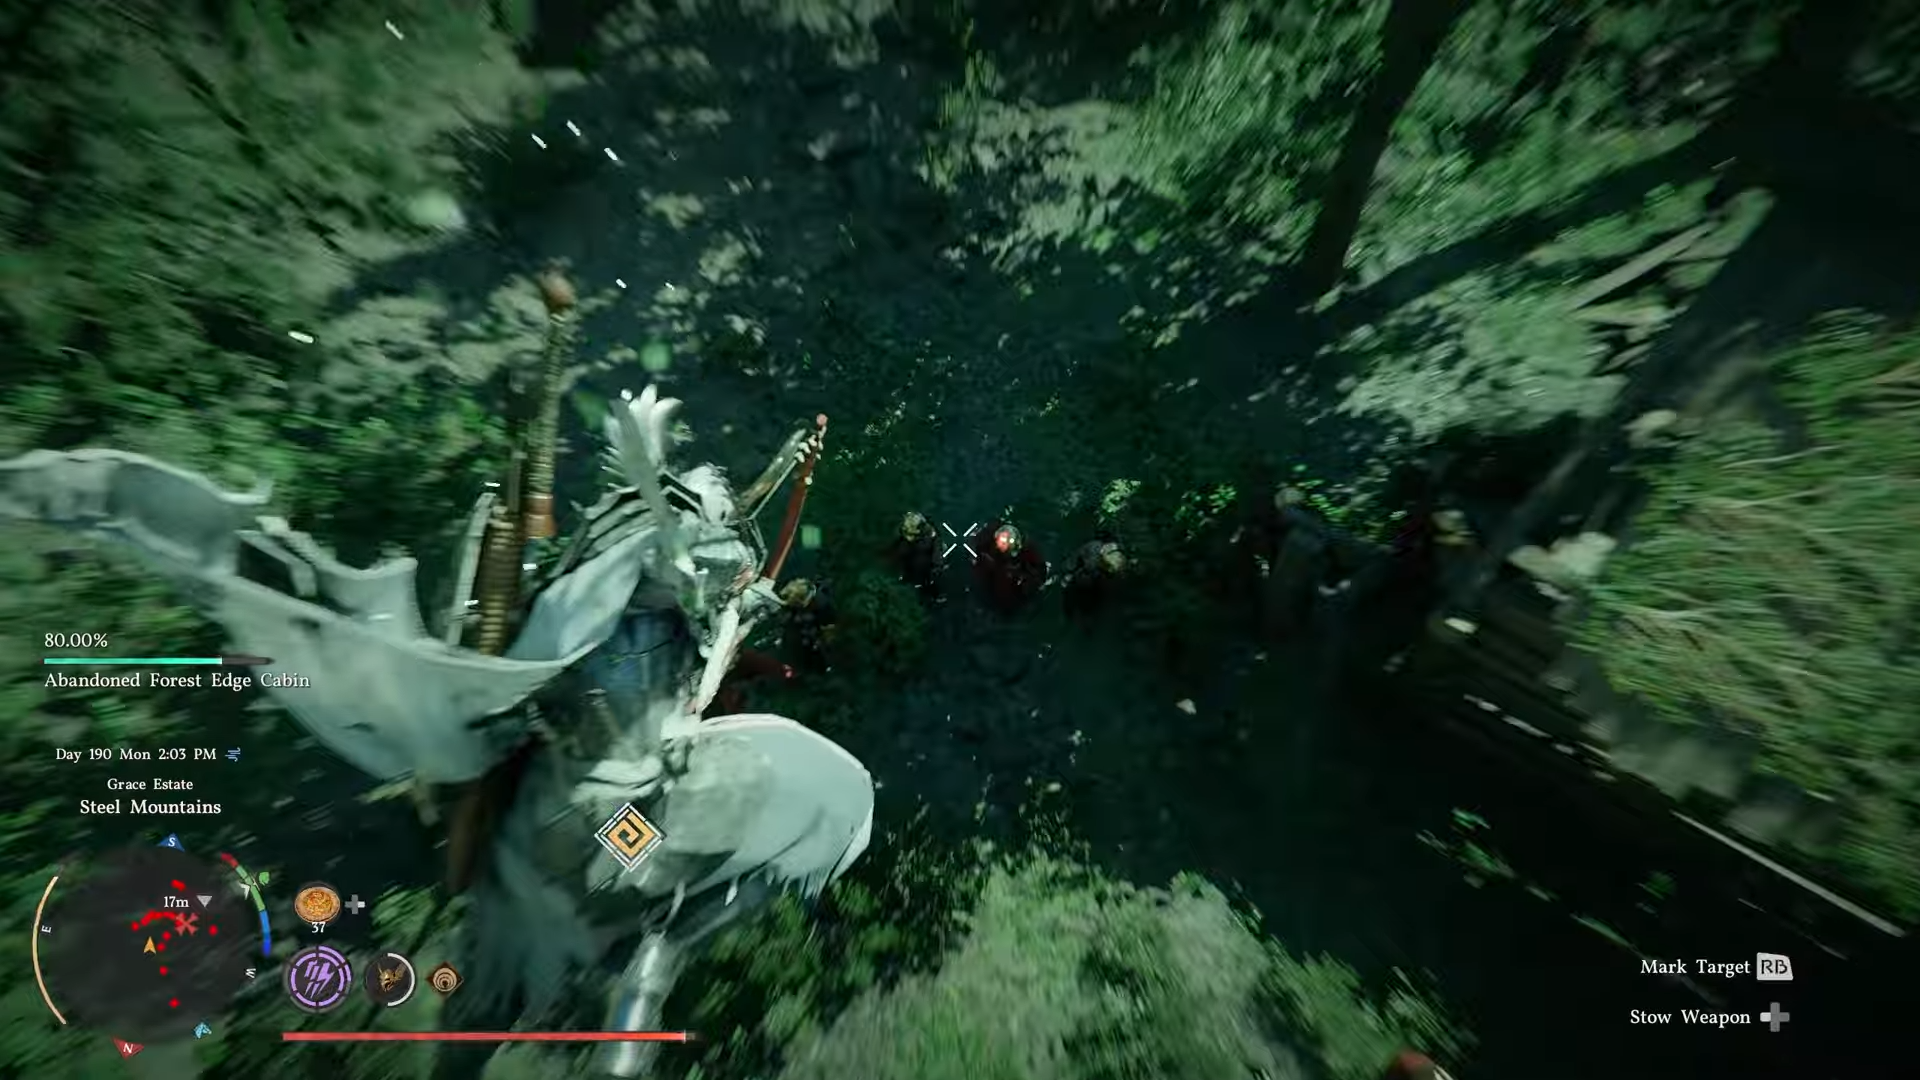
Draw your bow mid-glide; Focus Shot activates automatically, slowing time.
Step 5
Aim at the first enemy and press the mark button (RB on controller, right-click or equivalent on PC) to tag it.
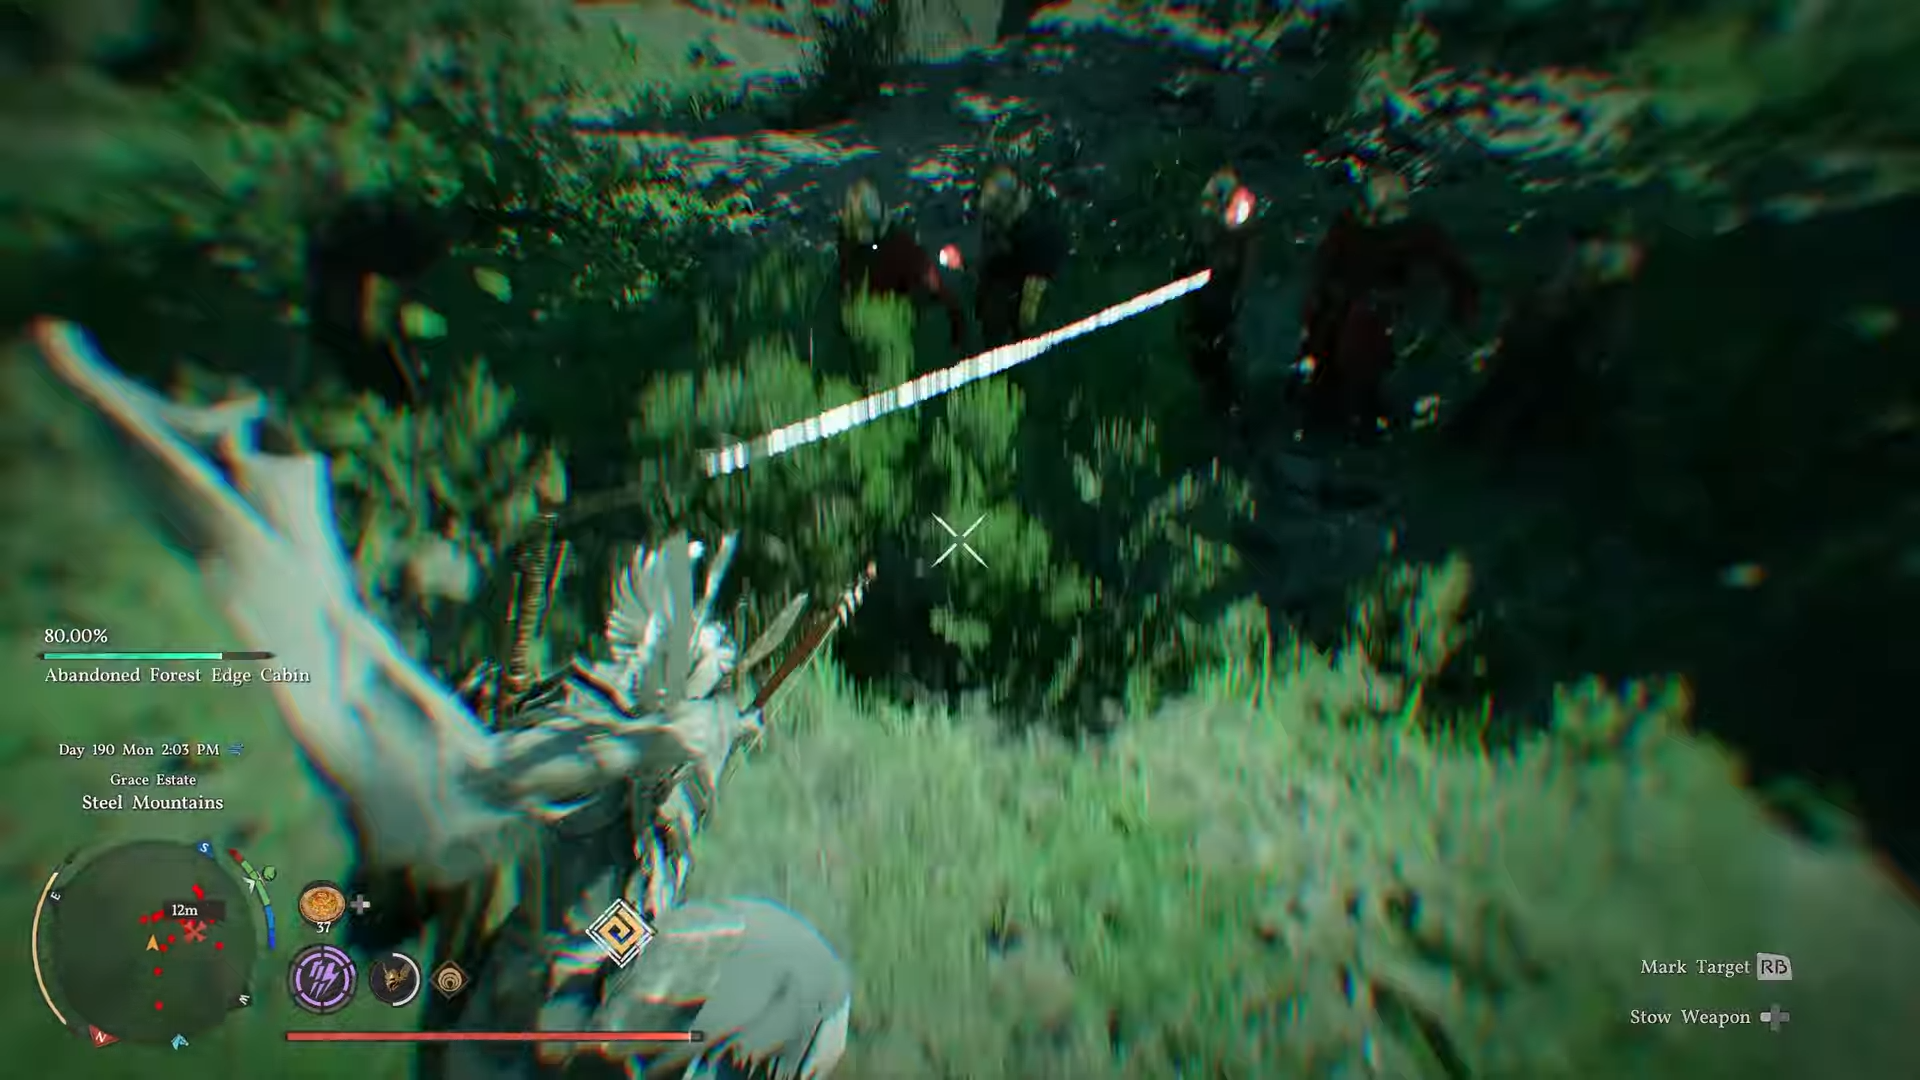
Step 6
Quickly shift aim to the second enemy and tag it, then the third—keep all tags active without firing yet.
Step 7
Release the shot to fire at all marked targets simultaneously, registering hits on each.
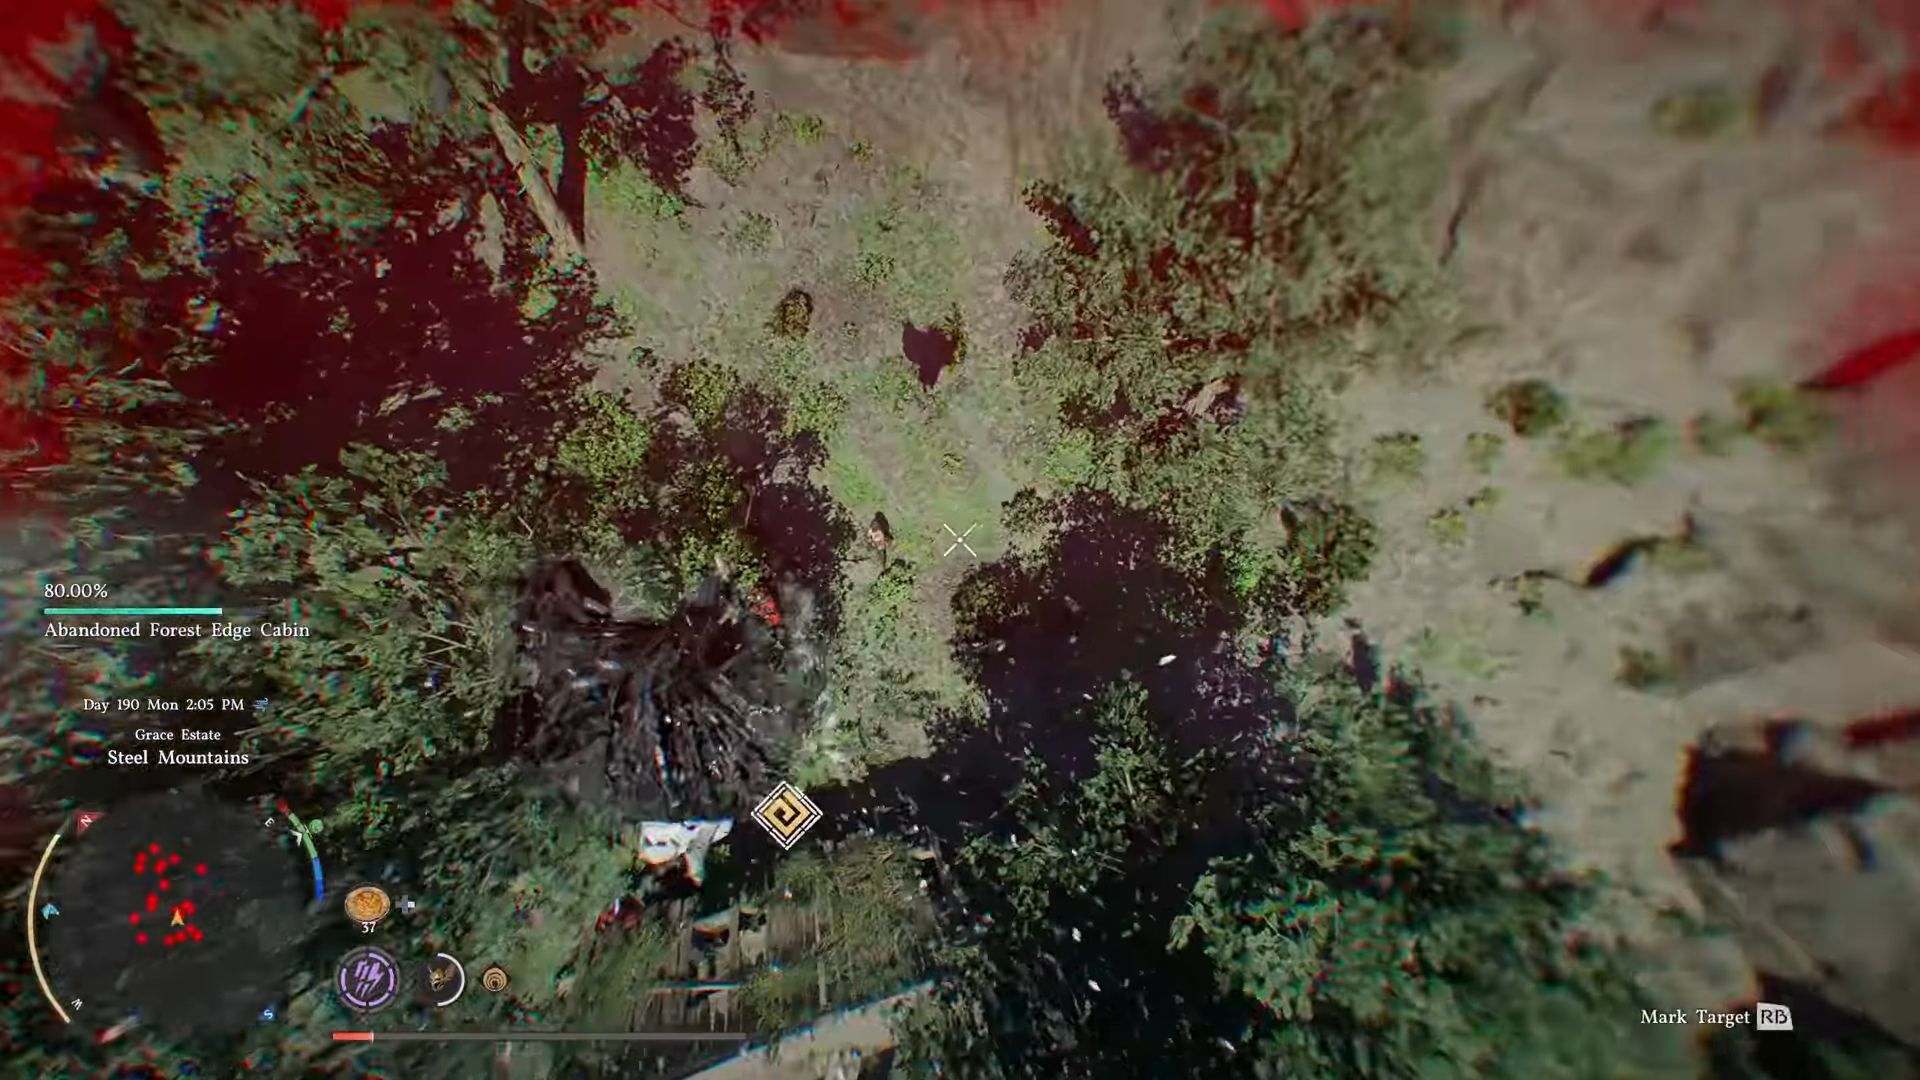
Step 8
Glide again immediately to stay airborne, repeating the draw-mark-fire sequence if needed, but three hits complete it.
Step 9
Land only after confirming all three hits registered, then approach the Abyss core safely.
Common pitfalls and fixes
Players often land too soon, resetting the combo—counter by chaining glides between shots to buy seconds. If arrows miss due to blocking, hover directly above foes for straight-down trajectories. Low stamina cuts air time; consume pots beforehand or use Force Palm (melee push) post-jump for extra boost. Same enemy multiple times counts if it survives, but prioritize three distinct for reliability. Practice marking speed in normal combat first.
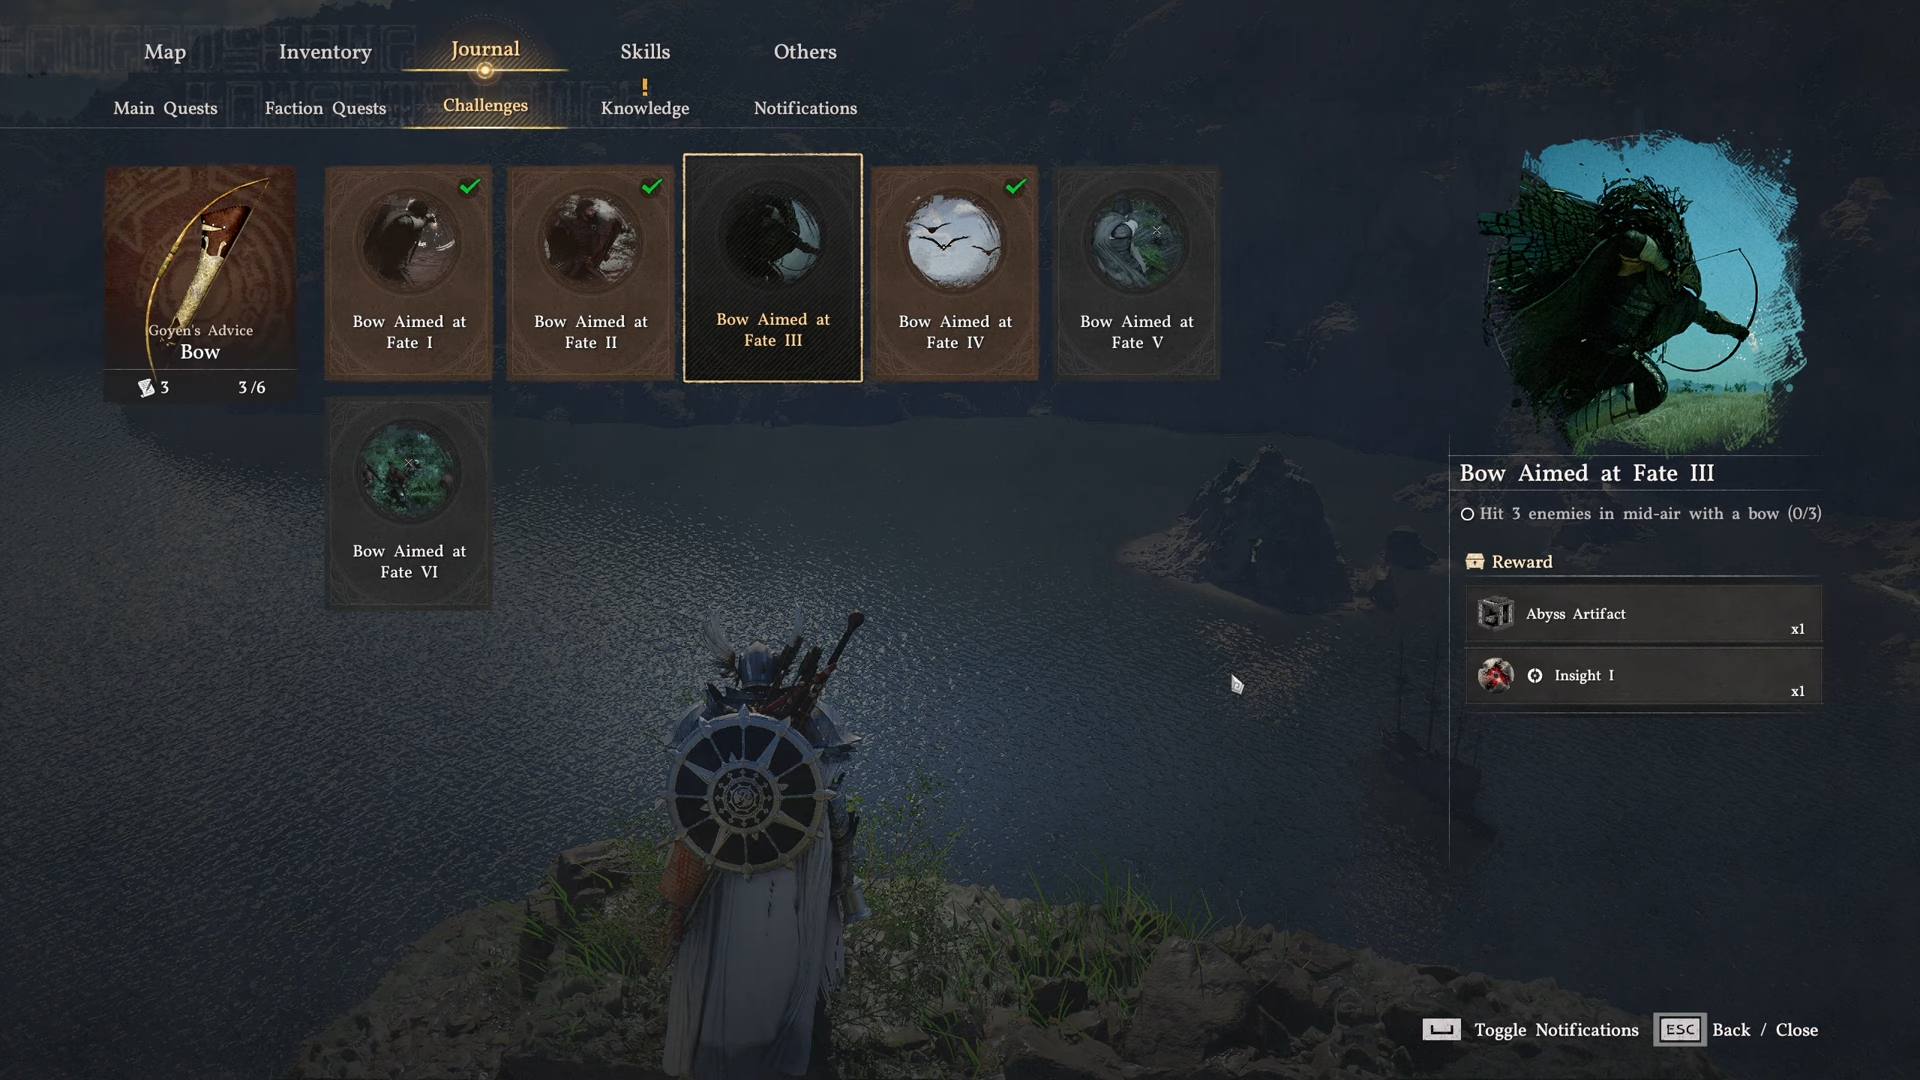
Bow Aimed at Fate III Rewards
Completing this yields core bow progression items.
Tackle this early in bow progression for momentum toward Master of Bows, then chain into distance shots or explosive arrow feats for full mastery.