What to know
-
Seven overworld locations yield 452,500 Fons total from safes amid banks, shops, and delinquent hideouts.
-
Interact with big safes for 50,000-200,000 Fons; small ones give 1,250 each.
-
Bonus 100,000 Fons in a hospital anomaly demands puzzle-solving and navigation.
In Neverness to Everness, you can easily boost your in-game economy right away by cracking open overlooked safes in everyday city spots. These straightforward grabs let you stockpile Fons without grinding missions or tycoon tasks.
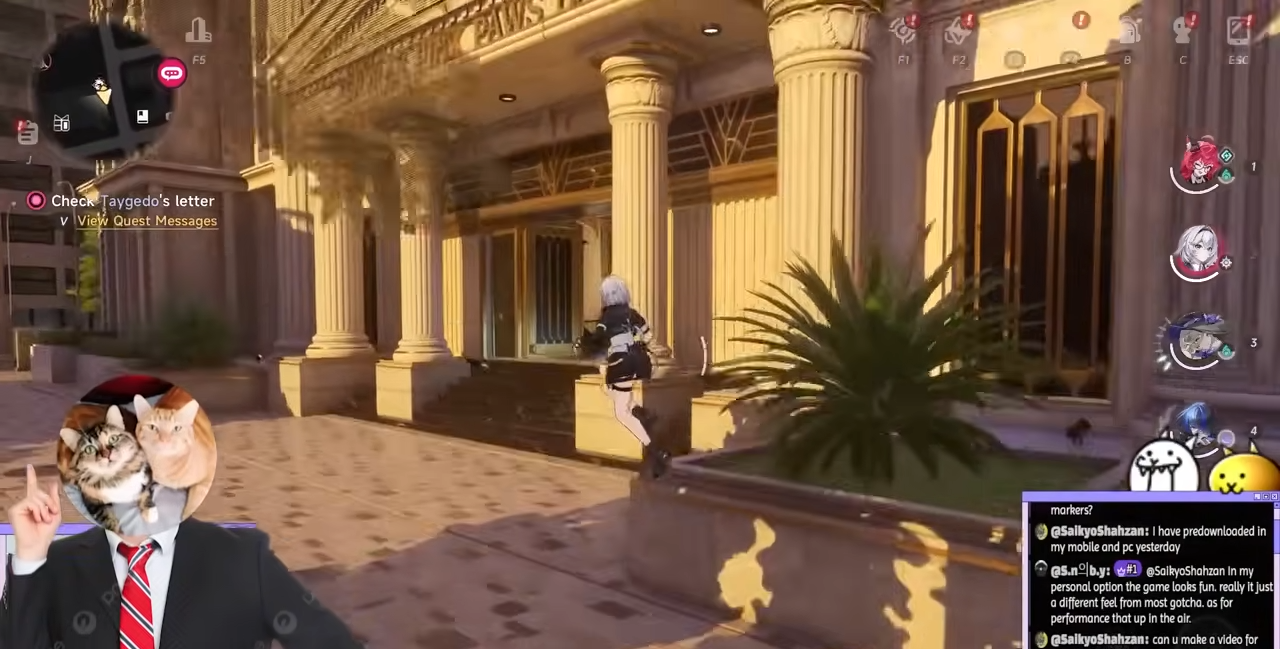
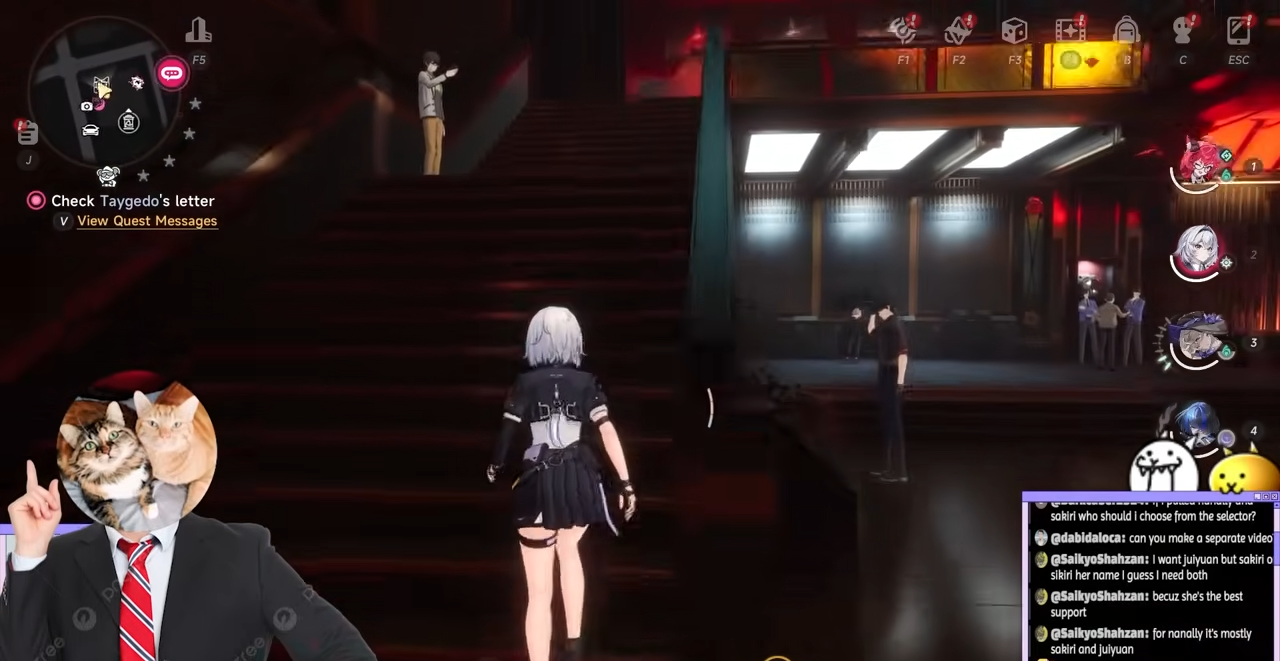
1. Grabbing Fons at the Pink Paws Bank
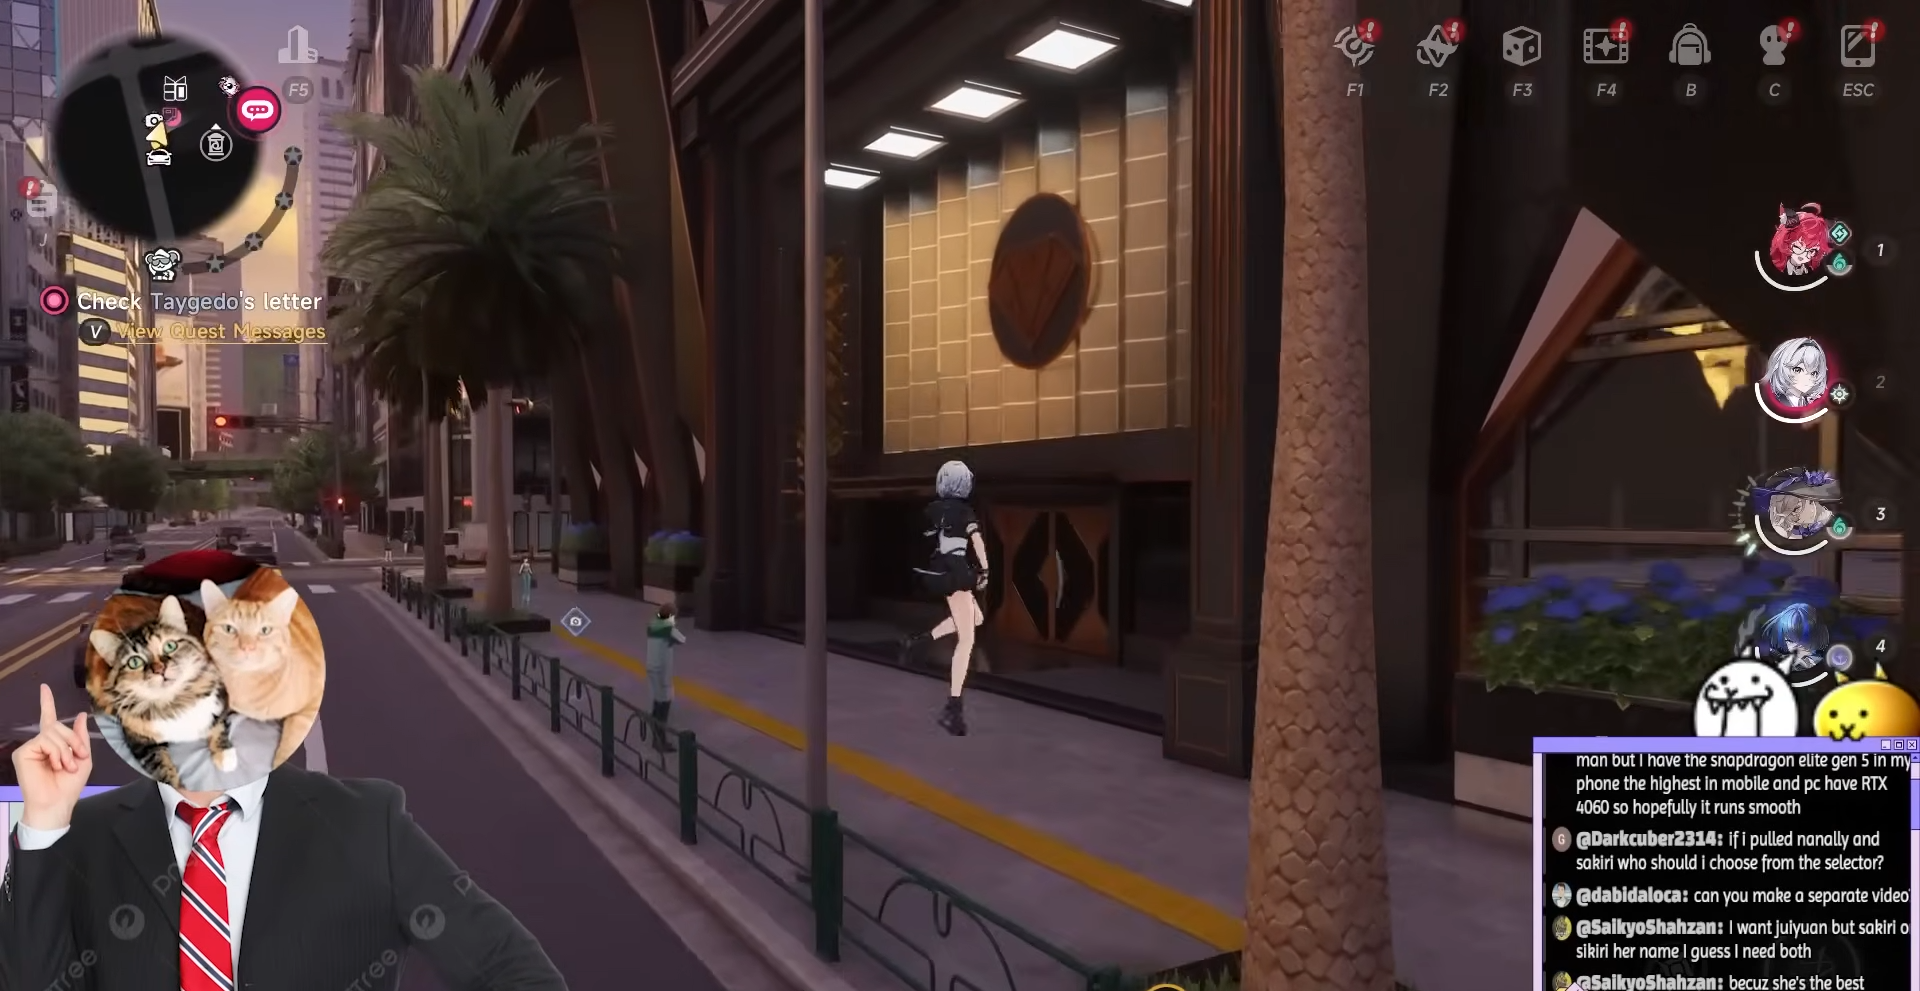
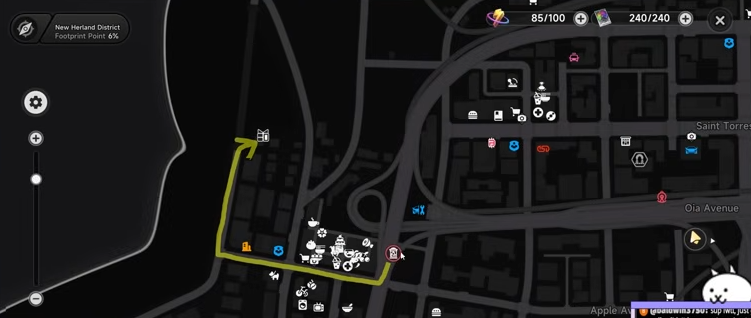
Head to the prominent bank near central waypoints.

Spot the grand entrance and dash inside.
Turn right immediately, climb the stairs.
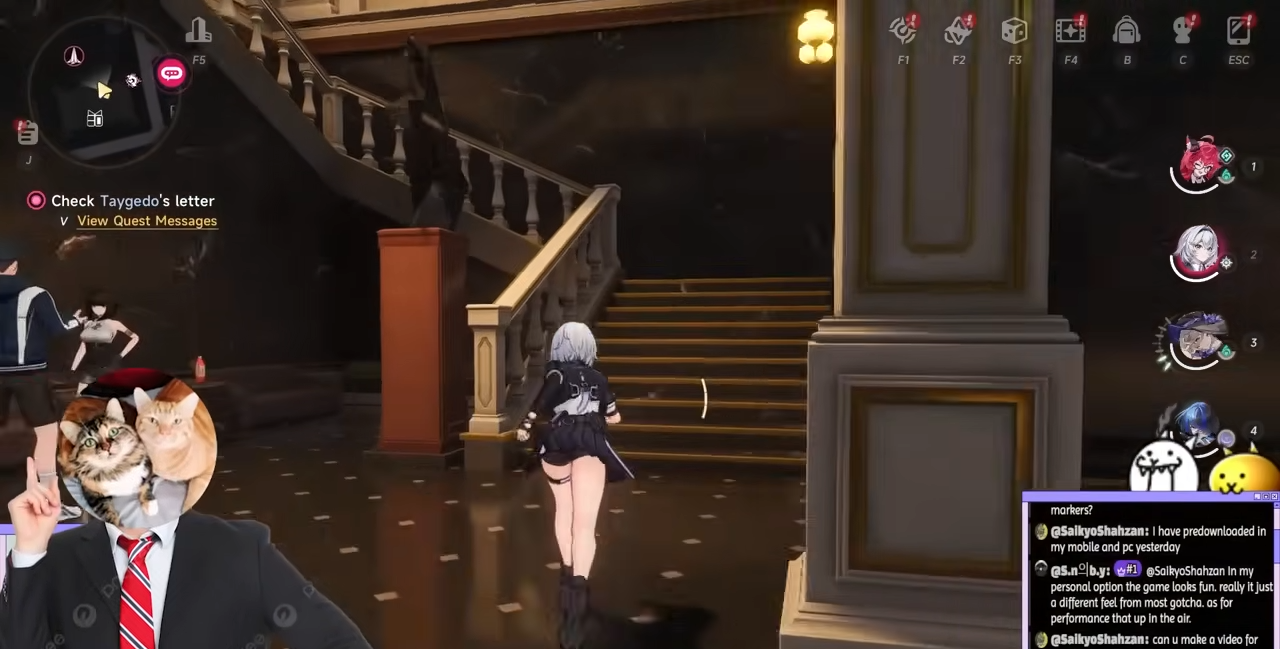
Then veer left at the top into the adjacent room.
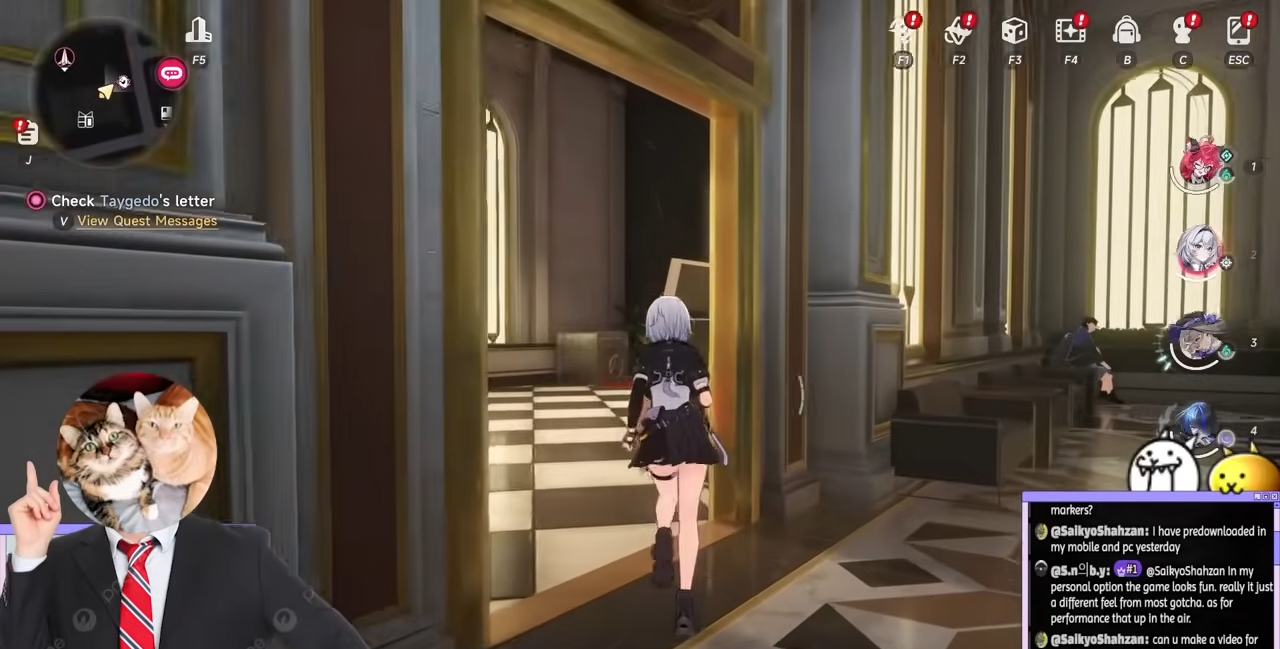
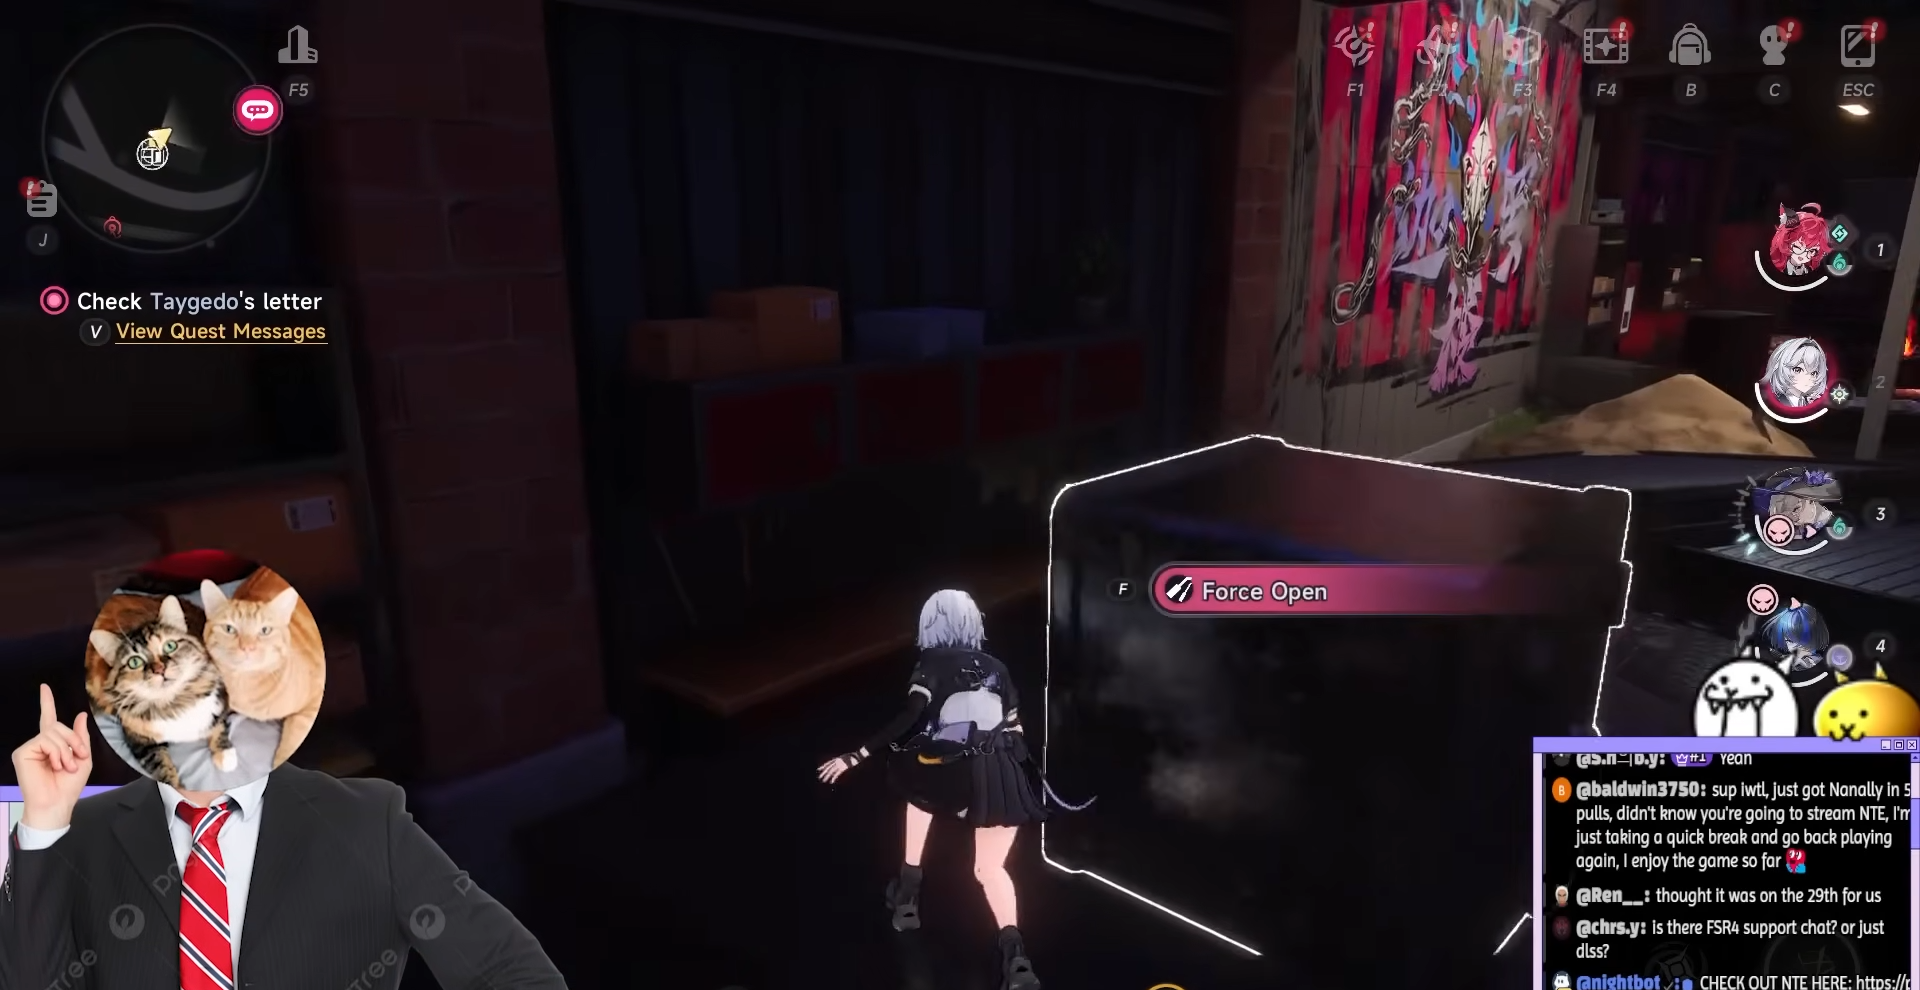
A hefty safe sits there.
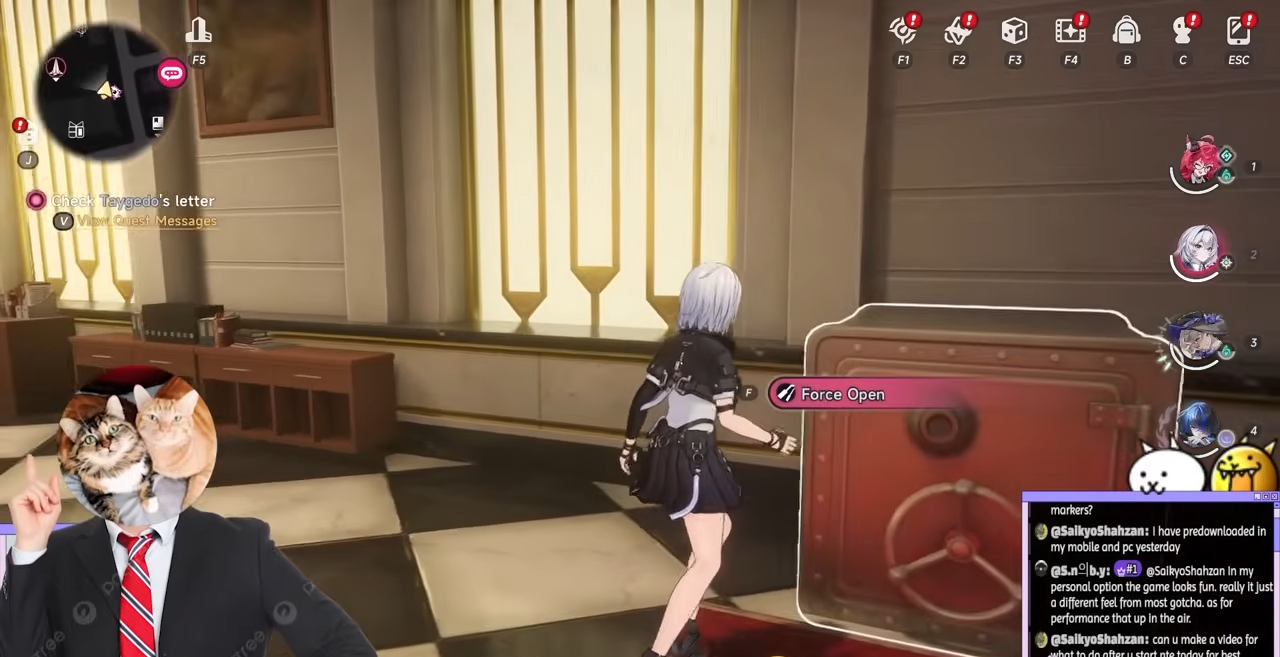
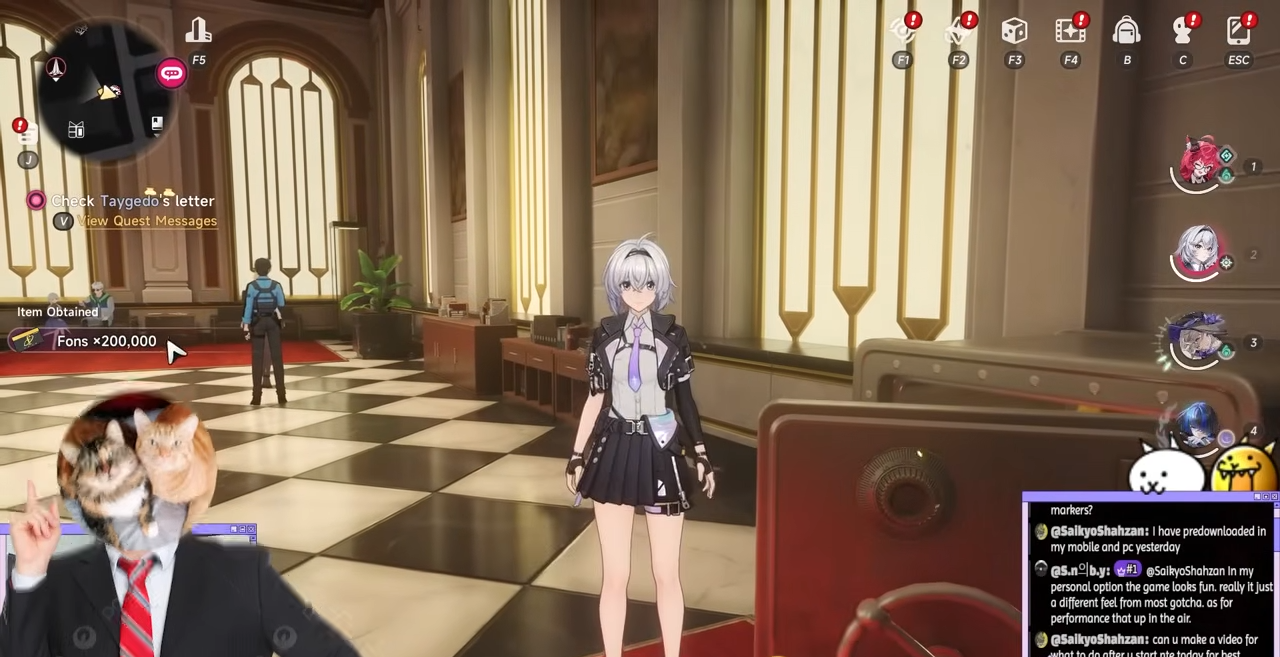
Force open it. After a brief animation, netting 200,000 Fons clean.
2. Cracking the Fancy Store Vault
Track from nearby waypoints to the lavish storefront that screams high-end goods.
Swing left from the entrance, ascend those stairs.
Peek right on your left at the summit.

Force the safe for 100,000 Fons—no guards, just quick access.

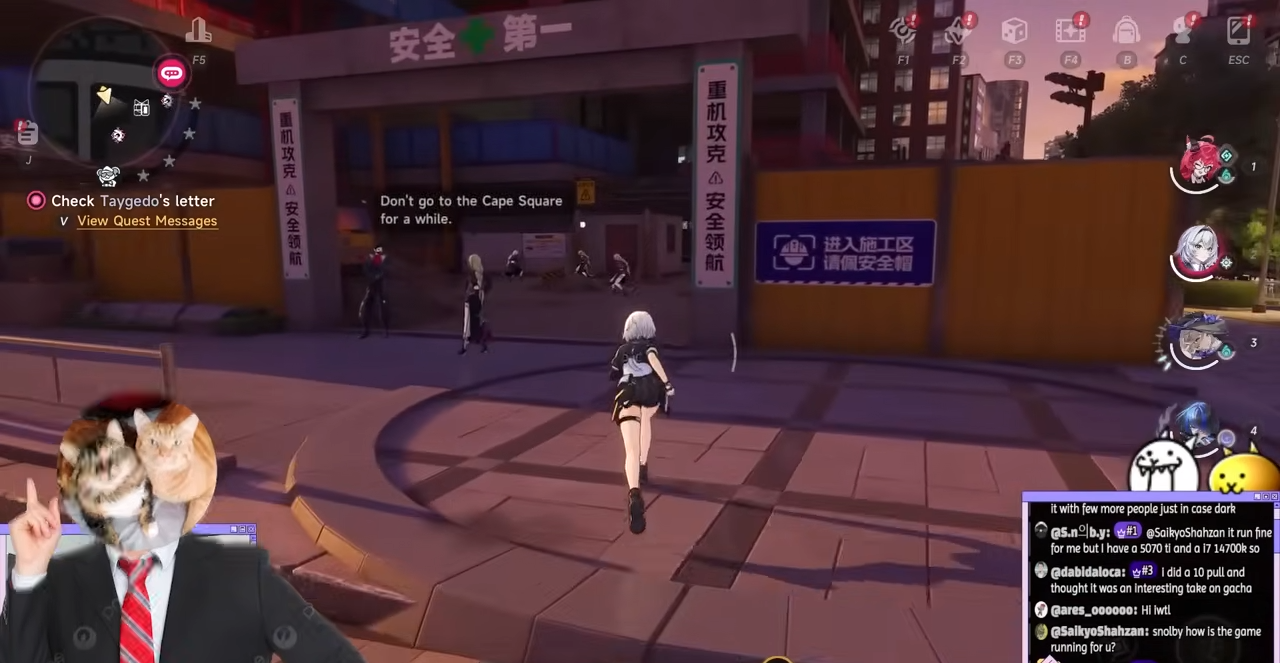
3. Raid the construction site delinquents
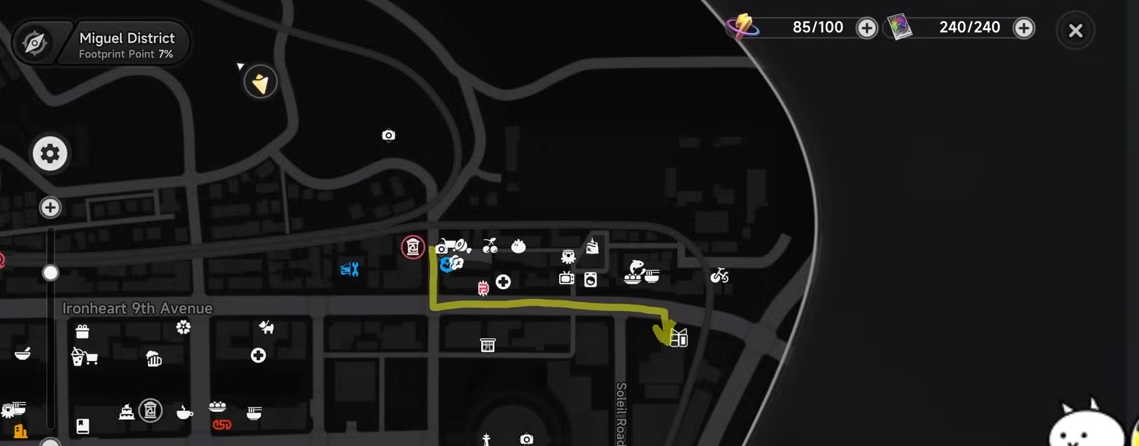
Teleport to the upper-right waypoint by the statue, summon your vehicle, and drive to the bustling construction zone teeming with delinquents.
Dodge their swings as you reach the elevator.
Interact to call it, step in slowly, and select 2F.
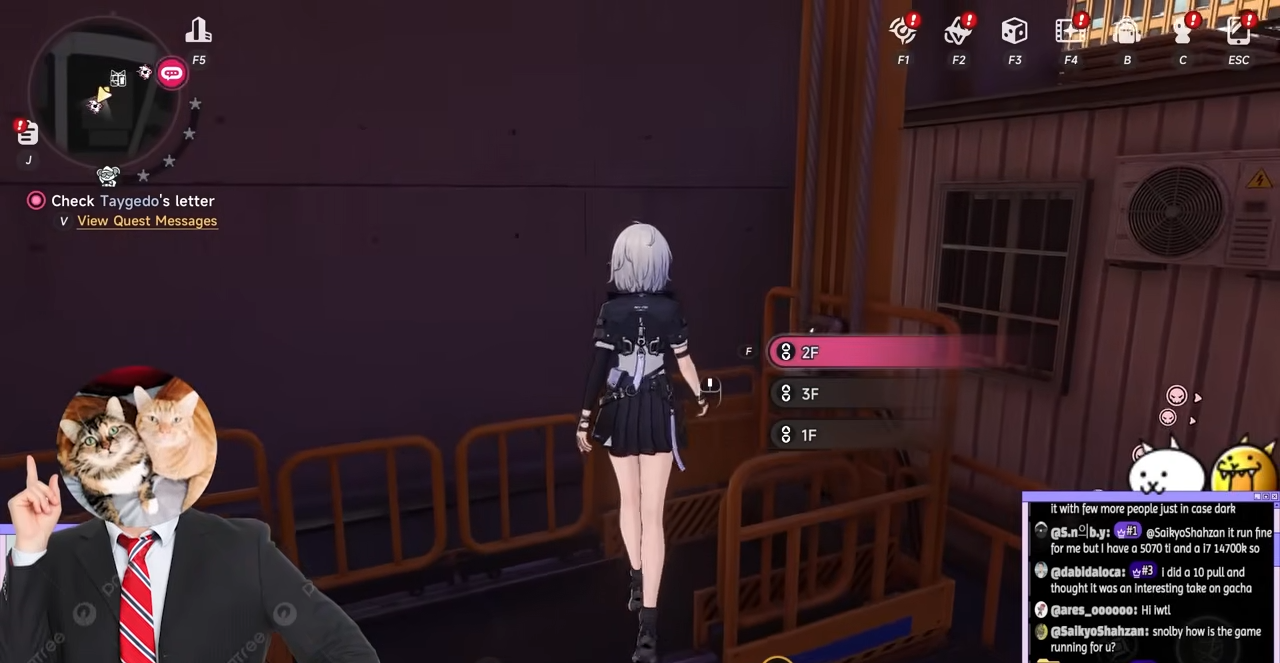
Upon arrival, turn left, hop onto the building roof for safety.

Open the safe for 50,000 Fons while getting payback on the locals.

4. Warehouse double-dip in delinquent turf
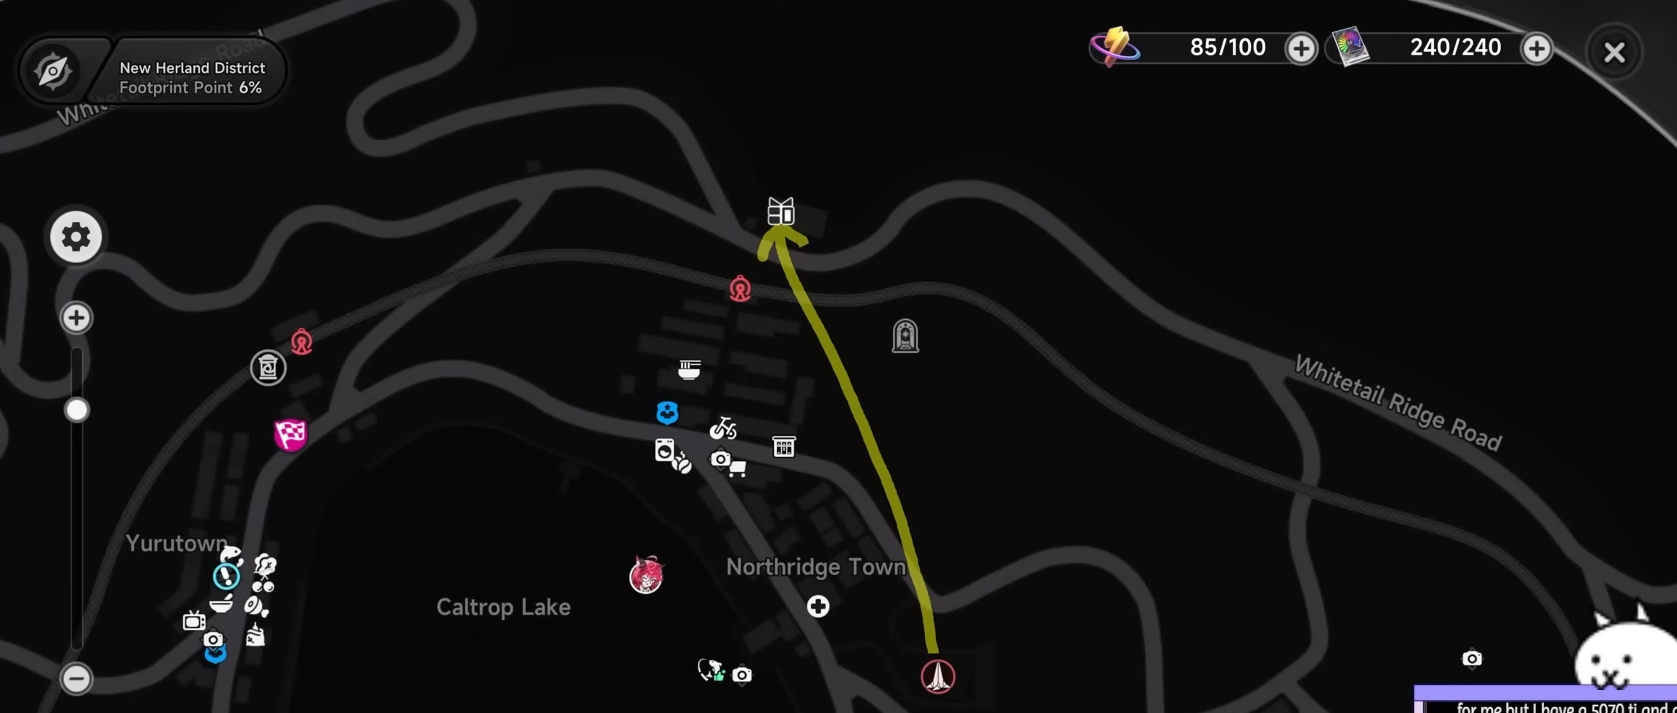
From the statue waypoint again, grab a moped for grass traversal or drive straight.

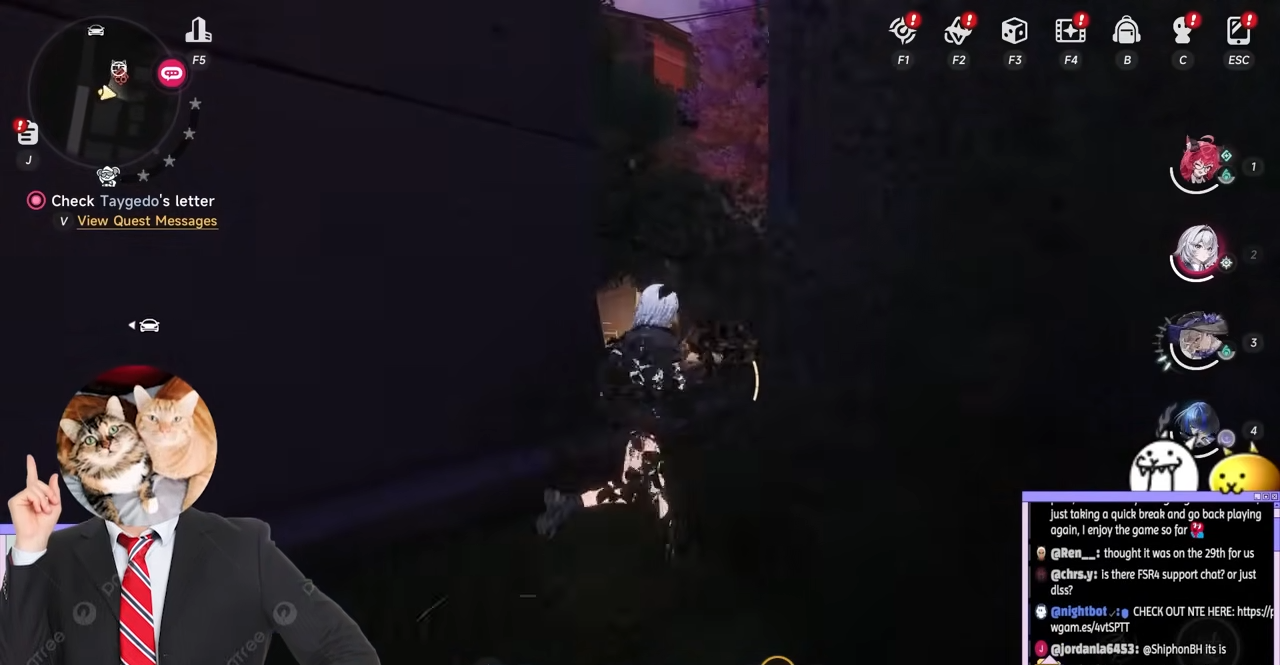
Climb the exterior, enter the warehouse, and bee-line to the back-left corner.
Nab the big safe’s 50,000 Fons, then swipe the tiny nearby one for an extra 1,250—leave no stash behind.

5. Neighborhood yard safes past the tunnel
Waypoint to the tunnel entrance, halt your car short.

Veer off-road up the wall or beside it into the residential patch.
Ignore patrolling delinquents, hit the marked house front yard, and force both exposed safes for 1,250 Fons apiece despite a few hits.

These spots layer small safes in delinquent-heavy zones like Eikyou-cho’s monster room. Total another 50,250 Fons by clearing minor enemies first, then accessing hidden vaults—expect scuffles but solid payouts.
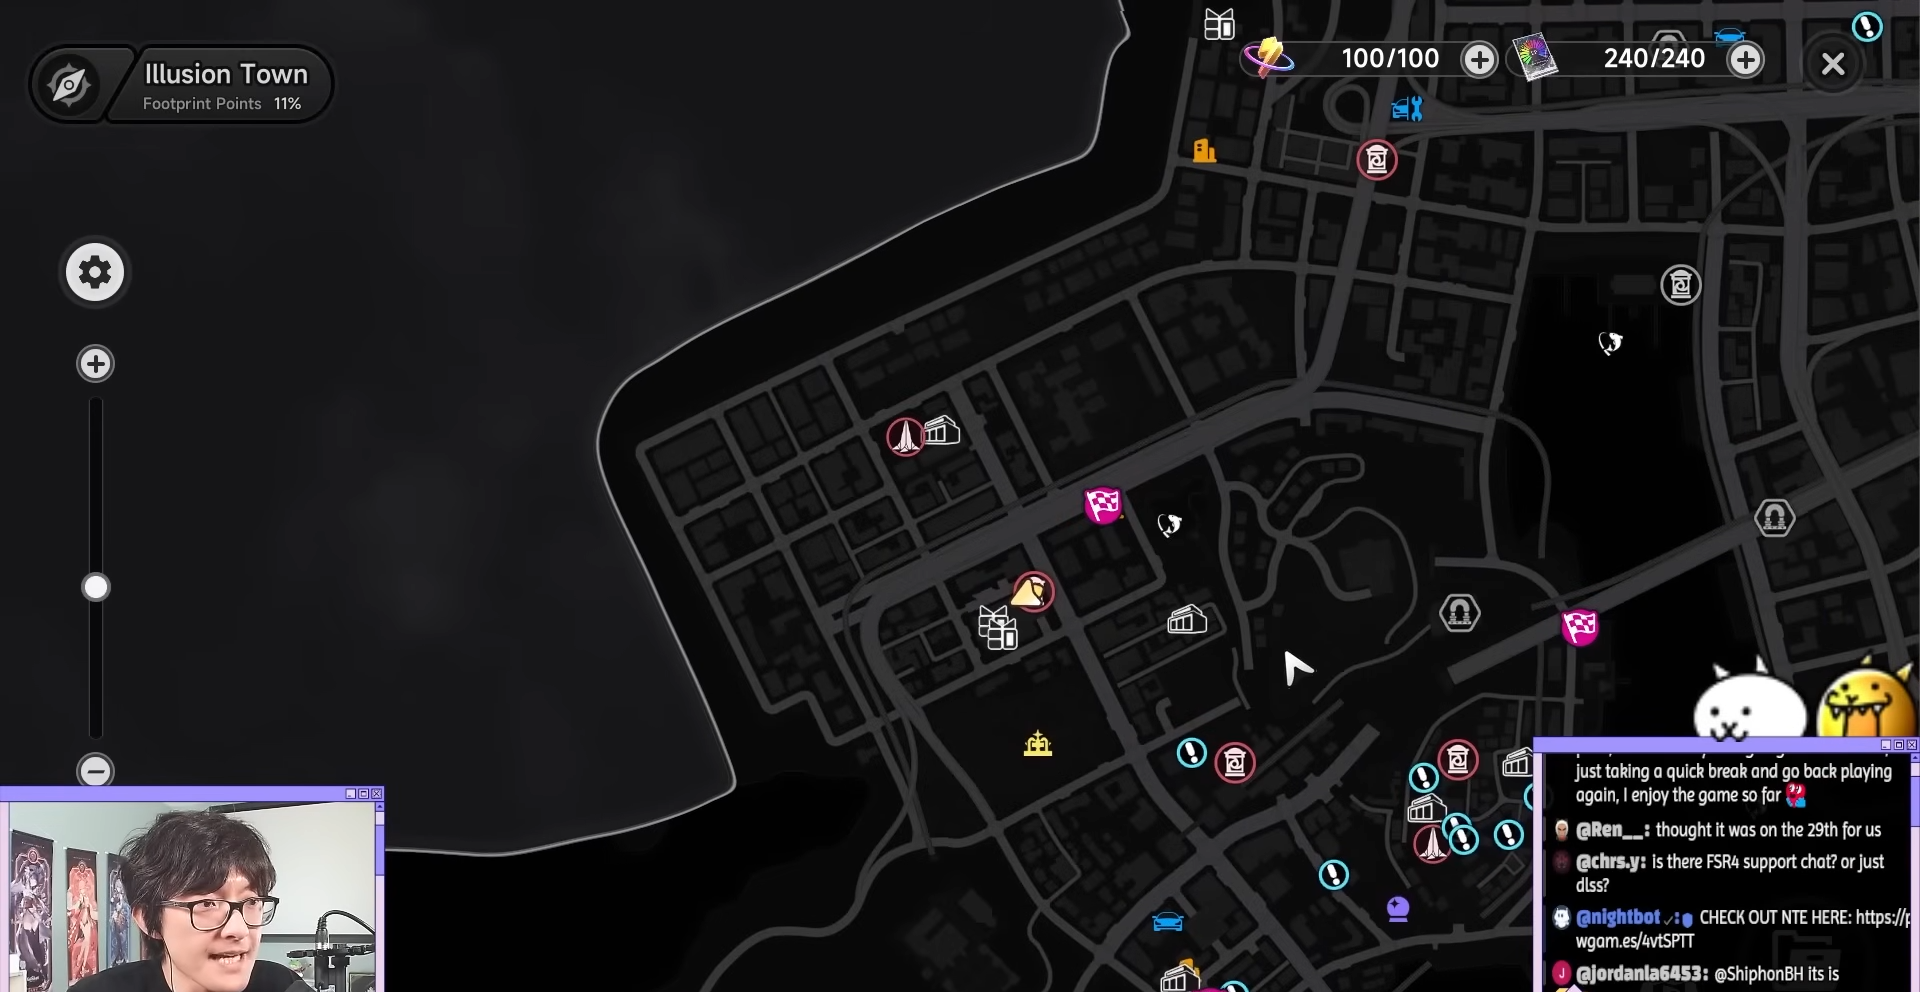
Start at the hospital waypoint.

Enter via the open door.
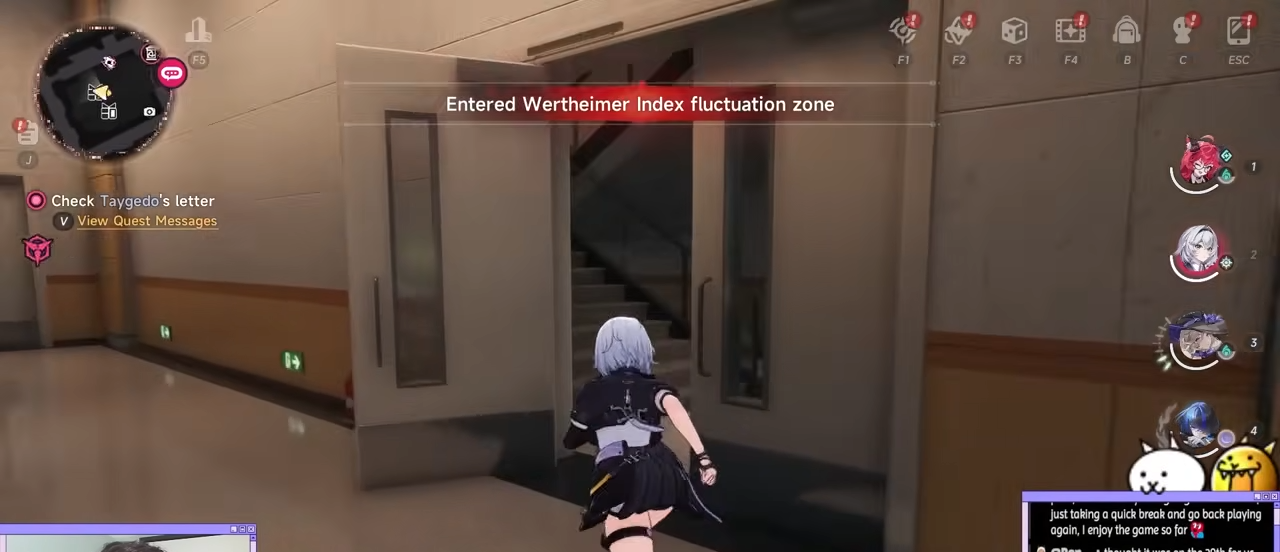
And chat with the blue NPC facing the wall in the lobby.
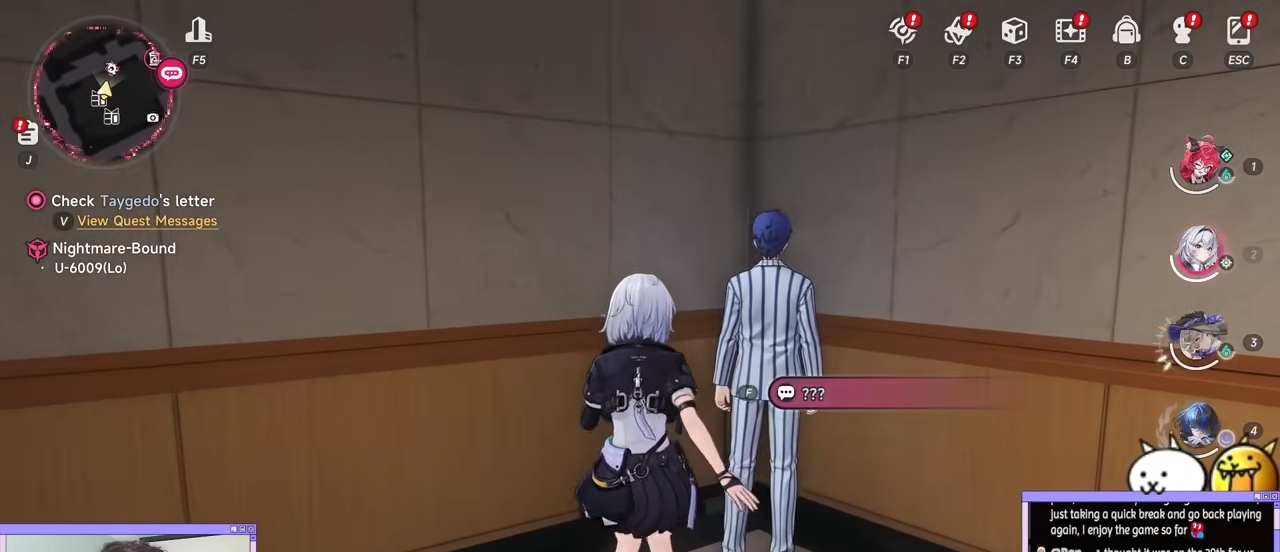
This triggers the anomaly—traverse safety passages through nightmare puzzles, avoiding unkillable horrors in a tense Resident Evil-style gauntlet. Success unlocks the 100,000 Fons vault, though it demands 5-20 minutes of precision.
Hunt these spots early to fuel car upgrades, apartments, or cafe stock—pair with tycoon levels for endless income. Skip the hospital bonus if puzzles frustrate; the core 452,500 covers essentials swiftly.