- What to know
- How to get the Shiny Blue Sea Lantern
- Flame Lantern: Vat’nholl Fortress hidden room
- Dark Fog Lantern from the House of Alfonso
- Wooden Lantern from Timberton and the drilling rig
- Firefly Lantern from the Longleaf Tribe chain
- Fancy Flame Patterned Lantern after the Bellof fight
- How do all the lanterns benefit
What to know
-
Crimson Desert has six unique lanterns: Shiny Blue Sea, Flame, Dark Fog, Wooden, Firefly, and Fancy Flame Patterned.
-
Most lanterns are rewards for side quests, boss fights, or puzzle‑heavy hidden rooms, not just random drops.
-
A few lanterns, like the Firefly Lantern, also give active effects (faster health recovery for nearby allies) in addition to cosmetic changes.
-
You’ll need to complete certain main‑hub quest lines (House Roberts, House Alfonso, Pailune Militia, Skoghorn/Longleaf tribes) before some lantern‑related quests even appear.
How to get the Shiny Blue Sea Lantern

This lantern has a simple, clean blue glow with gold trim and is one of the first “special” lanterns you can track down.
-
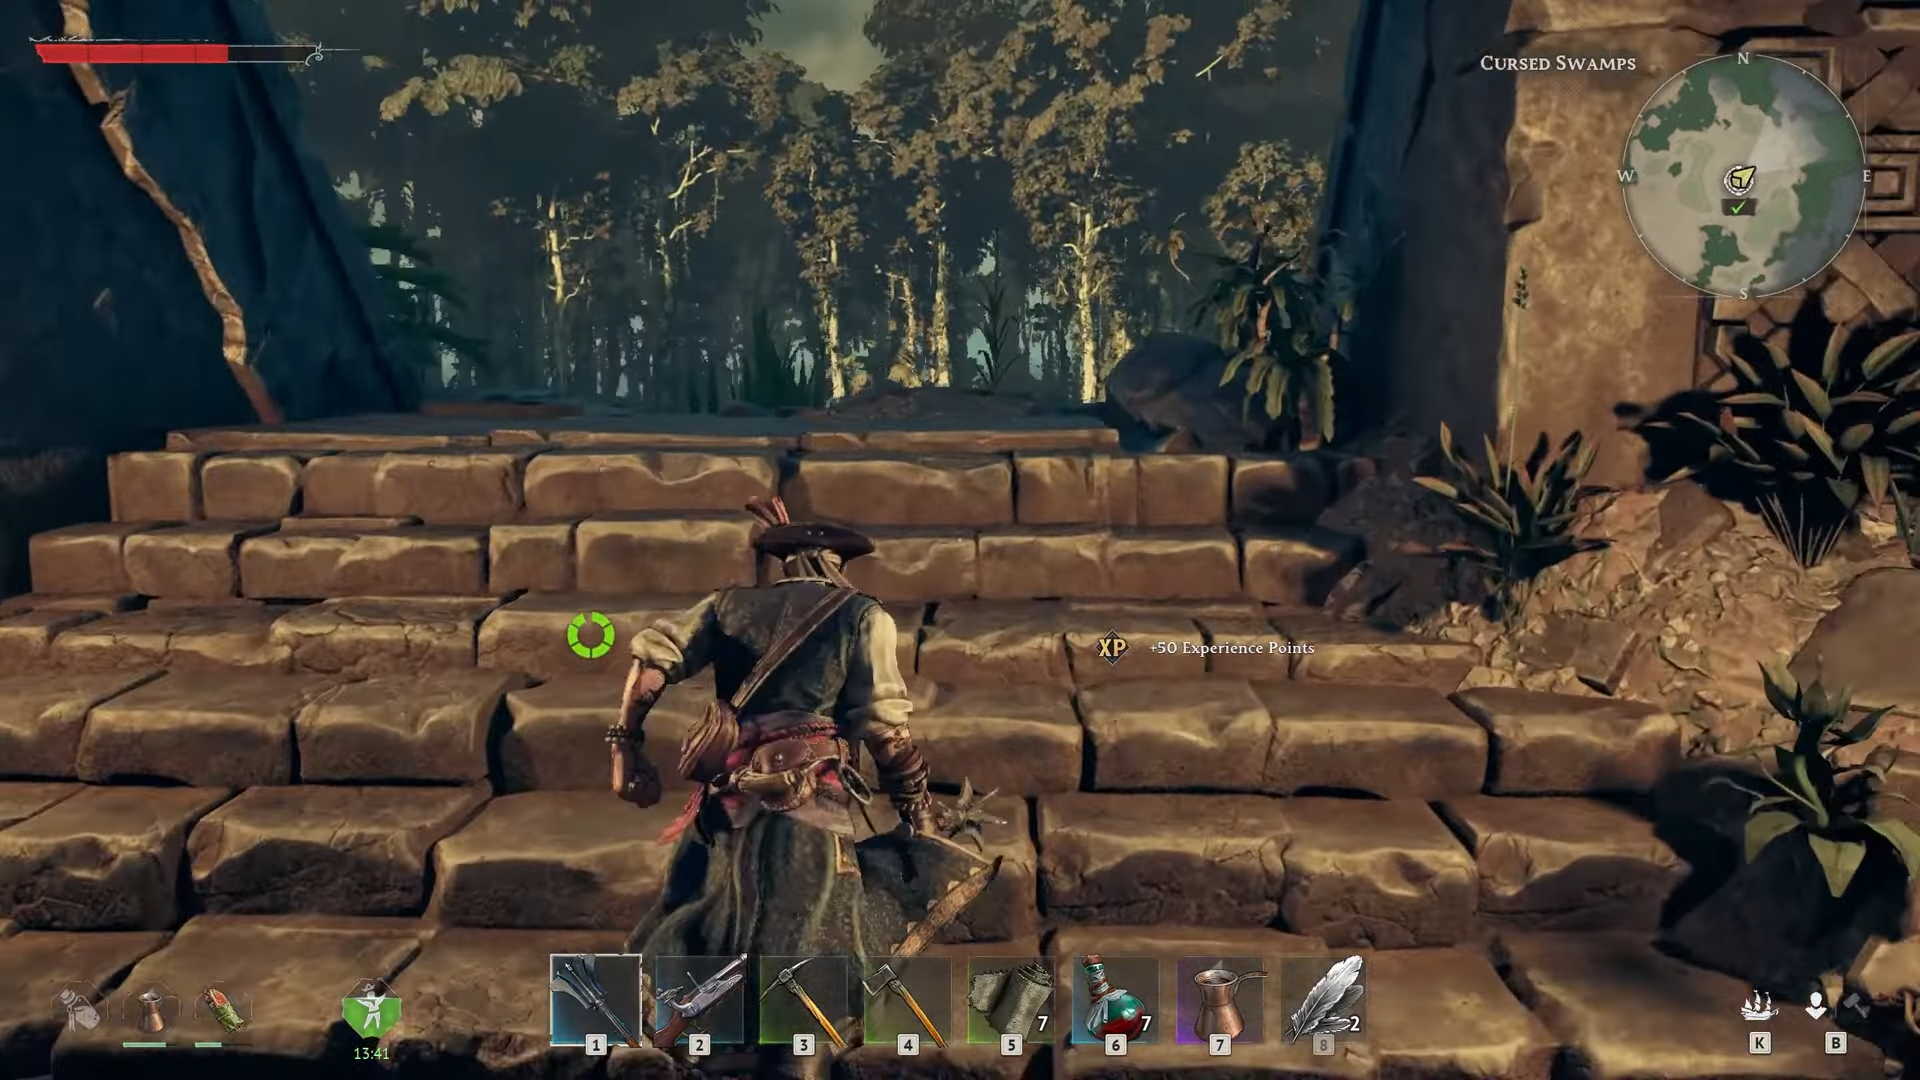
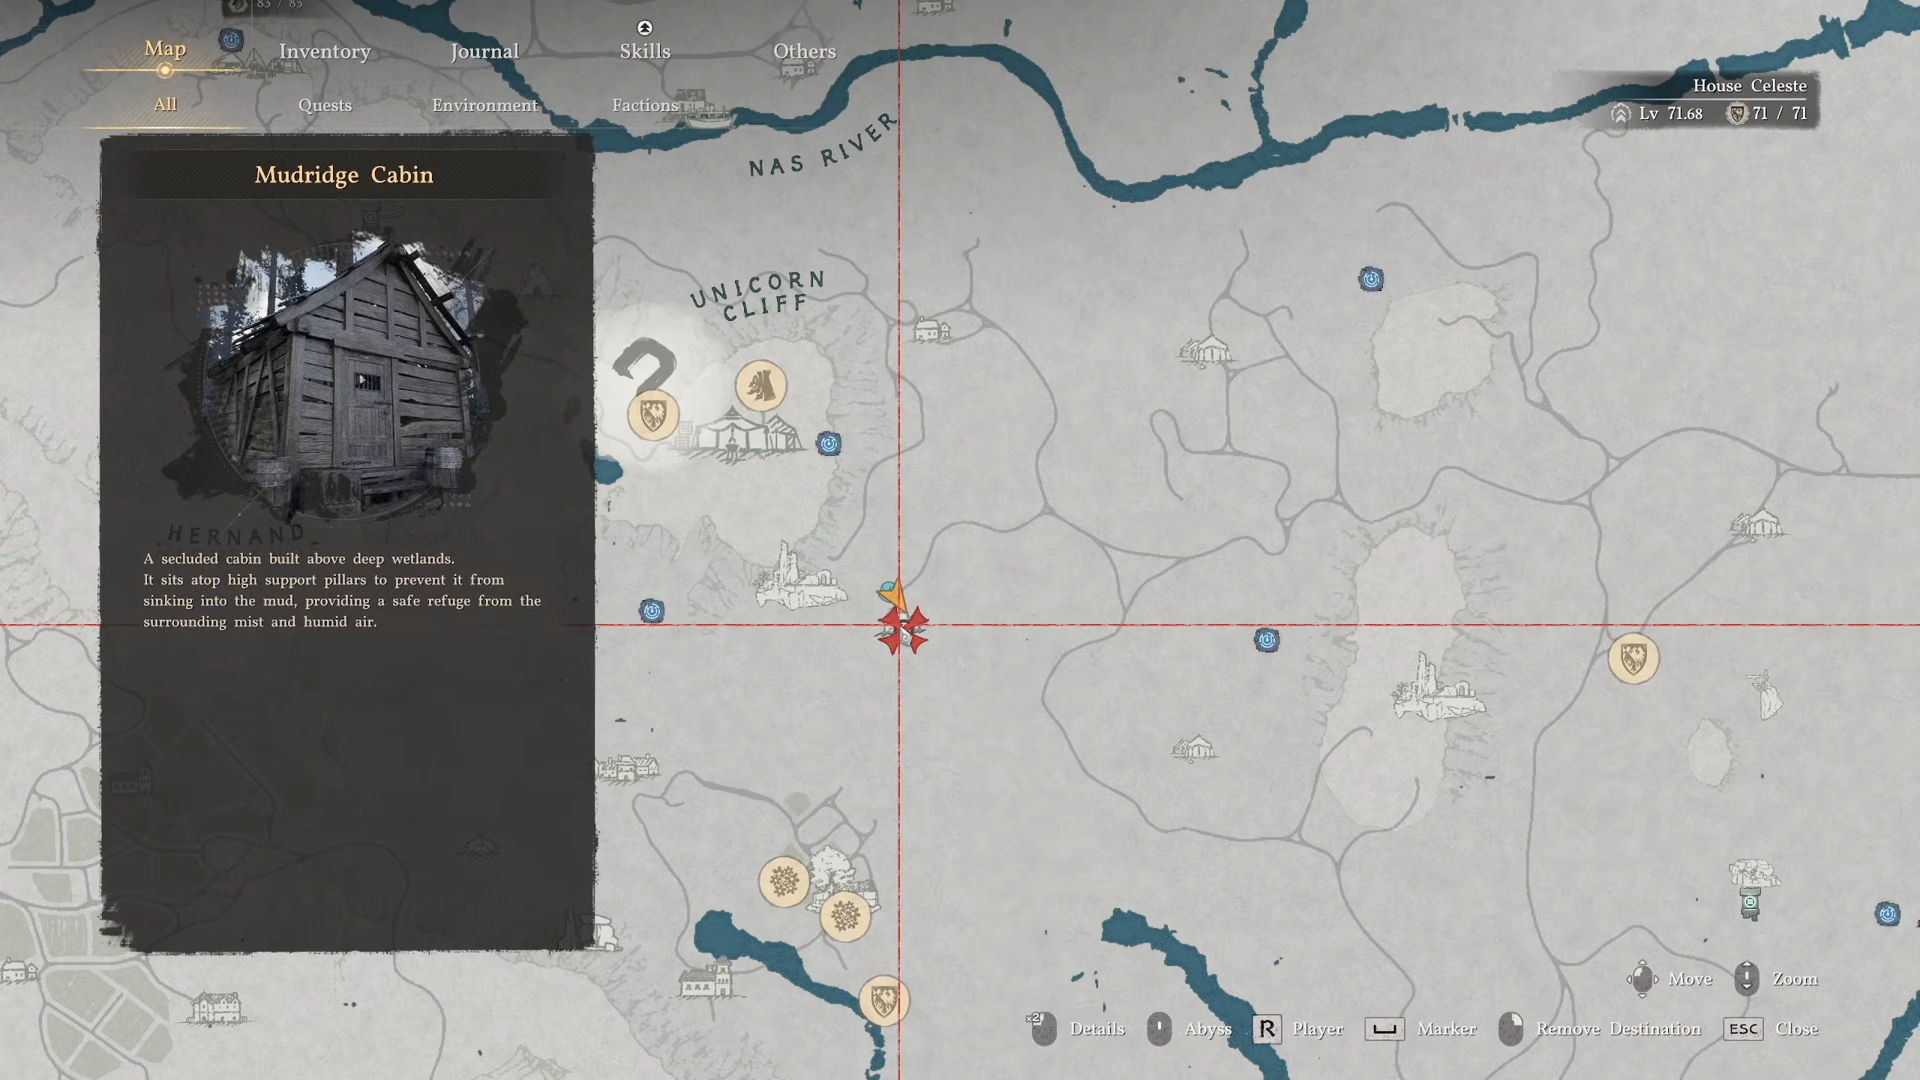
Head to Mudridge Cabin below the Unicorn Cliffs, an area you likely pass while grabbing the Goblin Treasure Dagger.
-
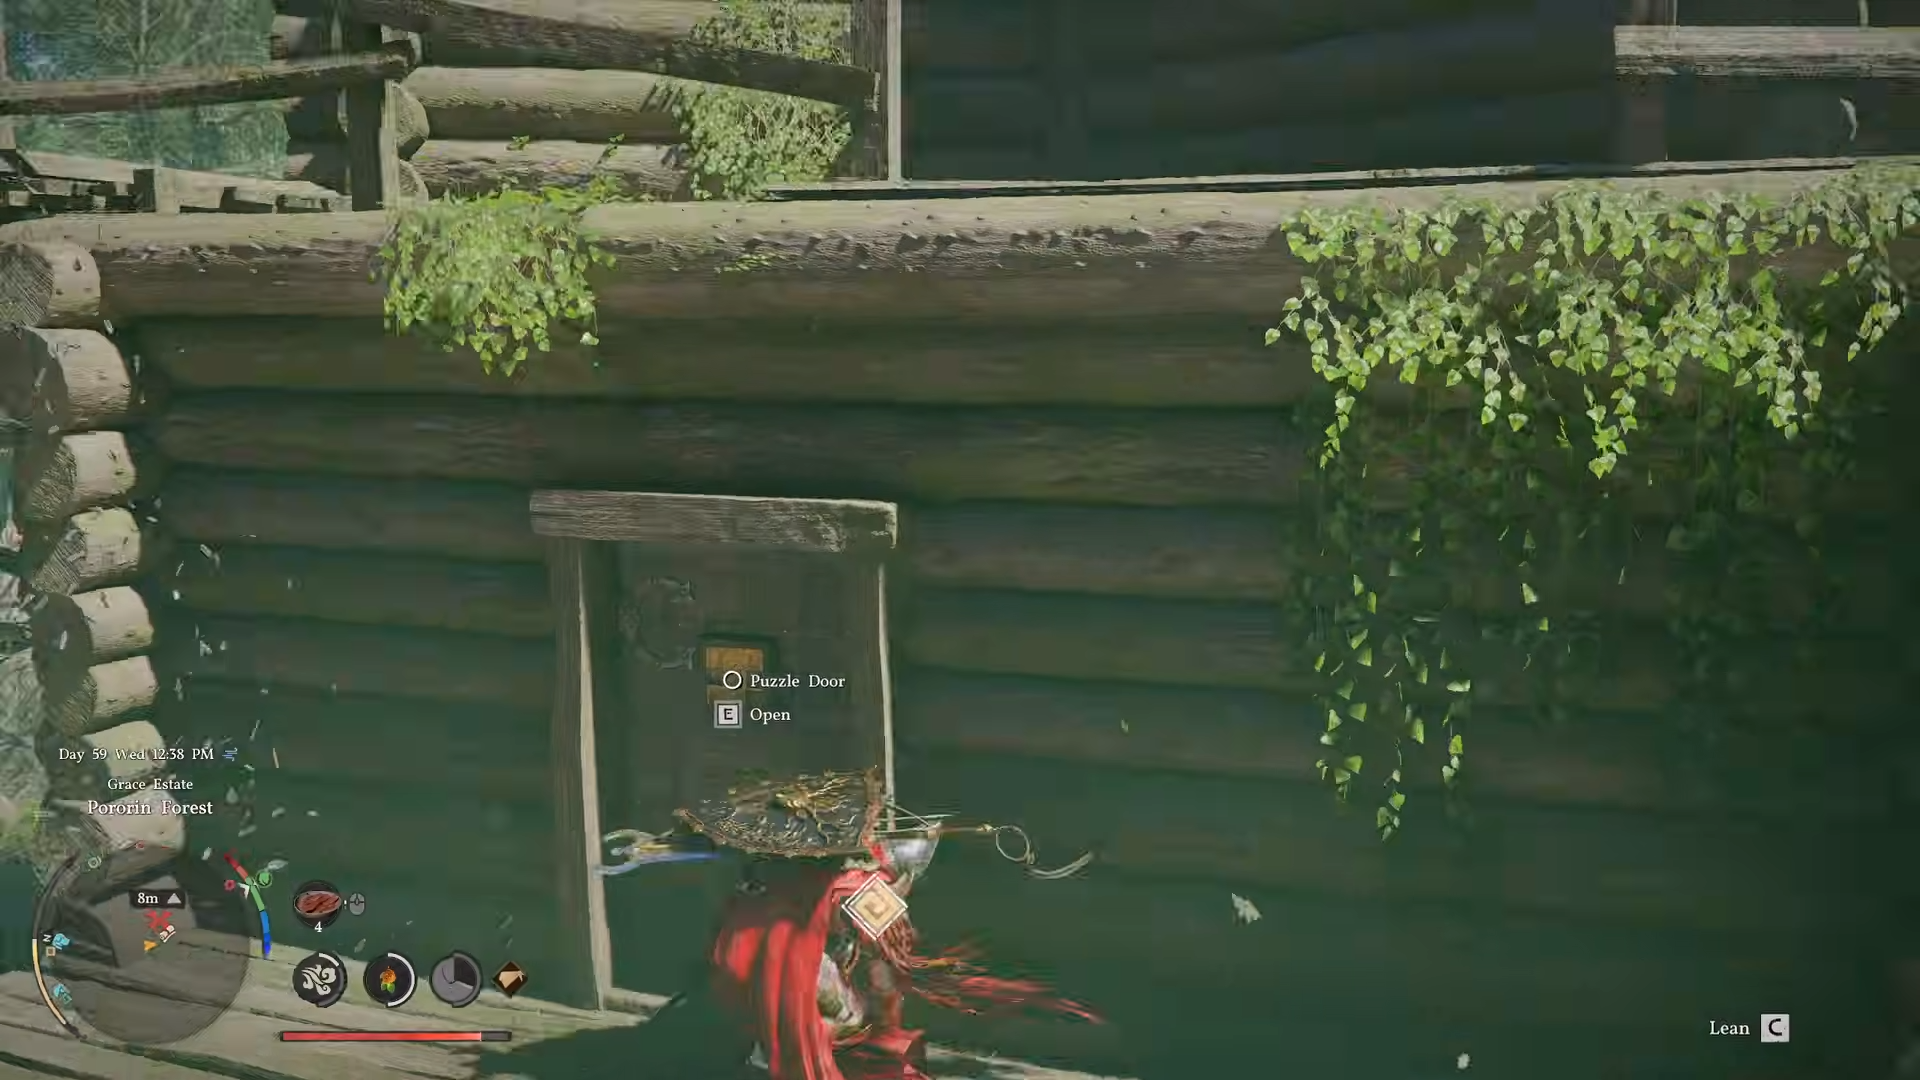
Once you’re at the cabin, walk up the entrance path and look for the doorway with a slide‑puzzle lock on it.
-
Use the force‑punch climbing mechanic to reach the door and solve the puzzle using this sequence:

-
-
Move the right piece down.
-
Move the middle piece to the right.
-
Move the bottom middle piece into the center.
-
Move the bottom right piece to the left.
-
Move the right piece down again.
-
Move the middle piece to the right.
-
Move the left piece to the middle.
-
Move the bottom left piece up by one.
-
Move the bottom piece to the left.
-
Move the center piece down to the bottom.
-
Move the right piece into the middle.
-
Move the bottom right piece up.
-
-
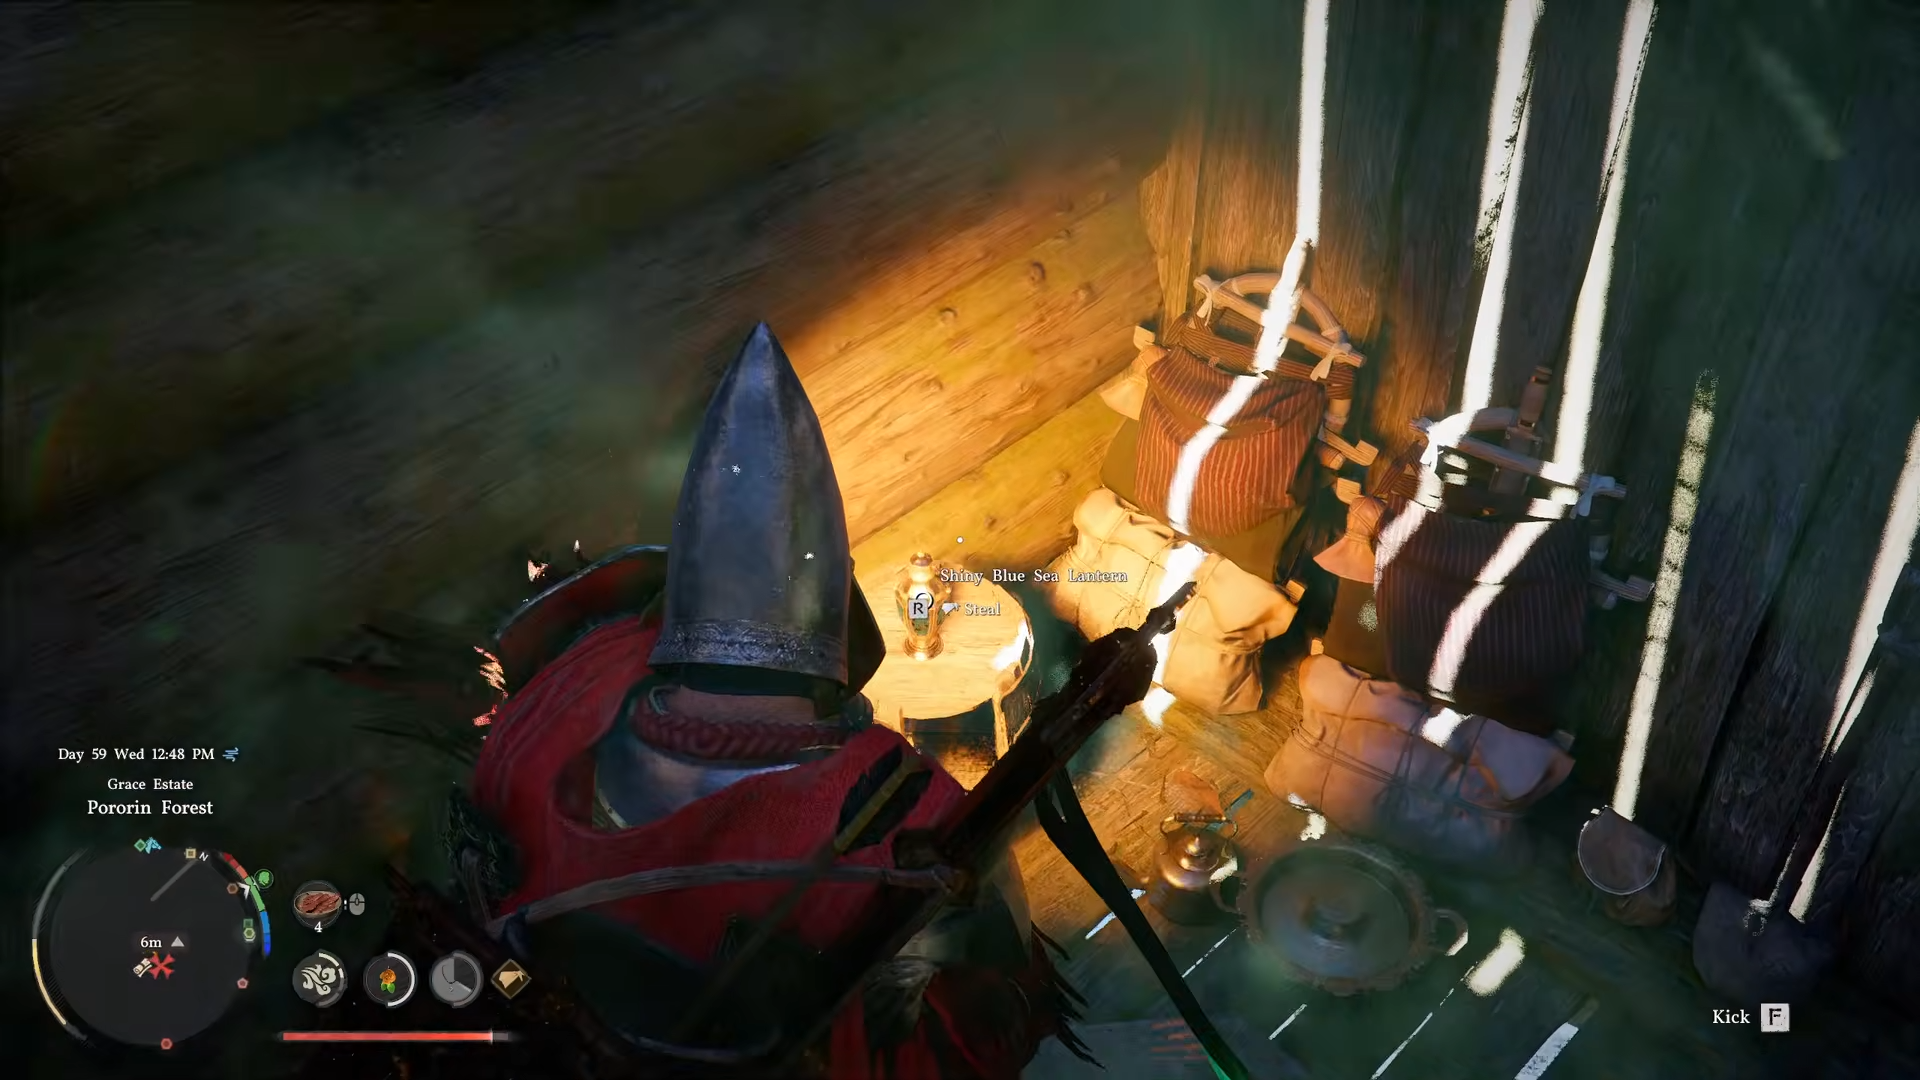
Once the door opens, move inside and check the left side of the room; the Shiny Blue Sea Lantern sits on a barrel there.

The Flame Lantern gives a more “classic” look with a plain, retro‑style flame.
-
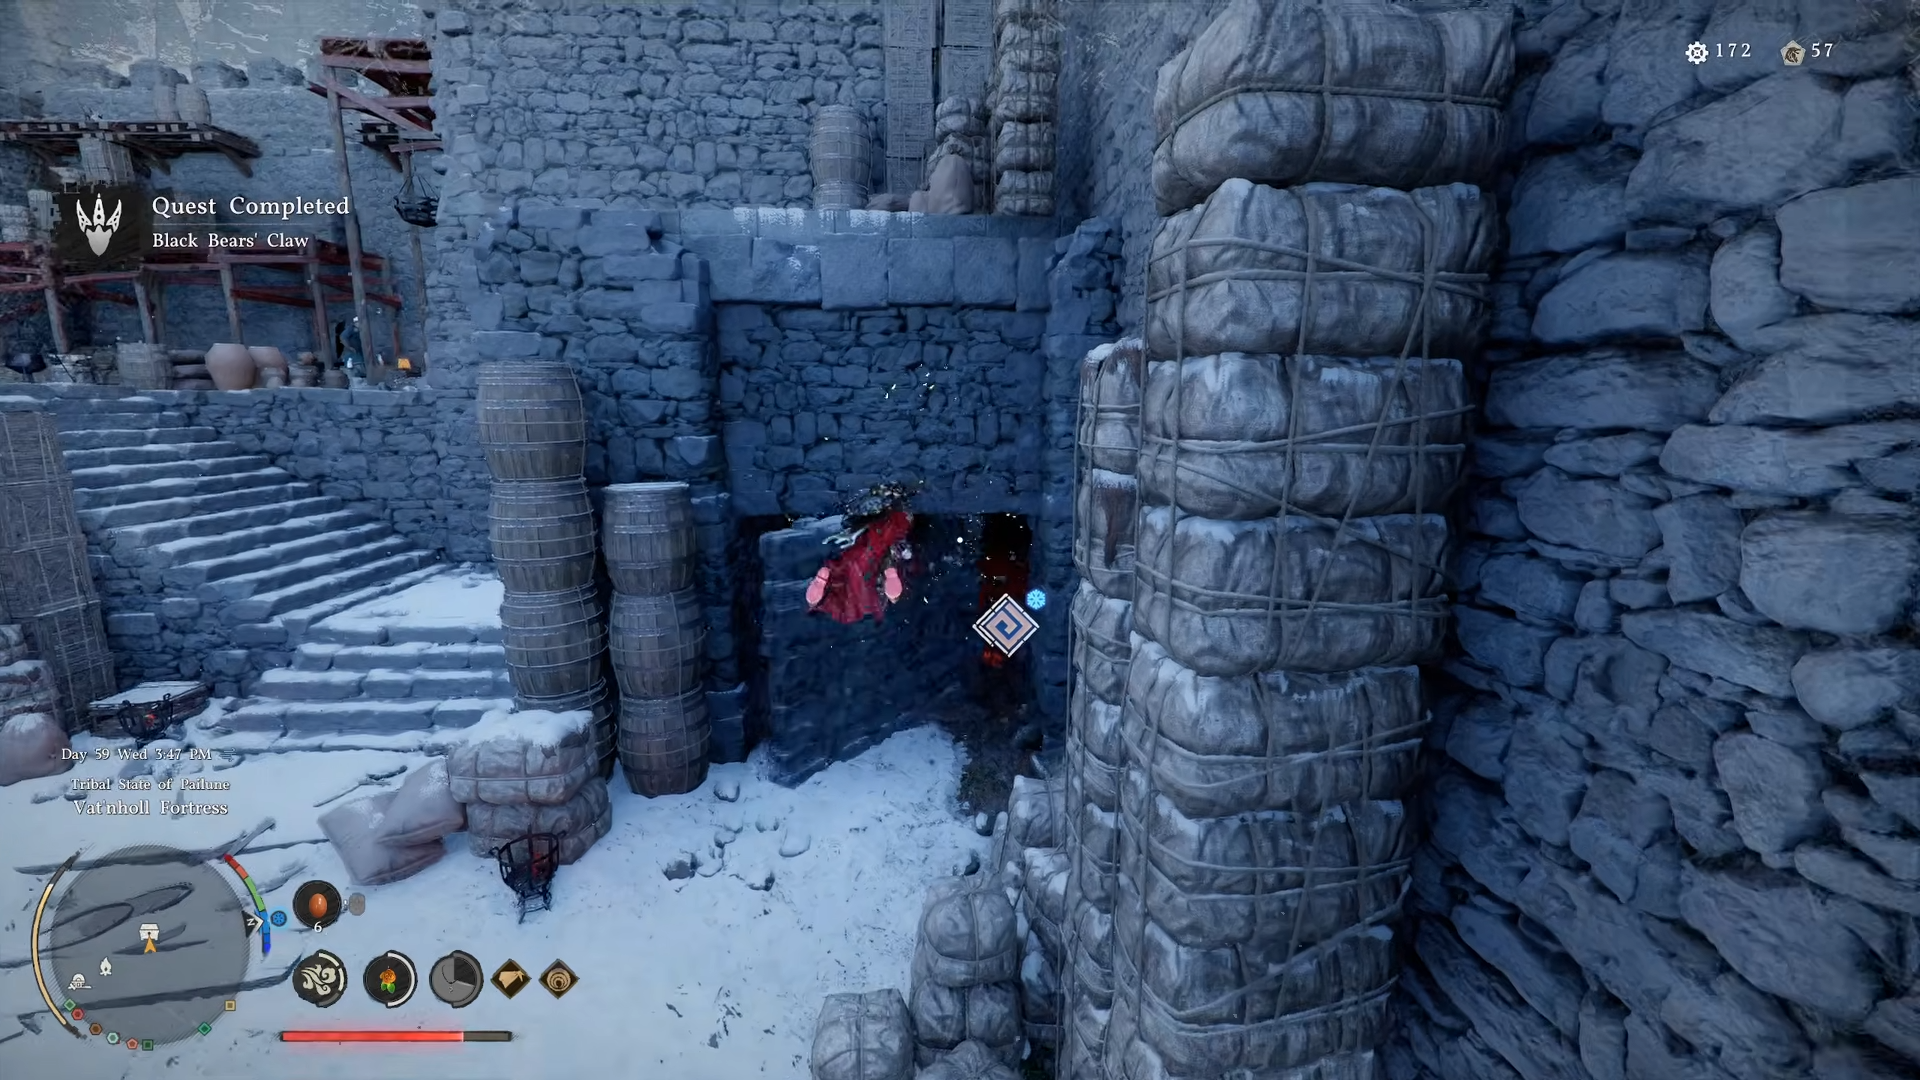
Travel to Vat’nholl Fortress, located in the top‑left of the map above the upper Nas River .

-
Activating the fast‑travel point at the fortress first will make back‑and‑forth runs easier.

-
Enter the fortress and clear the main‑hall boss; ice‑resist gear is recommended to keep stamina higher for force‑punch strings and dodges.

-
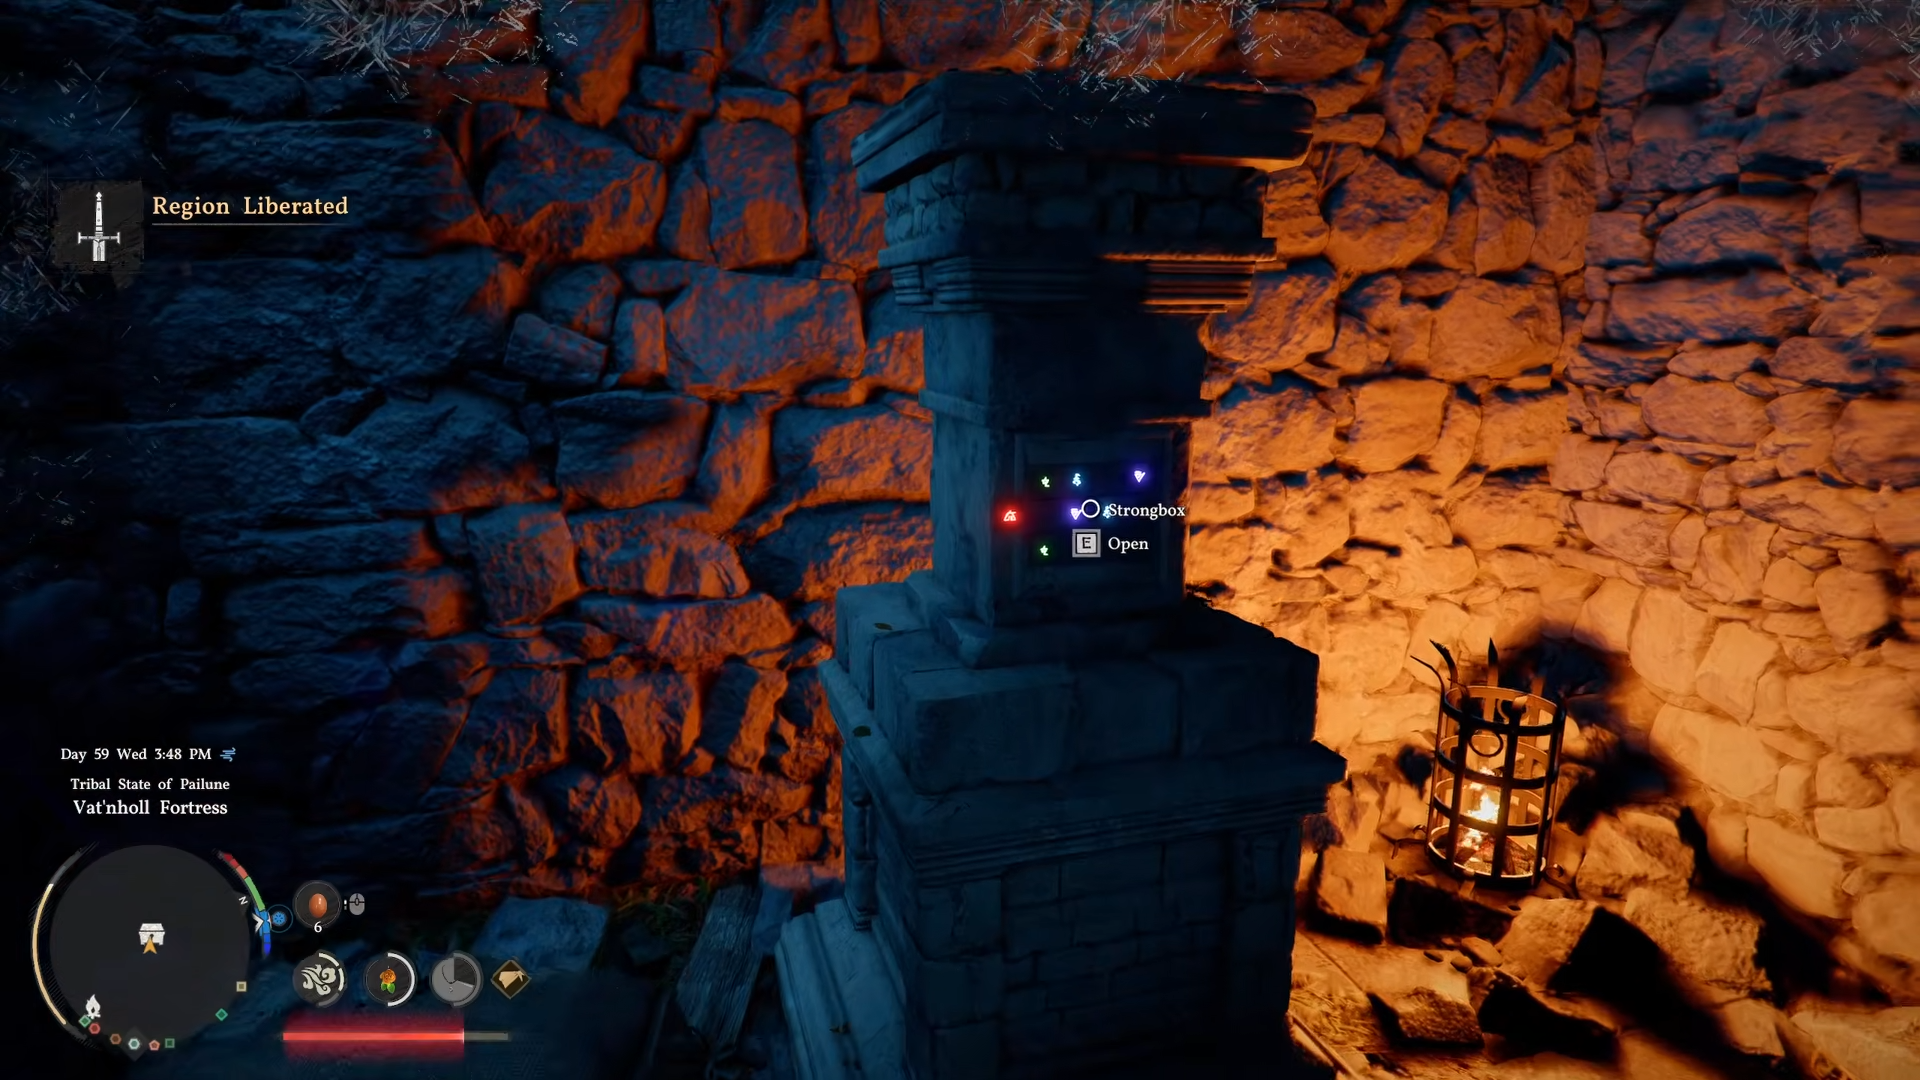
Once the boss is down and the fortress is liberated, move to the right‑side wall where a fake wall section hides a secret room.
-
Press against the wall and use force punches to punch through and open the hidden passage.
-
Inside, you must hit switches in a precise order to unlock a chest:
-
-
Start with the top‑left switch.
-
Hit the switch directly below it, then the one below that again.
-
Go back to the top row and hit the switch to the right of the first one.
-
Hit the next switch to the right again.
-
Drop down one row and hit the switch.
-
Move left and hit the switch.
-
Drop down again.
-
Move right twice.
-
Move up once, then up one more time.
-
-
After the final hit, the chest unlocks. Open it to claim the Flame Lantern.
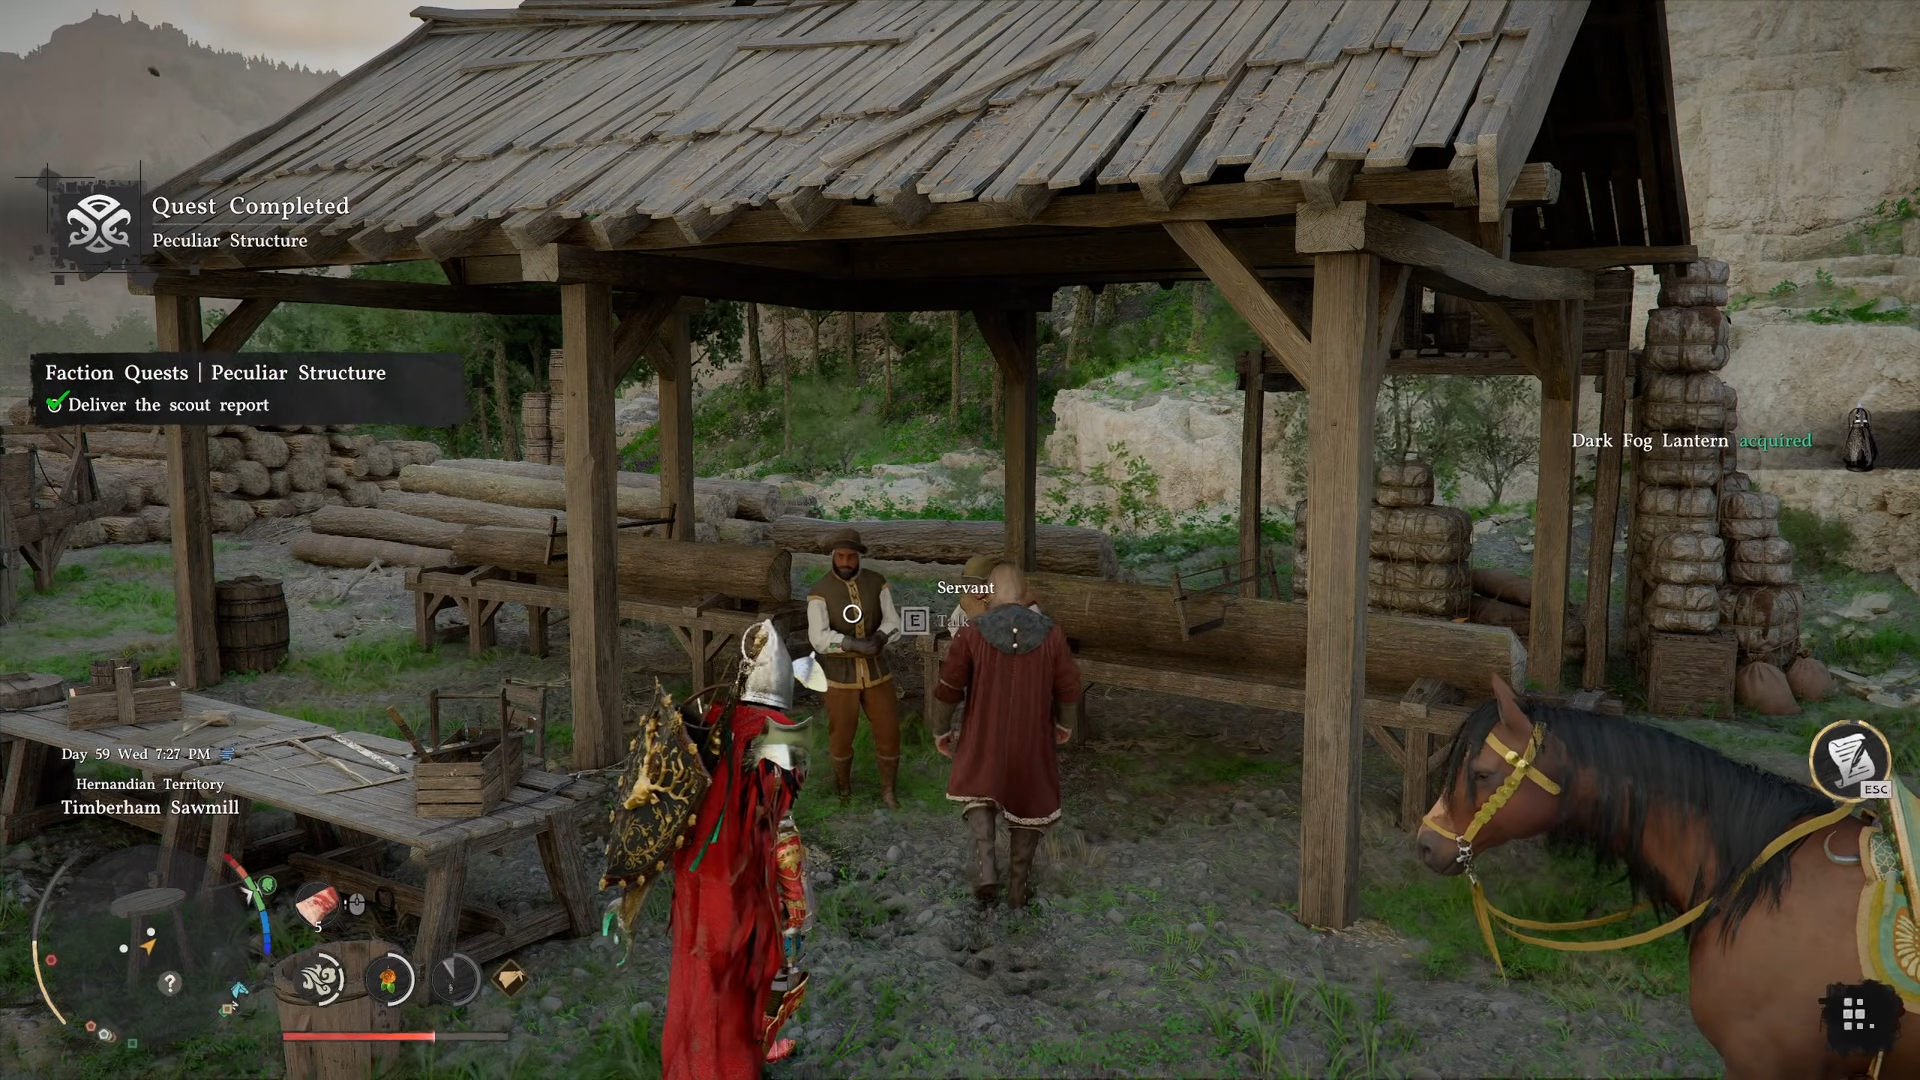
Dark Fog Lantern from the House of Alfonso

The Dark Fog Lantern is more subdued and tied to a longer story arc.
-
Before you can even start the House Alfonso chain, you must complete the House Roberts quest line, including the Crimson Nightmare‑related content.
-
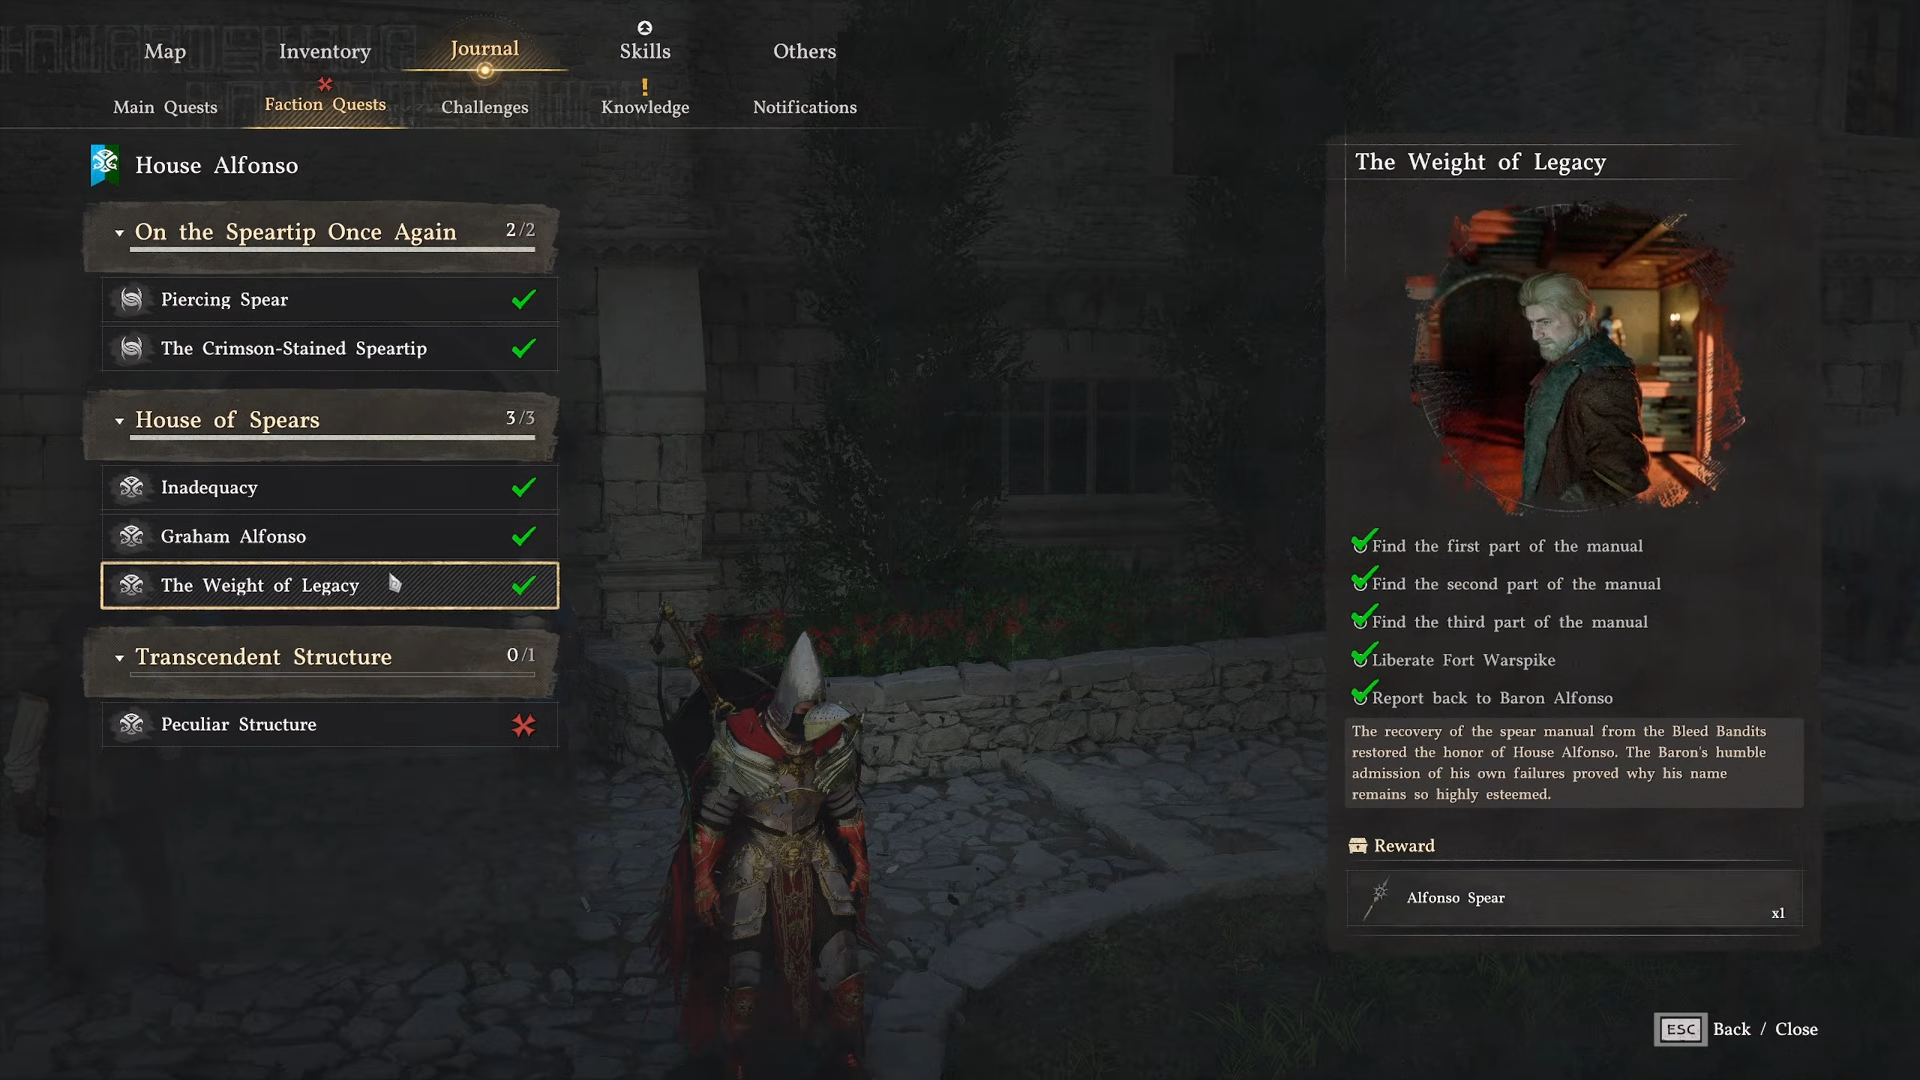
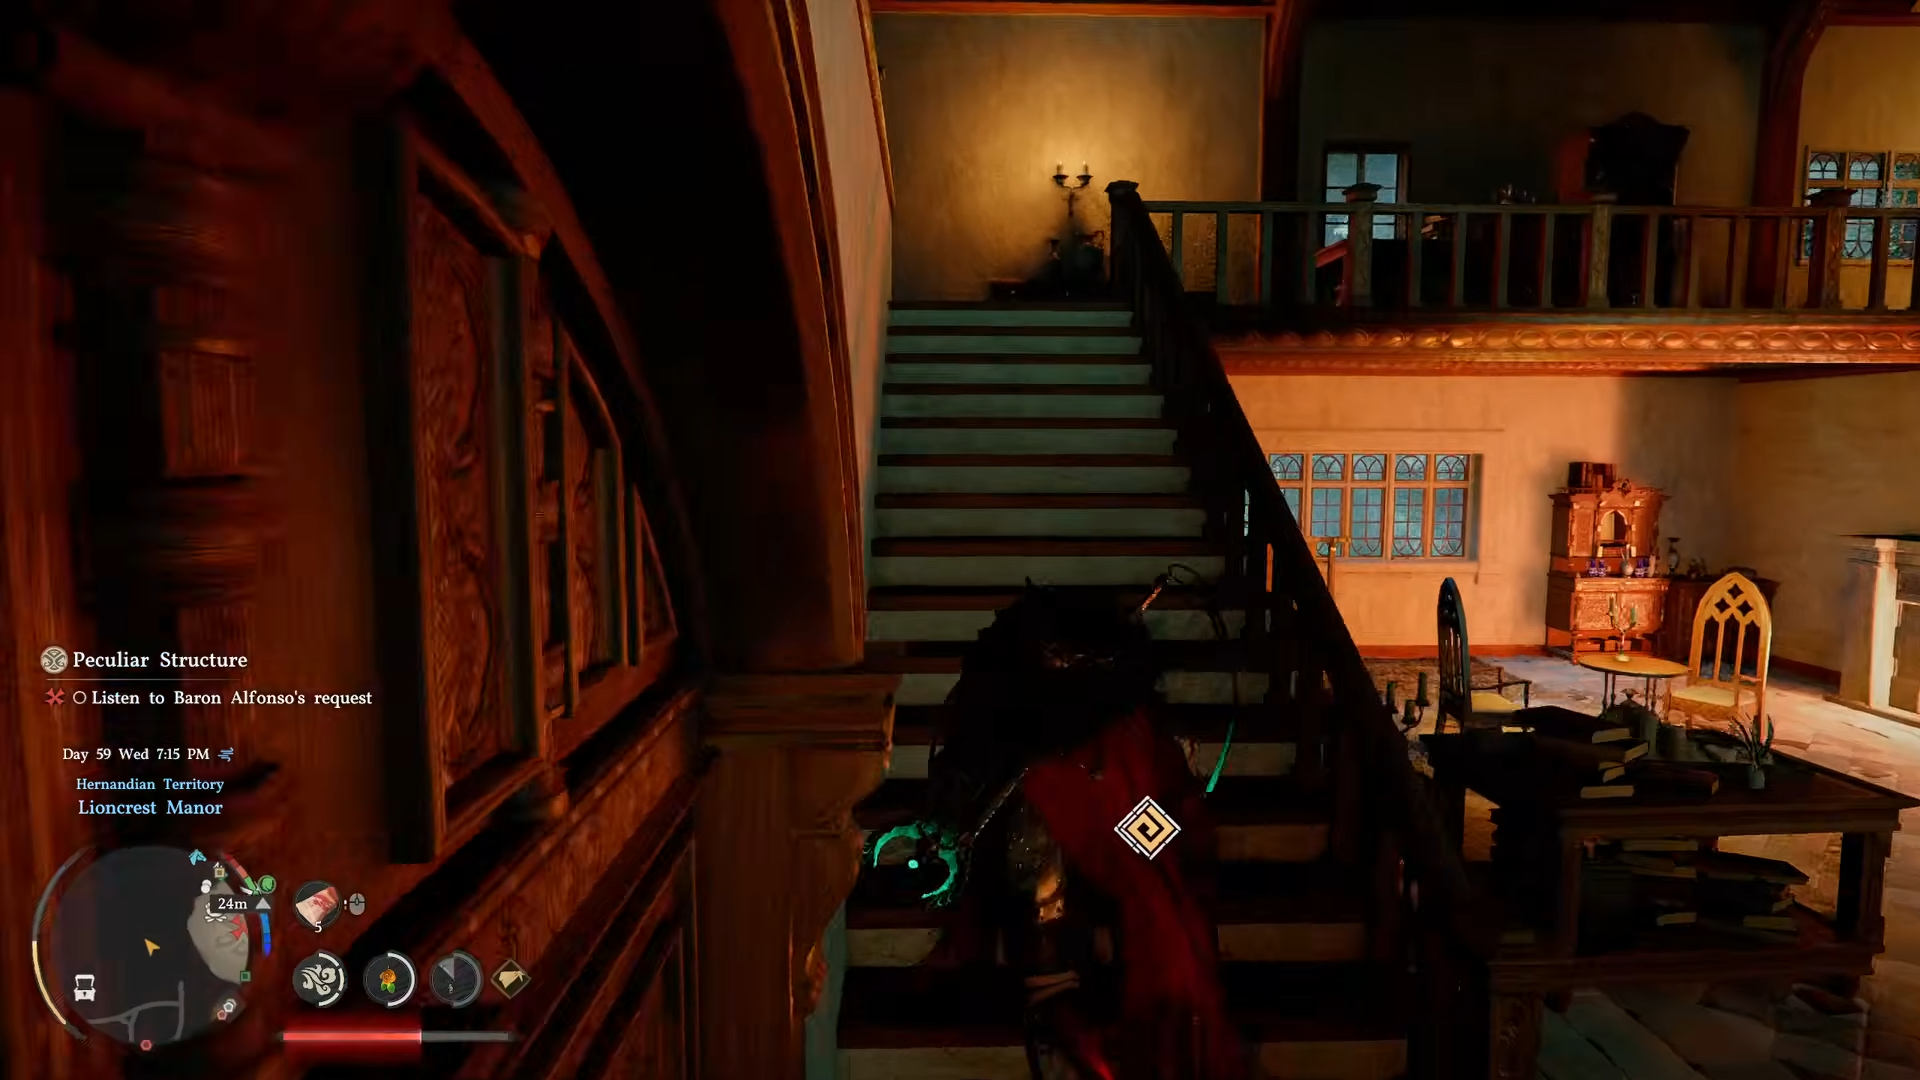
Once House of Roberts is finished, the House of Alfonso quests become available. Progress through the story until you reach the Peculiar structure quest.
-
When you reach the House of Alfonso building, head upstairs and then up to the right to find the resident Baron.
-
After the cutscenes and dialogue with the Baron, you are rewarded with the Dark Fog Lantern as part of the quest completion.
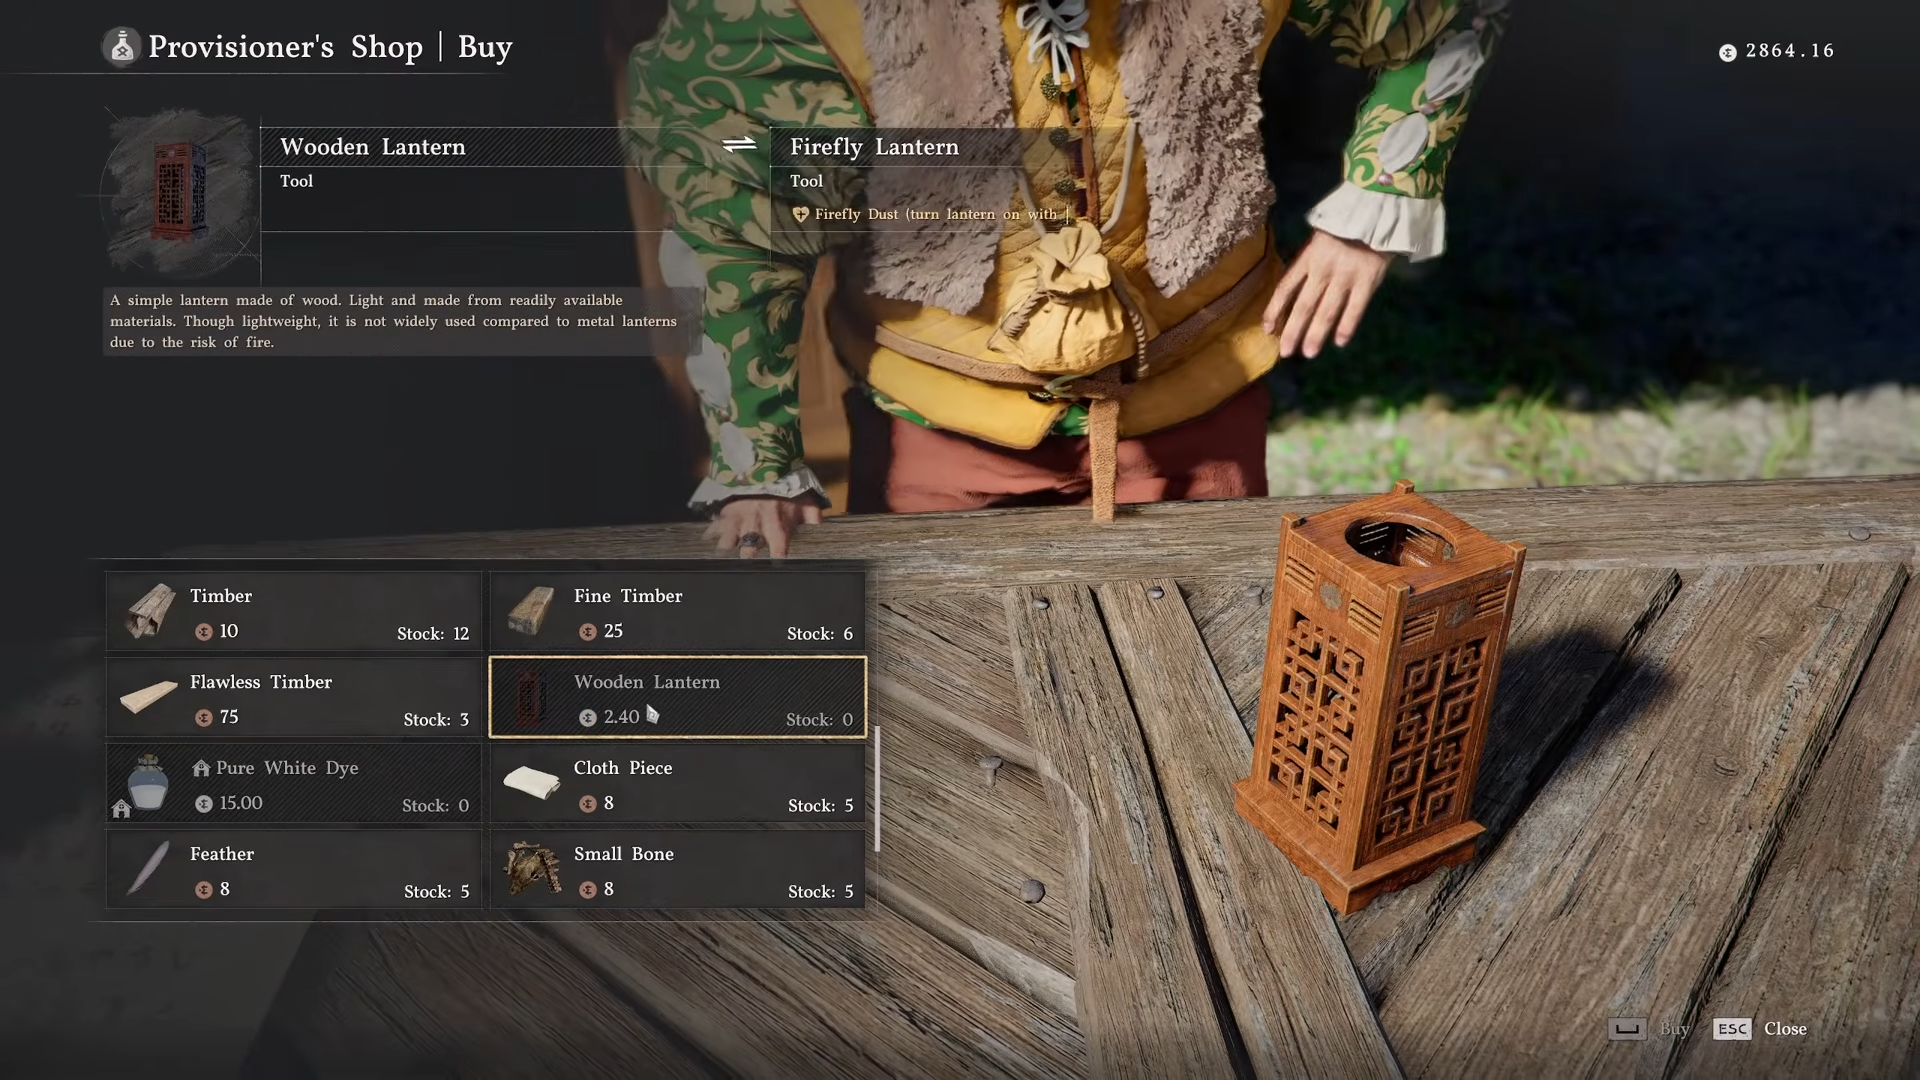
Wooden Lantern from Timberton and the drilling rig

The Wooden Lantern features a lattice‑style design and is purchased from a vendor unlocked by a short quest.
-
Start in Delesyia and head to Timberton on the map, a small settlement near the main city area.

-
Talk to the quest‑giving NPC in Timberton to begin the drilling‑rig mission.
-
From there, travel to Marni’s Drilling Rig and clear the enemies around the site.

-
Once the area is clear, follow these in‑order steps:
-
Pick up the oil canister and use a force punch to launch it into the marked target spot.
-
Use the nearby hand cranks to extend or stabilize platforms.
-
Take the elevator (or glide/power‑climb) to the top of the rig.
-
Pull the generator handle, flip the switch, then press the button at the base to activate the machine.
-
Return to the ground and locate the grate; crouch on it and use a force punch to drop down underneath.
-
Inside, connect loose wires to restore power to the next section.
-
Use Nature’s Grasp on three marked wall sections to open the following area.
-
In the circular room with four pillars, crouch on each one in turn and knock them down with force punches.
-
Climb back out through the grate using the same crouch‑and‑punch method.
-
-
Return to Timberton. The quest completes and a new NPC appears in town who sells the Wooden Lantern for a low price.

-
This vendor also sells pure white dye and flawless timber, which are useful if you lack the right axe for crafting.
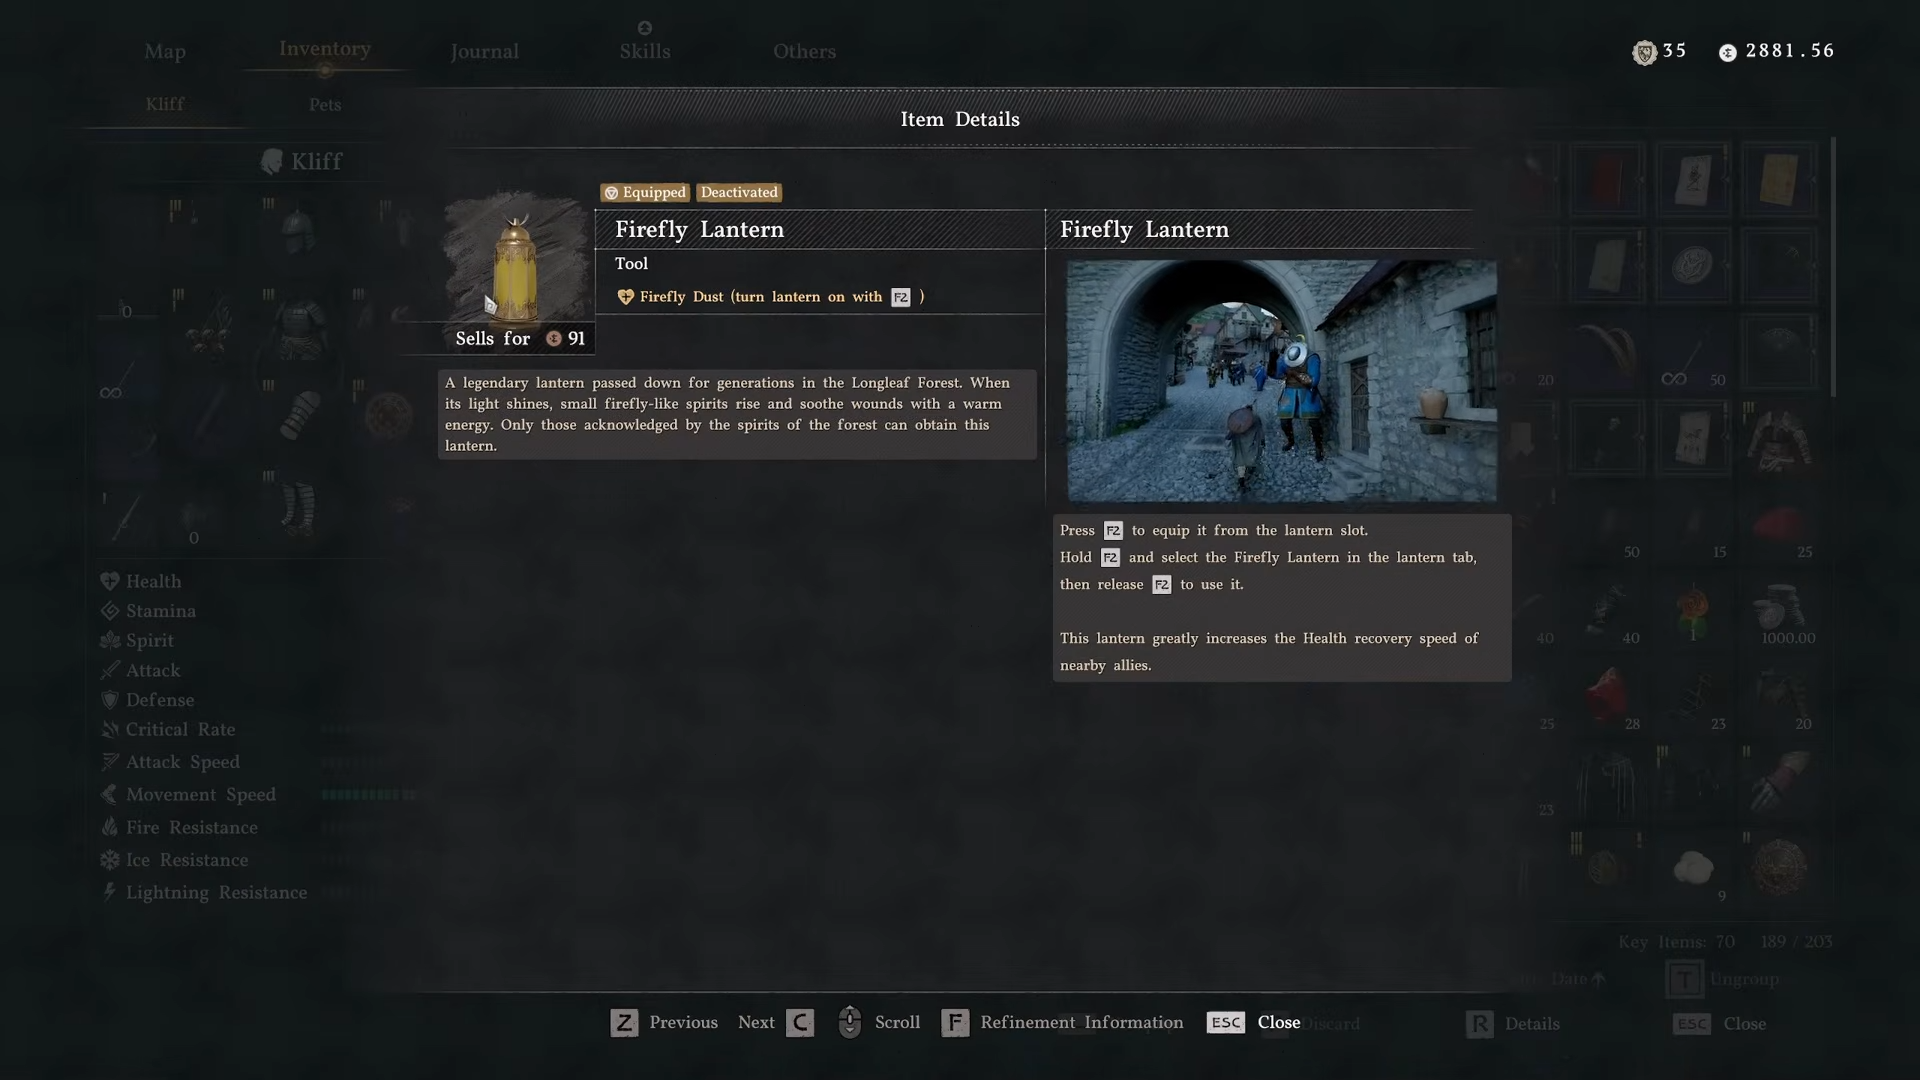
Firefly Lantern from the Longleaf Tribe chain

The Firefly Lantern has a golden base with floating firefly‑like particles and a strong support effect.
To get it, you must first unlock several quest chains:
-
Complete 15 Pailune Militia quests in the Pailune region.

-
Complete the Scohorn Tribe quest line, which then unlocks the Longleaf Tribe chain.

-
To start Longleaf, head to the top‑left area of the map near Silver Wolf Mountain (the Poon branch) and look for the quest‑start NPC tied to the floating green artifacts.

Once the Longleaf quest is active:
-
Check your map for the marked artifact locations and use the Axiom Mark ability to grab the floating green artifacts.

-
Place each artifact into the baskets at the tops of trees along the path.
-
For efficiency, glide into the air, then fire an Axiom arc mid‑air to hover while collecting artifacts, though this drains stamina quickly.
-
-
After placing all artifacts into the lantern‑top baskets, continue the rest of the Longleaf quest line.
-
You must also defeat a legendary ibuk that appears as part of the same legendary‑man chain.
-
Track him down, fight him, and finish the objective. Looting this quest line also grants the Rainstorm Necklace, Giant’s Boots, and the legendary ibuk mount.
-
-
After finishing the Longleaf‑related objectives, you are rewarded with the Firefly Lantern.
-
In combat, the Firefly Lantern boosts nearby allies’ health recovery speed and emits a distinct green glow instead of the usual red‑orange flame light.
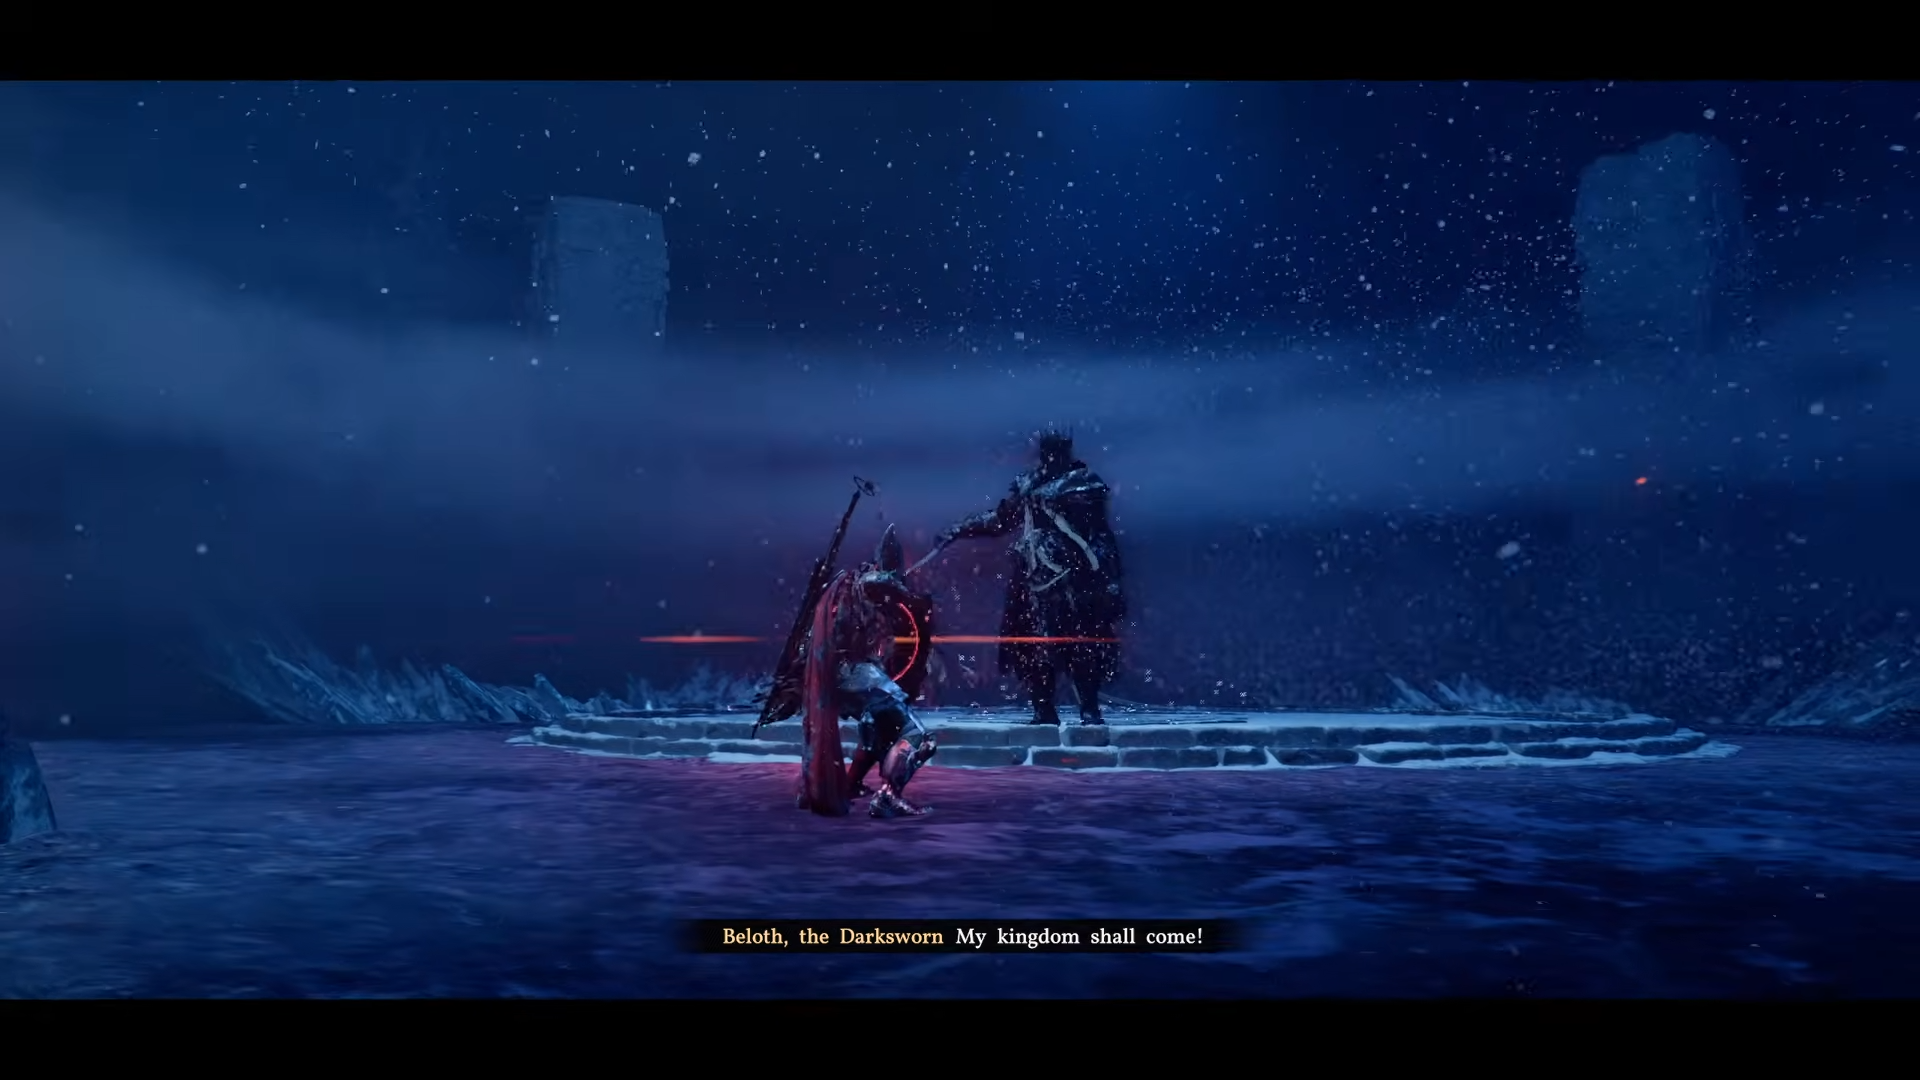
Fancy Flame Patterned Lantern after the Bellof fight

The Fancy Flame Patterned Lantern leans into a golden‑flame aesthetic but provides only cosmetic benefits.
-
Begin the White Blizzard quest line, which is part of the House Lanford chain, located north of the large “E” on the map near Hernand.
-
The quest line is relatively short once you know the core objective: head to the Hoenmark Ruins and fight Bellof, a notably tough boss compared with many others in the game.
-
To make the fight easier, bring ice‑resist gear to reduce stamina drain and wear from his attacks.
-
Use ranged or explosive‑arrow setups to keep your distance while chipping away his health; Bellof is slow and predictable, so kiting works well.
-
After defeating Bellof, complete the White Blizzard quest line.
-
As rewards, you gain the Frost Spike Biscuit and the Plate of the Shadow armor set, in addition to quest progression.
-
-
Return to the quest‑start location in the House Lanford area.
-
At the designated spot, you can pick up the Fancy Flame Patterned Lantern as a final reward for finishing the chain.

How do all the lanterns benefit
Once you have multiple lanterns, you can swap them freely in your equipment radial menu (default: left D‑pad on console, F2 on PC).
-
The Shiny Blue Sea and Wooden Lanterns are mainly cosmetic upgrades over the default lantern, with cleaner or more decorative lighting.
-
The Flame Lantern and Fancy Flame Patterned Lantern give a more “storybook” or ornate look but do not add special effects.
-
The Dark Fog Lantern fits moody, darker environments well and works nicely with nighttime or cave exploration.
-
The Firefly Lantern is the standout mechanically, since its ally‑healing‑boost effect is useful in group‑play runs, dungeons, and tough boss encounters where sustained recovery matters.
By following the quests and puzzle rooms described above, you’ll naturally unlock every getable lantern in Crimson Desert without needing to farm random drops or grind purely for cosmetics.