What to know
- You must collect 2 traces at Torchlight Beacon to complete this objective
- The first trace is a hidden chest located at the top of the tower
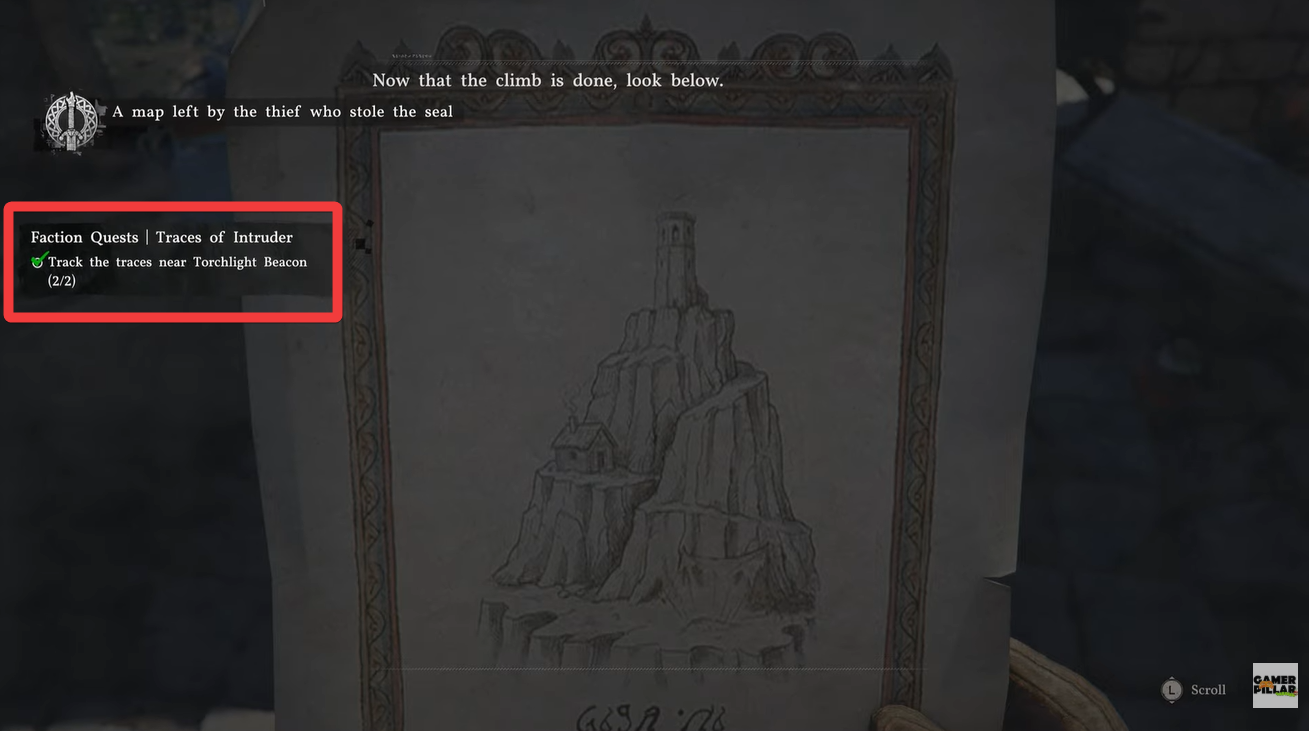
- The second trace comes from reading the map found inside the chest
- Climbing from the right side using wooden debris is the fastest method
The “Track Traces in Torchlight Beacon” objective in the Traces of Intruder quest can feel slightly confusing at first, especially since the second trace isn’t a physical location. If you’ve reached the Torchlight Beacon in Crimson Desert and aren’t sure what to do next, this guide walks you through the exact process in a clear and efficient way so you don’t waste time searching unnecessarily.
| Requirement | Details |
|---|---|
| Quest Name | Traces of Intruder |
| Objective | Track traces at Torchlight Beacon (2/2) |
| Location | Torchlight Tower |
| First Trace | Map inside chest at the top |
| Second Trace | Reading the map from inventory |
| Difficulty | Easy |
| Estimated Time | 2–3 minutes |
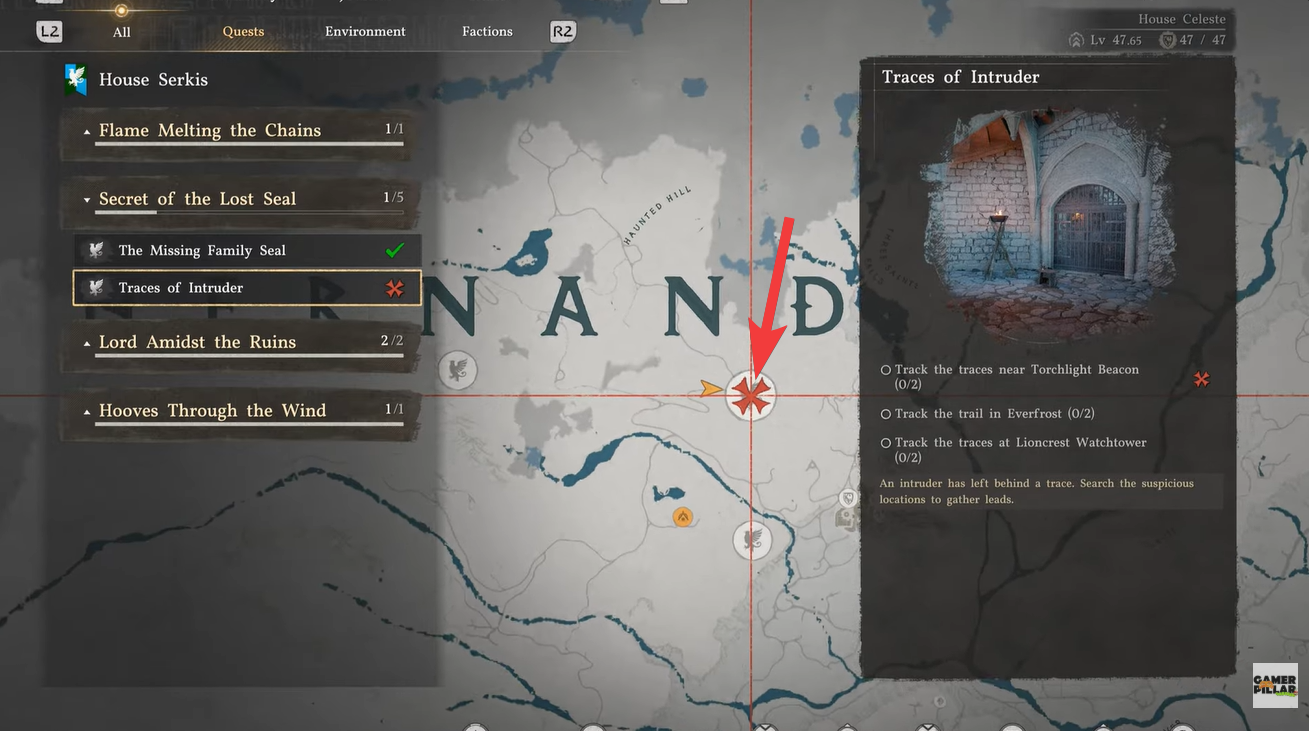
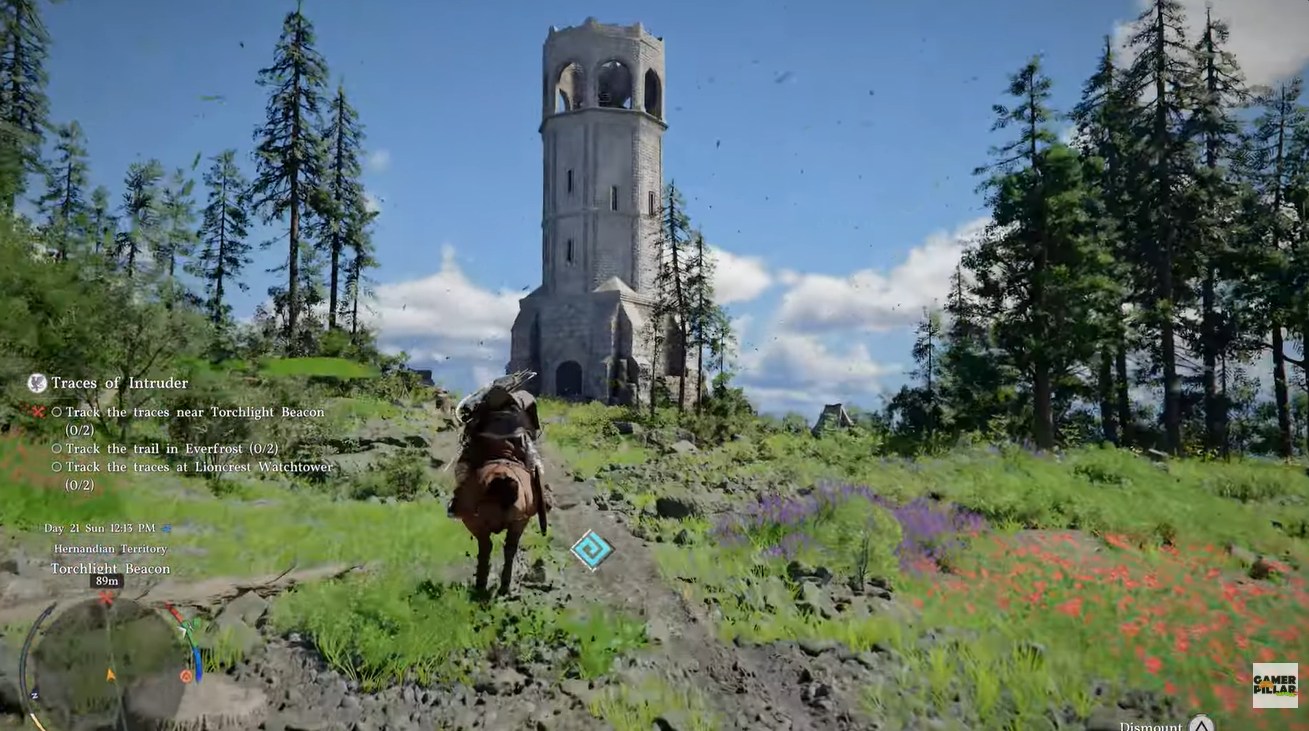
Location of Torchlight Beacon tower in Crimson Desert
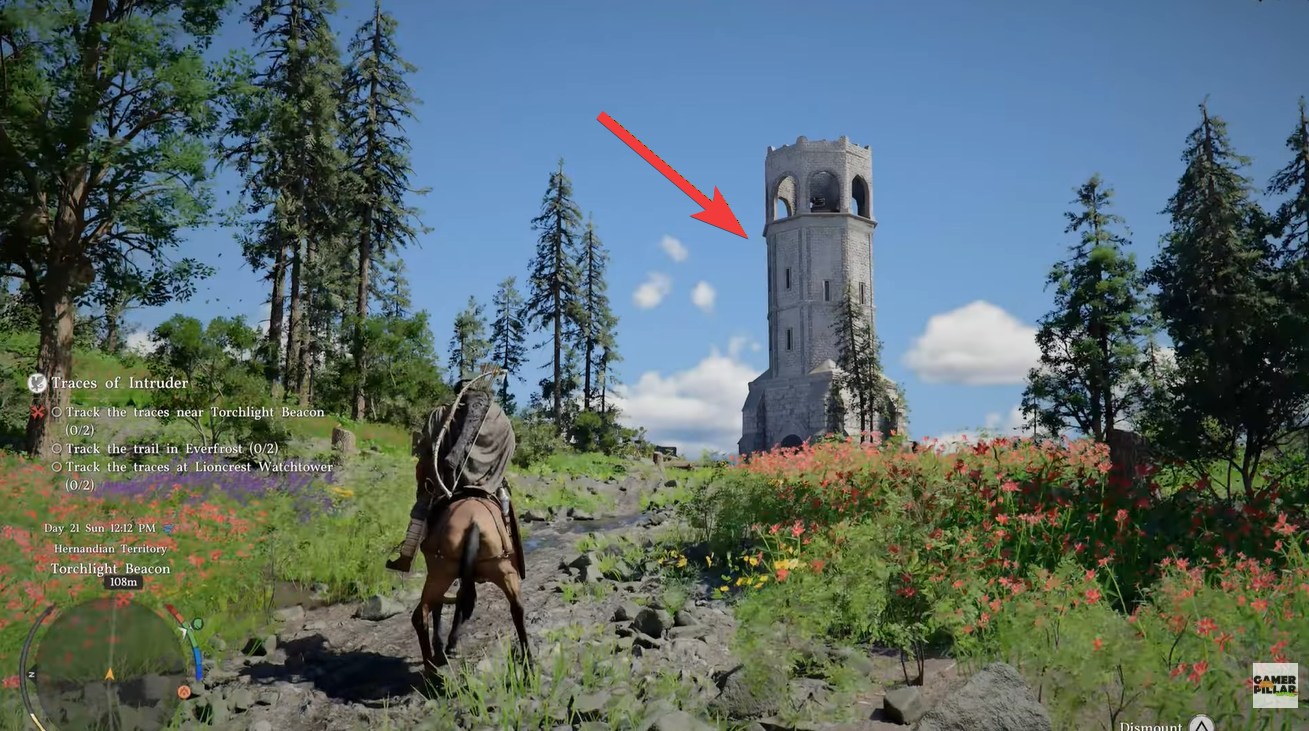
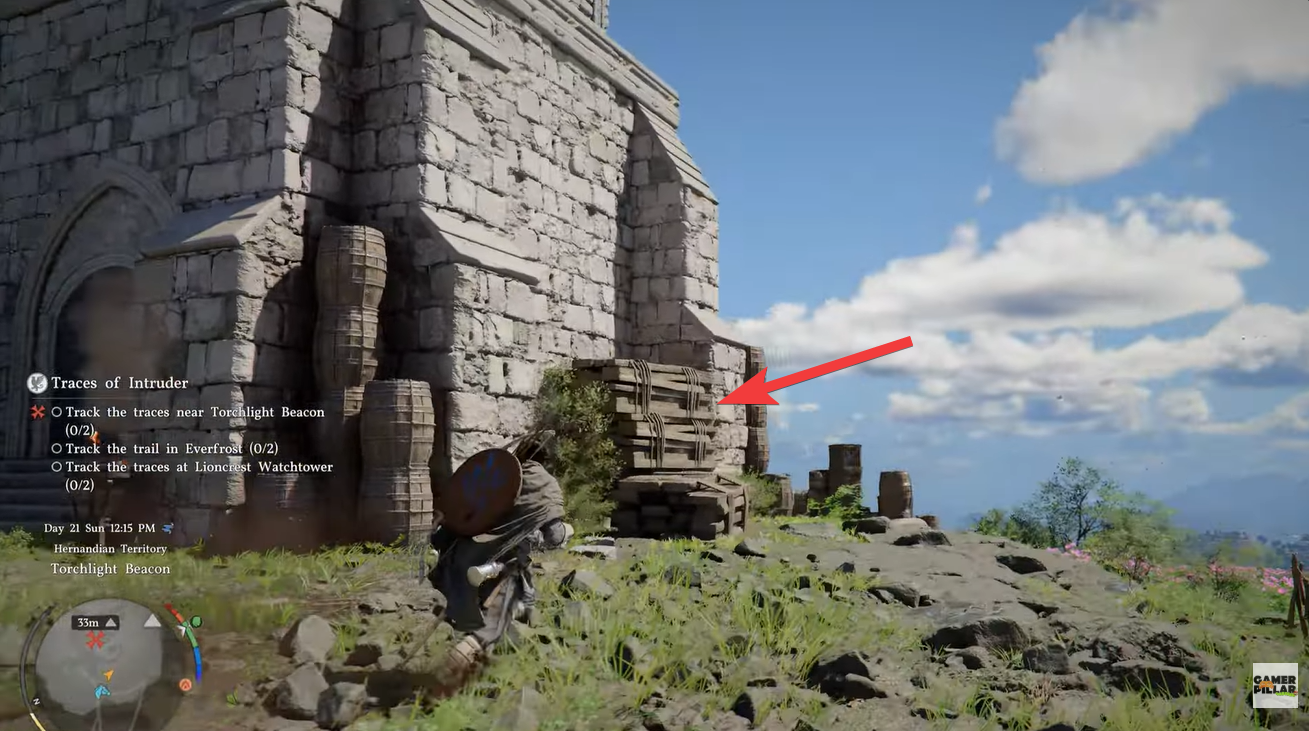
Your first goal is to locate the Torchlight Beacon tower, which stands out clearly in the region due to its height and structure. Once you arrive, you’ll notice that there are two main ways to reach the top: entering the tower or climbing from the outside.
The fastest and most efficient method is to climb the tower externally. You should move toward the right side of the tower, where you’ll find a pile of wooden debris stacked against the wall. This acts as a natural climbing aid and significantly reduces the time it takes to reach the top.
Using this route avoids unnecessary navigation inside the structure and gets you straight to the objective.
How to complete the Torchlight Beacon trace objective
Step 1
Approach the Torchlight Beacon tower and head to the right side. Look carefully for a pile of wood leaning against the tower wall, which acts as your starting point for climbing.
Step 2
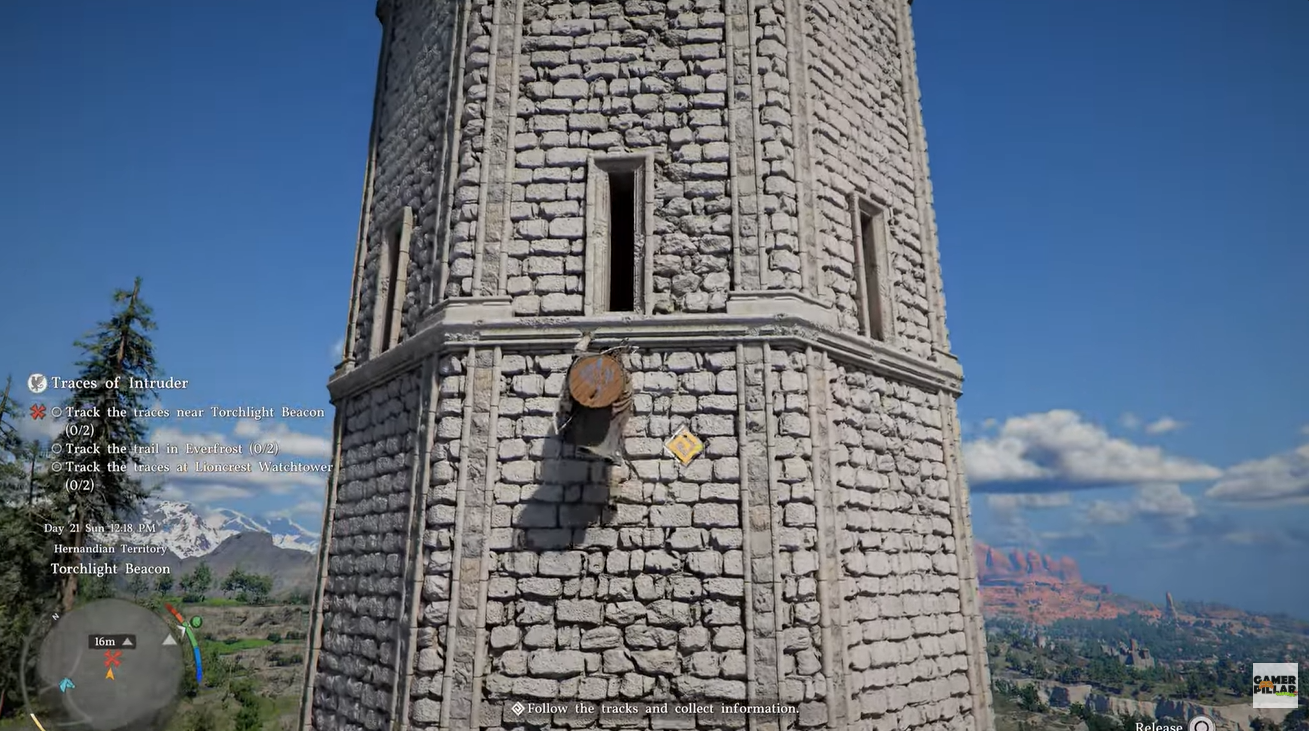
Climb up using the wooden pile and ledges along the tower exterior. Maintain your stamina and positioning as you ascend to avoid falling.
Step 3
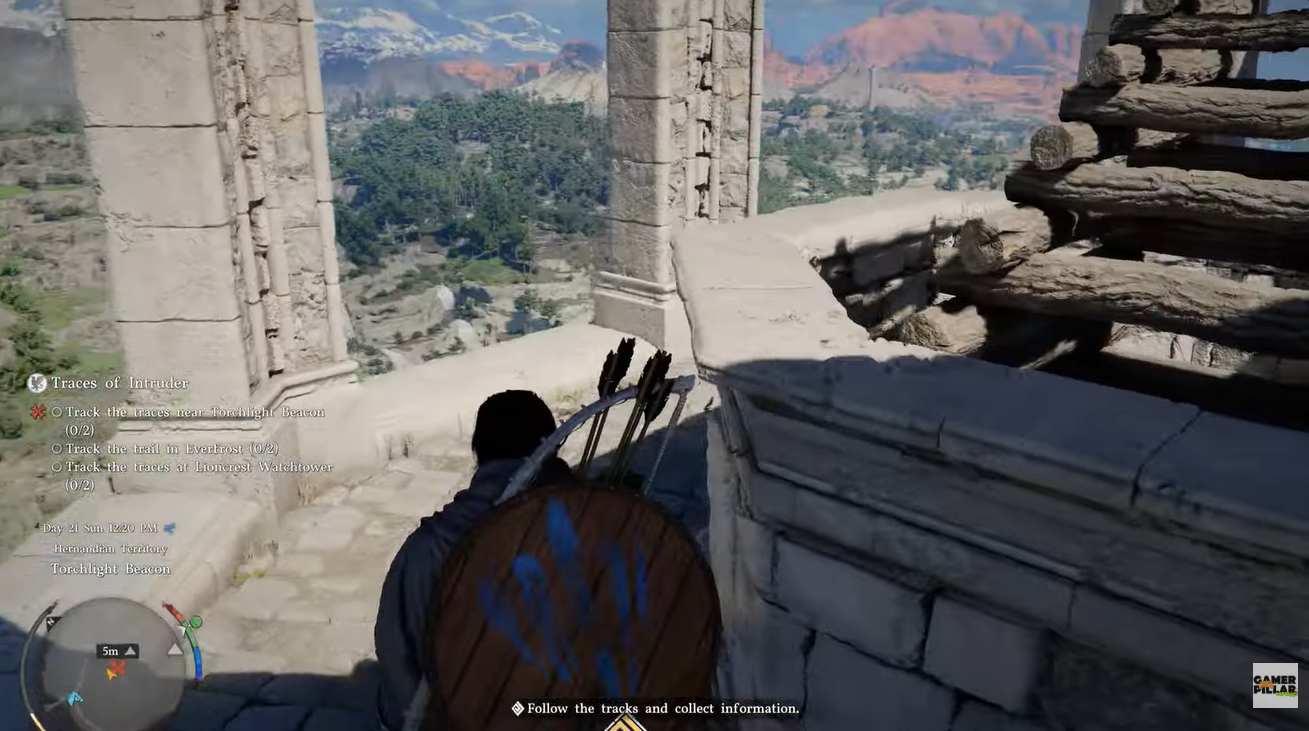
Reach the top of the Torchlight Beacon. Once you’re at the summit, take a moment to scan the area rather than rushing.
Step 4
Locate a small chest positioned at the top of the tower. It’s easy to miss if you’re not actively looking around, so check corners and edges carefully.
Step 5
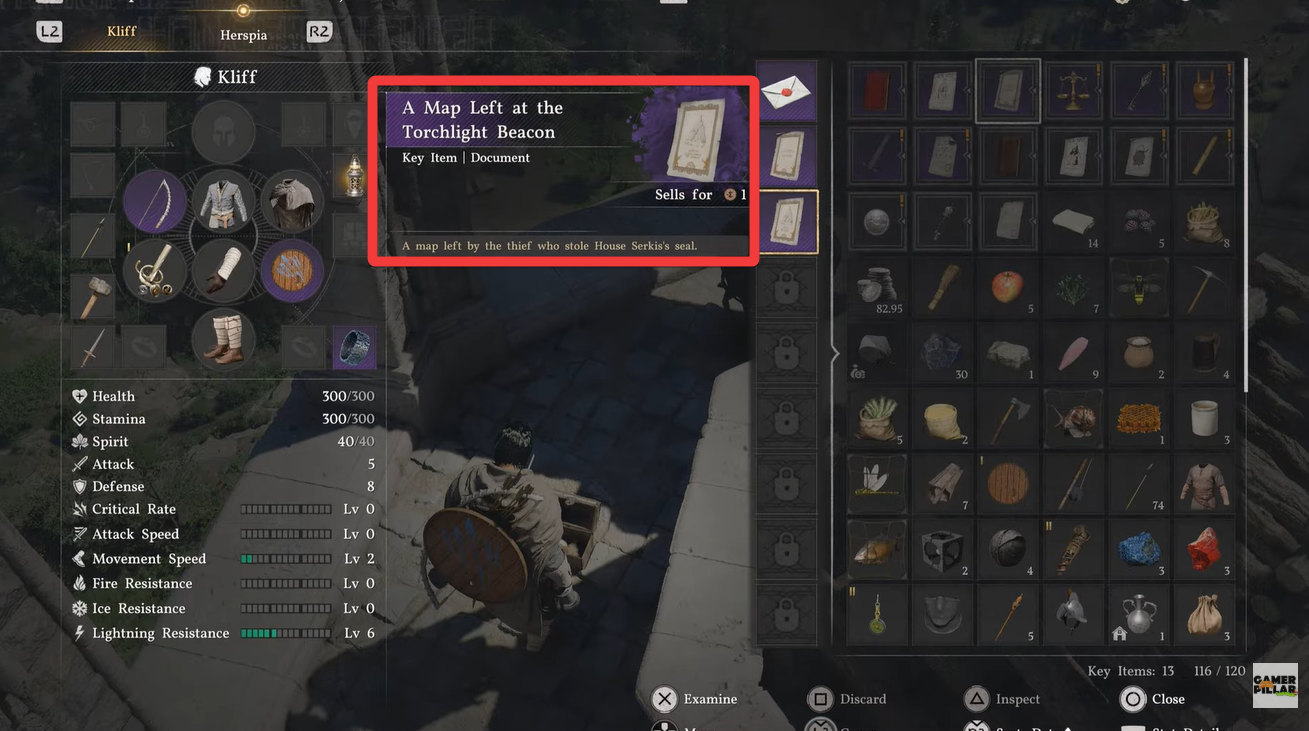
Open the chest to obtain the first trace: “A map left at the top of Torchlight Beacon.” This automatically counts as your first tracked trace.

Step 6
Open your inventory immediately after collecting the map. Navigate to the item you just acquired.
Step 7
Equip and read the map. This action is crucial, as reading the map triggers the second trace automatically.
Step 8
Once the map is read, the objective completes instantly. You’ll now be able to proceed with the next part of the Traces of Intruder quest.
Why players often get stuck at this step
Many players assume the second trace must be found somewhere else in the environment, which leads to unnecessary exploration around the tower or nearby regions. In reality, the second trace is not a physical object—it is tied directly to interacting with the map item.
If you skip reading the map, the objective will remain incomplete, even though you’ve already found the chest. This design can be slightly misleading, especially if you’re used to more location-based objectives.
Rewards and progression of Traces of Intruder quest
| Completion Step | Reward/Outcome |
|---|---|
| First Trace Found | Map item added to inventory |
| Map Read | Second trace completed |
| Objective Completion | Next objective unlocks “Traces in Everfrost“ |
While this specific step doesn’t grant major standalone rewards, it is essential for advancing the questline. Completing it unlocks further investigation objectives tied to tracking the intruder across multiple regions.
Efficient tips to save time during this objective
You should always prioritize climbing the tower externally rather than navigating inside, as it eliminates confusion and reduces travel time. Scanning the top area carefully before leaving ensures you don’t miss the chest, which is the most critical element.
Make it a habit to check your inventory after picking up quest items, especially maps or notes, since many objectives in Crimson Desert rely on item interaction rather than location discovery.