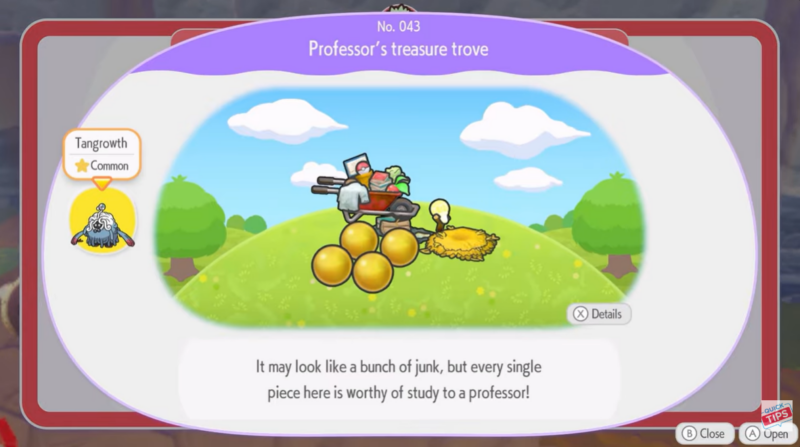
What to know
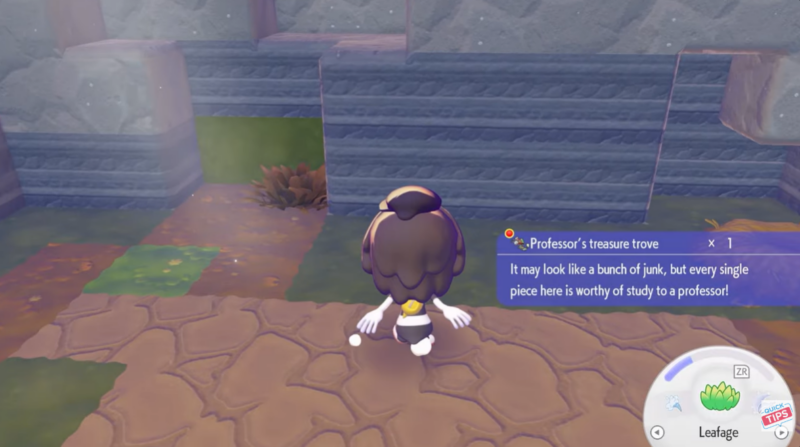
- The Professor’s Treasure Trove Habitat is a special quest habitat tied to Professor Tangrowth in Pokopia.
- You must collect Lost Relics from glowing ground spots scattered around the map.
- Each relic must be appraised by the professor before it can be used in the habitat.
- The habitat structure is movable and customizable, allowing you to place it anywhere you prefer.
Building the Professor’s Treasure Trove Habitat is one of the more unique habitat quests in Pokopia because it revolves around exploration and relic discovery rather than crafting items or gathering standard materials. Instead of buying components or crafting furniture, you spend your time searching for hidden relics scattered across the world, bringing them to Professor Tangrowth for evaluation, and then placing them to complete the habitat. The process is straightforward once you understand how relic appraisal works and where to place the habitat structure.
Pokopia Professor’s Treasure Trove Habitat details
| Feature | Details |
|---|---|
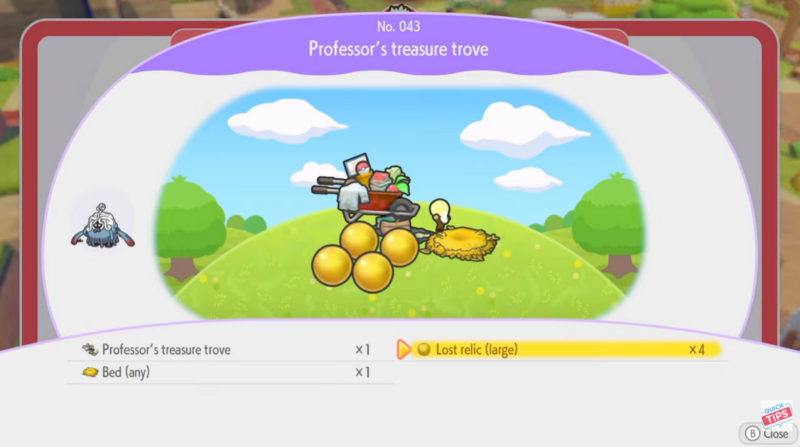
| Habitat Name | Professor’s Treasure Trove |
| Quest Type | Habitat Construction Quest |
| Quest NPC | Professor Tangrowth |
| Main Requirement | Collect and appraise Lost Relics |
| Key Activity | Searching glowing relic spots |
| Habitat Placement | Fully movable structure |
| Completion Method | Arrange relics near the habitat and confirm with the professor |
How relic hunting works in the Professor’s Treasure Trove quest
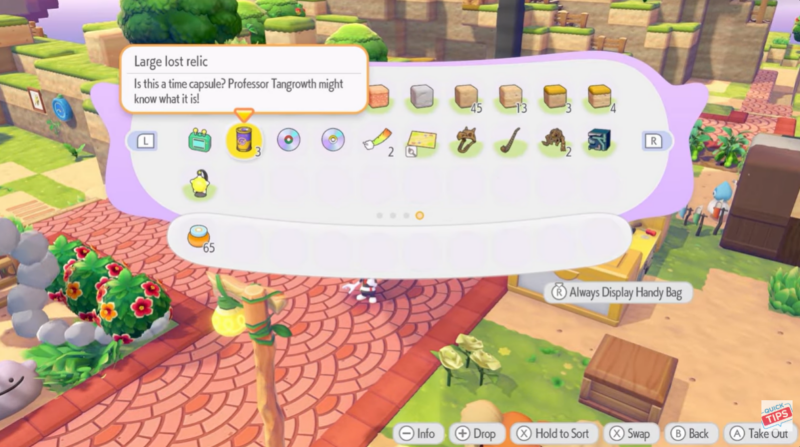
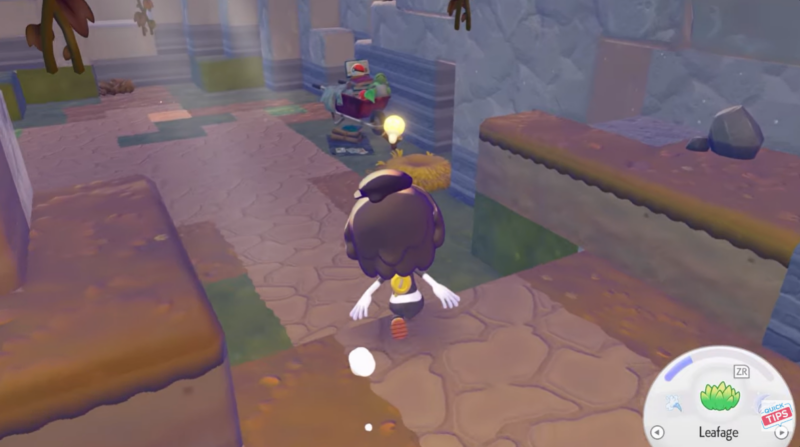
The foundation of this habitat quest revolves around Lost Relics, which are collectible artifacts hidden throughout the Pokopia world. When exploring the environment, you will occasionally notice small glowing spots on the ground, which indicate buried relics. Interacting with these glowing areas allows you to dig up relic items.
These relics cannot immediately be used in the habitat. They first need to be inspected and identified by Professor Tangrowth, who specializes in analyzing these ancient artifacts. Once the relics are appraised, they transform into usable decorative pieces that can be placed around the habitat structure.
Because relics appear randomly across exploration areas, the process encourages players to move around the map and investigate every glowing patch they encounter.
Location of Professor’s Treasure Trove habitat
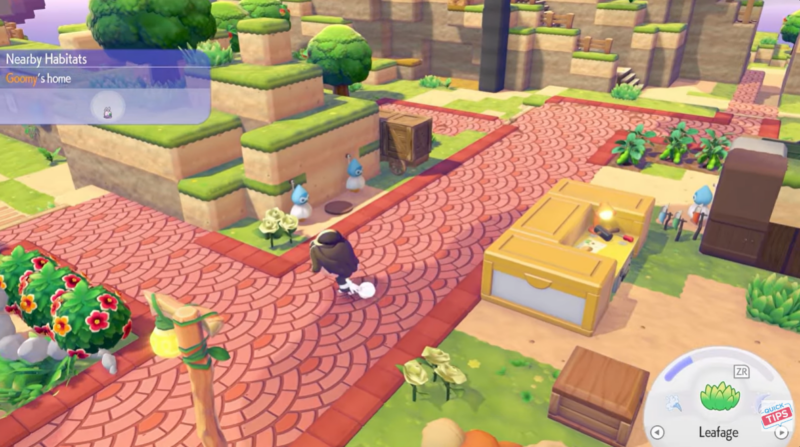
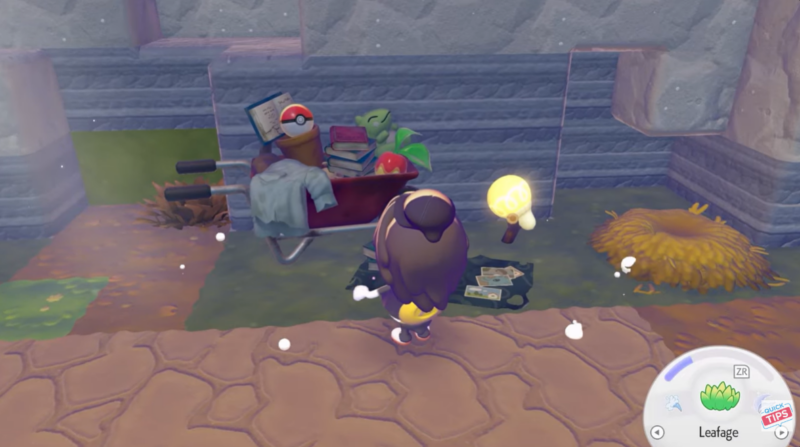
The base habitat structure can be found near the starting area where you first met Professor Tangrowth. This location acts as the default spot for the habitat during the quest. However, the structure itself is not fixed permanently.
One of the interesting aspects of this habitat is that the structure can be moved and repositioned anywhere you want, allowing you to design your layout however you like. Some players prefer placing it close to the professor for convenience, while others move it to decorative zones where other habitats are already located. The game does not enforce strict placement rules as long as the relic items are arranged correctly around the structure.
How to complete the Professor’s Treasure Trove Habitat quest and unlock habitat
Step 1
Start by exploring the surrounding areas of Pokopia and look carefully for glowing spots on the ground. These glowing patches indicate locations where lost relics are buried. Approach the glowing area and interact with it to collect the relic.
Step 2
After collecting a relic, travel to Professor Tangrowth. The professor will examine the relic and appraise it, identifying what type of decorative artifact it is. Only after appraisal will the relic become a usable item for the habitat.

Step 3
Continue searching for additional relics and bring each one to the professor for appraisal. The more relics you gather, the easier it becomes to assemble the habitat display required for the quest.
Step 4
Once you have a few appraised relic items, head to the Professor’s Treasure Trove habitat structure located near the starting area where the professor first appears in the game.
Step 5
If you prefer a different layout, pick up and move the habitat structure to a location of your choice. The game allows flexible placement, so you can integrate the habitat into your existing habitat zone or create a themed relic display area.
Step 6
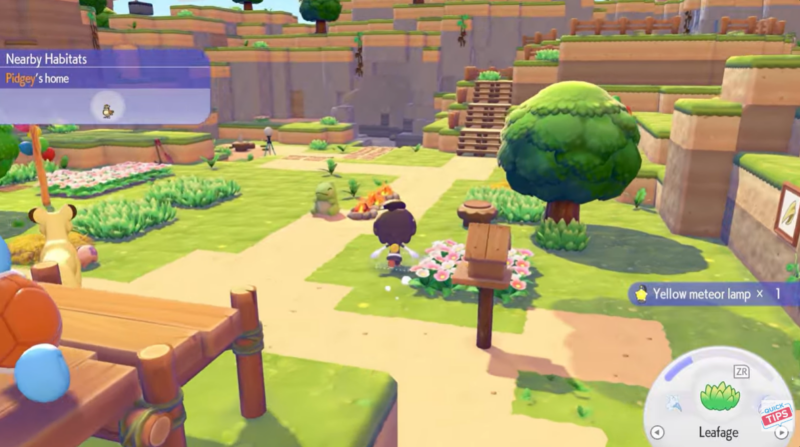
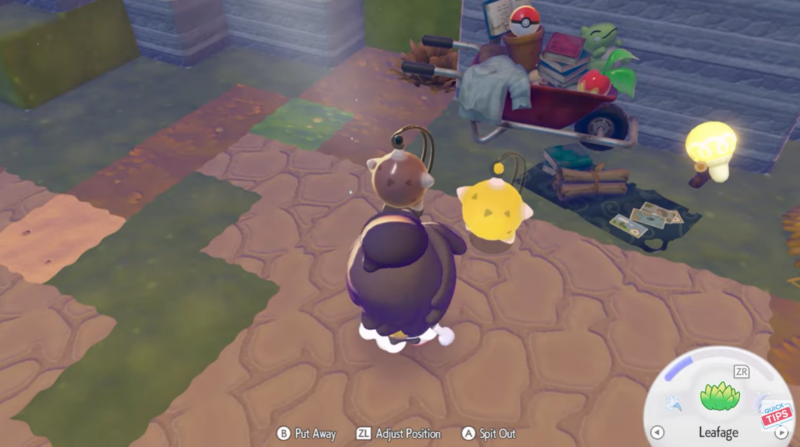
Place the appraised relics in front of the habitat structure. Many players receive relics that resemble decorative lamps or ancient artifacts, but the specific type does not affect the quest completion.
Step 7
Do not worry about spacing or exact alignment while placing the relics. The game does not require precise positioning, as long as the relics are placed correctly near the habitat structure.
Step 8
After arranging the relics, return to Professor Tangrowth and speak with him. The professor will inspect the habitat and confirm whether the relic arrangement satisfies the requirements.

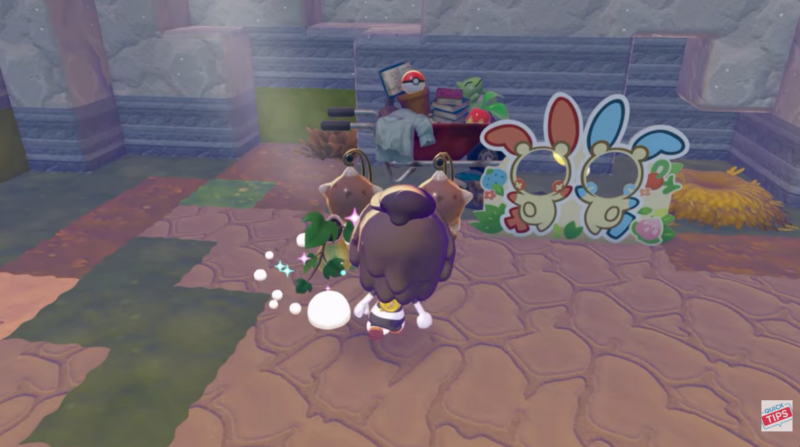
Step 9
Once the professor approves the habitat display, the Professor’s Treasure Trove Habitat quest is officially completed, unlocking the finished habitat and any associated progression rewards.
Habitat rewards and quest outcome
| Reward Type | Description |
|---|---|
| Habitat Unlock | Professor’s Treasure Trove Habitat |
| Decorative Elements | Appraised relic decorations |
| Quest Progression | Completion of the professor’s habitat task |
| Exploration Incentive | Encourages relic hunting around Pokopia |
The main reward for this quest is the fully functional Professor’s Treasure Trove Habitat, which also serves as a decorative showcase for relic items discovered during exploration.
Tips for finding relics faster
While relic hunting is fairly simple, the process can be sped up by paying close attention to environmental details. Glowing ground spots are the only indicator of relic locations, so scanning the terrain carefully while exploring can significantly increase your collection speed.
Another helpful strategy is revisiting areas after some time has passed, since relic spots may reappear as you continue progressing through the game world. Exploring multiple regions instead of staying in one place can also improve your chances of finding relics quickly.
Most importantly, always bring relics back to Professor Tangrowth immediately for appraisal. Unappraised relics cannot be used in the habitat, which can delay your progress if you forget this step.