
- What to know
- The correct activation sequences (J, U, and P)
- Where the puzzle happens in “Fix the Super Crane”
- How to reach the door and the four numbered devices
- How to reach the security puzzle area
- How to find the memo that reveals the correct series
- How to identify the four numbered devices
- How to complete the device activation puzzle in Arknights Endfield
- Troubleshooting: why the door doesn’t unlock
- How to avoid confusion during repeat attempts
- How this puzzle fits the mission’s intent
- Getting past “Find the correct sequence for device activation”
What to know
- The puzzle uses a memo-based series system, so the correct order depends on which series letter appears on the note.
- The memo is placed beside the locked door inside the security puzzle room.
- Each series corresponds to one fixed four-number input order (J, U, and P each differ).
- Once the four devices are activated in the correct order, the door unlocks and the objective clears.
This objective shows up during the “Fix the Super Crane” mission in Arknights Endfield flow and is essentially a small security-room logic check: the game provides the answer in-world (via the memo), and the player simply needs to apply it to the four reactive devices. Because the room can feel hectic with lasers and movement, it’s easy to assume it’s random or that the order must be brute-forced—but the intended solution is consistent: read the series letter, then execute the mapped sequence cleanly.
The correct activation sequences (J, U, and P)
Once the memo’s series letter is known, use the corresponding sequence below. These are executed by activating (attacking/triggering) the numbered devices in order.
| Memo series | Correct activation order |
|---|---|
| J-series | 1 → 3 → 2 → 4 |
| U-series | 3 → 2 → 1 → 4 |
| P-series | 4 → 2 → 3 → 1 |
What makes the puzzle confusing is that many players search for “the” sequence and expect a single universal code. In practice, the sequence is determined by the series letter referenced by the memo, so two different players (or two different runs/builds) may legitimately see different correct inputs. The good news is that you never have to guess if the memo is read first.
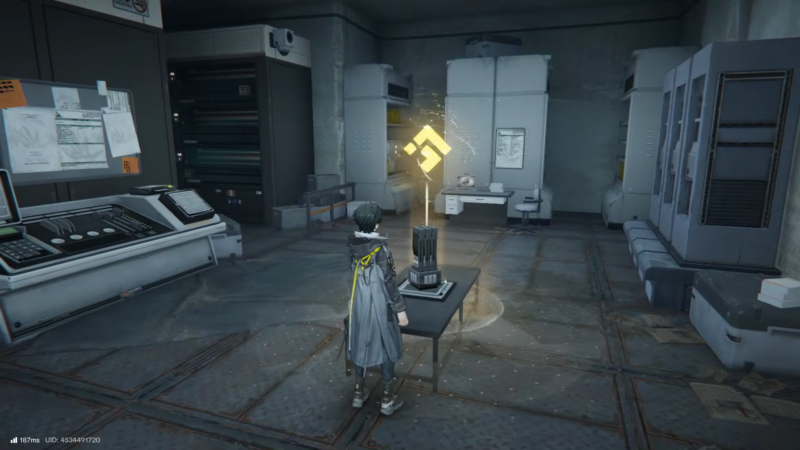
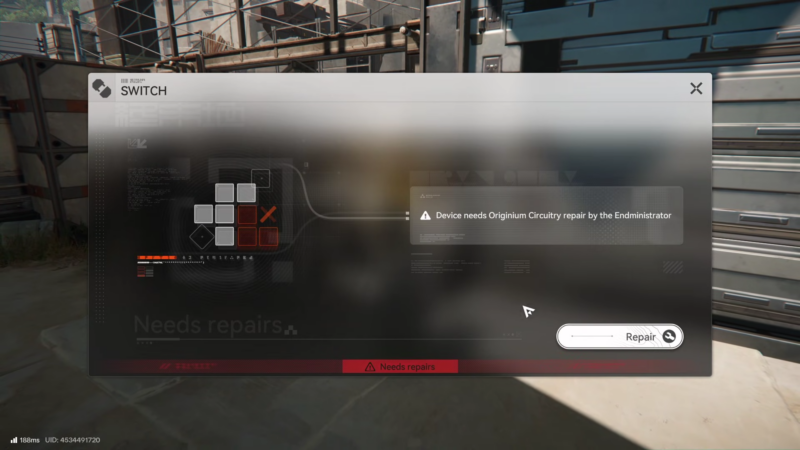
Where the puzzle happens in “Fix the Super Crane”
The device-activation objective occurs inside a security puzzle room tied to the Archive access portion of the mission. The space is built around a locked door and a set of reactive devices that function like input switches. These devices are numbered, and the game expects them to be activated in a specific order.
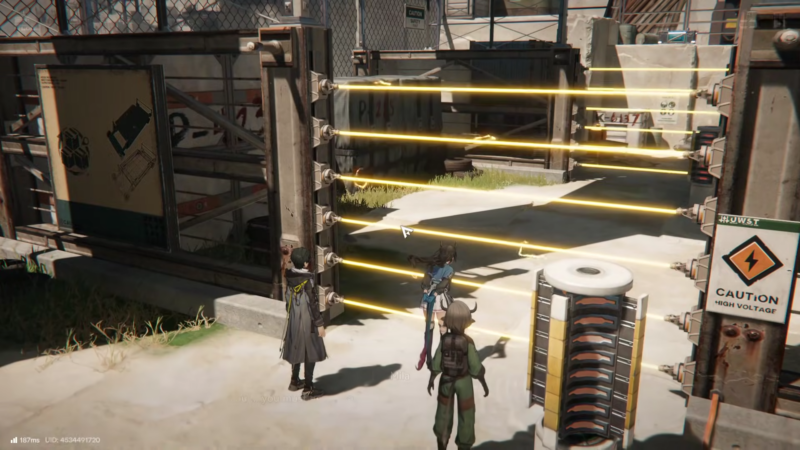
The room is not only about the order itself. There’s a small navigation component: laser grids act like timed gates. One or more reactive devices in the area can disable those lasers temporarily, allowing entry into the next section. If the lasers come back on while moving through, it may require repeating a step—so it helps to know the flow before attempting a clean run.
How to reach the door and the four numbered devices
This section focuses on reliably getting into the correct room, locating the memo, and confirming the four inputs are visible.
How to reach the security puzzle area
The mission route leads into a security-controlled area with laser grids and reactive devices that interact with them. Typically, a first device is placed to enable access deeper into the room by temporarily disabling a laser barrier. After triggering it, move through the opening while it’s safe.
Once inside, another reactive device is often positioned in a way that disables the next laser grid leading into the room with the locked door. If entry feels blocked, scan the immediate walls and corners for another interactable/reactive device and trigger it, then move through quickly.
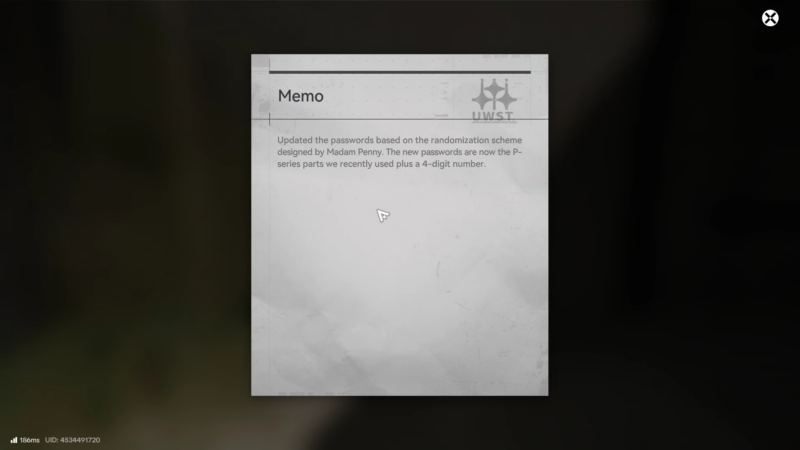
How to find the memo that reveals the correct series
Inside the room with the locked door, there’s a note/memo placed beside the door (commonly on the left side). This memo is the key to the whole puzzle. It indicates which “series” applies—J-series, U-series, or P-series.
That single letter determines which four-number order must be used. Without reading it, any attempt is just guessing, and guessing can be frustrating because the three valid sequences are all different.
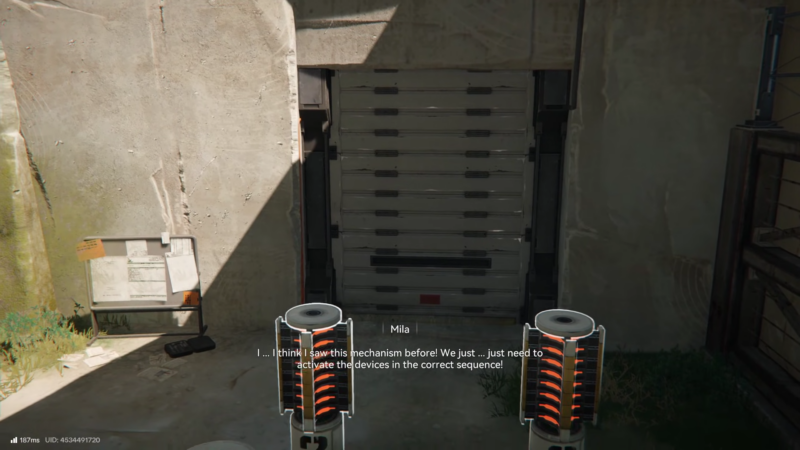
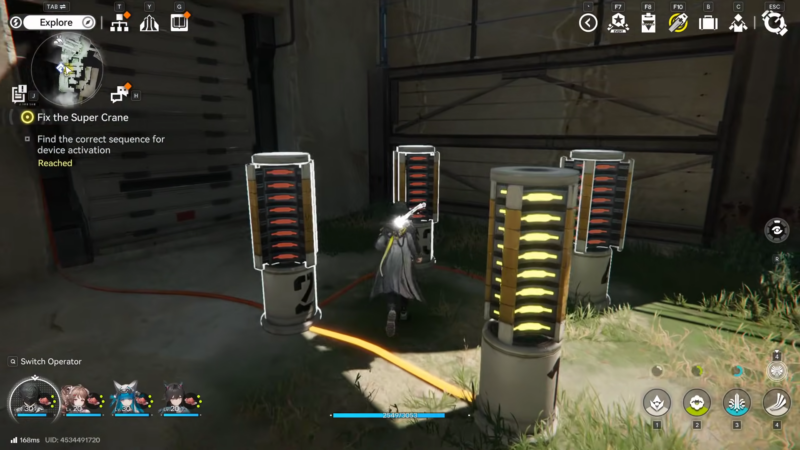
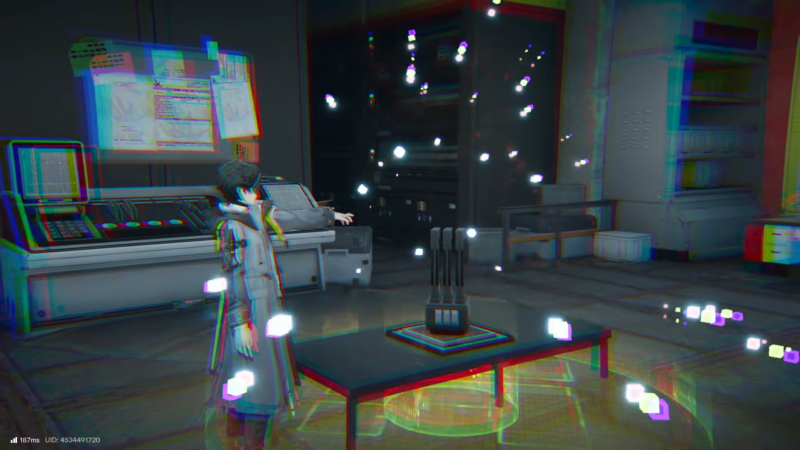
How to identify the four numbered devices
The four reactive devices you must activate are in the same general area as the locked door. They are marked with numbers. Before activating anything, take a moment to locate all four devices and visually confirm their numbering and positions. This prevents mistakes like hitting the wrong device because two are close together or because the camera angle makes the label hard to read.
A practical way to avoid errors is to say the sequence out loud or mentally rehearse it once before starting. The order is only four steps long, but it’s easy to slip when moving the camera, repositioning, or dealing with nearby hazards.
How to complete the device activation puzzle in Arknights Endfield
This is the “do it right the first time” method, written as a short operational checklist.
Step 1
Enter the puzzle room and ensure the locked door and all four numbered devices are visible or easily reachable.
Step 2
Read the memo beside the door and note the series letter (J, U, or P). Do not begin activating devices until the letter is confirmed.
Step 3
Match the series letter to the correct four-number order from the table above.
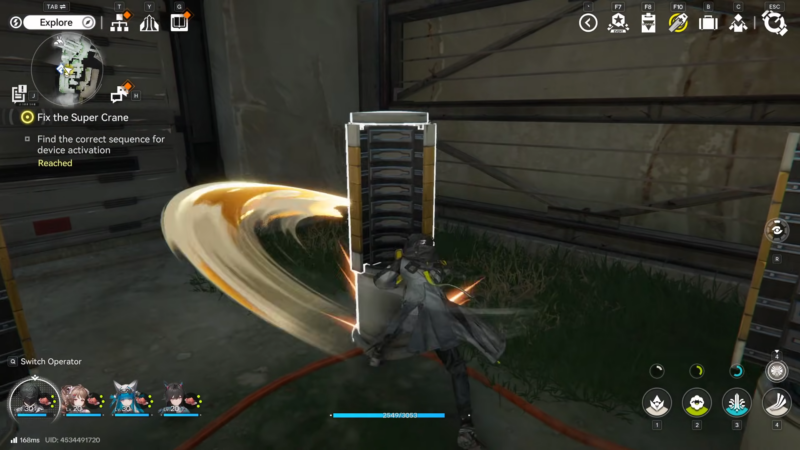
Step 4
Walk to device #1 (or whichever device starts the correct order for the series), angle the camera so the number label is clearly visible, then activate it.
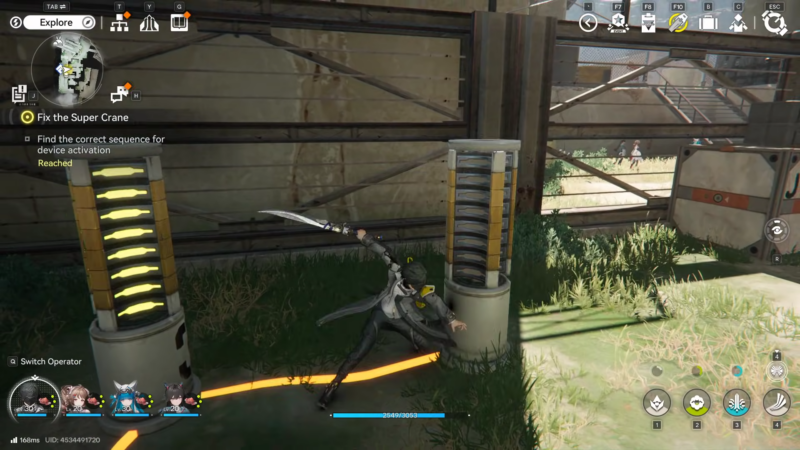
Step 5
Move immediately to the second device in the sequence and activate it, keeping the same careful approach—confirm the number before triggering.
Step 6
Repeat for the third device. If spacing is tight or the room has obstacles, reposition first rather than triggering quickly and risking an incorrect hit.
Step 7
Activate the fourth and final device in the sequence. When all four are correctly activated, the door unlocks and the objective completes.
Troubleshooting: why the door doesn’t unlock
If the sequence fails, it’s usually one of these issues:
The wrong series letter was used
The most common mistake is assuming a specific order found online applies universally. If the memo indicates a different series than expected, the correct sequence changes. Always trust the memo over any external list.
The wrong numbered device was activated
Even when the correct sequence is known, it’s easy to hit the wrong device if two are close together or if the camera is pointed too low/high to clearly read the number. A quick fix is to slow down and confirm each device label before triggering.
A step was skipped or repeated
If the system expects a strict four-step input, a missing activation or double activation can cause failure. When unsure, restart the sequence from the beginning and execute each step deliberately.
The room flow is being interrupted by lasers
If laser timing is interfering with movement, handle navigation first: clear the path by disabling lasers via the appropriate reactive device, then focus on the four-device sequence once movement is safe and stable.
How to avoid confusion during repeat attempts
Repeated failures can make the puzzle feel inconsistent, but the underlying logic remains simple. These habits help:
- Locate all four numbered devices before starting, so movement is planned.
- Confirm the memo series letter every time, especially after reloading or returning to the area.
- Trigger each device only after confirming its number label in-frame.
- If the character’s attack hits multiple objects or auto-targeting feels messy, adjust position and camera to isolate the intended device.
How this puzzle fits the mission’s intent
The “device activation” step acts like a short logic gate in the mission: it tests whether the clue was noticed and applied. The memo is placed deliberately near the door so the solution is available without external help. Once the pattern is understood—memo series letter → mapped device order—the puzzle becomes a quick, repeatable task rather than a roadblock.
Getting past “Find the correct sequence for device activation”
Complete the objective by reading the memo beside the locked door to identify the correct series (J, U, or P), then activating the four numbered devices in the matching order. With the correct series and careful device selection, the door unlocks immediately and the mission can continue.