What to know
- You can install and set up Windows 11 without having to sign in to your Microsoft Account.
- Go through the installation process as usual. On the region/country selection page, press
Shift+F10to open the command prompt, and enter the commandoobe\bypassnro. - Once system restarts, open command prompt again and enter command
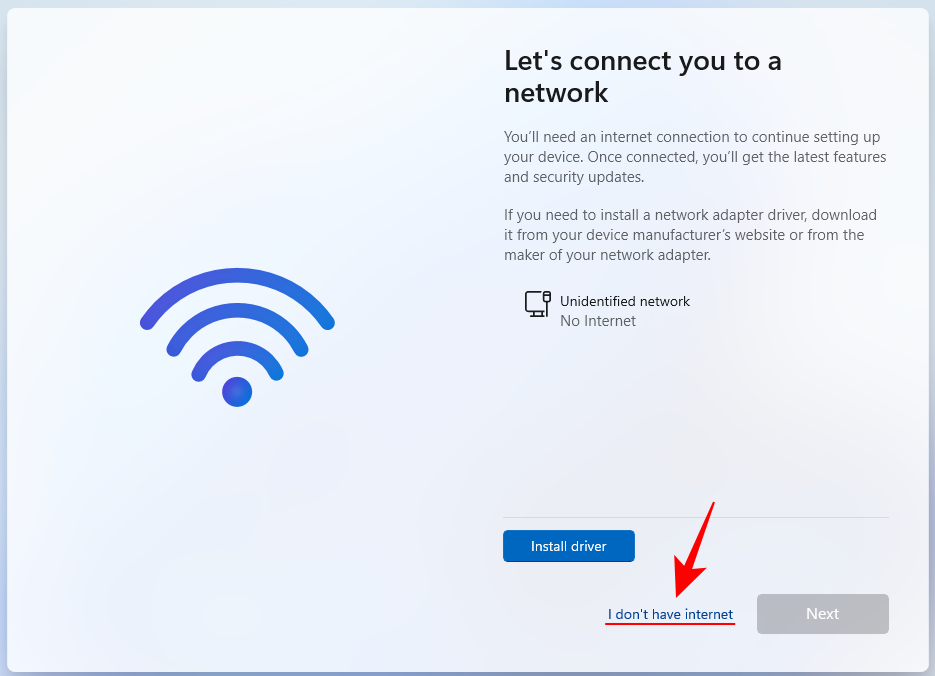
ipconfig /release. Close command prompt, and continue with the installation. - On the ‘Let’s connect you to a network’ page, select I don’t have internet. Continue with the rest of the installation process as usual.
Although Microsoft doesn’t make it easy to install and set up Windows 11 without signing in to your Microsoft account, there are still several ways to do so. Some methods require using the Rufus tool while others involve converting an existing account to a local account. But these methods require third-party tools or work only if you’ve already installed Windows and are signed in.
If you’re looking to install and setup Windows 11 without having to sign in with your Microsoft account, there’s only one way to do so. Here’s everything you need to know about it.
How to set up Windows 11 without a Microsoft account
The process basically involves using the command prompt to block internet access at the time of Windows 11 setup. This unlocks the ability to set up a local account.
Here’s a step-by-step guide on how to set up Windows 11 without signing in to a Microsoft account (at the time of installation).
Step 1: Go through the first few steps of the Windows 11 installation as usual.
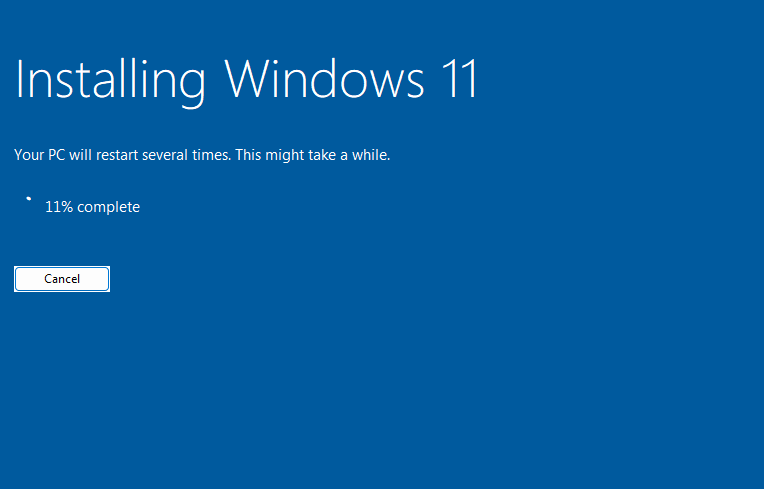
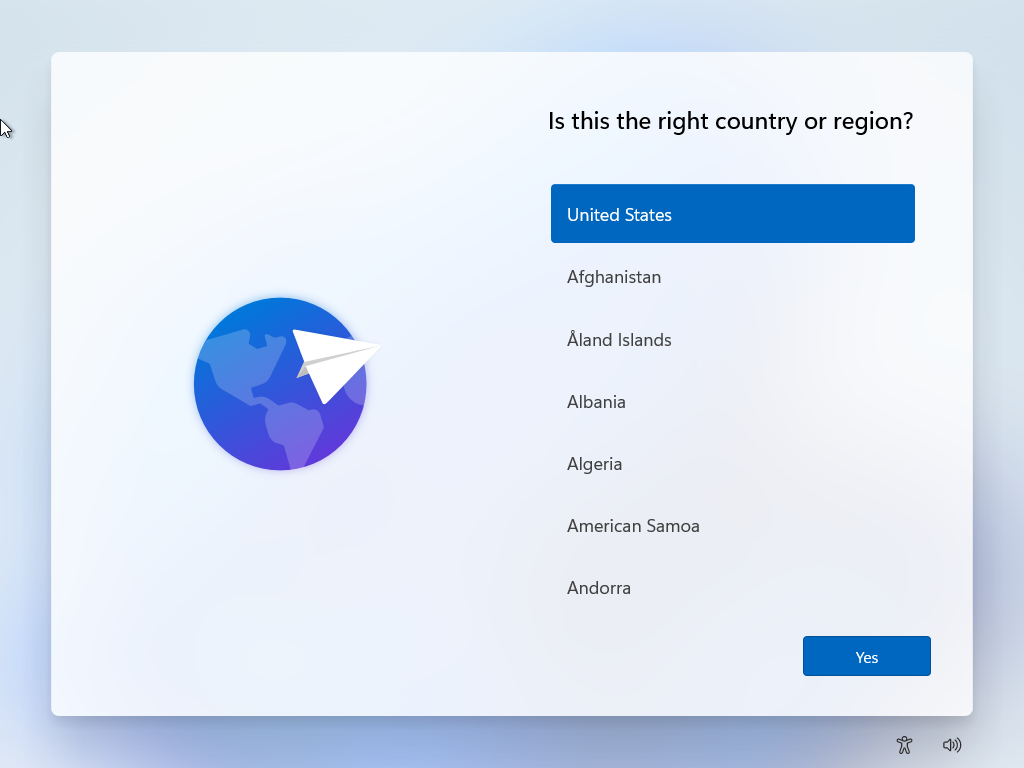
Step 2: Pause when you reach the following screen.
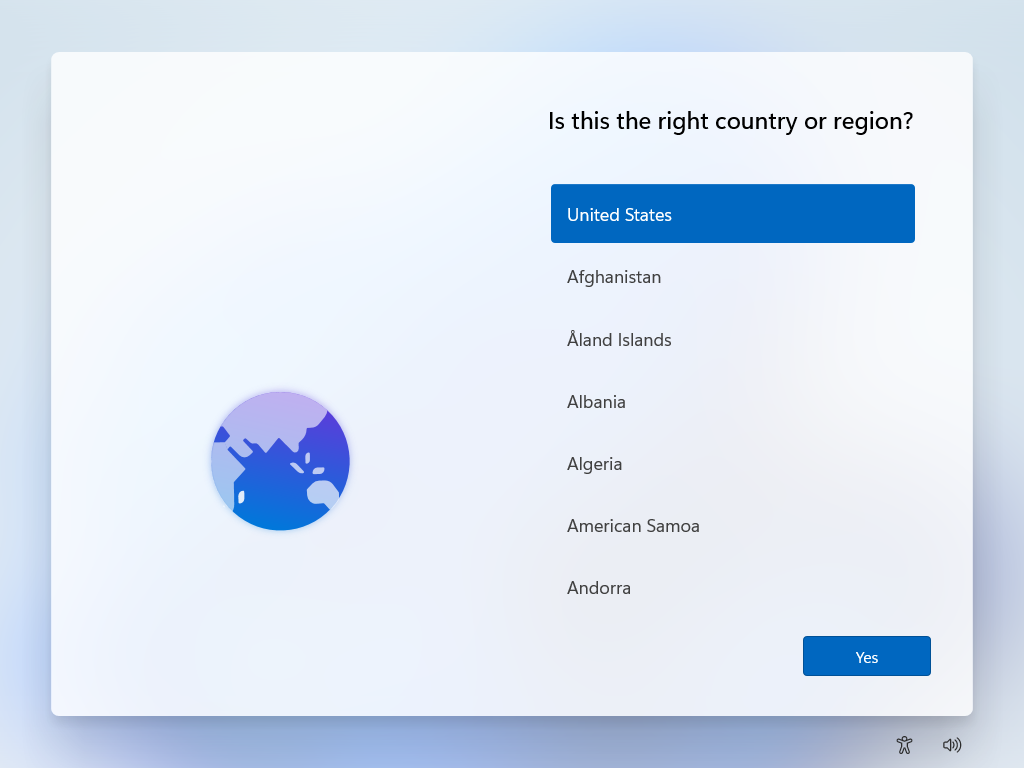
Step 3: Here, press Shift+F10. This will open the Command Prompt.
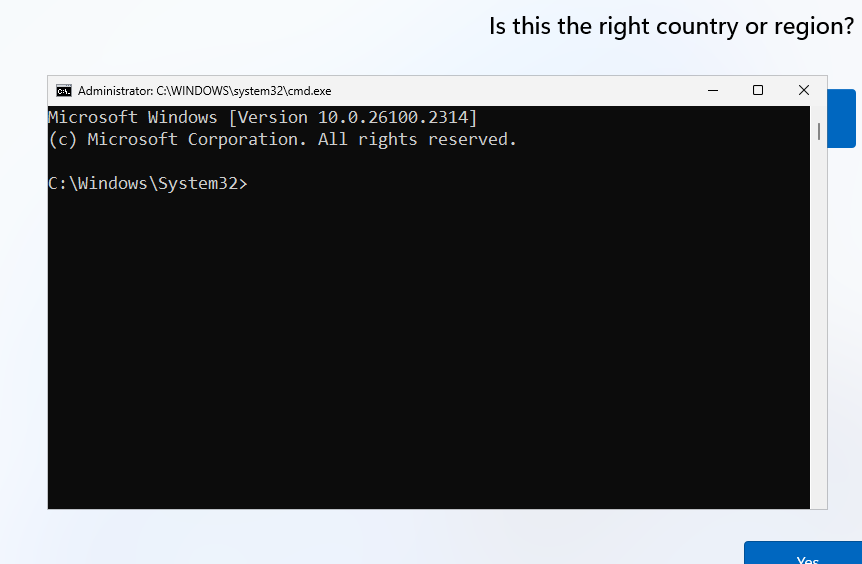
Note: If you’re on a laptop, you may have to press Shift+Fn+F10 to access the command prompt.
Step 4: Type the command oobe\bypassnro and hit Enter.
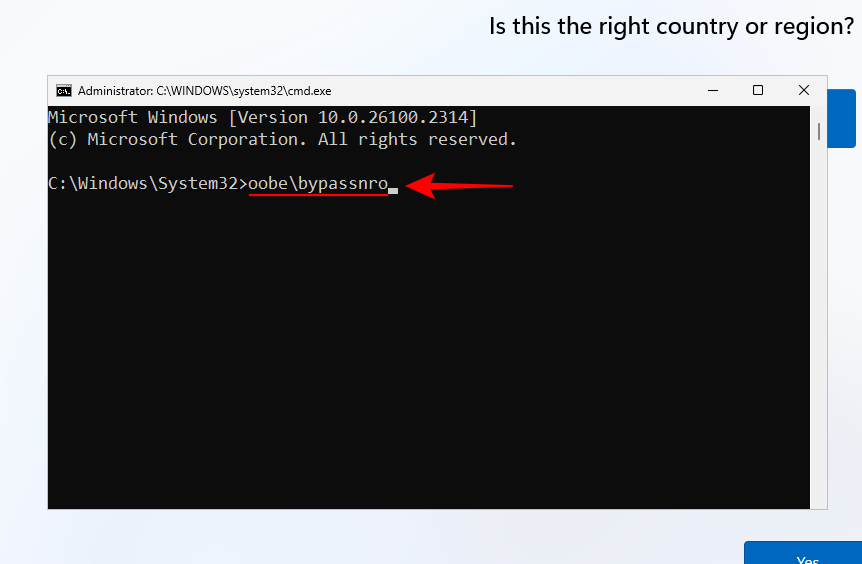
Note: Make sure to use the correct slash (). Also note that there are no spaces in the command.
Step 5: The system will restart. Once it boots back up, you’ll end up on the same page again.
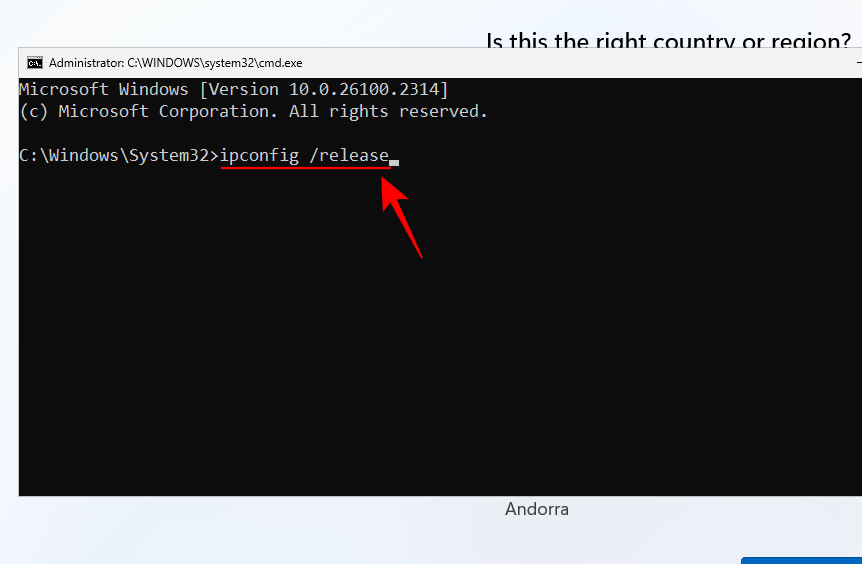
Step 6: Press Shift+F10 to open the command prompt again. Type the command ipconfig /release and hit Enter.
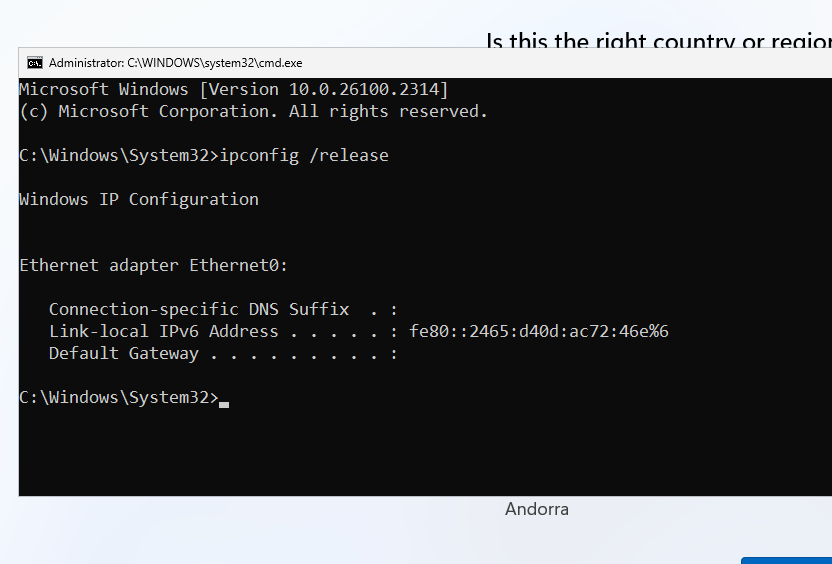
Step 7: Once the command is executed, close the command prompt.
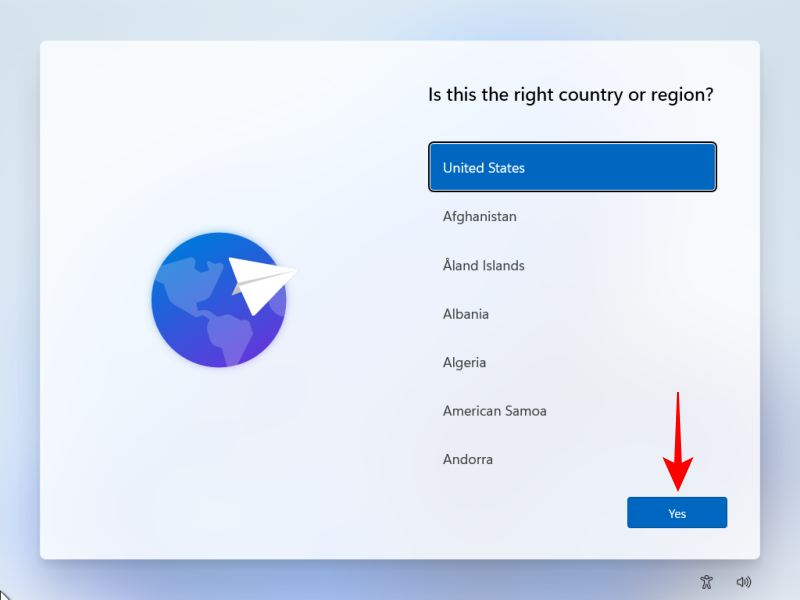
Step 8: Select your country or region.
Step 9: Select your keyboard.
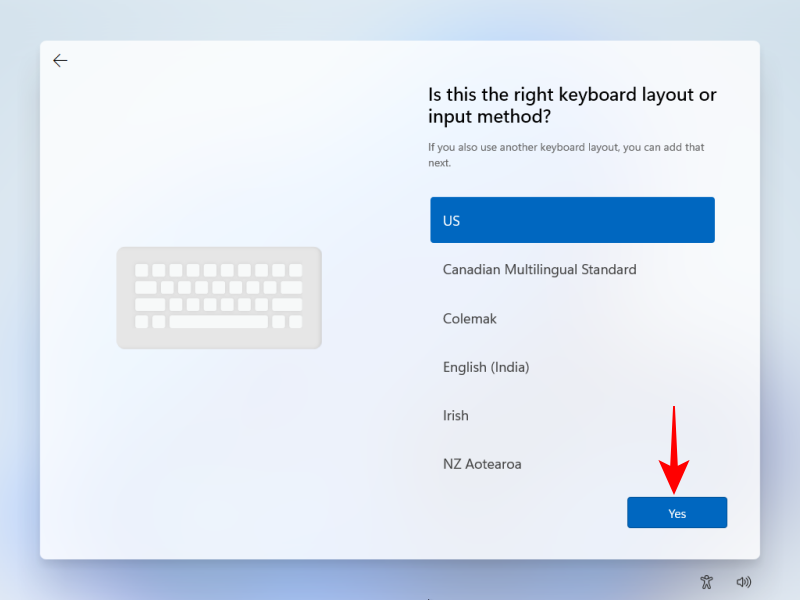
Step 10: Skip the second keyboard layout.
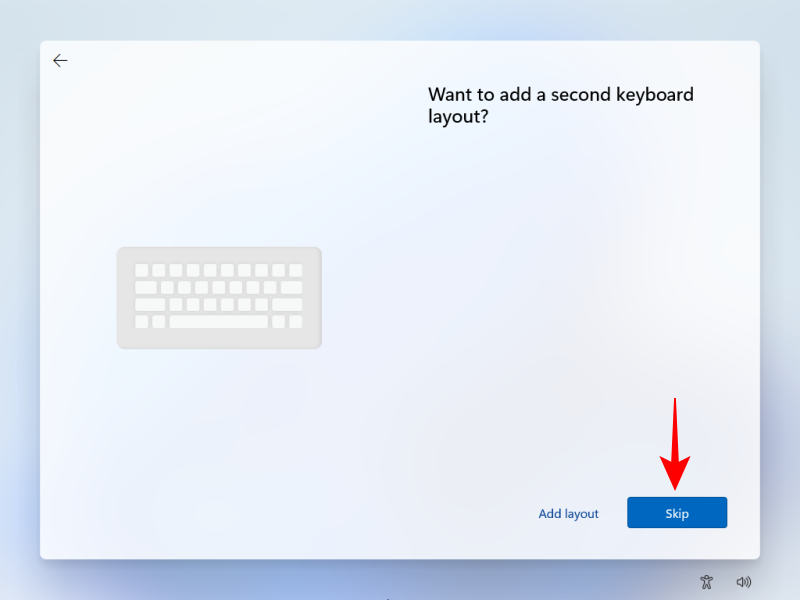
Step 11: On the ‘Let’s connect you to a network’ page, click on I don’t have internet.
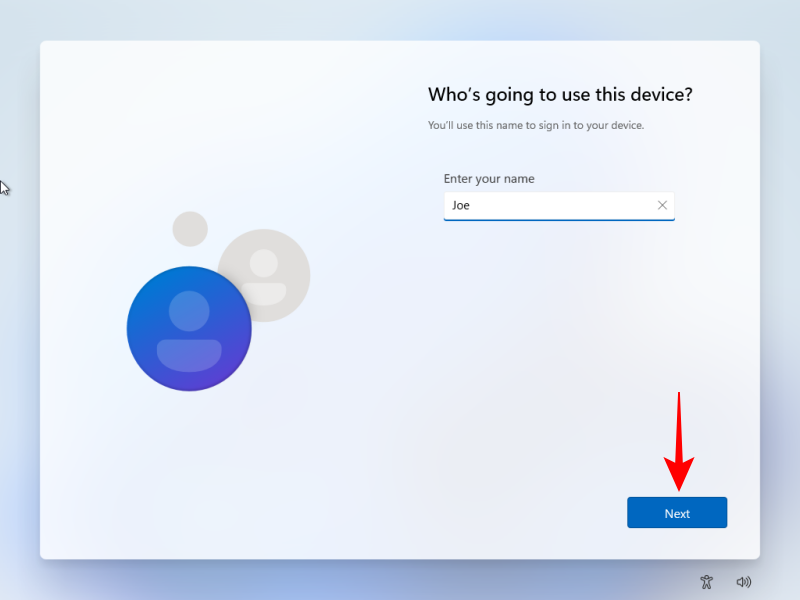
Step 12: Enter your name.
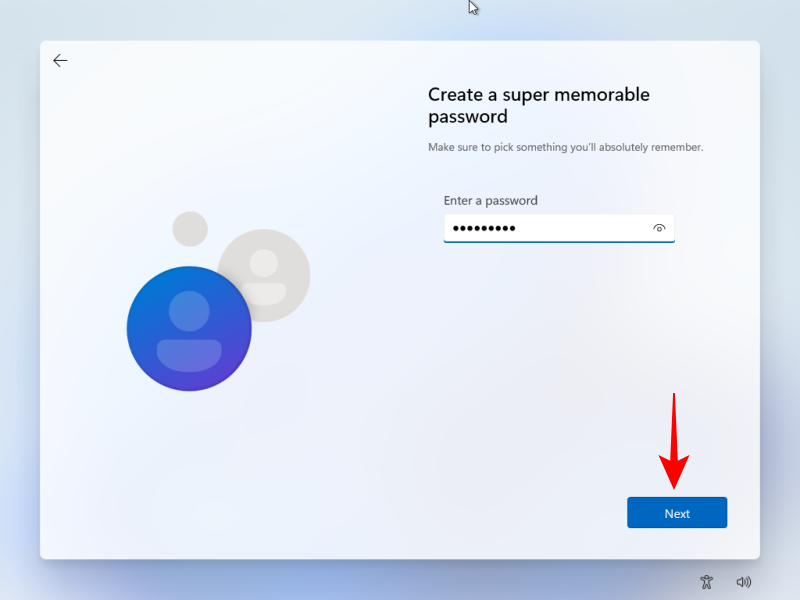
Step 13: Enter a password and confirm it.
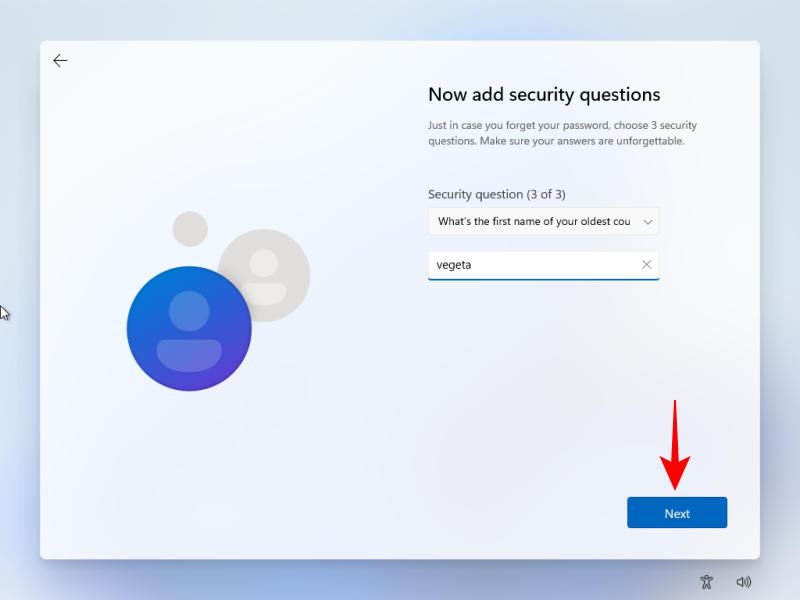
Step 14: Choose and answer 3 security questions.
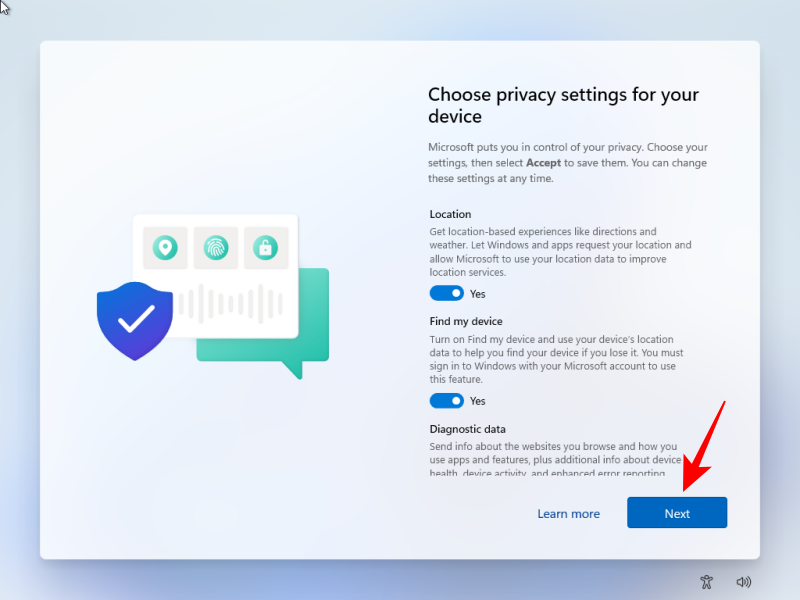
Step 15: Finally, choose privacy settings.
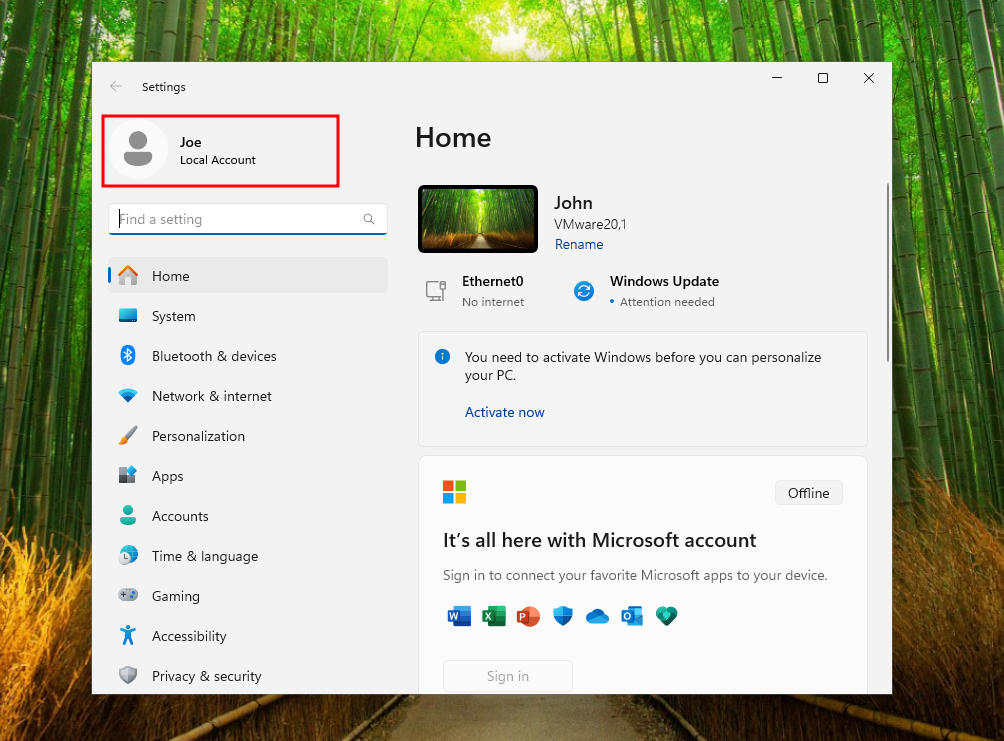
Step 16: Once you’re logged in, you would have set up Windows 11 without having to sign in to your Microsoft account.
And that’s it! We hope you were able to set up Windows 11 without having to log in to a Microsoft account (and without any extraneous software). Until next time!


