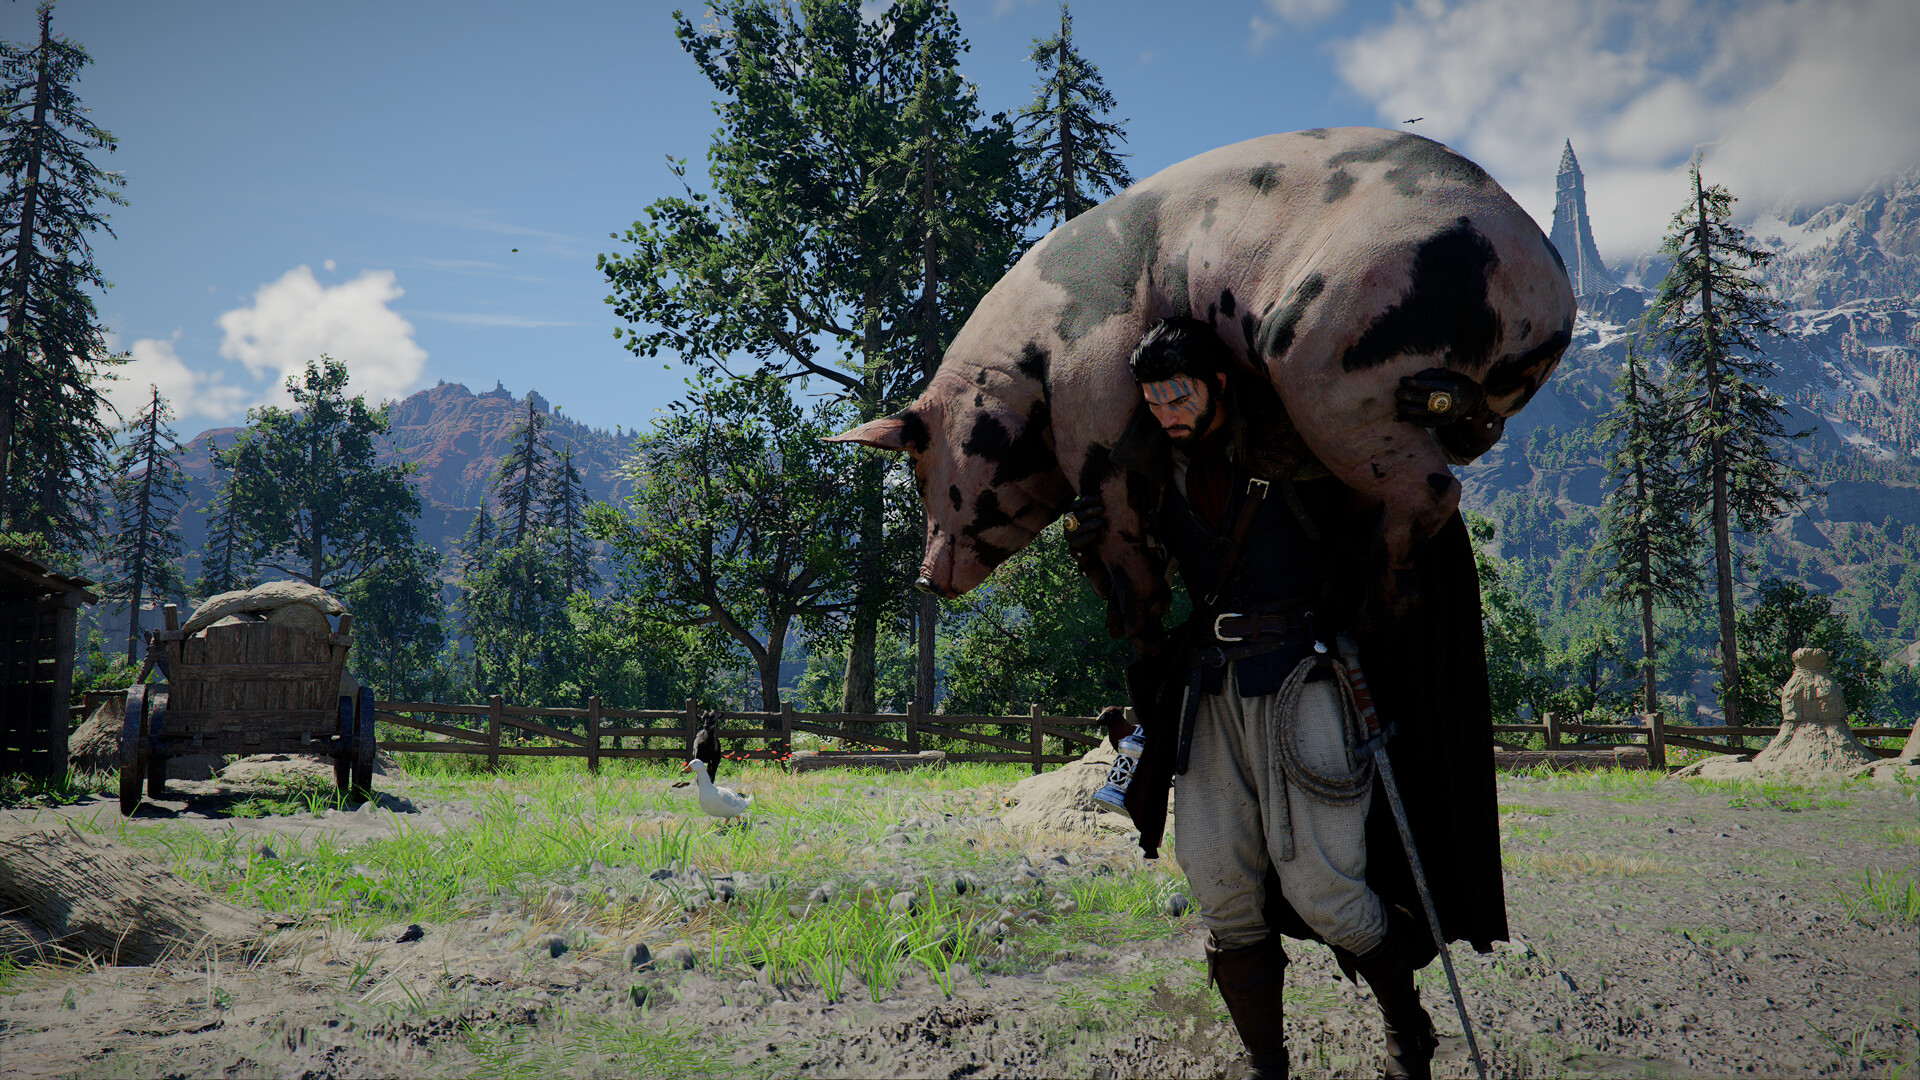
Soaring Spin is a powerful offensive mystic skill that lets you dash forward with a thrust and then spin into a follow-up strike. It’s especially effective for reducing an enemy’s healing, making it a great choice for duels and anti-heal builds.
In Where Winds Meet, Soaring Spin is a single-target control mystic art that traces its origins to a military spear technique. This skill is well-suited for players who want to pressure healers or sustain-heavy enemies, as it deals burst damage and applies a Healing Reduction debuff. To unlock it, you’ll need to navigate a secret chest inside the Martial Temple in Kaifeng via a hidden route involving caves, ladders, and key items.
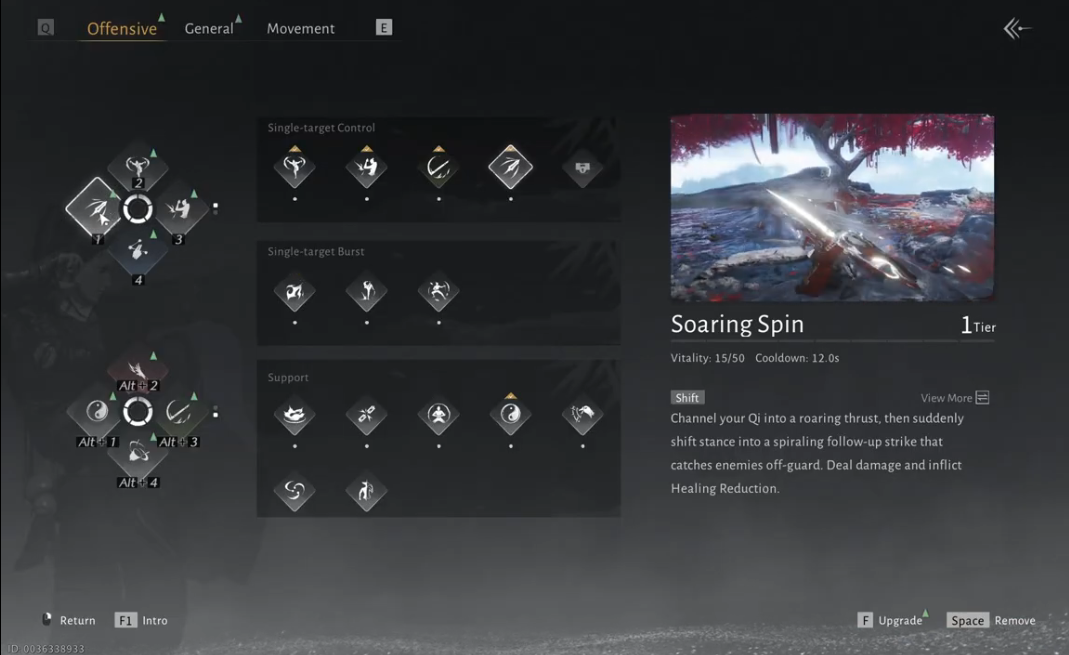
Soaring Spin Skill Details

- Skill Type: Offensive, single-target control.
- Vitality/Cooldown: Costs 15 Vitality and has a 12-second cooldown.
- Skill Effect: Initiates a roaring thrust into a spiraling follow-up strike; on hit, it applies a Healing Reduction debuff that lowers enemy healing received.
- Breakthrough Bonuses:
- Tier 2: +10% damage against players.
- Tier 3: Adds a cancel point after the initial thrust for better flow control.
- Tier 4: Extends the dash range by 2 meters.
Location
You can unlock Soaring Spin inside the Martial Temple in Kaifeng, but accessing it requires traveling through several hidden areas. First, you’ll have to start at Jade Mirror Pond.

How to unlock
Here’s how you can unlock Soaring Spin in Where Winds Meet:
Step 1
Begin by heading to Jade Mirror Pond, located on the eastern side of Kaifeng.

Step 2
Look for the cave entrance near the water’s edge. Enter the cave to start the path; defeat any enemies you encounter.

Step 3
Inside the cave, continue forward until you see a platform and a ladder on the left side. Use these to climb upward and access a hidden room deeper within the cave system.
Screen recording by: NerdsChalk
Step 4
You will encounter more armed enemies, defeat them and look for another stairs. Keep climbing all the stairs you come across until you reach the top.

Step 5
You’ll eventually reach a large gap inside the cave. Climb the left-hand wall to use it as a ledge, then move across to the opposite side and ascend the ladder waiting there.
Screen recording by: NerdsChalk
Step 6
Once you finish climbing the ladder, you’ll enter one of the Martial Temple’s hidden chambers.

Step 7
Look for the ladder leading up to a balcony.

Step 8
Once you have climbed up, you will spot a chest, and open it to obtain the key items you’ll need later in the quest.

Step 9
Travel to the Old Village Ruins Outpost (part of the Kaifeng area).


Screenshots by: NerdsChalk
Step 10
You can clear the area by eliminating every hostile NPC or enemy present in the outpost. Once all enemies are defeated, the key will drop automatically.

Step 11
Instead of fighting every enemy, you can also challenge the boss character in the outpost to a wrestling match. This is a timed, skill-based mini-boss encounter:
- The boss uses a combination of grab attacks and counter moves.
- You must dodge or parry the boss’s grabs while landing your own attacks.
- Successfully completing the wrestling match rewards the same key as clearing all enemies.
- This method is faster if you are confident in your timing and combat skills.

Step 12
Head to a house on the southwest mountain wall of the Outpost. Unlock a secret door that leads into another cave tunnel.

Step 13
Enter the cave and eliminate all the enemies you ecounter.

Step 14
Drop down through a hole in that cave after clearing enemies to reach a deeper area.

Step 15
Pass through the initial door you come across.

Climb down the stairwell to reach Sun Linghai’s chamber.

Open 3 chests here to get the Privateer of Loot achievement.

Step 16
In this new cave segment, you will find a bell. Strike (ring) the bell to activate a mechanism.
Screen recording by: NerdsChalk
Step 17
After ringing the bell, use Meridian Touch on a door ring nearby to unlock a previously blocked door.
Screen recording by: NerdsChalk
Step 18
Go through the now-unlocked door to enter a secret chamber. Clear all the enemies inside this chamber to make room.

Step 19
In the room, climb up using ladders and statues until you reach a very large statue at the far end.
Screen recording by: NerdsChalk
Step 20
Use the ladders on the beams and climb carefully across the wooden structures to reach the statue’s head.

Step 21
From above, drop down into the statue’s head. Use Celestial Seize on a chest embedded in the face of the statue.
Screen recording by: NerdsChalk
How to use
Screen recording by: NerdsChalk
To use Soaring Spin effectively, start by initiating the skill to dash toward your target with a roaring thrust, immediately following up with the spiraling strike for maximum damage. This combo not only deals burst damage but also applies a Healing Reduction debuff, which significantly lowers the target’s healing received, making it ideal against sustain-heavy enemies or healers in duels and PvP. Timing is crucial—activate the skill just before or during enemy healing windows to maximize its anti-heal potential. The skill costs 15 Vitality and has a 12-second cooldown, so manage your resources carefully and avoid spamming it.
With Tier 3 breakthrough, you gain a cancel point after the first thrust, allowing for more flexible combos or repositioning, while Tier 4 increases the dash distance by 2 meters, helping you close the gap on evasive targets or escape tricky situations. Overall, Soaring Spin is best used as a high-pressure tool to control enemy healing and maintain offensive momentum in both solo and competitive encounters.
We hope this guide on the Where Winds Meet guide about the Soaring Spin skill was informative and helped you progress without confusion. If you’d like to share ideas, experiences, or any doubts, the comments section is open. We review comments regularly and respond to ensure you receive timely support whenever required.