Find every Cogheart piece, solve each bell memory puzzle, and install the Cogwork Heart to wake the Second Sentinel.
In Hollow Knight: Silksong, hunting down Cogheart pieces adds a layer of musical mystery to your exploration. You navigate intricate areas of the Citadel, solve rhythmic puzzles, and ultimately bring a dormant automaton to life, enhancing your journey with new opportunities.
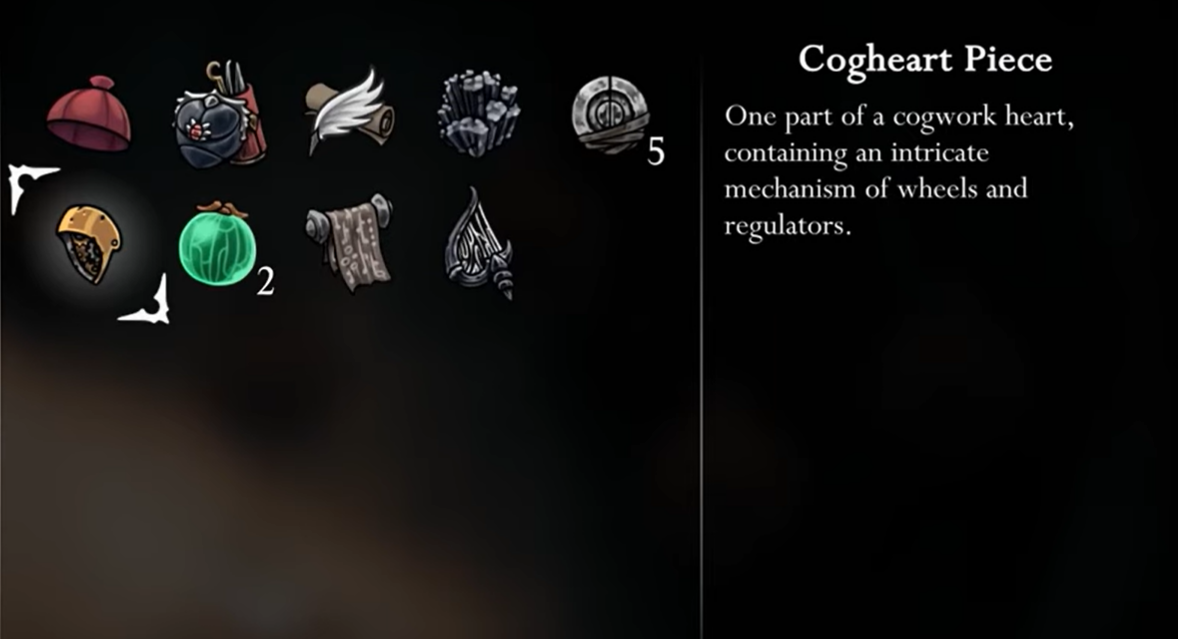
- Cogheart Pieces requirements
- How to get the Choral Chambers Cogheart piece (location + puzzle)
- How to get the Whispering Vaults Cogheart piece (location + puzzle)
- How to get the Memorium Cogheart piece (location + puzzle)
- How to assemble and install the Cogwork Heart, and what happens next
- Troubleshooting and quick fixes
- Wrap-up: finishing the Cogwork Heart chain and what to expect
Cogheart Pieces requirements
Before you dive into collecting these pieces, make sure you’ve acquired Double Jump, which is crucial for reaching higher areas and certain puzzles. Dash also comes in handy for precise movements across platforms and bells, especially in trickier spots. Without these, some paths might feel out of reach, so prioritize upgrading Hornet’s mobility.
How to get the Choral Chambers Cogheart piece (location + puzzle)
Steps explained to get the Choral Chambers Cogheart piece:
Step 1 — Reach the Choral Chambers puzzle room
From the corridor between Choral Chambers and The Slab, climb the vertical shaft and hug the left wall/route near the top. The bell chamber sits on a central platform with seven bells arranged around it.

Step 2 — Start the memory puzzle
Trigger the puzzle by stepping on the floor switch; watch the bells ring. The Choral puzzle requires you to clear two phases in order.
Step 3 — Solve phase 1 and phase 2
- Observe the bells as they ring to reveal the sequence, then prepare to replicate it phase by phase.
- For phase one, strike the bells in this order: 3, 6, 5, 1, 7. Take your time to avoid mistakes, as a wrong hit resets the phase.
- Move to phase two and hit the bells like this: 2, 4, 6, 3, 5, 1. Keep Hornet centered to minimize travel between bells.
Move carefully between bells. If a bell repeats, pause and count your strikes. When phase 2 completes, the Cogheart piece spawns in the center — pick it up.

Tips for Choral Chambers
- Clear nearby enemies first so you won’t be interrupted while repeating a pattern.
- Write the sequence down or call it out loud — it helps prevent mistakes.
How to get the Whispering Vaults Cogheart piece (location + puzzle)
Steps explained to get the Whispering Vaults Cogheart piece:
Step 1 — Find the Whispering Vaults bell room
From the Songclave/upper Vault area, drop into the Vaults and hug the left side of the large vertical gap until you find a small opening that leads into the hidden alcove with the bell puzzle.

Step 2 — Trigger the three-phase memory puzzle
Step on the switch, observe Phase 1, then reproduce it. Continue to Phase 2 and Phase 3 in order.
- Watch the bells ring to learn the sequences, noting that this puzzle has three phases.
- Begin with phase one: hit bells 1, 2, 7, 4 in that order.
- For phase two, follow this sequence: 7, 5, 5, 4, 5. Pay attention to the repeated 5 to avoid rushing.
- Finish with phase three: strike 2, 7, 3, 5, 6, 1.
Step 3 — Complete all phases and claim the piece
After Phase 3, the Cogheart piece appears in the room center — grab it and exit.

Tips for Whispering Vaults
- Some phases repeat the same bell multiple times — count carefully.
- Use precise dashes/jumps to avoid overshooting adjacent bells.
How to get the Memorium Cogheart piece (location + puzzle)
Steps explained to get the Memorium Cogheart piece:
Step 1 — Access the Memorium from Cogwork Core
From the Cogwork Core elevator/bench area, search right from the lower shaft for a concealed route leading into the Memorium. Double Jump / Clawline may be required to reach some ledges.

Step 2 — Clear the room and start the three-phase puzzle
Enter the bell chamber, step on the switch, watch the bell order, and reproduce Phase 1.
- Tackle phase one with this sequence: 3, 5, 7, 2. Some bells sit on ledges, so Dash if needed for stability.
- Phase two requires: 7, 5, 6, 7, 1. Stabilize on safe spots before each strike.
- Complete phase three: 6, 4, 2, 5, 3, 1.
Step 3 — Finish phases and pick up the final piece
Complete Phase 2 and Phase 3; the final Cogheart piece will spawn in the center. Collect it — with three pieces in your inventory, they will immediately become the Cogwork Heart.

Tips for Memorium
- Line up jumps carefully to hit bells on small ledges.
- If you’re struggling to access Memorium, re-check the Cogwork Core elevator shaft for a hidden tunnel on the right.
How to assemble and install the Cogwork Heart, and what happens next
Steps explained to install the Cogwork Heart:
Step 1 — Confirm you have all three Cogheart pieces
Once you pick up the third piece they auto-merge into the Cogwork Heart in your inventory.
Step 2 — Return to Cogwork Core and find the sealed automaton
Go to the bench area in Cogwork Core, drop into the machinery shaft and head to the lower left rooms. The dormant automaton is sealed behind glass — break the casing to reach it.

Step 3 — Insert the Cogwork Heart
Interact with the automaton’s interface to insert the Cogwork Heart. The automaton (Second Sentinel) will awaken, speak, then vanish — it will now periodically appear across Citadel corridors fighting enemies.
Step 4 — Trigger the Final Audience progression

To unlock the related Final Audience wish, you must spot the awakened Sentinel in the wild twice. Rest at a bench after each sighting, then check the Songclave shrine after the second sighting.

Tips for installation & tracking
- If the Sentinel doesn’t appear right away, loop major Citadel hallways and rest at benches between loops to advance encounters.
Troubleshooting and quick fixes
- If you can’t find a puzzle room, check vertical shafts and hug the walls.
- If a bell phase keeps resetting: pause, watch again, and write or call out the sequence.
- If the Cogwork Heart doesn’t awaken the automaton: confirm you have three pieces and that you’re at the correct automaton in Cogwork Core’s lower left area.
Wrap-up: finishing the Cogwork Heart chain and what to expect
Collecting the three Cogheart pieces means locating three bell rooms, repeating their sequences, and merging them into the Cogwork Heart. Installing it awakens the Second Sentinel, who later helps you unlock the Final Audience progression. Follow the bells carefully, and you’ll complete this chain smoothly.