A complete exploration walkthrough covering every Soliskin location, Lumiglow activation, and Shattergrid Wall break in Where the Light Takes Shape quest of Wuthering Waves.
Where the Light Takes Shape is an exploration quest in Wuthering Waves. This quest blends vertical exploration, puzzles, combat encounters, and collectible tracking. The quest revolves around gathering Soliskins scattered across interconnected Solistrees in the Roya Frostlands while helping Minna restore lost systems and memories.
Key Objective: Collect 30 Soliskins.

- Where Light Takes Shape location
- How to start Where Light Takes Shape quest
-
Where Light Takes Shape walkthrough
- Objective 1: Talk to the Stranger
- Objective 2: Find Soliskin – Hoo & Shee (Soliskin 3/30)
- Objective 3: Find the Missing Soliskin (Soliskin 4/30)
- Objective 4: Find Euginn
- Objective 5: Find the vines to climb Solistree
- Objective 6: Ride the motorbike along the vine path
- Objective 7: Gather 5 Soliskin to open the path (Soliskin – 5/30)
- Objective 8: Gather Soliskin and activate Lumiglow Platform (Soliskin 10/30)
- Objective 9: Defeat the Ironhoof
- Objective 10: Check the Solistree Core
- Objective 10: Gather more Soliskins at other Solistrees (12/30)
- Objective 11: Gather soliskins to open the door (Soliskins – 14/30)
- Objective 12: Breakthrough Shattergrid Wall (Soliskins 15/30)
- Objective 13: Breakthrough the Shattergrid Wall
- Objective 14: Gather Soliskins to activate the Lumiglow Platform (Soliskins 17/30)
- Objective 15: Gather Soliskins to break the Shattergrid Wall 2 (Soliskins – 20/30)
- Objective 16: Gather Soliksins to activate Lumiglow Platform (Soliskins 22/30)
- Objective 17: Break Shattergrid Wall 3
- Objective 18: Gather Soliskins at the Last Solistree
- Objective 19: Pull open the blocked wall (Soliskins – 24/30)
- Objective 20: Open the Lumiglow Cage (Soliskins – 30/30)
- Objective 21: Go to the Welcome Party
- Objective 22: Talk to the Giant Soliskin
- Where Light Takes Shape quest rewards
Where Light Takes Shape location
Start the quest at Bjartr Woods in the Startorch Academy area of Roya Frostlands. Then through the Solistrees.

How to start Where Light Takes Shape quest
Find Minna at the Bjartr Woods central garden area. Talk to her to begin the Where Light Takes Shape quest in Wuthering Waves.

Where Light Takes Shape walkthrough
Here is how you can complete Where Light Takes Shape in Wuthering Waves:
Objective 1: Talk to the Stranger
Make your way to Bjartr Woods and talk to the stranger about the Terminal Lines. This NPC is confused about how to use and upkeep the terminal, explain her what you know.

Offer her help to fix the terminal. Then she reveals her name as Minna.

Once the terminal is good-to-go, Soliskin appears in the scene out of nowhere. (Soliskin 1/30)

Objective 2: Find Soliskin – Hoo & Shee (Soliskin 3/30)
Take Lulu with you and find the 2 Soliskins – Hoo & Shee. Finding Hoo triggers a conversation between you three, and he asks for an apology.

Shee is inside a vase. Break the vase and her her with you.

Objective 3: Find the Missing Soliskin (Soliskin 4/30)
On following the quest waypoint, you will see that the missing Soliskin is trapped near the mechanical horse.

You and Minna finally name this Soliskin Eee.

Objective 4: Find Euginn
Follow the next quest waypoint to get to Euginn. Tell him that Eee has lost his memories and ask if there is any way to fix that.

Objective 5: Find the vines to climb Solistree
Get to the vines and get ready to climb the Solistree.

Objective 6: Ride the motorbike along the vine path
Use E while holding A/D to leap off the trail on the vine paths. This path takes you to the Solistree.

Explore the Solistree.

Objective 7: Gather 5 Soliskin to open the path (Soliskin – 5/30)
You already have 4 soliskins by now. Find one more Soliskin to open the path ahead.

You can find the 5th Soliskin at your quest marker. This Soliskin is Chuuluu.

Open the path by submitting 5 Soliskin at the gate.

Explore the Solistree further.
Objective 8: Gather Soliskin and activate Lumiglow Platform (Soliskin 10/30)
Now you need 2 more Soliskins to get the 7 Soliskins required to open the door. You are currently at the 2nd Layer of First Solistree.

Look around and find 2 more Soliskin. One on the left pedestal behind the flowers and one of the right pedestal.

Use the 7 Soliskins to open the door.

Now collect 3 more Soliskins from the area to activate the Lumiglow Platform.


Screenshots by: NerdsChalk
Board the platform after getting 10 Soliskins, you will be elevated to the Lumiglow Platform, therefore activating it.

Objective 9: Defeat the Ironhoof
On your way further, you will have to fight with Exoswarm’s Ironhoof. Defeat it to move further in Solistree.

Objective 10: Check the Solistree Core
Go to the Solitree’s Core and talk to Giant Soliskin there.


Screenshot by: NerdsChalk
Go to the Solistree’s Core ledge, here you will prompted to hook to the other side of the core.

Use the adaptive hook on your motorbike and explore further.

Objective 10: Gather more Soliskins at other Solistrees (12/30)
Find 2 more soliskins on the other Solistree to open a path further. One is sitting on the opposite end of the circular ledge, and one is in the tower. However, these spawn locations are not specific. You can find Soliskins anywhere in a designated area, depending on the time of play.


Screenshots by: NerdsChalk
Submit 12 Soliskins and activate the Solis Orb. This opens a path further.

Objective 11: Gather soliskins to open the door (Soliskins – 14/30)
Gather 2 more Soliskins in the new area to open the door to the next area. Both Soliskins are hidden behind vines and flowers.


Screenshots by: NerdsChalk
Submit 14 Soliskins to open the door.

Objective 12: Breakthrough Shattergrid Wall (Soliskins 15/30)
Descend into the next area using your glider. Here you find Minna, who is expecting you to complete the Soliskin hunt.


Screenshots by: NerdsChalk
Find 1 more Soliskin to get 15 Soliskins that will help you break the Shattergrid Wall. This Soliskin is sitting right below the yellow glowing flower.

Objective 13: Breakthrough the Shattergrid Wall
The Shattergrid Wall is exactly in the opposite direction to the door. You can find it marked with a U-shaped icon on your minimap.

Submit 15 Soliskins at the door to trigger a cutscene where a giant Soliskin orb goes tumbling down.


Screenshots by: NerdsChalk
Objective 14: Gather Soliskins to activate the Lumiglow Platform (Soliskins 17/30)
Find 2 more Soliksins to activate the Lumiglow Platform. One is near the purple vines, and one is sleeping on a ledge above the door platform.

Submit the 17 Soliskins and break the Shattergrid Wall.

With the help of the Soliskin ball, the Shattergrid Wall breaks. Explore further into Solistree.


Screenshots by: NerdsChalk
Get to the other Solistree by following this mechanism:
- Fast travel to the quest waypoint.

- Upon reaching press E on seeing the mechanical bot. It triggers a POV.

- Lock in the target and press SPACE, and you will reach the next Solistree.

Objective 15: Gather Soliskins to break the Shattergrid Wall 2 (Soliskins – 20/30)
Find 3 Soliskins in the new Solistree. This tree has many stepped platforms, so make sure to get to every platform. The First Soliskin is in the pond at the entrance, near a penguin statue. Second Soliksin is near the Shattergrid Wall, and the third is at a distant stepped platform. Use your glider to navigate here.


Screenshots by: NerdsChalk
Submit 20 Soliskins and break through the Shattergrid Wall 2.


Screenshots by: NerdsChalk
Objective 16: Gather Soliksins to activate Lumiglow Platform (Soliskins 22/30)
Gather 2 more Soliskins here to activate the Lumiglow Platform. The first Soliskin is at the left side of the hanging orb.

When you get 21 Soliskins, you can activate the hanging orb to deploy the giant Soliskin ball.

It will break an internal wall, and you find the 22nd Soliskin behind the wall.


Screenshots by: NerdsChalk
Submit 22 Soliskins and activate the elevator of the Lumiglow Platform.

Get to the quest marker and submit 22 Soliskins here. The Lumiglow Platform is activated, and you get to the Third Solistree Second Layer.

Objective 17: Break Shattergrid Wall 3
Using 22 Soliskins, break through the Shattergrid Wall 3.

After the wall is broken, find and talk to Minna.

Objective 18: Gather Soliskins at the Last Solistree
Using Motorbike, get to the Last Solistree.

Find the trapped Soliskin and defeat the flies around it to free the Soliskin.


Screenshot by: NerdsChalk
Objective 19: Pull open the blocked wall (Soliskins – 24/30)
Find the 24th Soliskin at the fallen pillar in the tree.

Submit the Soliskins and pull open the blocked wall to get in the interior of the last tree.


Screenshots by: NerdsChalk
Defeat the Exoswarm and explore further.

Objective 20: Open the Lumiglow Cage (Soliskins – 30/30)
Using 24 Soliskins, open the Lumiglow cage.

Grapple your way into the cage.


Screenshots by: NerdsChalk
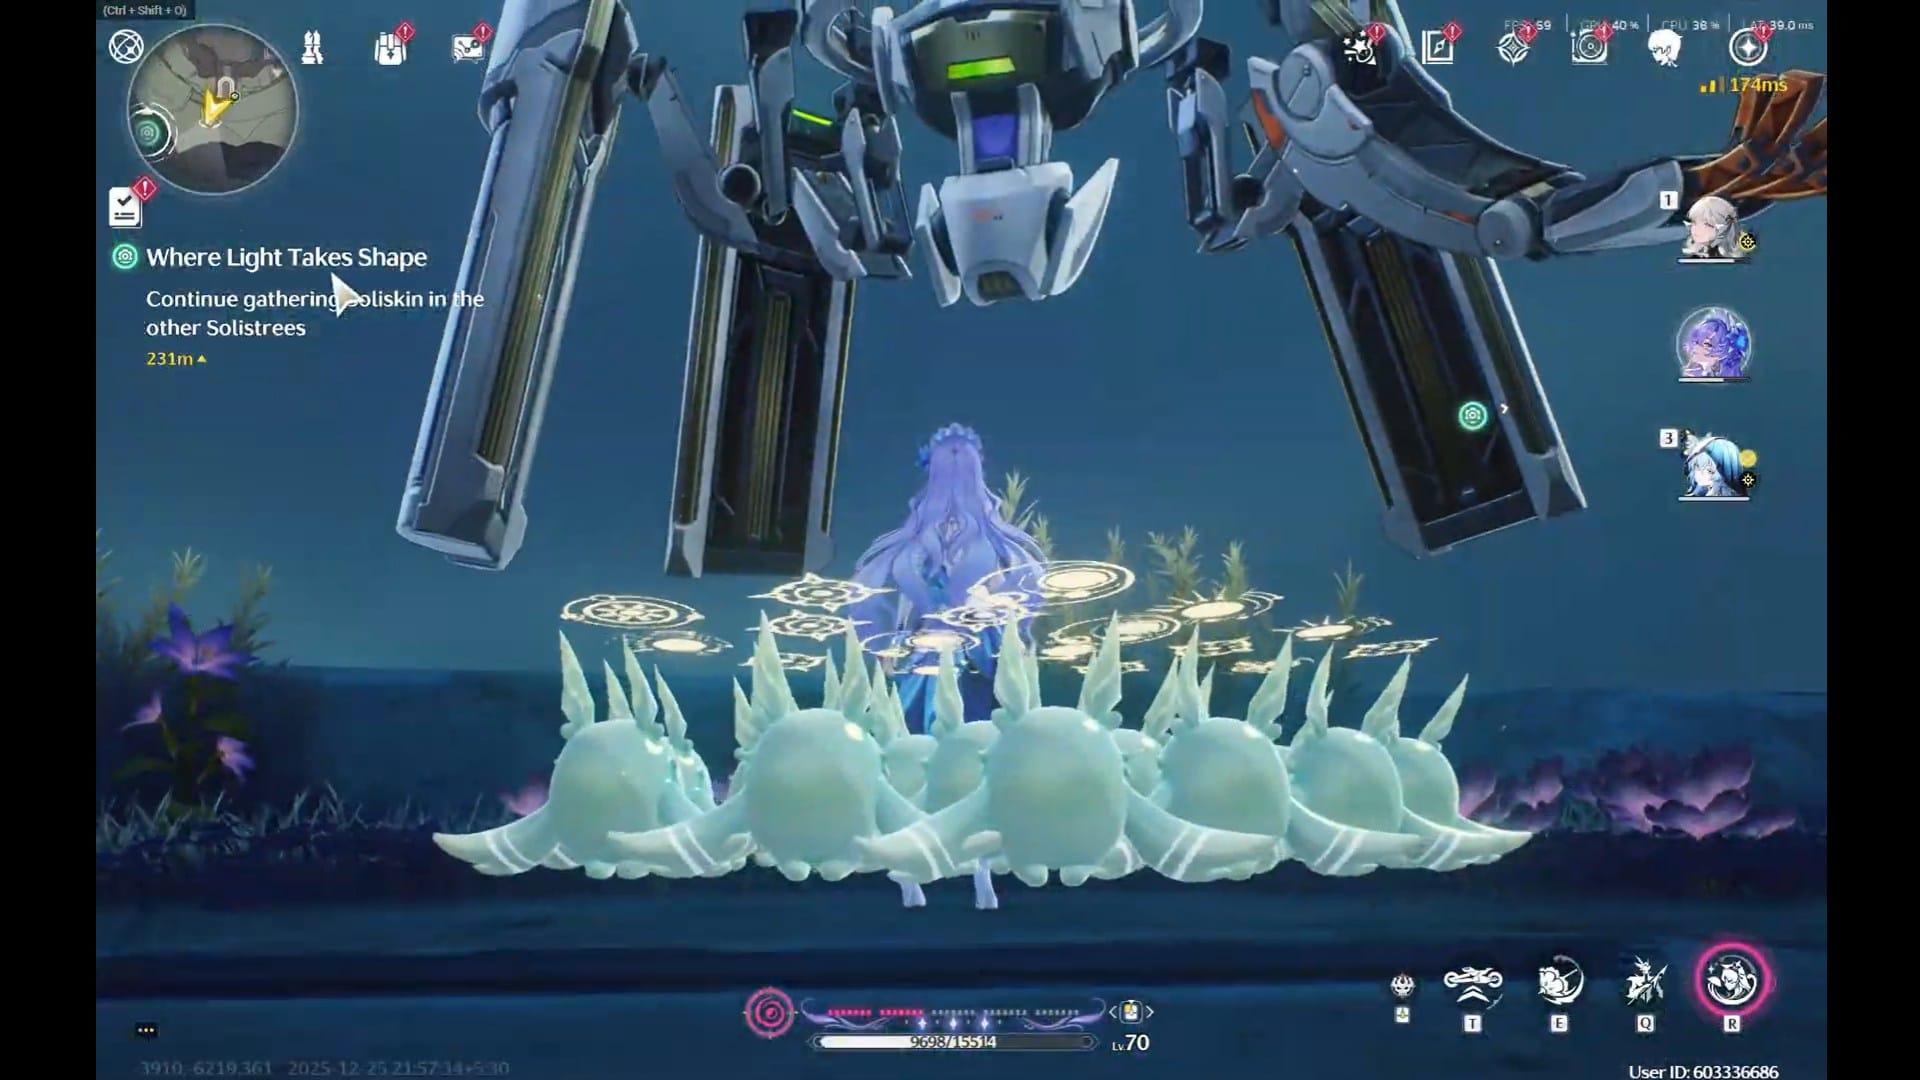
Finally, find 6 more Soliskins to get 30 Soliskins. You will find 4 Soliskins in the cage itself.

28th Soliskin is under a wreckage structure. 29th Soliksin is beneath the left yellow flower.


Screenshots by: NerdsChalk
The final Soliskin is in the Cage, on a raised platform.


Screenshots by: NerdsChalk
On gathering all 30 Soliskins, you get the Soliskin Squad, Attack! trophy. Minna appears and thanks you.


Screenshots by: NerdsChalk
Objective 21: Go to the Welcome Party
Soliskins prepare a welcome party for you. To get there, get on the Lumiglow platform and reach the Fourth Solistree – Second Layer.

Take part in the Welcome Party by following the quest markers.


Screenshots by: NerdsChalk
After all the hurdles, reach out to Minna and talk to her about the Giant Soliskin.


Screenshots by: NerdsChalk
Objective 22: Talk to the Giant Soliskin
Reach to the Giant Soliskin and return him the 30 Soliskins you have gathered.

After a short cutscene, Where the Light Takes Shape quest concludes.
Where Light Takes Shape quest rewards
- Union Experience (×500)
- Astrite (×40)
- Chuu! Chuluu! (×1)
- Constructor Core (×350)
- Mechanite (×1050)
- Advanced Resonance Potion (×3)
- Shell Credit (×40000)
- Are You My Mother Trophy

We truly hope this Where Light Takes Shape quest walkthrough simplified the process and answered your biggest questions. Feel free to leave your suggestions, corrections, or additional queries in the comments—we value your input and check them frequently. Don’t hesitate to ask for more help if you need it.


