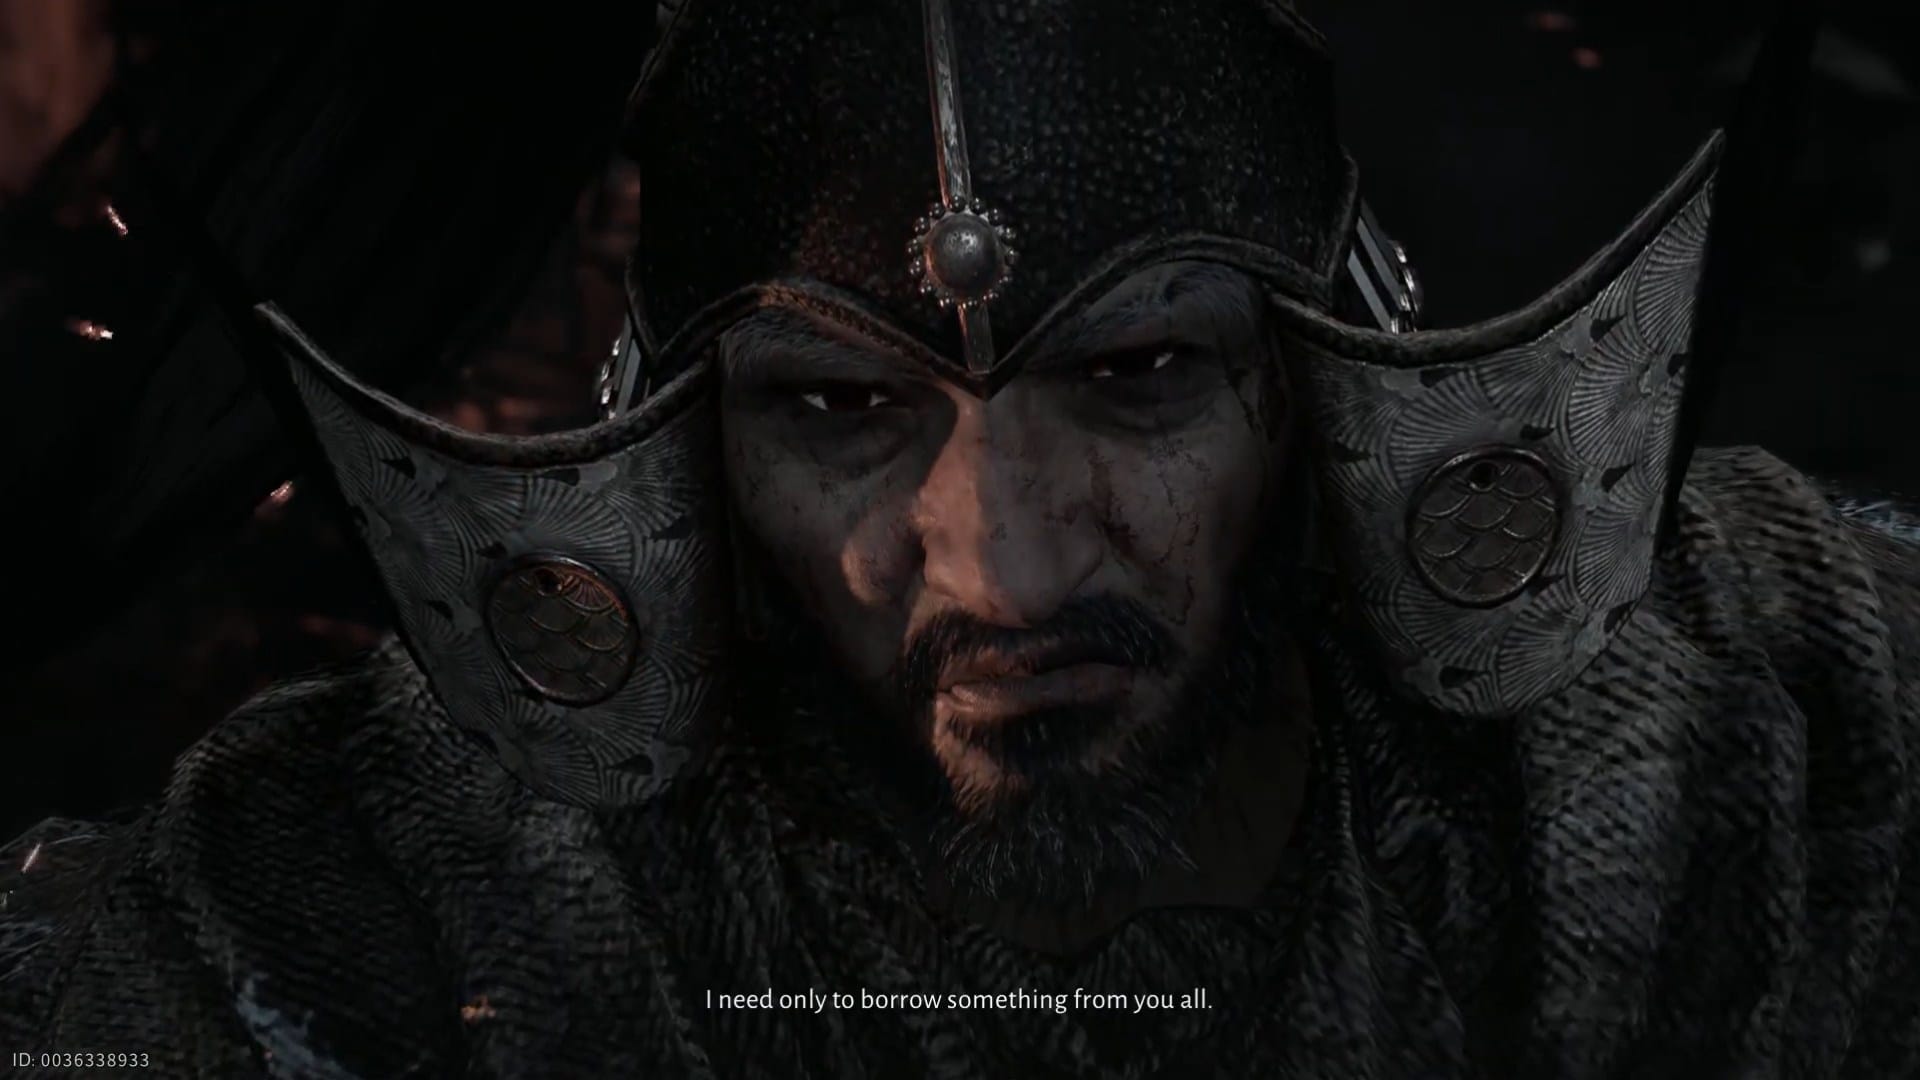
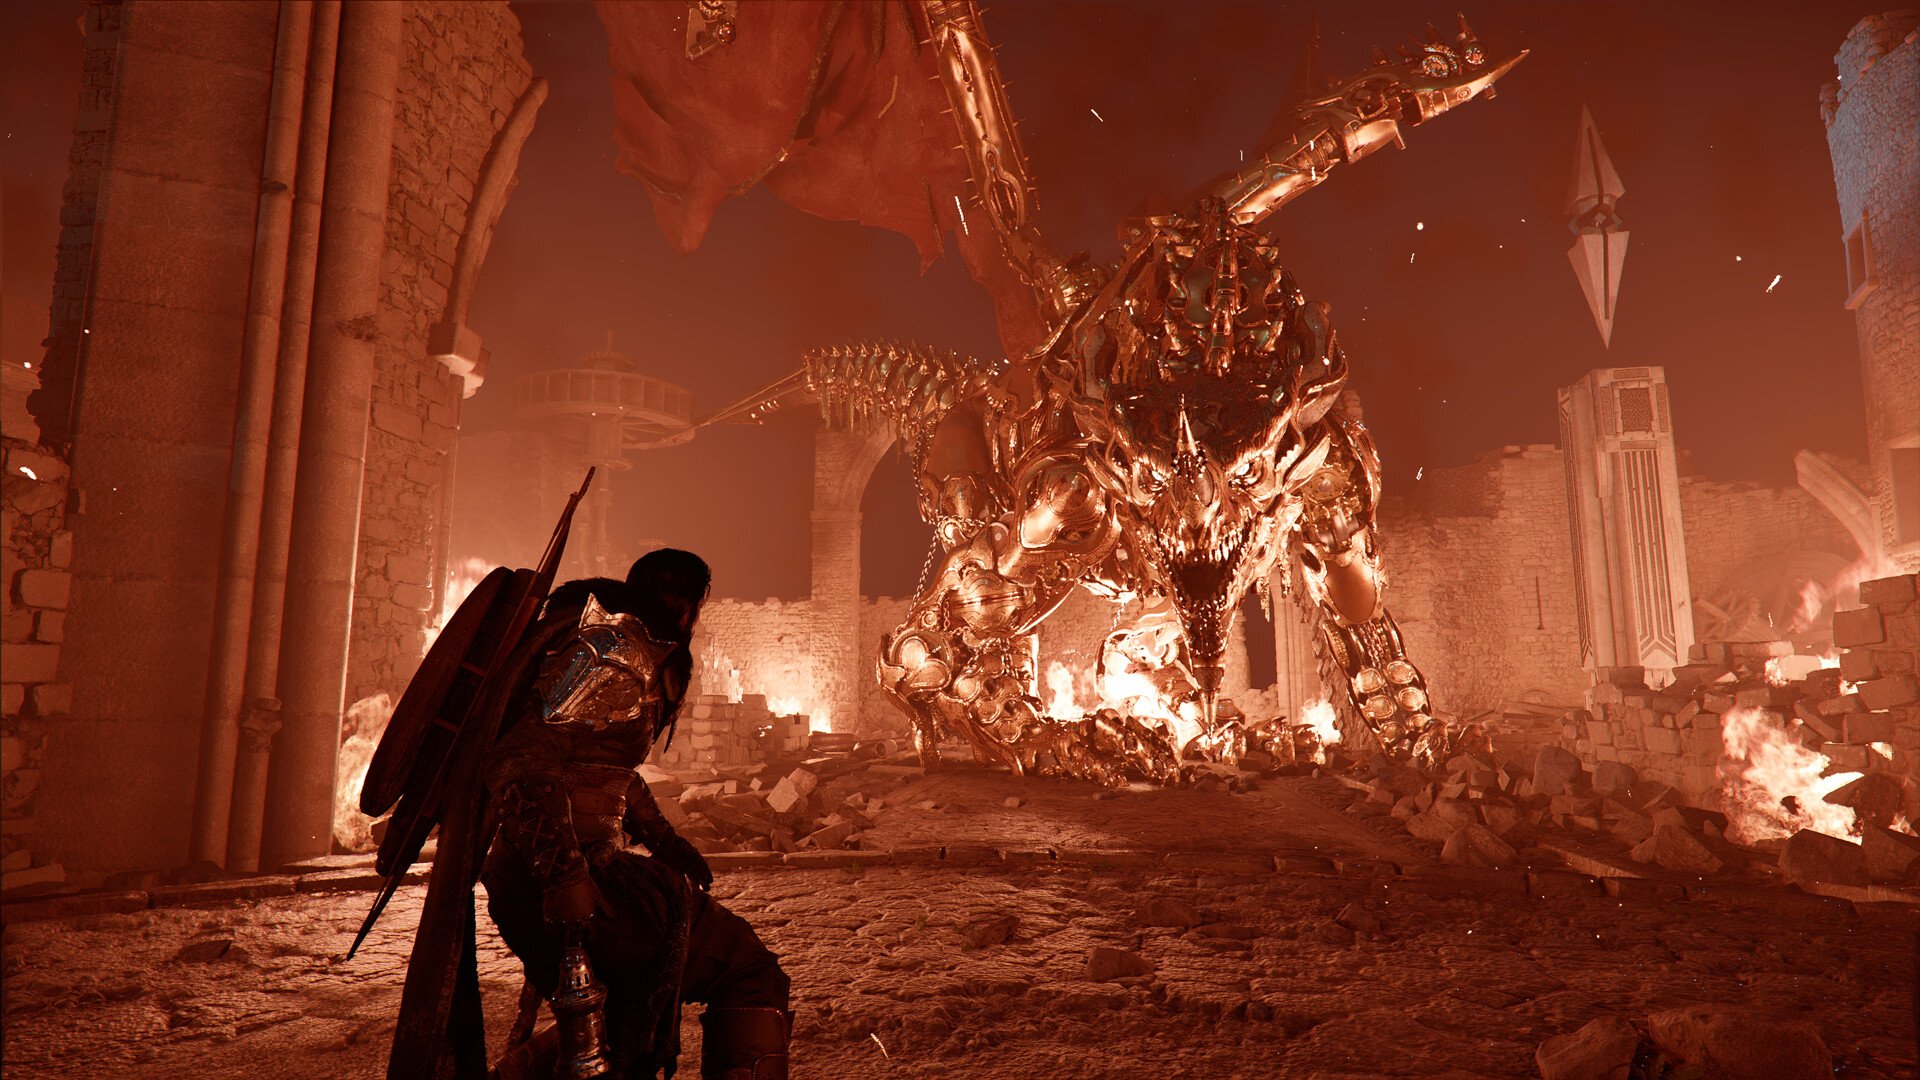
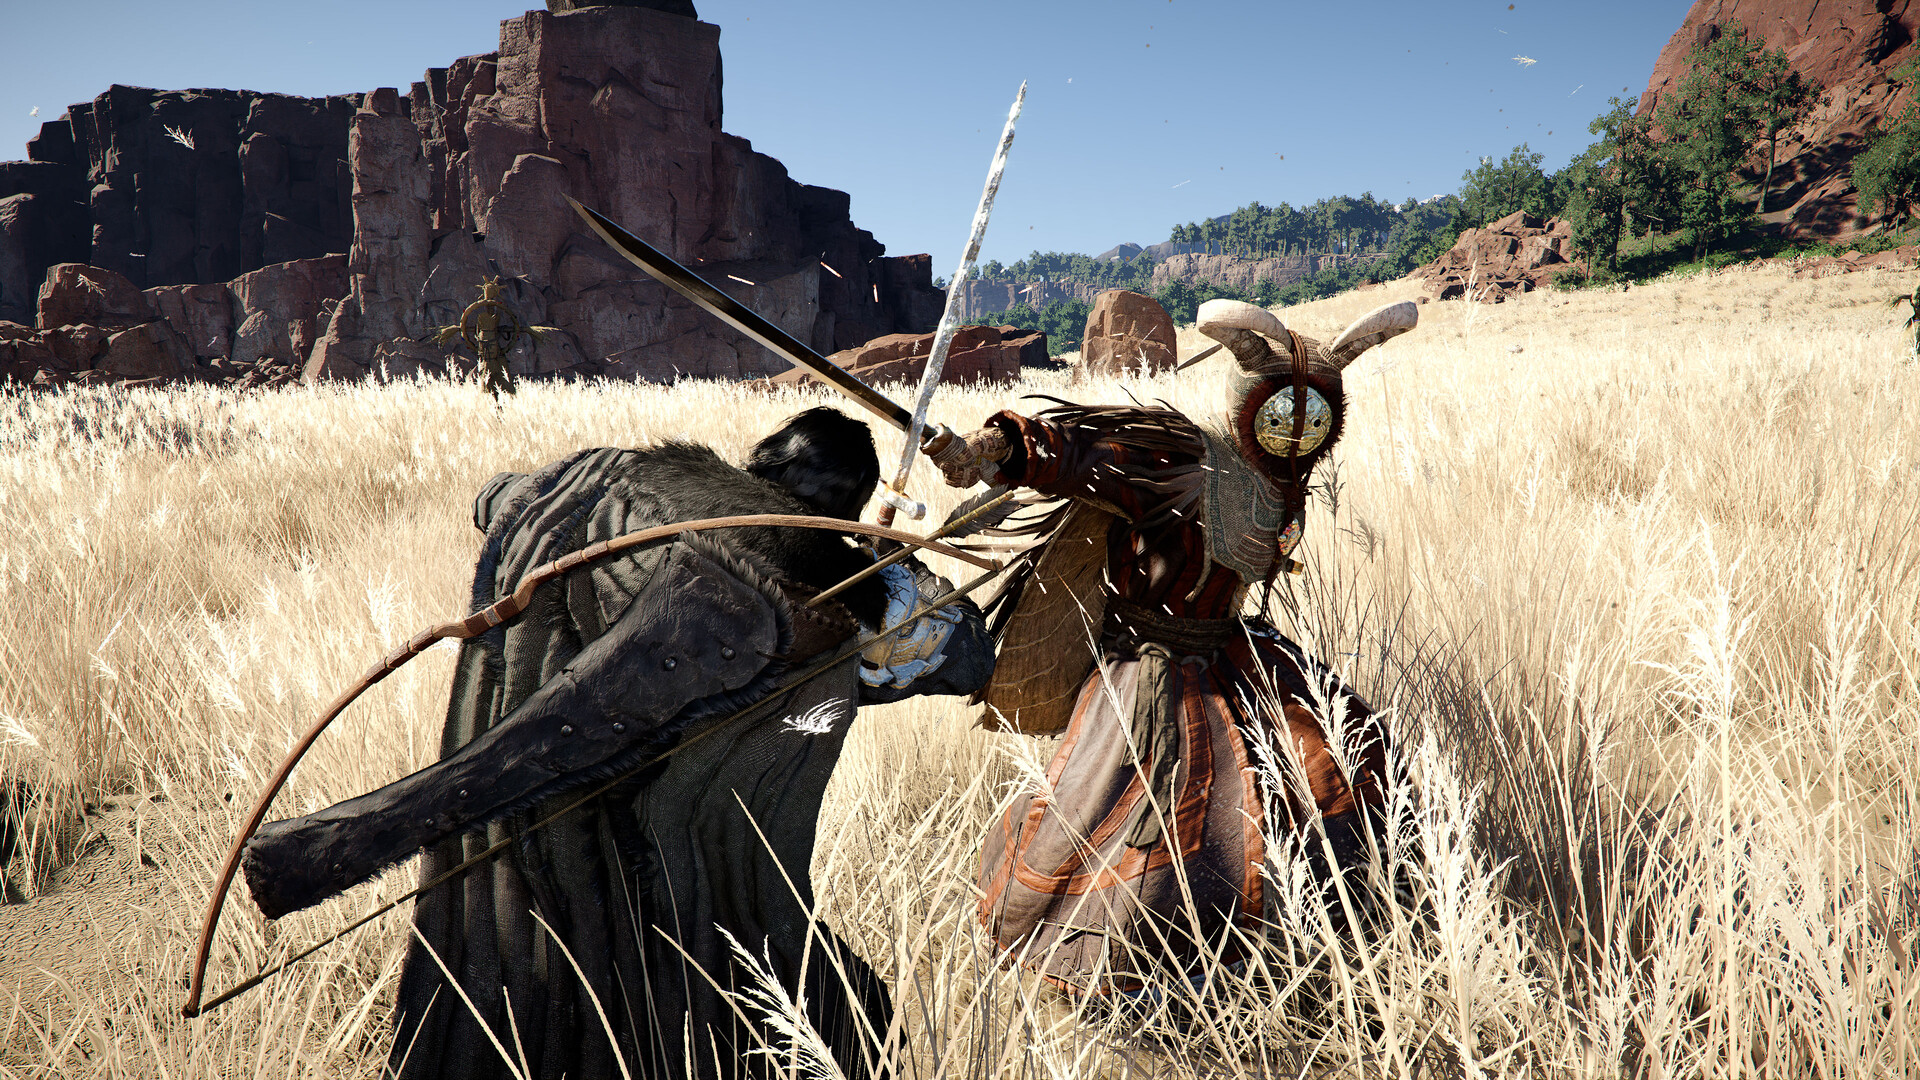
Ye Wanshan is a two-phase boss focused on parries in Phase 1 and dodging unblockable yellow attacks in Phase 2. Stay patient, punish after his big moves, and use a bow to hit him while he moves around.
Facing Ye Wanshan is one of the more demanding story encounters in Where Winds Meet. His fight is split into two phases — the first testing your deflect timing, and the second forcing you to dodge his unblockable yellow attacks while staying mobile.
Since he moves frequently and punishes reckless aggression, your success depends on disciplined defense, clean dodges, and taking advantage of his recovery windows. This guide gives you a structured, step-by-step approach so you can walk in fully prepared.
Where Winds Meet: Ye Wanshan location
You encounter Ye Wanshan during the Bodhi Sea Campaign.

Where Winds Meet: Ye Wanshan rewards
- Jadeware Set x2
- Bodhi Sea Cosmetic Set
- Crimson Leaves Chest
- Bellstrike Splendor Tips x2
- Oscillating Jade x2
- Zhou Coin x3200
- Character EXP x4000 +400 per level
Where Winds Meet: Ye Wanshan mechanics
- Phase 1 — Red Attacks (Deflectable): Most early attacks are red-telegraphed melee strikes. Successful deflects heavily drain his Qi and create short punish windows.
- Phase 2 — Yellow Attacks (Unblockable): When his weapons ignite, he shifts to heavy yellow attacks — including a large slam and a double glaive throw. These cannot be parried and must be dodged.
- Movement & Ranged Pressure: Ye Wanshan repositions frequently. Because of this, bows or ranged arts become very effective at chipping him down safely.
- Vulnerability After Heavy Moves: Dodging his yellow slam or avoiding the glaive throw gives you a brief window to land safe damage or heal.
Where Winds Meet: Ye Wanshan fight and tips
Follow these steps to handle the Ye Wanshan fight smoothly:
Step 1
Before starting, make sure you have a reliable mobility skill equipped. Since Phase 1 relies heavily on parries, keep your Qi high and your timing sharp.
Screen recording by: NerdsChalk
Step 2
Approach Ye Wanshan and observe his rhythm. In Phase 1, most of his strikes are deliberate red-glow swings.
Screen recording by: NerdsChalk
Step 3
Don’t rush combos; instead, wait for his attack to arrive and deflect at the exact moment of impact. Every successful deflect chunks his Qi bar, bringing him closer to stagger.

Step 4
When his health lowers or Qi breaks enough, he shifts to Phase 2.
Screen recording by: NerdsChalk
Step 5
This is where his most dangerous moves begin: Yellow Slam: unblockable; dodge laterally at the last moment.
Screen recording by: NerdsChalk
Step 6
Double Glaive Throw: he throws his weapon twice — dodge, keep distance, and prepare to punish.
Screen recording by: NerdsChalk
Step 7
Maintain pressure by dodging his large swings and keeping your attacks short and controlled.
Screen recording by: NerdsChalk
Step 8
He may mix in fast strikes, lunges, or quick repositioning — stay patient and rely on dodges rather than parries during Phase 2.
Screen recording by: NerdsChalk
Step 9
Continue dodging his heavy swings and stay patient between his attacks. As long as you keep avoiding his yellow attacks and chip away steadily, you’ll outlast him and finish the fight comfortably.
Screen recording by: NerdsChalk
Tips for the Ye Wanshan
- Deflect most of his attacks in Phase 1 — this is the fastest way to break his Qi.
- Dodge all yellow attacks in Phase 2 — they cannot be blocked.
- Use a bow to punish his movement and hit him safely when he distances himself.
- Watch his animations closely — the slam and glaive throw always precede big openings.
- Don’t overextend your combos — his counterattacks are fast and punishing.
- Heal only after dodging a heavy attack to avoid being interrupted.
Thanks for reading this Ye Wanshan guide all the way through. If it improved your understanding or helped you complete something, let us know below. You can also ask any follow-up questions—we enjoy interacting with readers and are always happy to provide further clarification.


