What to know
- All three resources spawn together in one coastal farming area
- You need enough inventory space before gathering
- Sandy terrain near water is the key indicator
- Each item provides different stat boosts and crafting value
If you’re looking to gather valuable coastal resources in Crimson Desert, this guide helps you quickly locate and farm Starfish, Blue Crab, and Red Seaweed without wasting time.
Quick overview of coastal resources
| Resource | Type | Core Effect | Sell Value | Best Use |
|---|---|---|---|---|
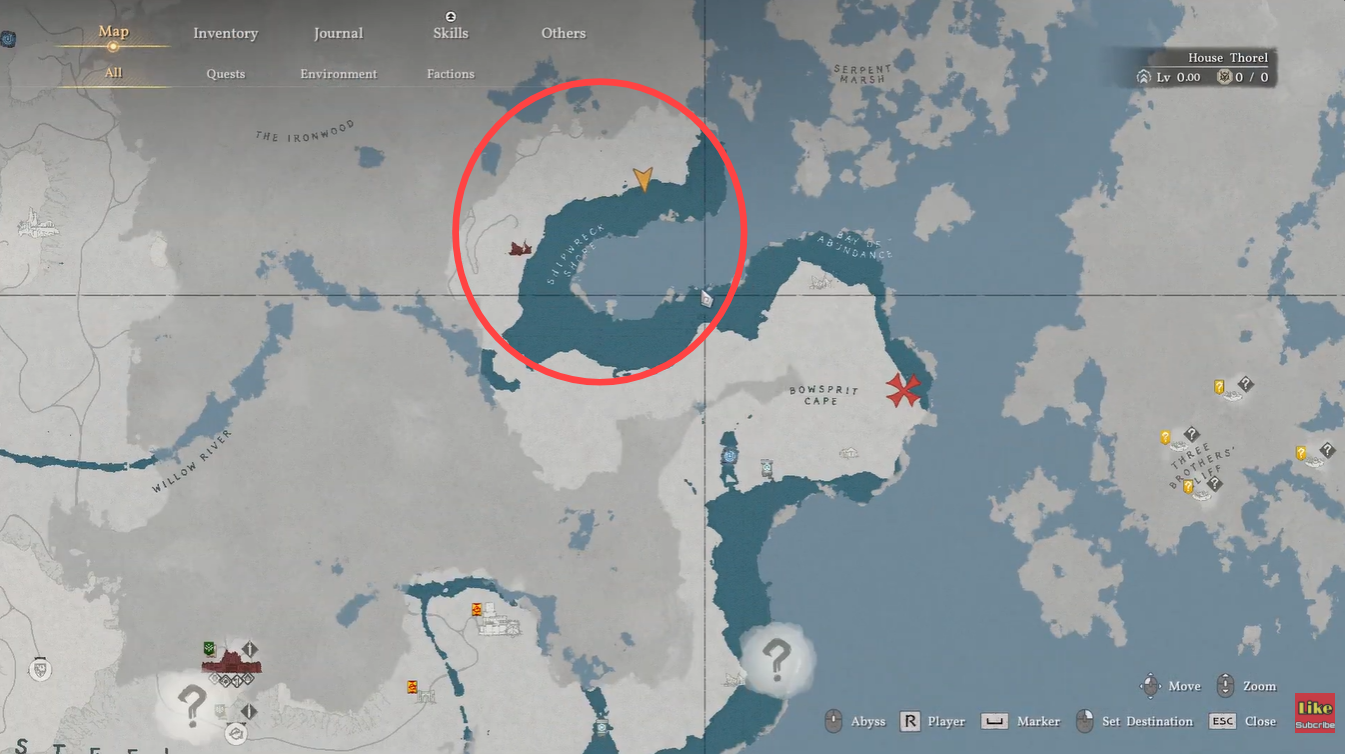
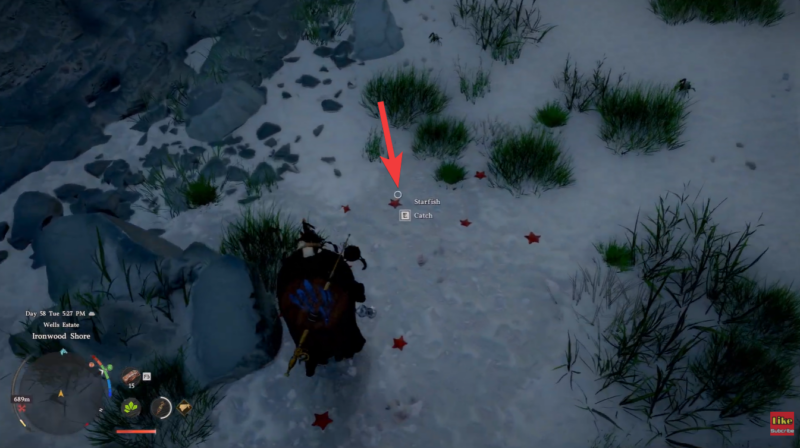
| Starfish | Ingredient | +60 Health | 4 | Early healing items |
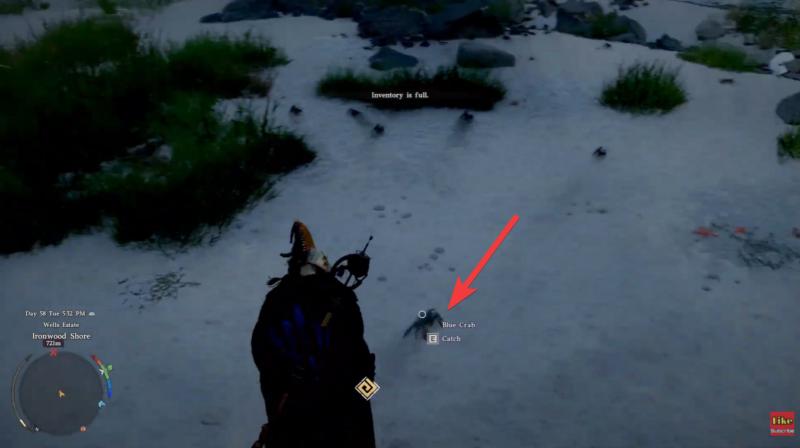
| Blue Crab | Ingredient | +70 Health | 7 | Mid-tier healing recipes |
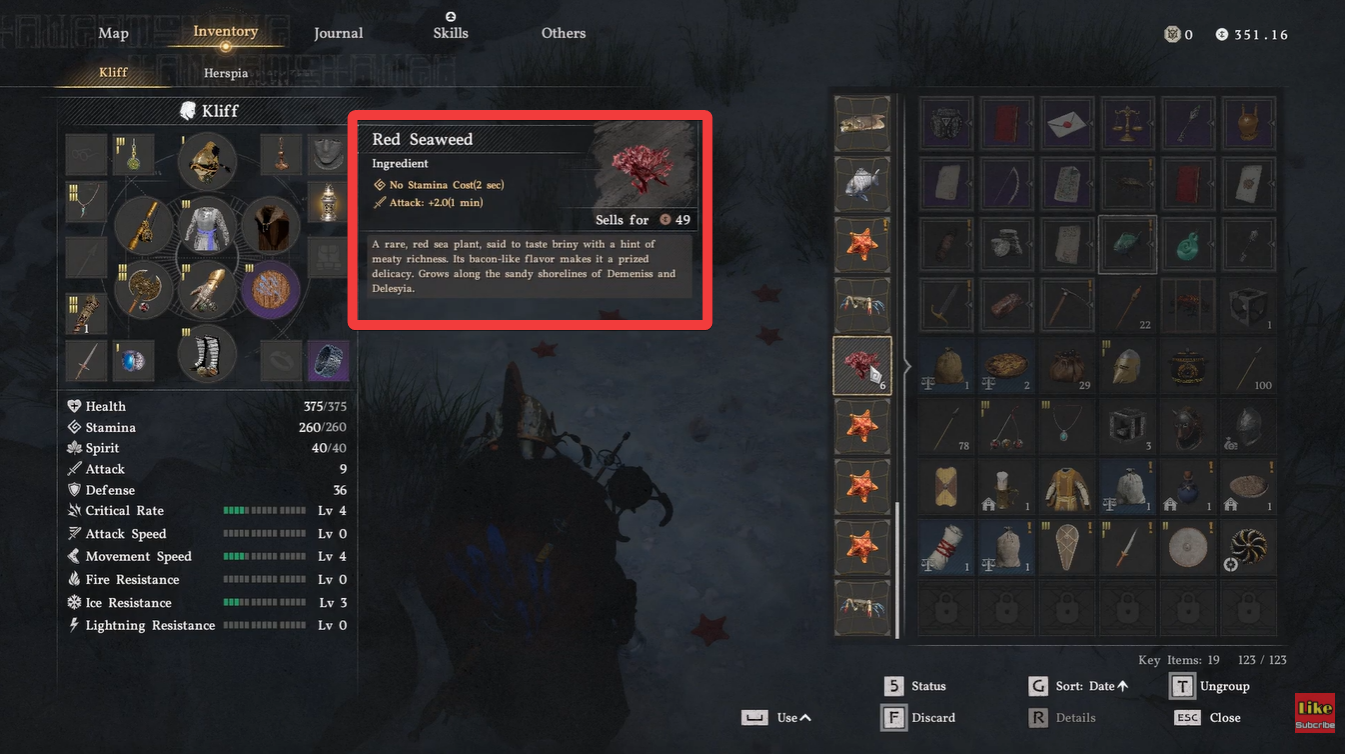
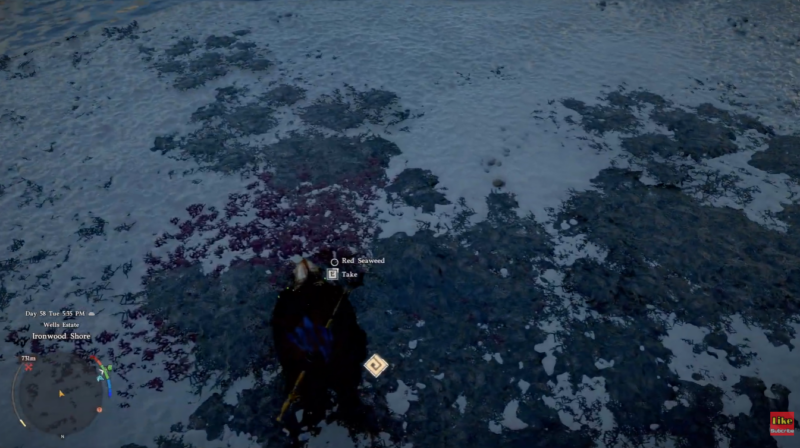
| Red Seaweed | Ingredient | No stamina cost + Attack boost | 49 | Combat buffs & advanced cooking |
Where to find these coastal materials
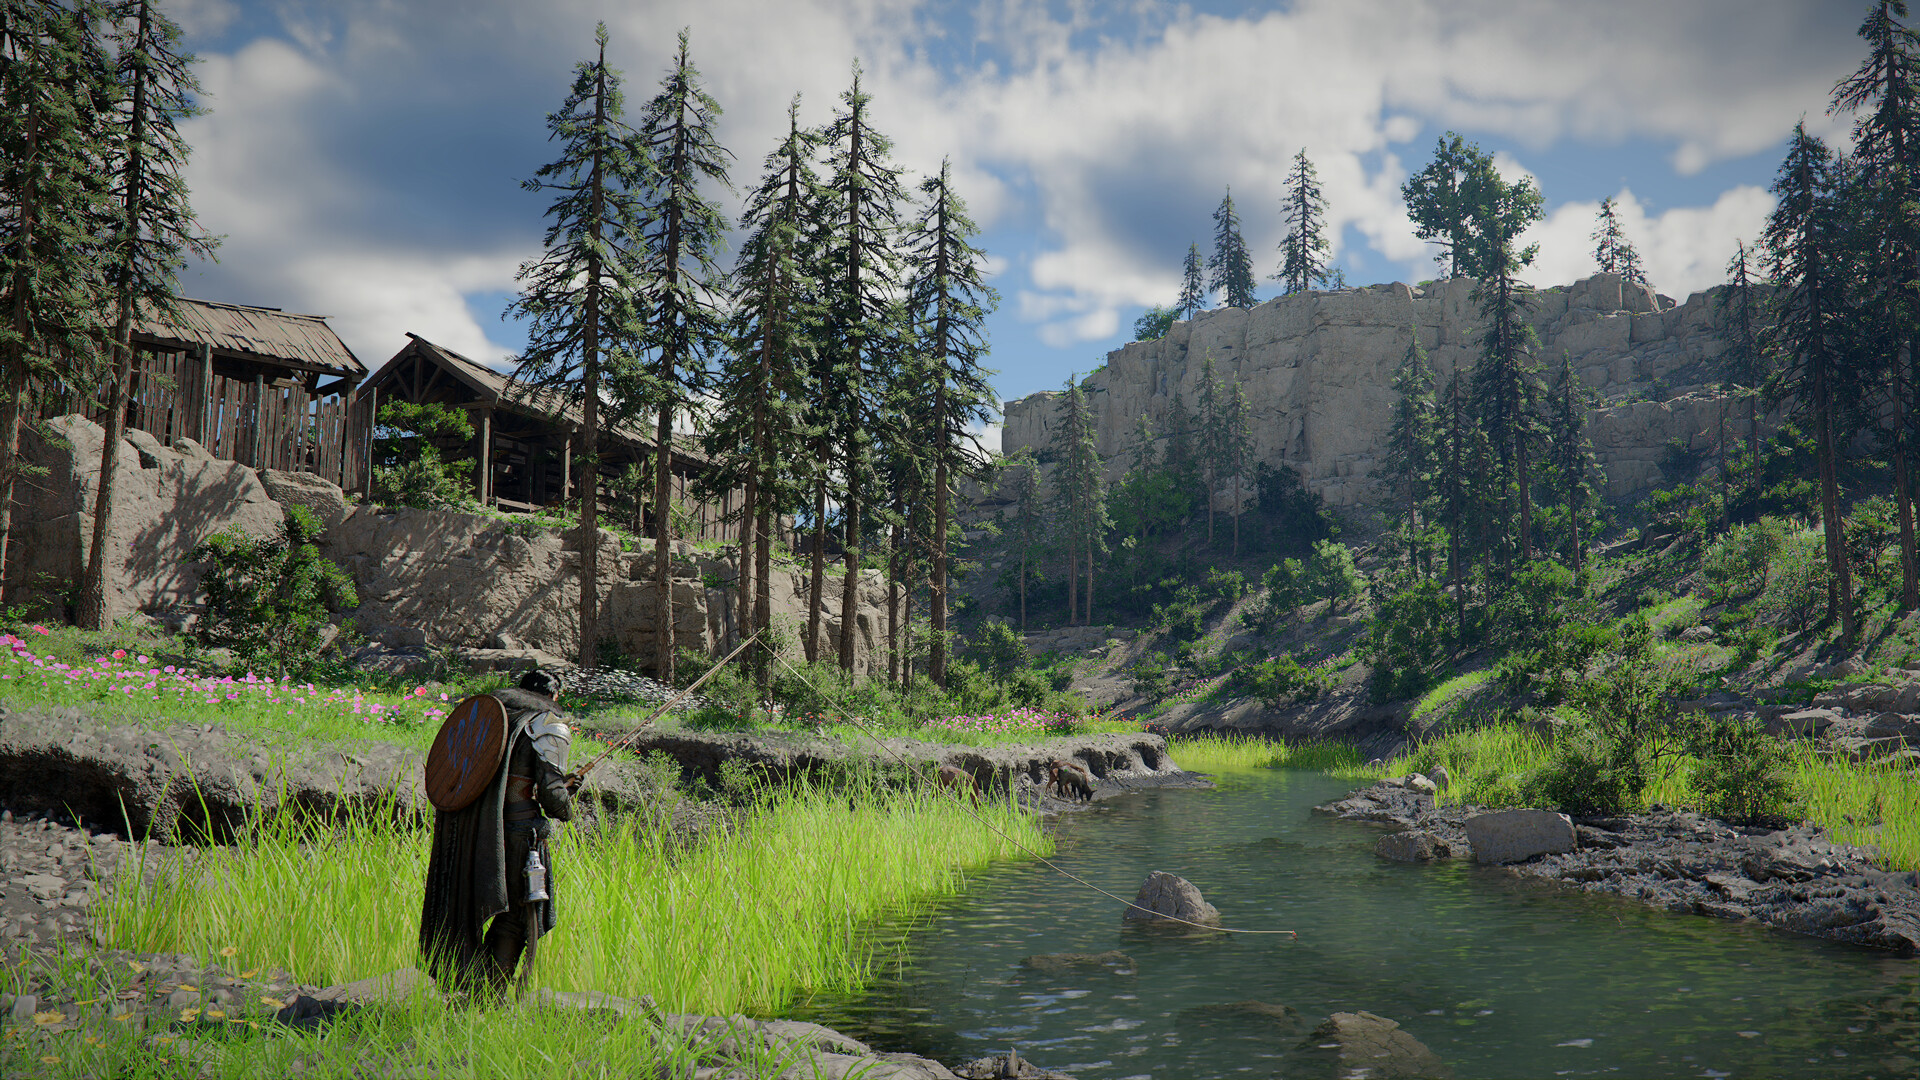
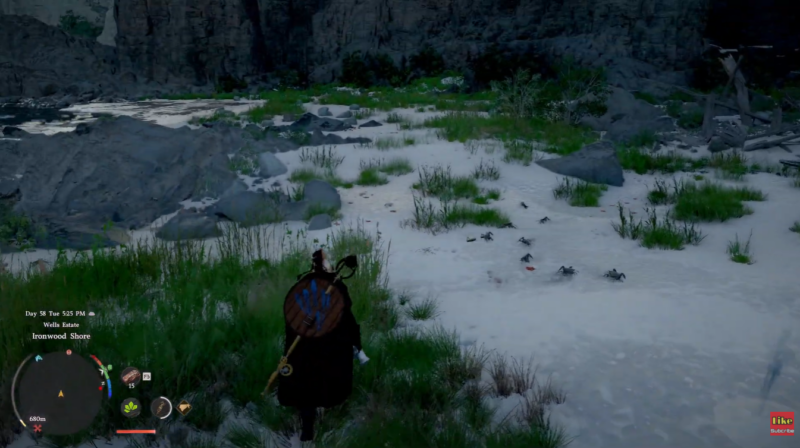
You will find all three items clustered in the same general region, making this one of the most efficient early-to-mid game farming routes. The key location is near the Steel Mountains, specifically around Ironwood Shore.
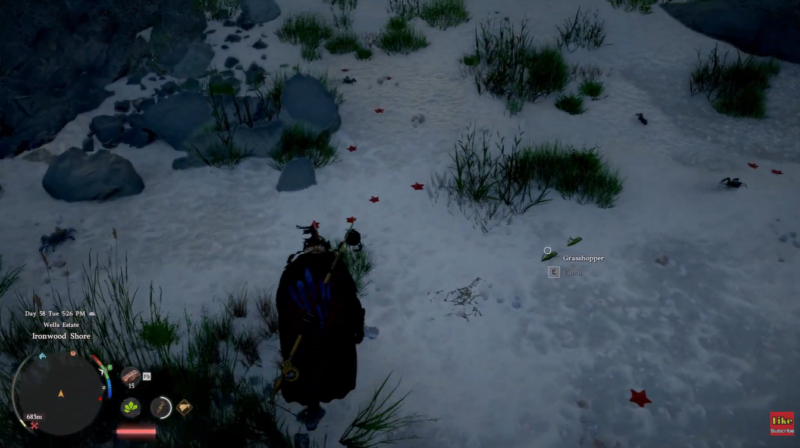
The environment is your biggest clue—you want to look for wide sandy stretches close to shallow water. These areas naturally spawn Starfish, Blue Crabs, and Red Seaweed together, allowing you to gather everything in one loop without needing to travel far.
How each resource behaves and why it matters
Starfish stats and effects
| Attribute | Value / Effect |
|---|---|
| Item Type | Ingredient |
| Health Bonus | +60 Health |
| Additional Effect | None |
| Sell Value | 4 |
| Rarity | Common |
| Usage | Basic healing and early-game cooking |
Starfish are your most accessible healing resource, making them ideal when you’re still building your inventory and need quick recovery options. They are easy to spot and farm in bulk, which makes them reliable for sustained exploration.
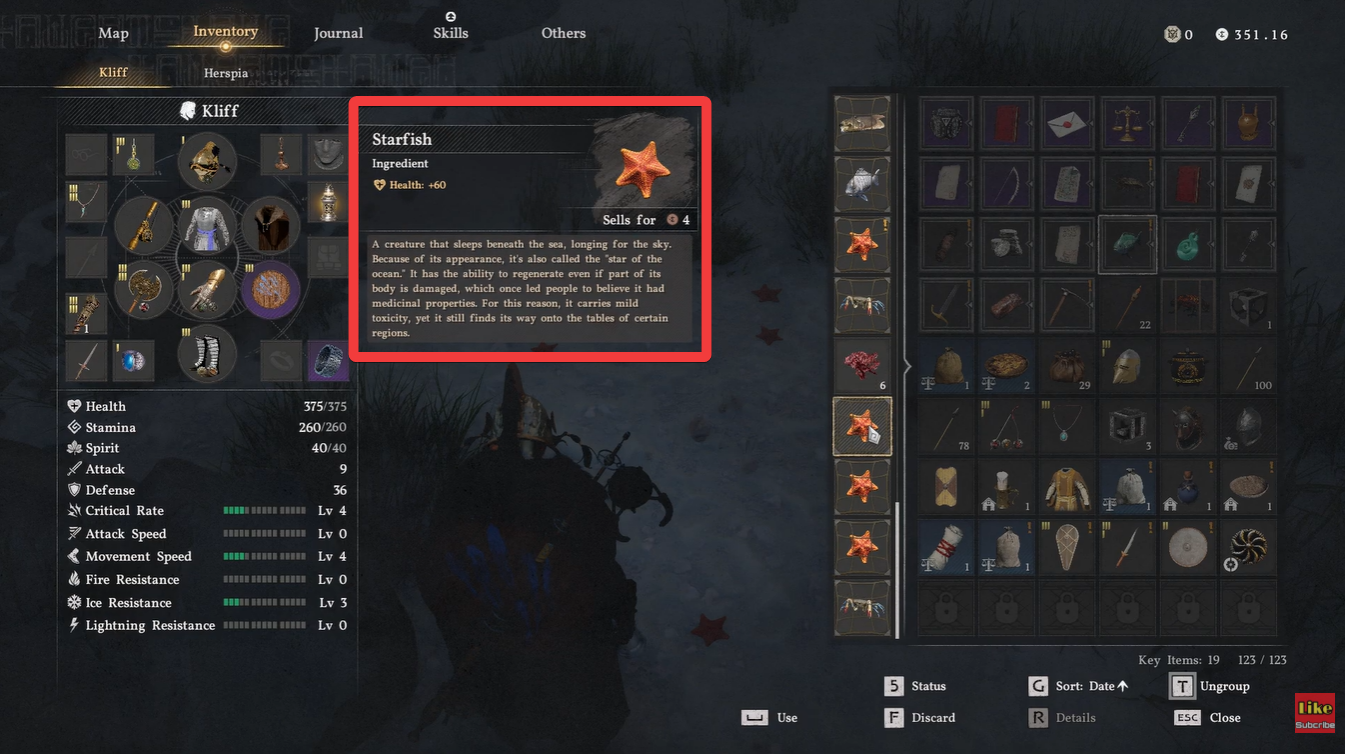
Blue Crab stats and effects
| Attribute | Value / Effect |
|---|---|
| Item Type | Ingredient |
| Health Bonus | +70 Health |
| Additional Effect | None |
| Sell Value | 7 |
| Rarity | Uncommon |
| Usage | Stronger healing and mid-tier recipes |
Blue Crabs offer slightly better healing than Starfish, making them more valuable when dealing with tougher enemies or longer fights. They are slightly harder to notice but worth prioritizing over Starfish when possible.
Red Seaweed stats and effects
| Attribute | Value / Effect |
|---|---|
| Item Type | Ingredient |
| Attack Bonus | +2 Attack (1 min) |
| Stamina Effect | No stamina cost for 2 seconds |
| Sell Value | 49 |
| Rarity | Rare |
| Usage | Combat buffs and high-value cooking recipes |
Red Seaweed is the most valuable resource in this group, offering both offensive boosts and stamina efficiency, which can significantly impact combat performance. It is especially useful before difficult encounters or boss fights.
How to farm efficiently in Ironwood Shore
Step 1
Travel to the Steel Mountains region and head toward Ironwood Shore, focusing specifically on coastal areas rather than inland terrain.
Step 2
Look for sandy ground near shallow water, as this is the primary spawn zone for all three resources.
Step 3
Follow a looping path along the shoreline, ensuring you cover the entire stretch and allow time for respawns.
Step 4
Prioritize collecting Red Seaweed first, since it provides the highest value and strongest buffs.
Step 5
Keep your inventory organized and avoid reaching capacity, as you won’t be able to gather more items once full.
Resource efficiency and priority breakdown
| Resource | Combat Value | Farming Priority | Reason |
|---|---|---|---|
| Starfish | Basic healing | Medium | Easy to farm but lower impact |
| Blue Crab | Improved healing | High | Better survivability boost |
| Red Seaweed | Attack + stamina buff | Very High | Strong combat advantage and high sell value |
You’ll notice that Red Seaweed stands out due to its dual benefits, making it the best choice for both selling and combat preparation. Meanwhile, Starfish and Blue Crabs provide steady healing support, which is essential during longer exploration sessions.
Why this is one of the best early farming spots
This location is highly efficient because it consolidates multiple useful resources into a single area, allowing you to gather healing and buff ingredients without switching zones. You save time while maximizing your gains, especially when following a consistent farming loop.
The predictable spawn patterns also make it easy to master, so once you learn the terrain, you can farm quickly and consistently without much effort.
If you want a reliable and repeatable farming route in Crimson Desert, Ironwood Shore is one of the best locations available. By focusing on sandy coastal zones and prioritizing high-value items like Red Seaweed, you can build a strong запас of resources for both survival and combat preparation.