A reliable early-game route to secure the Rotor Blueprint in StarRupture, with clear landmarks and combat tips to help you extract safely.
What to know
- The Rotor Blueprint is commonly found in the eastern region of the StarRupture map
- The route passes through slowing terrain and hostile insect enemies
- The blueprint sits inside a small tower, accessible via platforming
- Enemy spawns increase once the blueprint is picked up
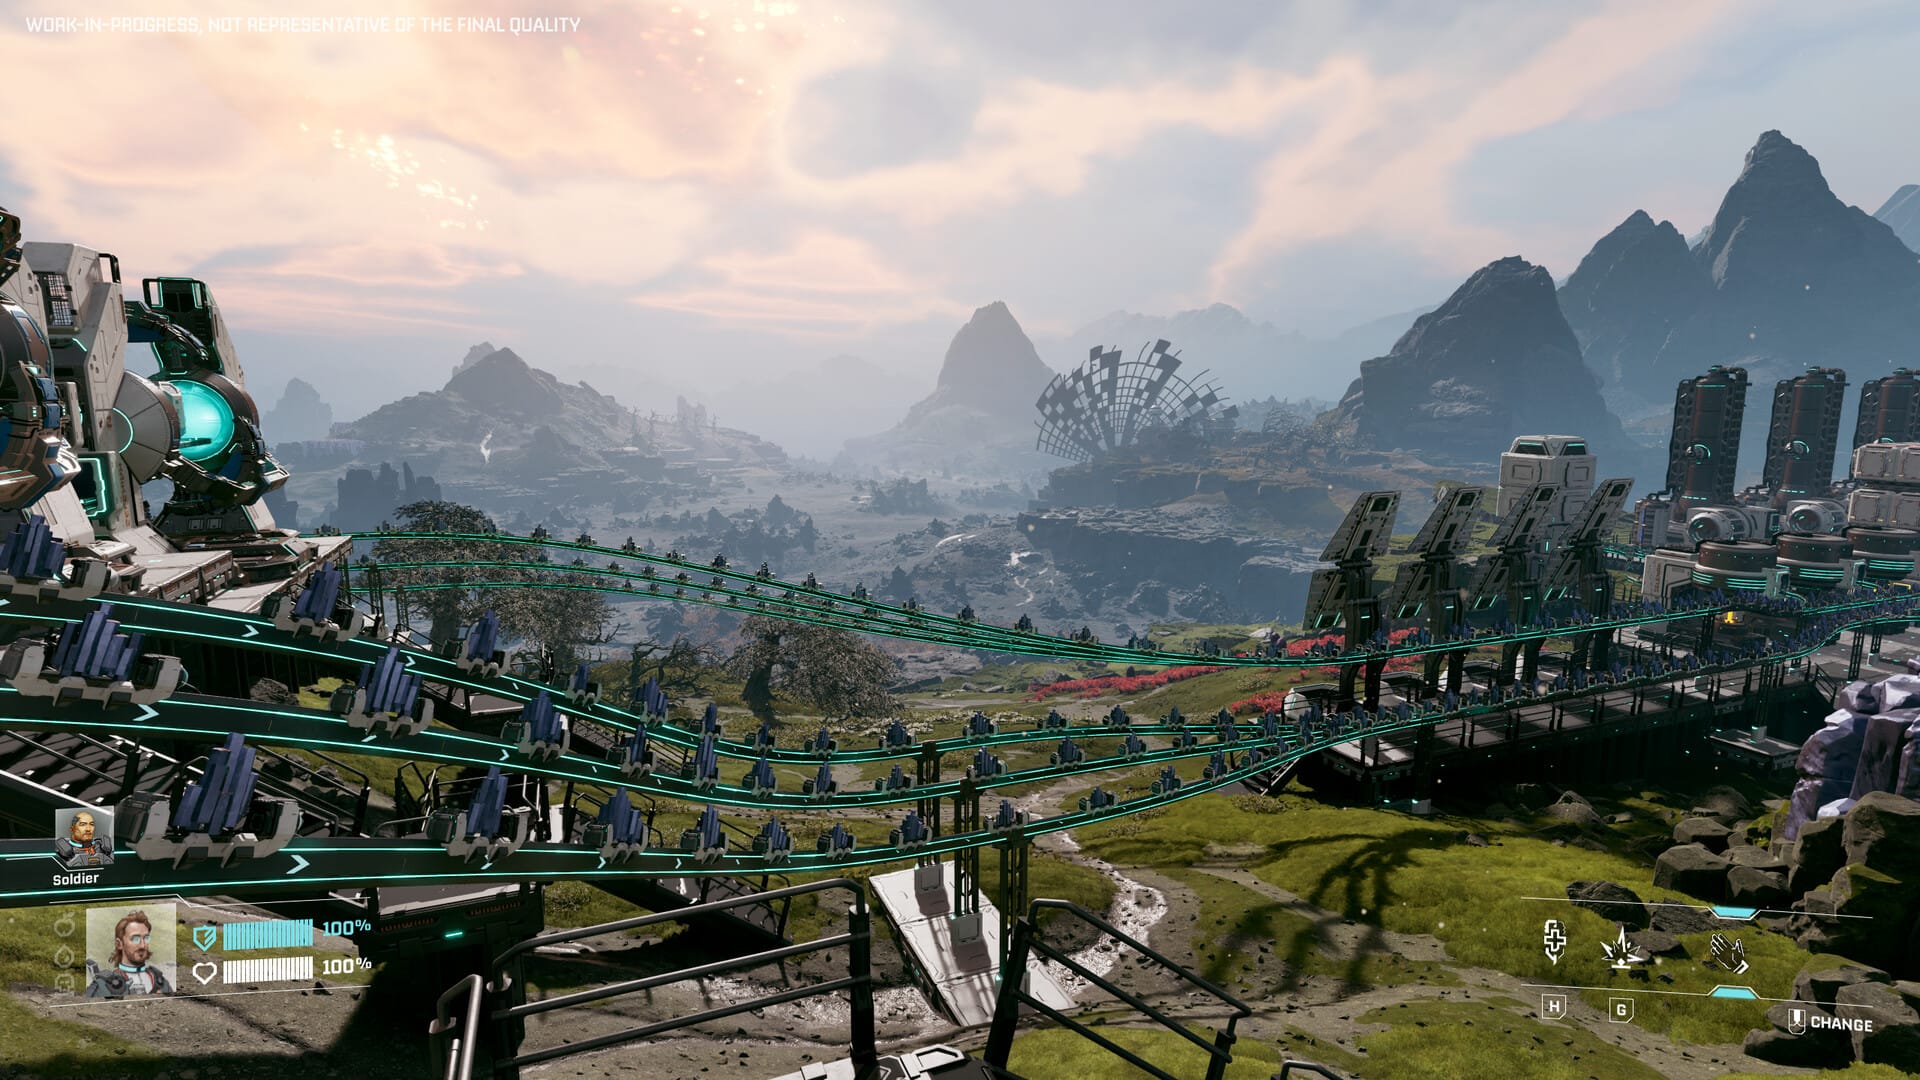
StarRupture’s open maps and loose progression can make key blueprints feel random, but the Rotor Blueprint has a consistently reported spawn route that works for most players. If you’re upgrading mobility or vehicle systems early, this is one of the most useful blueprints to grab first. Below is a clean, step-by-step breakdown of how to reach it safely.
Map location for Rotor Blueprint in StarRupture
In a tower in the CRRO landmark.


Rotor Blueprint Map location (Image credit: Creepy Jar | Via: YouTube – Jade PG)
How to reach the tower in the gulch & get the Rotor blueprint
Follow these steps to get the rotor blueprint in StarRupture:
Step 1: Move east while holding your landmarks
Keep the mountain range on your right and look for a large spaceship thruster or wheel-like structure on your left. Staying between these two landmarks naturally funnels you toward the correct gulch.

Step 2: Spot the tower
As the terrain dips, you’ll see a small tower rising from inside a gulch. This is the target location. Before dropping in, take a moment to clear visible enemies from higher ground.

Step 3: Clear the gulch safely
It’s strongly recommended to shoot down critters from above before entering. Once you drop in, movement becomes limited and enemy swarms are harder to manage.

Step 4: Enter and loot cautiously
Inside the tower area, you’ll find glowing loot containers scattered on the floor. These often contain useful early-game supplies, but be cautious—acid-spitting enemies patrol the area and can quickly overwhelm you in tight spaces.

Step 5: Platforming to the upper level
To reach the blueprint:
- Jump onto a small container
- Climb onto a low wall
- Skim or jump across to a raised platform

From here, you’ll clearly see a ladder leading upward.
Step 6: Collect the Rotor Blueprint
Climb the ladder to reach a blue container/box at the top. Inside is the Rotor Blueprint.

Be prepared—additional insects may spawn the moment you pick it up, so plan your exit path in advance.

Notes on blueprint spawns and consistency
While this tower location is widely reported as reliable, some players have encountered additional Rotor Blueprints in other areas. StarRupture is still known to have occasional blueprint display or spawn inconsistencies, so if the box appears empty, it may be a bug rather than a route issue. In most cases, revisiting later or restarting the session resolves it.
About StarRupture
| Field | Details |
|---|---|
| Official Title | StarRupture |
| Developer | Creepy Jar |
| Publisher | Creepy Jar |
| Release Stage | Early Access |
| Launch Date | January 6, 2026 |
| Platform | Steam (PC) |
| Genre | First-person open-world survival, base building, exploration |
| Game Modes | Single-player, Online Co-op (up to 4 players) |
| Core Focus | Base building, automation, resource management, combat vs alien creatures |
| Setting | Hostile alien planet with dynamic environmental hazards |
| Early Access Note | Active development; content and mechanics may change |
Thanks for spending your time reading the Rotor blueprint guide for StarRupture. If you found it useful or want us to improve something, leave a comment below. Whether it’s a question, suggestion, or opinion, we’re listening and ready to help whenever needed.


