Learn how residents, villages, and jobs connect in LEGO Fortnite Ninjago to speed up progression and reduce grinding.
Villages are the backbone of progression in LEGO Fortnite Ninjago. If you want stronger gear, more NPC help, and smoother exploration, understanding how village creation and expansion work is essential. Here’s a complete, up-to-date breakdown to help you build smarter from the start.
Villages in Fortnite LEGO Ninjago
| Aspect | Details |
|---|---|
| Village core item | Village Square |
| Max village level | Level 10 |
| Expansion method | Buildings, decorations, upgrades |
| NPC capacity | Increases with level |
| Shared progress | Each village levels independently |
How to create your first village
A village starts when you place a Village Square. This creates a defined area that tracks structures, decorations, and NPC activity. Everything built inside this zone contributes to the village’s overall level.
Village levels are not time-based. You only progress by actively improving the settlement.
Creating a village requires Village Square. To make the village square, use 12 wood pieces.

How village expansion and leveling work
Village expansion is tied to your village level. By increasing the village comfort level, you can expand your village.

To increase Village Comfort Level, use buildings and items like Bamboo, Honed Bamboo, or Kozustone. For every level, the upgrade requirements keep changing and increasing.
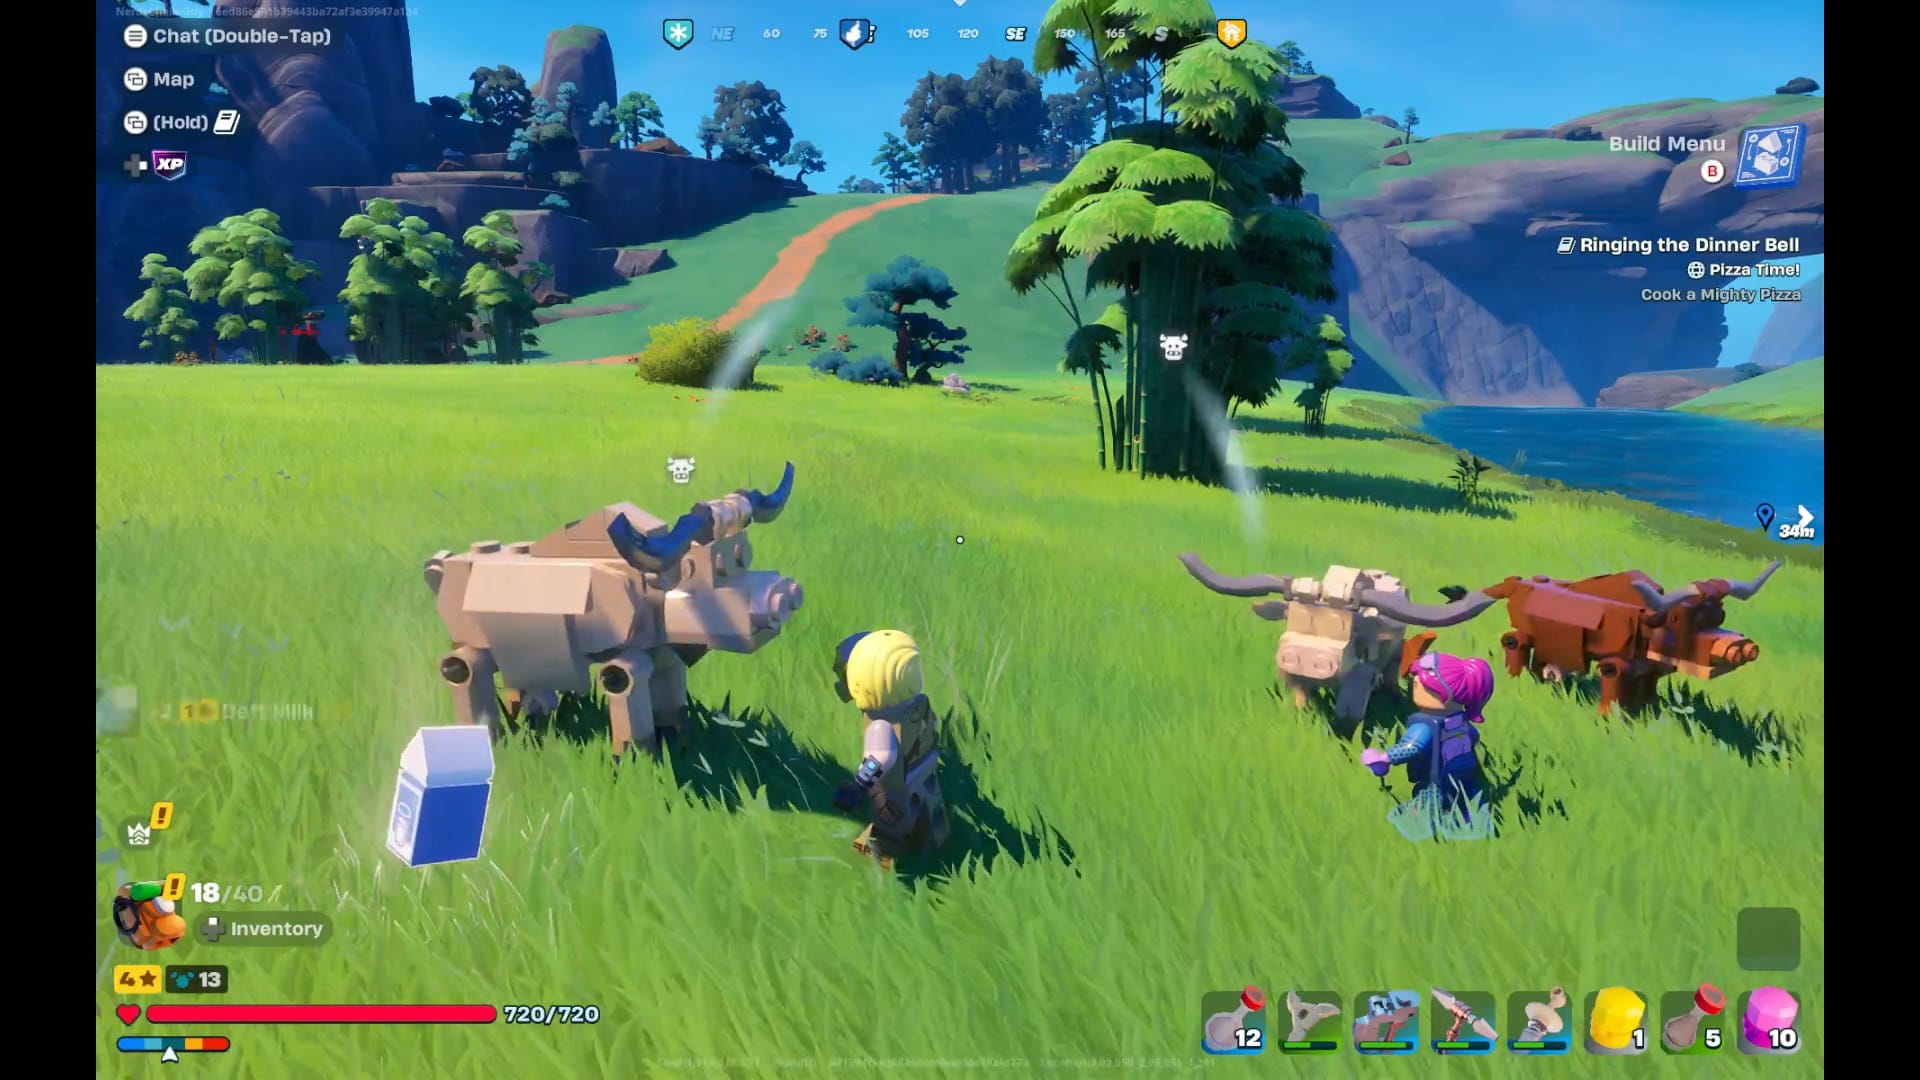
Residents and jobs
When you get a visitor to your village, you can recruit them. On recruiting, they become residents. These are NPCs who later help you take care of the village. You can train these NPCs and use them as a human resource.

But they would only stay if you have enough infrastructure. To achieve this, continue building newer structures, such as shacks and mills, to attract visitors and increase your village’s eligibility for upgrades.

After the resident feels welcome at your village, they will ask you for jobs. Assign tasks like refine wood, collect nearby resources, etc.

Make sure you check the requirements of the NPC; for example, the Cuddle Team Leader requires a Crafting Bench to work. His task completion takes 1 day.

Bed assignment
Every villager needs a dedicated bed to live and work in your village. Beds act as ownership markers—without one, an NPC cannot be permanently assigned.
When you place a bed inside the village boundary, it becomes available for assignment. Once an NPC claims a bed, they are officially tied to that village.

Each resident:
- Requires one bed inside village boundaries
- Can be assigned only one job at a time
- Belongs to a single village
If their bed is removed, they will leave the village.
Builds and decoration
Building shacks. palaces, log cabins, and decorations like toys will help you improve your village comfort level.

Upon levelling up your village, you can unlock recipes for different buildings and decor.

Best job management tips
- Assign basic gathering jobs early to reduce grinding
- Spread jobs across multiple residents instead of stacking one task
- Reassign jobs as your crafting needs change
- Place crafting stations near residents for smoother management

Villages give you structure, residents provide labor, and jobs turn time into resources. When all three systems work together, LEGO Fortnite Ninjago becomes far more efficient and enjoyable. Focus on village levels, keep beds organized, and assign jobs with purpose to build thriving settlements.


