Follow this concise guide to complete The River’s Fury Lost Chapters quest in Where Winds Meet with ease.
The “River’s Fury” is a Lost Chapter in Where Winds Meet found in the Hall at Fishwood River. Start by entering the Hall to trigger a cutscene, then pick up the Dusty Spirit Tablet on the right and hand it to the Eccentric Elder. Bow three times before the statue to unlock the secret door and begin the adventure.

Where to start River’s Fury lost chapter in WWM
To start The River’s Fury Lost Chapter quest, head to the marked location in Fishwood River and go inside the Hall.


Screenshots by: NerdsChalk
How to complete River’s Fury in Where Winds Meet
Follow the steps below to complete this Lost Chapters quest:
Step 1
After reaching the marked location in Fishwood River, head inside the Hall to trigger a cutscene.

Step 2
Once inside, pick up the Dusty Spirit Tablet on the right and give it to the Eccentric Elder.
Screen recording by: NerdsChalk
Step 3
Bow three times before the statue to unlock the secret door followed by a cut-scene.
Screen recording by: NerdsChalk
Step 4
Descend the stairs and stand on the stone slab to activate the water spray. Use Tai Chi on the water stream to redirect it toward the mechanism on the right, lowering the water level.
Screen recording by: NerdsChalk
Step 5
Drop down, head down the stairs, then drop into the water on the left and swim through to the next area.
Screen recording by: NerdsChalk
Step 6
Pick up the small stone statue on the right and place it on the stone slab to activate the water spray.
Screen recording by: NerdsChalk
Step 7
Jump to the half-sunken structure on the right, stand directly in front of the water spray, and use Tai Chi to redirect the water toward the mechanism on the right.
Screen recording by: NerdsChalk
Step 8
Pull the lever next to the gate, then swim back across to the opposite side.
Screen recording by: NerdsChalk
Step 9
Drop into the water through the hole in the wall in front of the stone slab, then swim down to retrieve the Hetu Fragment. Return to the surface and use the fragment to repair the water spray mechanism on the left.
Screen recording by: NerdsChalk
Step 10
Stand on the stone tablet to activate the water spray, step slightly forward, then use Tai Chi to redirect the stream into the mechanism ahead to drain all the water.
Screen recording by: NerdsChalk
Step 11
Drop to the bottom, pass through the gate ahead, then crouch through the narrow caves to reach the Dragon’s Mound boundary stone.


Screenshots by: NerdsChalk
Step 12
Take the path on the left, then climb up the massive stairs to reach the top.
Screen recording by: NerdsChalk
Step 13
Pull the lever to open the gate, then stand on the stone slab to activate the water spray. Use Tai Chi to redirect the stream toward the contraption on the left.
Screen recording by: NerdsChalk
Step 14
Enter the passage to the left of the locked gate, pick up the small stone statue, and carry it back to place on the stone slab.
Screen recording by: NerdsChalk
Step 15
Head back inside and use Tai Chi to redirect the water onto the contraption, opening the gate.
Screen recording by: NerdsChalk
Step 16
Stand at the edge and use Tai Chi again to redirect the water toward the mechanism below.
Screen recording by: NerdsChalk
Step 17
Jump across using the onscreen leap prompts, then move through the tunnels to reach the next puzzle area.
Screen recording by: NerdsChalk
Step 18
Climb the stone stairs, pick up the stone statue, and place it on the stone slab next to it to activate the water spray. Use Tai Chi to redirect the stream onto the contraption behind you, opening the gate.
Screen recording by: NerdsChalk
Step 19
Enter the gate you just unlocked, circle around, and pull the lever to open the gate to access the water spray.
Screen recording by: NerdsChalk
Step 20
Ensure the small stone statue remains on the stone slab, then use Tai Chi to redirect the water onto the contraption, unlocking the upper gate. Circle back to the newly opened gate and use Tai Chi once more to unlock the final gate.
Screen recording by: NerdsChalk
Step 21
Go through the gate, pull the lever, pick up the Luoshu Fragment, then drop down into the main compound.
Screen recording by: NerdsChalk
Step 22
Repair the water spray mechanism with the Luoshu Fragment, stand on the stone slab to activate it, step forward slightly, then use Tai Chi one final time to redirect the water onto the contraption on the right.
Screen recording by: NerdsChalk
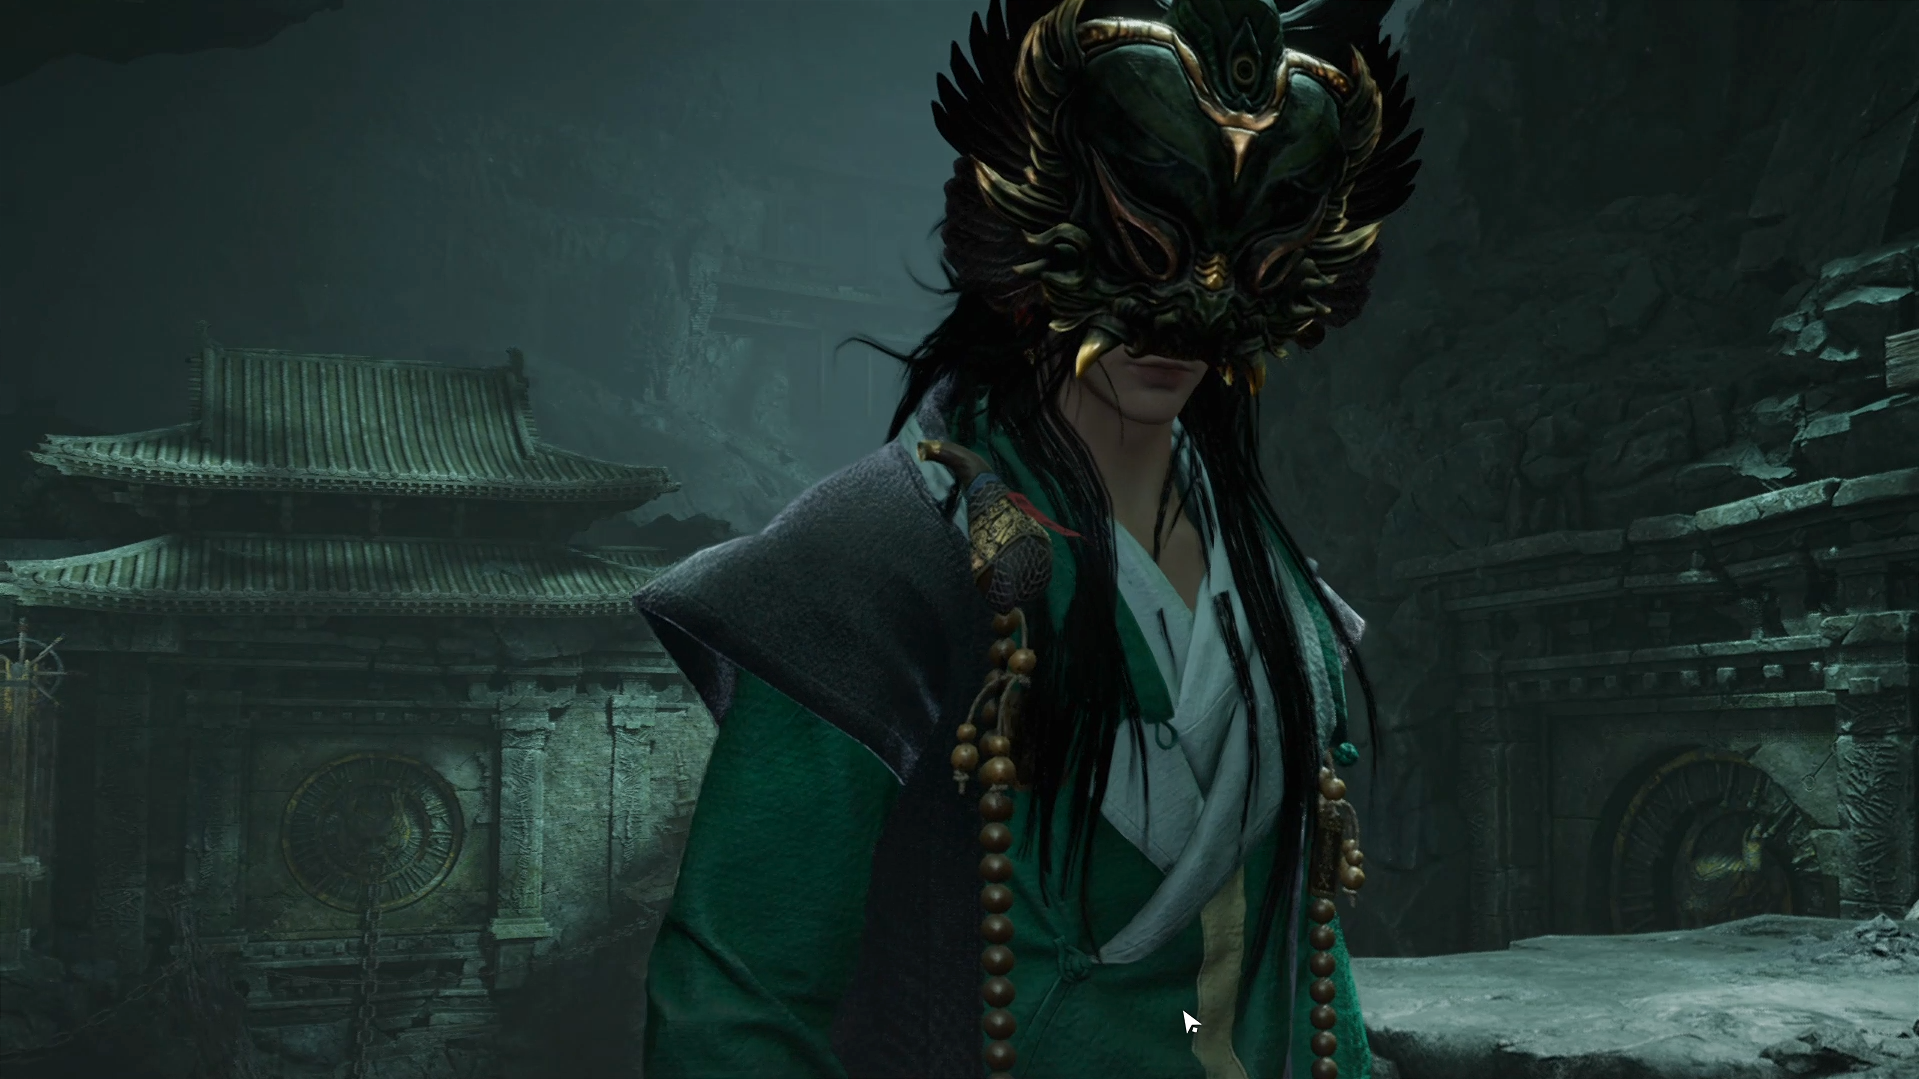
Step 23
Pick up the Nuo Dance Mask and kill A’Yu to give it freedom.
Screen recording by: NerdsChalk
Step 24
After defeating A’Yu, head to the final burial chamber and examine the remains.
Screen recording by: NerdsChalk
Step 25
Exit the Burial Chamber and bow before the River Master Statue to conclude this Last Chapter.
Screen recording by: NerdsChalk
Rewards from River’s Fury quest
- Zhu Yu’s Red Fish Sword
- Feng Yi Red sleeve disc
- Inner way Note: custom chest(x5)
- Medicinal tales
- Ebon iron x2
- Echo jade x20
- Kaifeng exploration x30
- Enlightenment points x100
- Character EXP x12000
- Coins x12000
Quick tips
- Use Wind Sense to locate hidden items, mechanisms, and fragments.
- The Tai Chi mystic art is essential for redirecting water jets — practice its use on puzzles early.
- Keep an eye out for pressure plates, levers, and statues that interact with flooding mechanics to solve chambers efficiently.
Thanks for staying till the end! If this The River’s Fury walkthrough for Where Winds Meet made things easier or gave you useful insights, we’d love to hear your thoughts. Drop your feedback or questions in the comments—we’re always active and ready to assist with anything that still feels unclear.


