The Lost Melody is an optional exploration quest in Wuthering Waves, not part of the main story. It activates naturally while exploring Lahai-Roi, near Jetrified Bridge.
The Lost Melody is an Exploration Quest in Wuthering Waves Chapter 3. After entering Lahai-Roi during the early part of Chapter 3, you may stumble upon The Lost Melody while freely exploring. Unlike main quests, it does not begin with a cinematic or NPC conversation. Instead, it quietly hooks into your compass once you’re in the right place.

The Lost Melody location & How to start
The quest does not appear in your journal ahead of time. You need to physically approach the Jetrified Bridge area or nearby Lahai-Roi sub-zones. Once you cross into the correct proximity, the quest title appears on screen and your compass updates with objective markers.

If nothing triggers, double-check that:
- You have already started Chapter 3
- You are not still in Honami City or earlier regions
- Your Union Level is high enough to unlock exploration quests
- You have completed the Chapter 3, Act 1 quest – When the Unknown Thrums
The Lost Melody quest trigger note
Even though this is an exploration quest, which are usually optional, this is tied to the Where Wisdom Lights the Way side quest. Complete the Lost Melody quest before beginning the Where Wisdom Lights the Way, or you will be triggered to complete it during the former.

The Lost Melody walkthrough
Meet the Nervous Giant Soliskin at a cliff in the Jetrified Ridge area. It tells you about the notes from Matthew.

He gives you 3 photographs that will help you get the lost melodies.

Make sure you have the Expedition Motorbike to go around and look for the melodies.

Objective 1: Melody 1 – Argentflare Drapes
The first Soliskin can be found close to Argentflare Drapes, near a small campsite beside the water. Floating musical notes hover in the area, and you will hear faint chimes when you are close to the correct spot.
Resonance Beacon- Roya FrostLands – Stagnant Run.

How to help Mi catch the correct musical note
Approach the campsite until the floating notes become clearly visible around the Soliskin named Mi.

Attack the moving musical notes as they drift through the air.
Screen recording by: NerdsChalk
Identify the correct note by its reaction. The right one explodes in a green light when hit, immediately completing the objective.

Objective 2: Melody 2 – Mawburrow Desert
The second Soliskin is located just a short walk from the Resonance Nexus near Mawburrow Desert. This area is easy to reach and hard to miss once you arrive.

How to defeat the Lemmings and recover the score
Approach the Soliskin to trigger the minigame involving underground Lemmings. Watch for Lemmings popping out of their burrows around the area.
Screen recording by: NerdsChalk
Attack them quickly as they surface. The objective works like whack-a-mole, rewarding fast reactions.
Objective 3: Melody 3 – Golden Spiral
The final Soliskin is found south of the Golden Spiral racetrack. Look for a red-glowing Spacetrek Mech; the trapped Soliskin is directly beneath it.

How to summon Zip Zap and free the Soliskin
Use your Projector utility near the Spacetrek Mech to summon a Zip Zap.

If you do not own a Zip Zap Echo, farm one from the nearby Tacet Discord Nest before continuing. Once Zip Zap appears, use it to fix the Spacetrek Mech.

Defeat the enemy that spawns afterward to fully clear the objective.

Completing this location grants the final chest tied to the three melody tasks.
Objective 4: Regrouping with the Soliskin
After all three locations are cleared, return to the area where you first met Fa at the start of the quest. He is now joined by more Soliskin, setting up the final sequence.

How to play the melody and awaken the flying fish
Interact with the Soliskin to receive a note hint showing the correct order of musical notes.

Target the floating notes in the environment using either:
- A gun-using Resonator capable of aiming Heavy Attacks
- The Hoverdroid: Shooter utility
Fire at the notes in the correct order to complete the melody.
Screen recording by: NerdsChalk
Once successful, the petrified flying fish on the cliffside awakens.
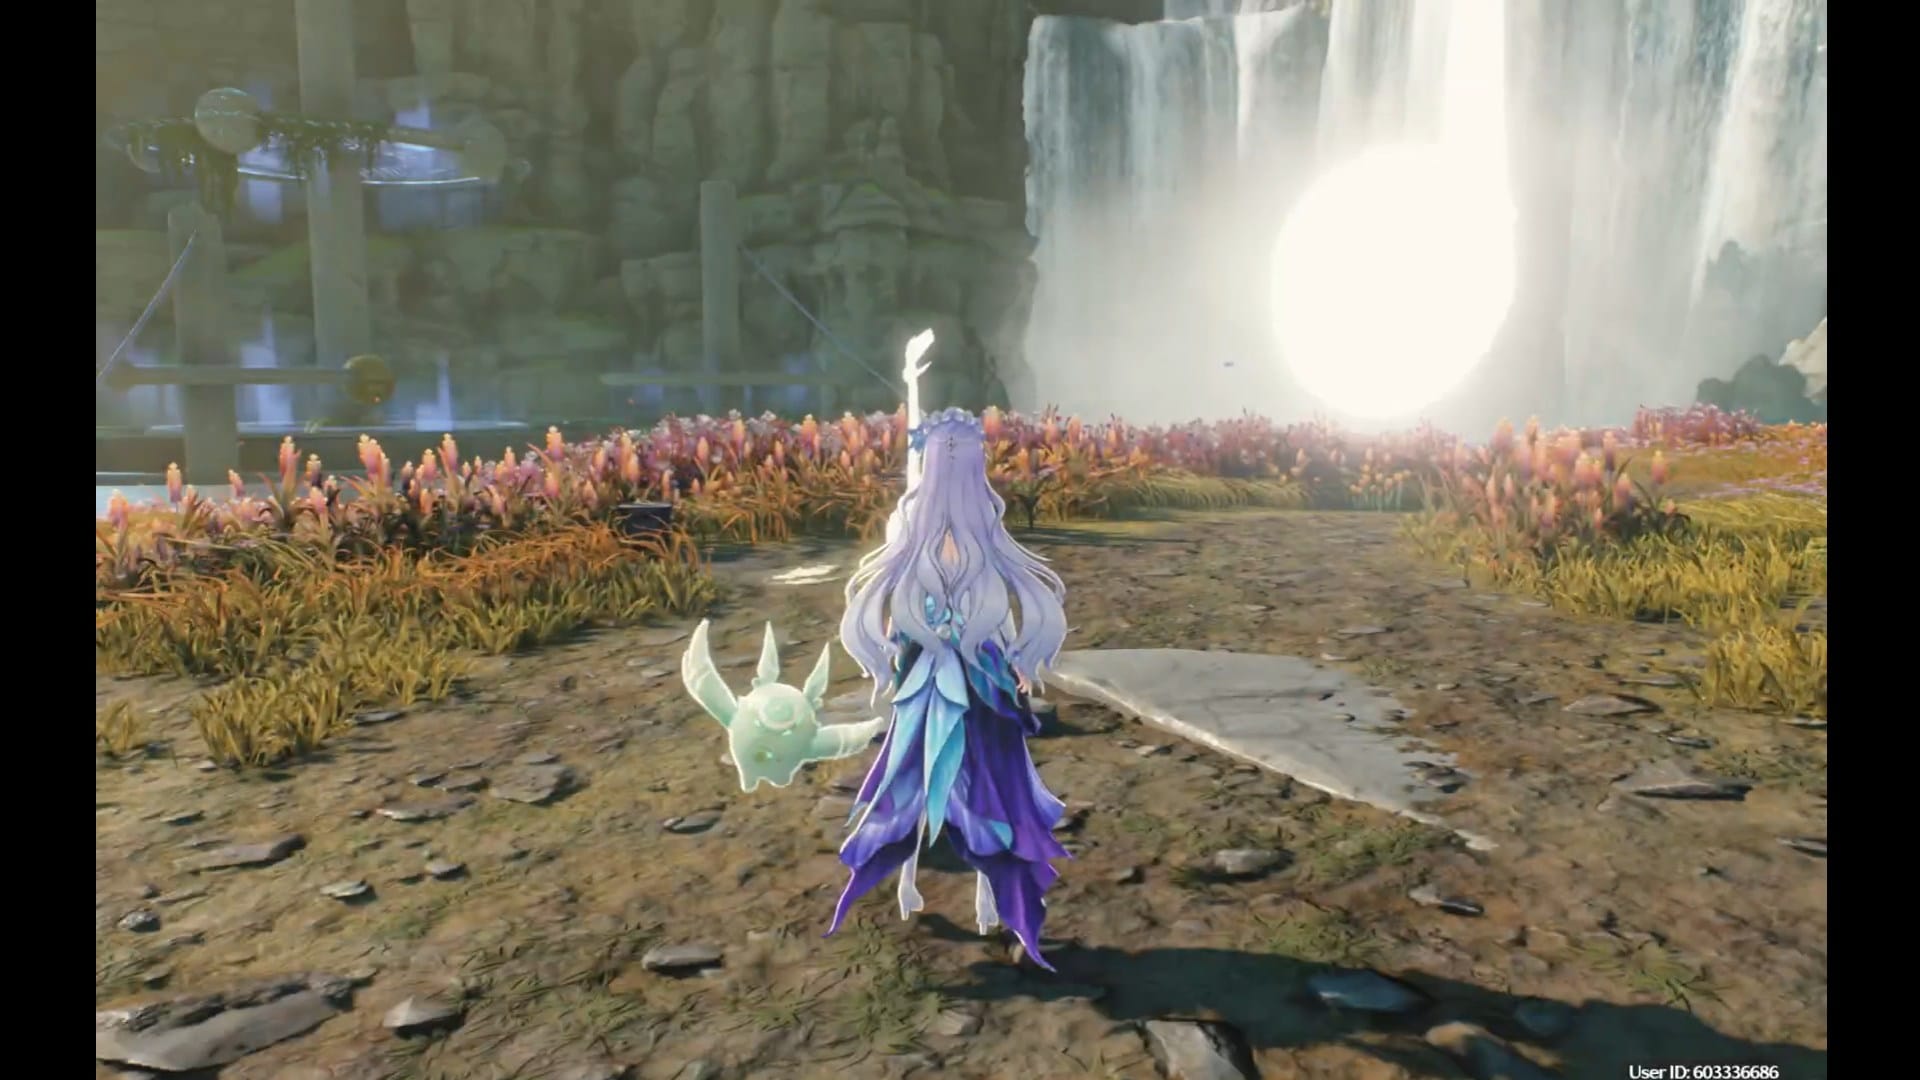
Objective 5: Riding the flying fish
Climb onto the awakened flying fish perched on the cliff.
Screen recording by: NerdsChalk
Ride it to the destination marker to officially complete The Lost Melody quest.
The Lost Melody rewards
- Union Experience x500
- Astrite x30
- Constructor Core x200
- Mechanite x600
- Advanced Energy Core x2
- Shell Credit x20000
- The Sound of Yesterday Achievement

We truly hope the Lost Melody walkthrough simplified the process and answered your biggest questions. Feel free to leave your suggestions, corrections, or additional queries in the comments—we value your input and check them frequently. Don’t hesitate to ask for more help if you need it.