What to know
- Unlock layouts after reaching Island Pro status through professions, coins, and community tasks.
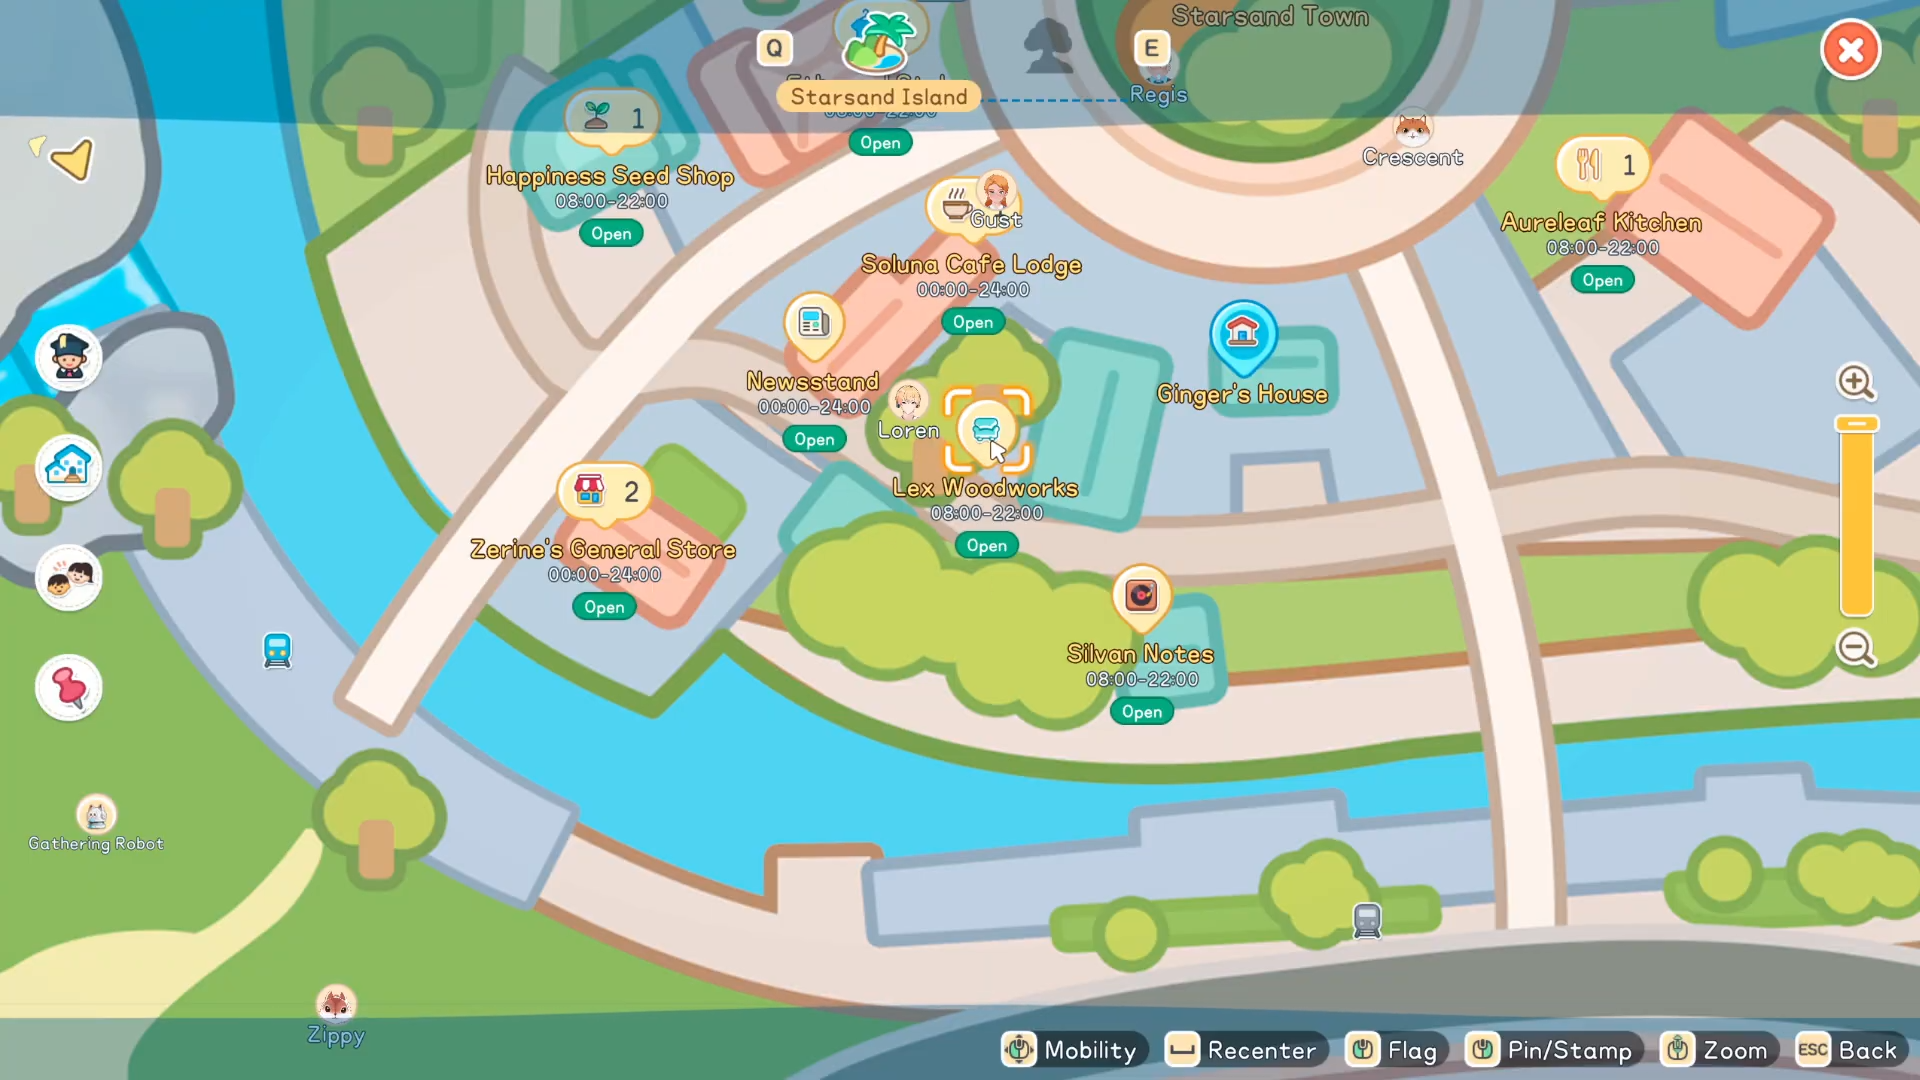
- Purchase land via the Island Life app, then buy layouts at Lex Woodworks in Starand Town.
- Clear plots completely—no trees, rocks, or structures—before entering build mode to place.
- Align carefully, zoom out for green boundaries, and position doors correctly for success.
Layouts in Starsand Island offer a fast way to create beautiful homes without starting from scratch. These pre-made designs come complete with furniture, decor, and features like gardens or beehives, saving time while giving a professional look to your island living space.
| Aspect | Details |
|---|---|
| Unlock Level | Island Pro in Island Life app |
| Purchase Location | Lex Woodworks, Starand Town |
| Plot Prep | Fully clear of obstacles and buildings |
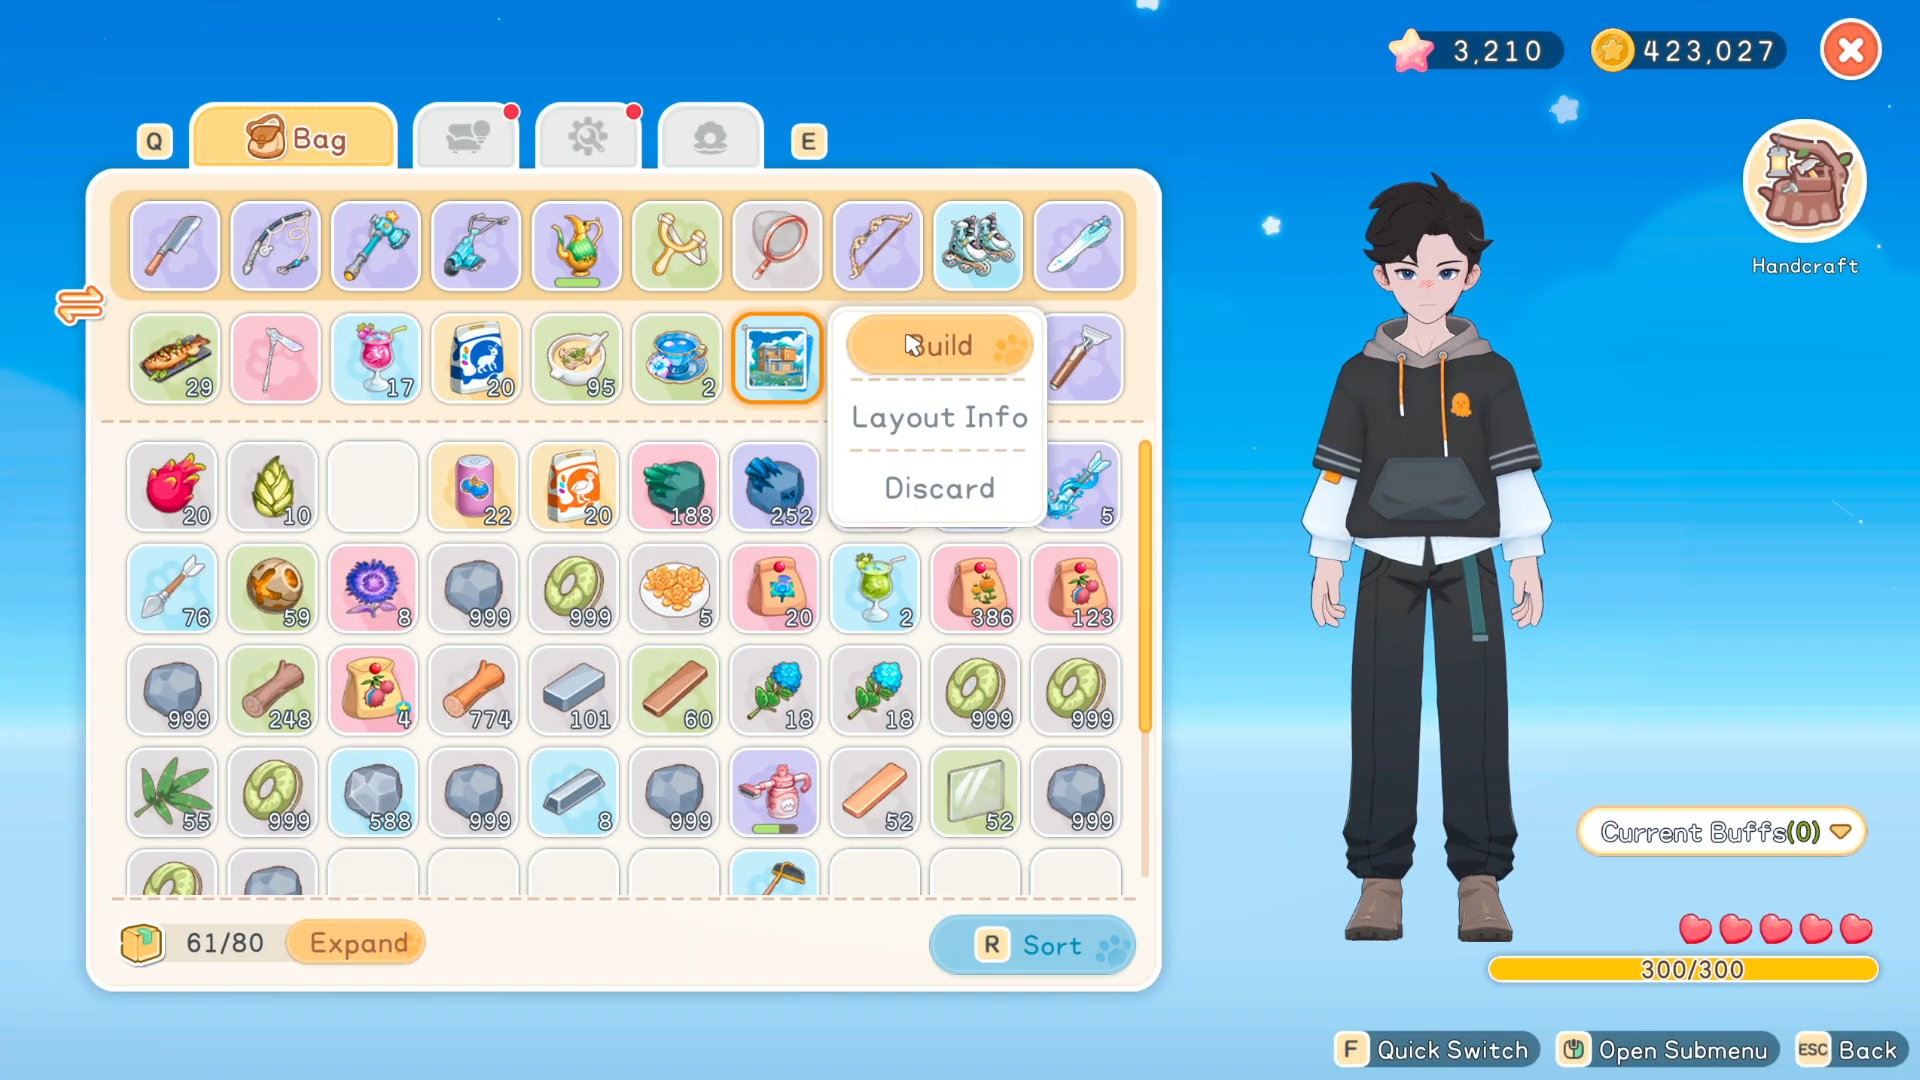
| Placement Mode | Build mode, select layout from bottom menu |
| Key Tips | Zoom out, align precisely, check door orientation |
| Customization | Dismantle and swap furniture post-placement |
| Included Features | Furniture, decor, gardens, beehives (varies by layout) |
Unlocking layout access
Reach Island Pro in the Island Life app first. Place six furniture pieces in your starter house, collect 2,000 coins by selling items, meet 10 islanders, achieve junior status in a profession, and complete five community bulletin board requests.
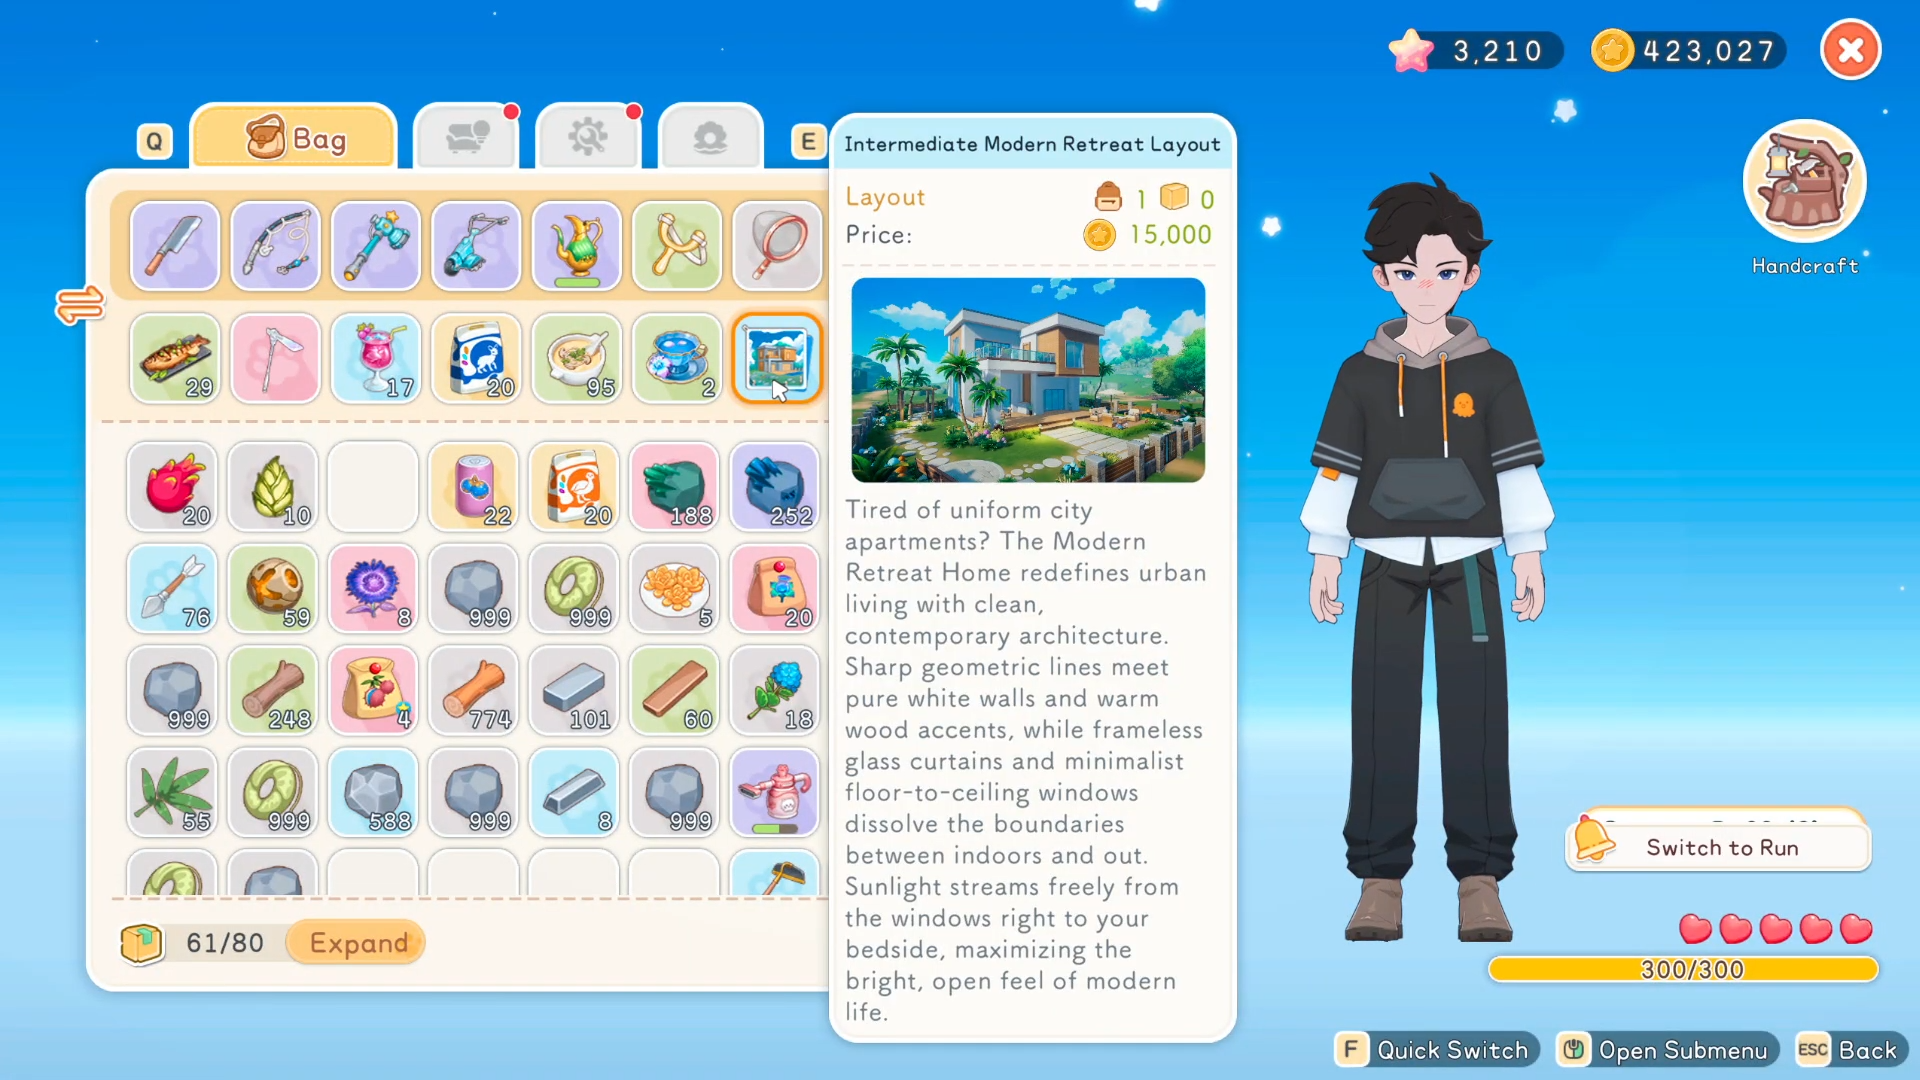
Choosing your first layout
Preview three intermediate options early: Countryside Haven for cottage vibes, Retreat for modern style, or Classic Courtyard for traditional appeal. Each comes with a discount voucher to help with costs.
Buying land and layouts
Once at Island Pro, open the Island Life app to buy a plot—pick one near Starand Town for convenience. Travel to Lex Woodworks in town, interact with the cash register, select Layouts menu, and purchase your choice. Confirm it appears in your bag.
Preparing the plot location
Head to your new plot and clear everything: remove trees, shrubs, rocks, and fences. The layout spans the entire plot area, so any remnants block placement. If replacing an old structure, dismantle all items first—they go to storage, not destroyed.
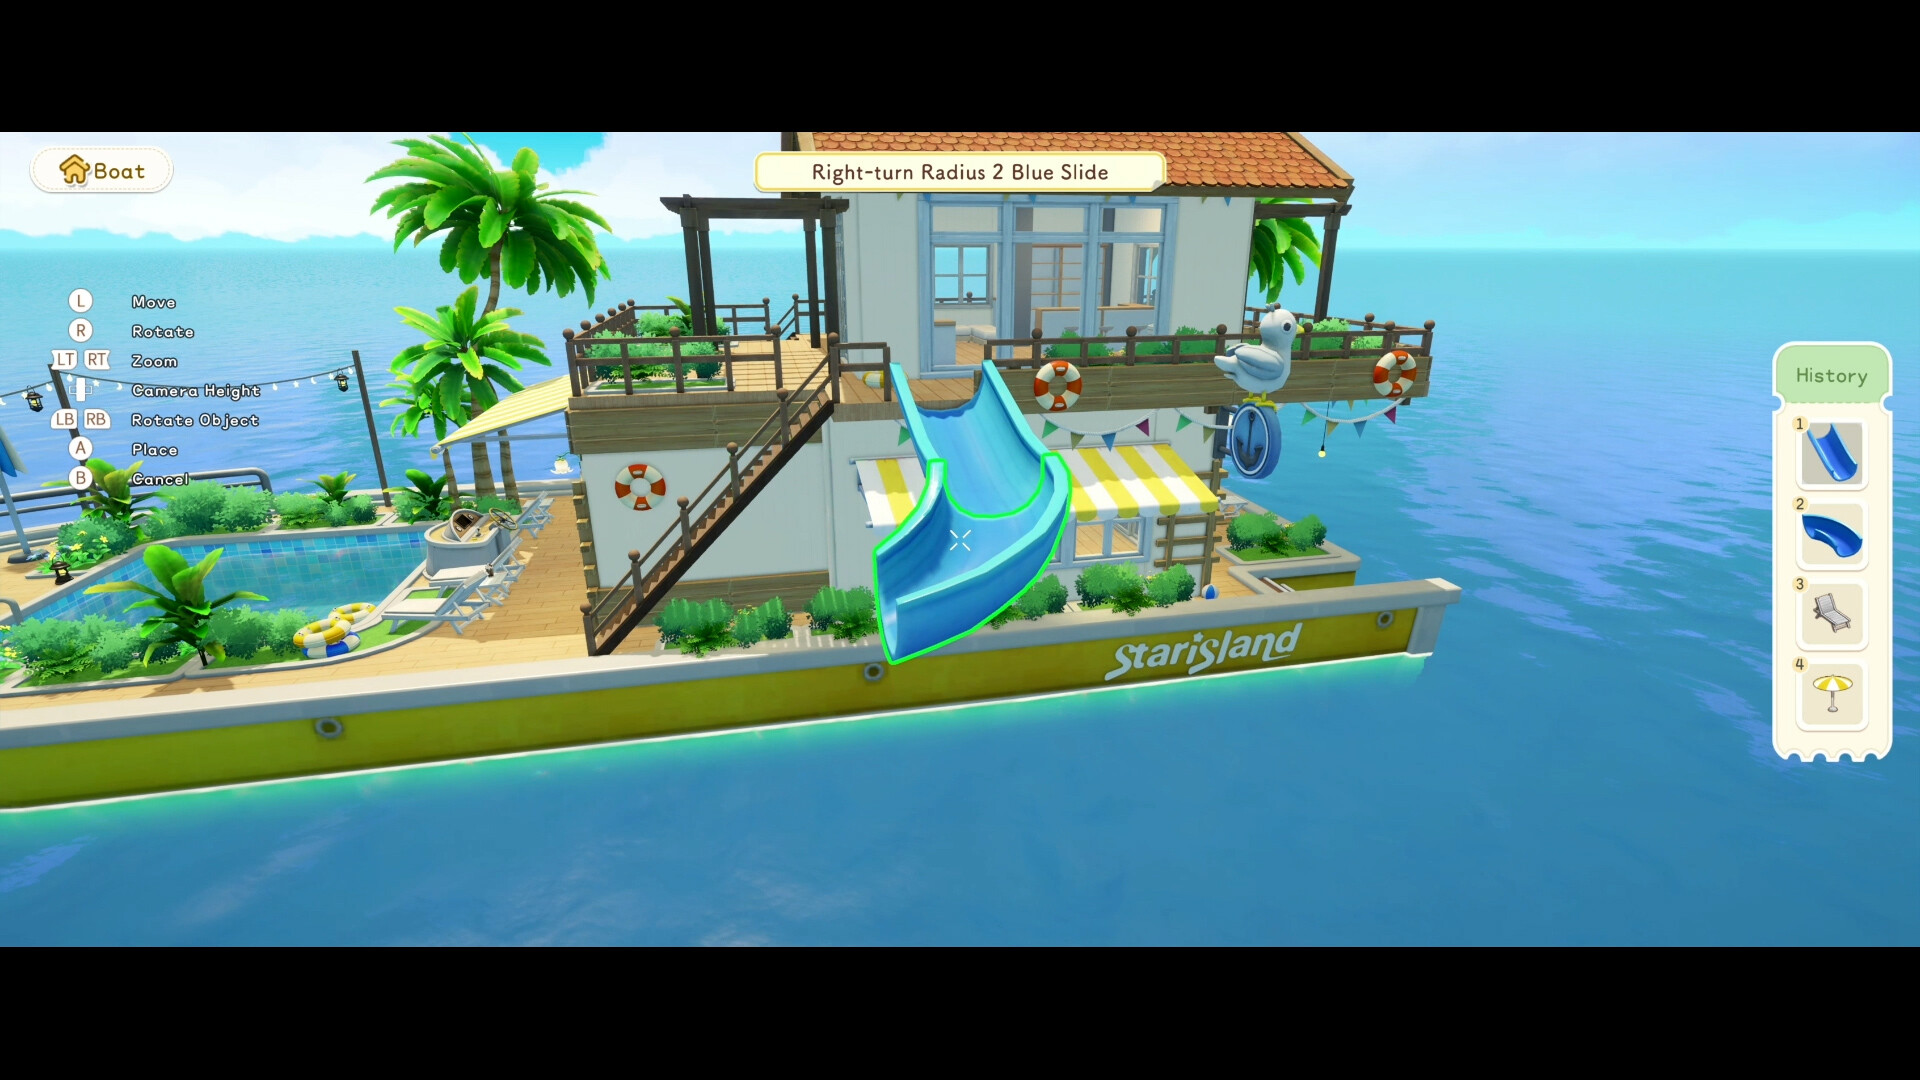
How to place layouts step by step
Enter the plot fence and activate build mode.
Step 1
Scroll to the bottom menu, find your layout icon, and select it.
Step 2
Position the preview—it may seem off at first. Zoom out using the scroll wheel for better view.
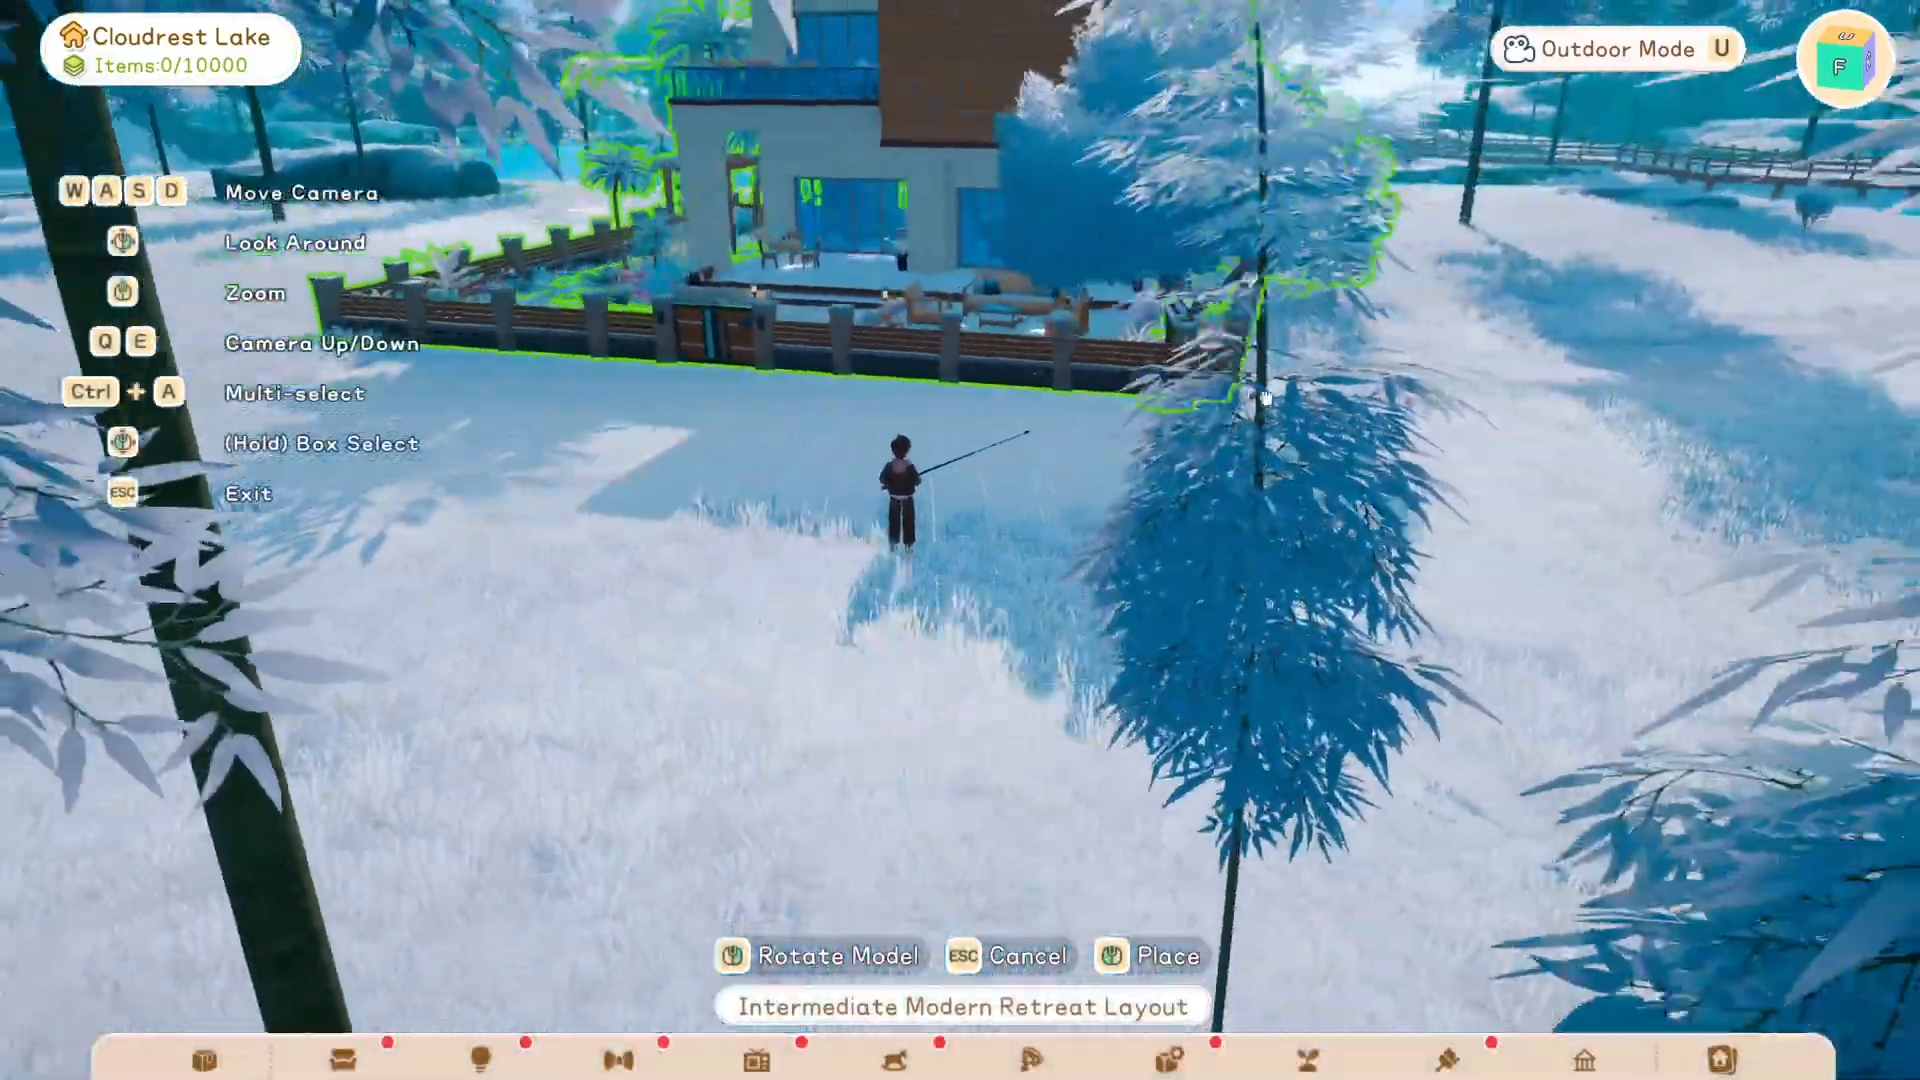
Step 3
Line up carefully, ensuring the door and front face the desired direction. Rotate if needed.

Step 4
Watch for green boundaries indicating a perfect fit. Press place to build instantly.
Step 5
Exit build mode and inspect. The house appears fully furnished with kitchen, living area, bedroom, and outdoor elements.
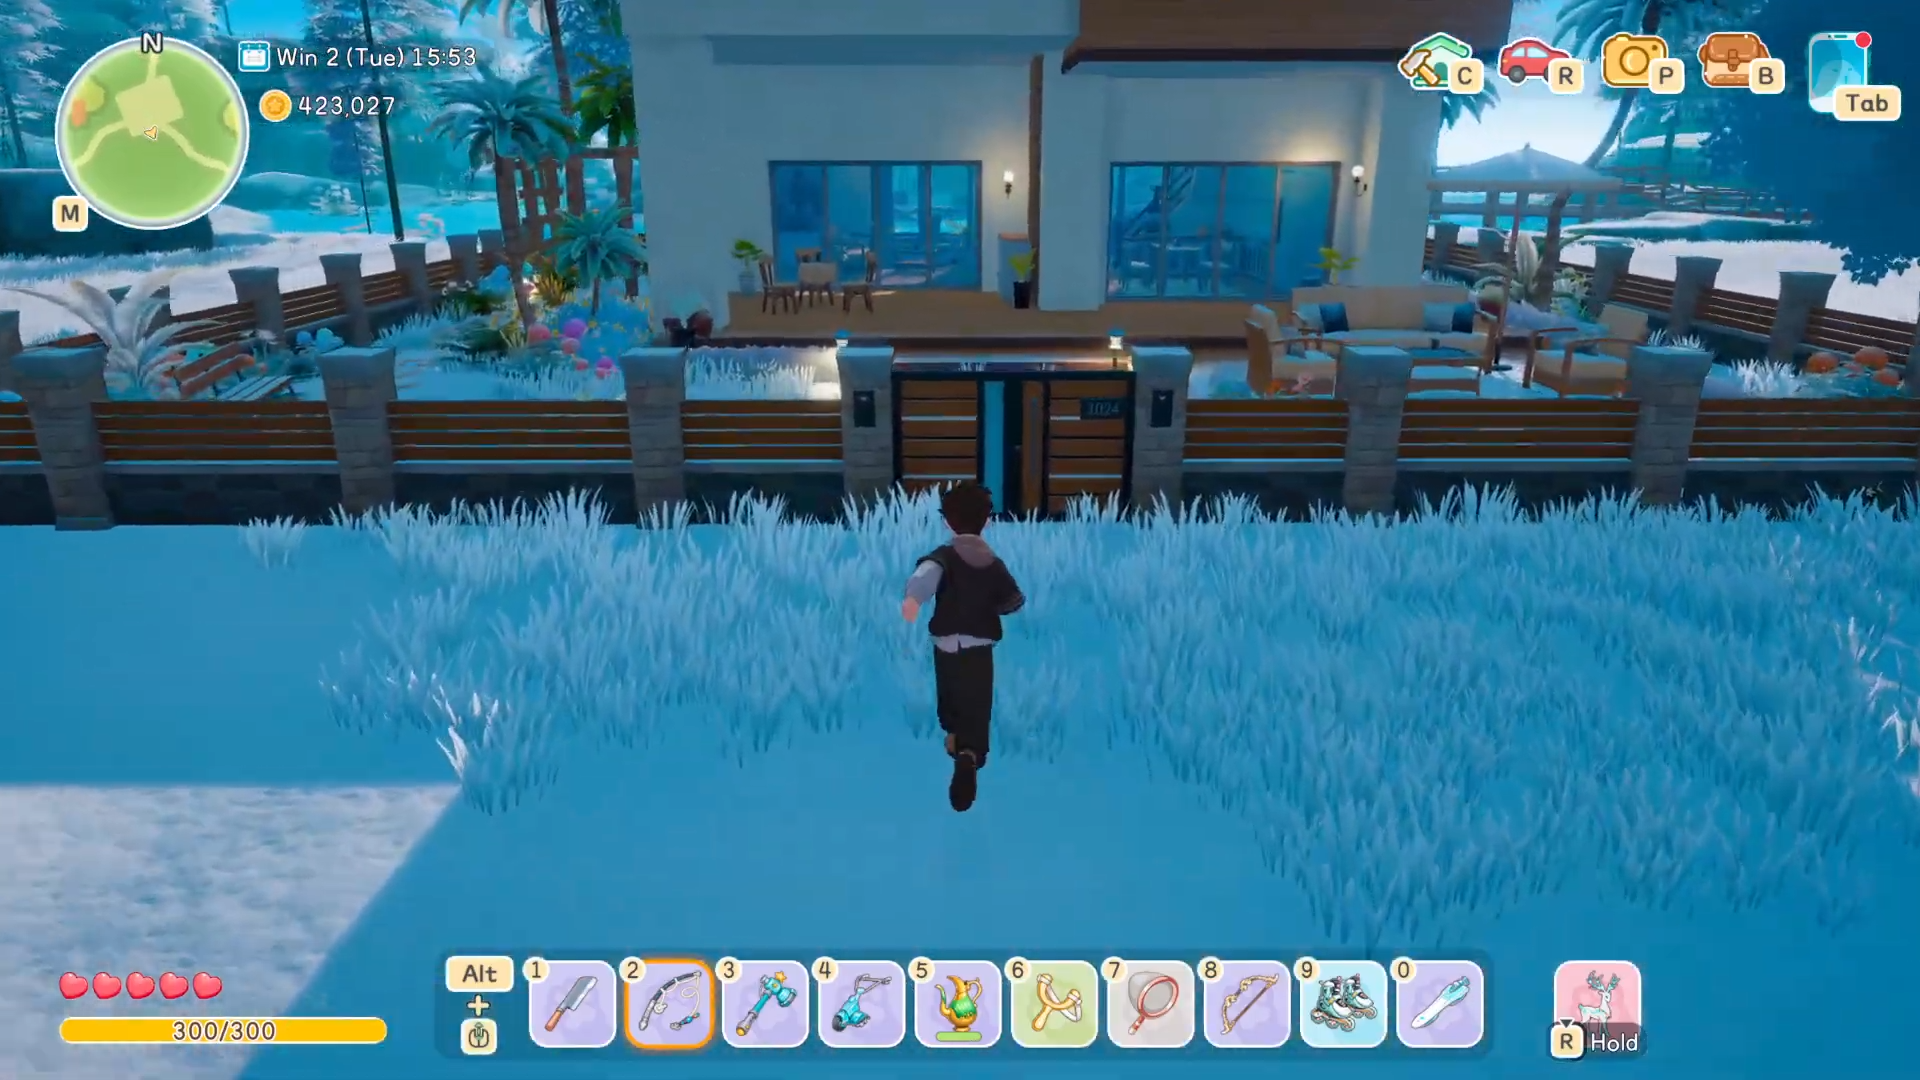
Customizing after placement
Enable allow overlap in build options to add items atop layout pieces, like campfires on flower beds. Dismantle unwanted furniture—it saves to storage for reuse. Save your modified version as a new layout for future plots.
Rewards
| Layout Type | Key Rewards/Features |
|---|---|
| Countryside Haven | Beehives, garden, cottage-core bedroom/kitchen |
| Intermediate Retreat | Modern living space, spacious interiors |
| Classic Courtyard | Traditional courtyard, full furniture set |
Handling mistakes and replacements
If placement fails, double-check for hidden debris like roof beams. Dismantle everything, re-clear, and try again. Use multi-select in build mode for bulk removal. Overhead camera view helps spot issues.
Experiment with layouts to match your style, then personalize endlessly. These tools turn any plot into a dream residence quickly.


