
What to know
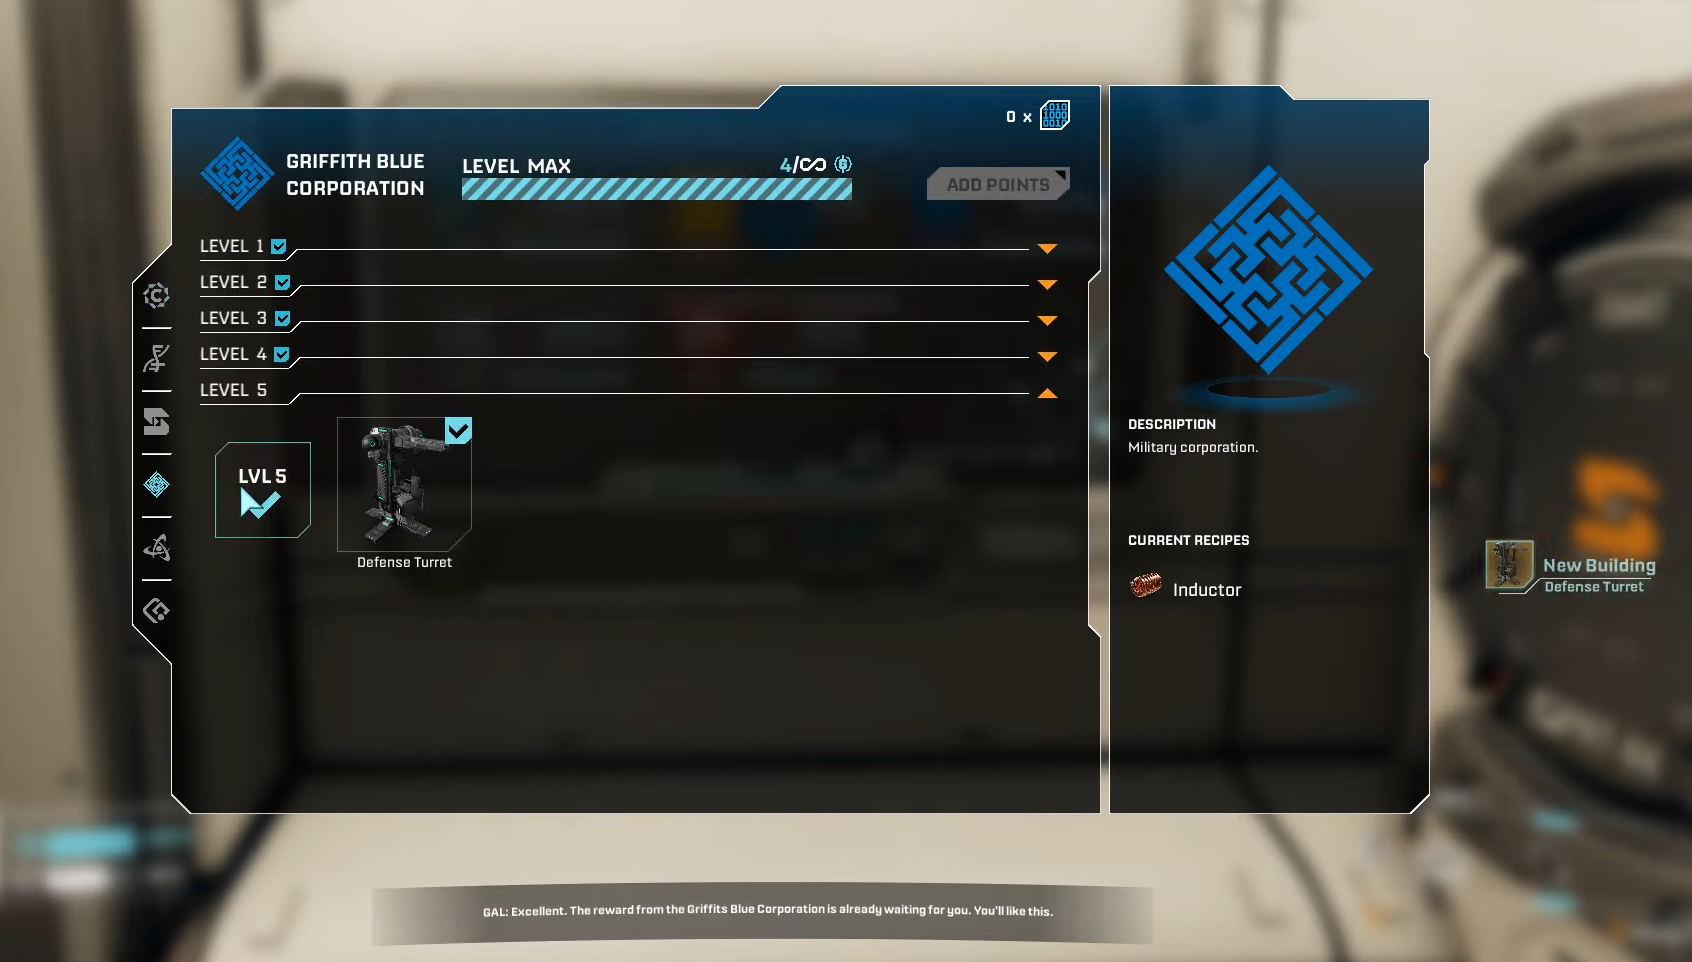
- Locate Geo Scanners via antenna icons on your map after unlocking it through Moon Energy Corporation level 3.
- Activate the scanner to trigger waves of Vermin enemies while it surveys a 350-meter radius.
- Set up a base and turrets nearby to automate defense, insert ammo, and complete the scan hands-free.
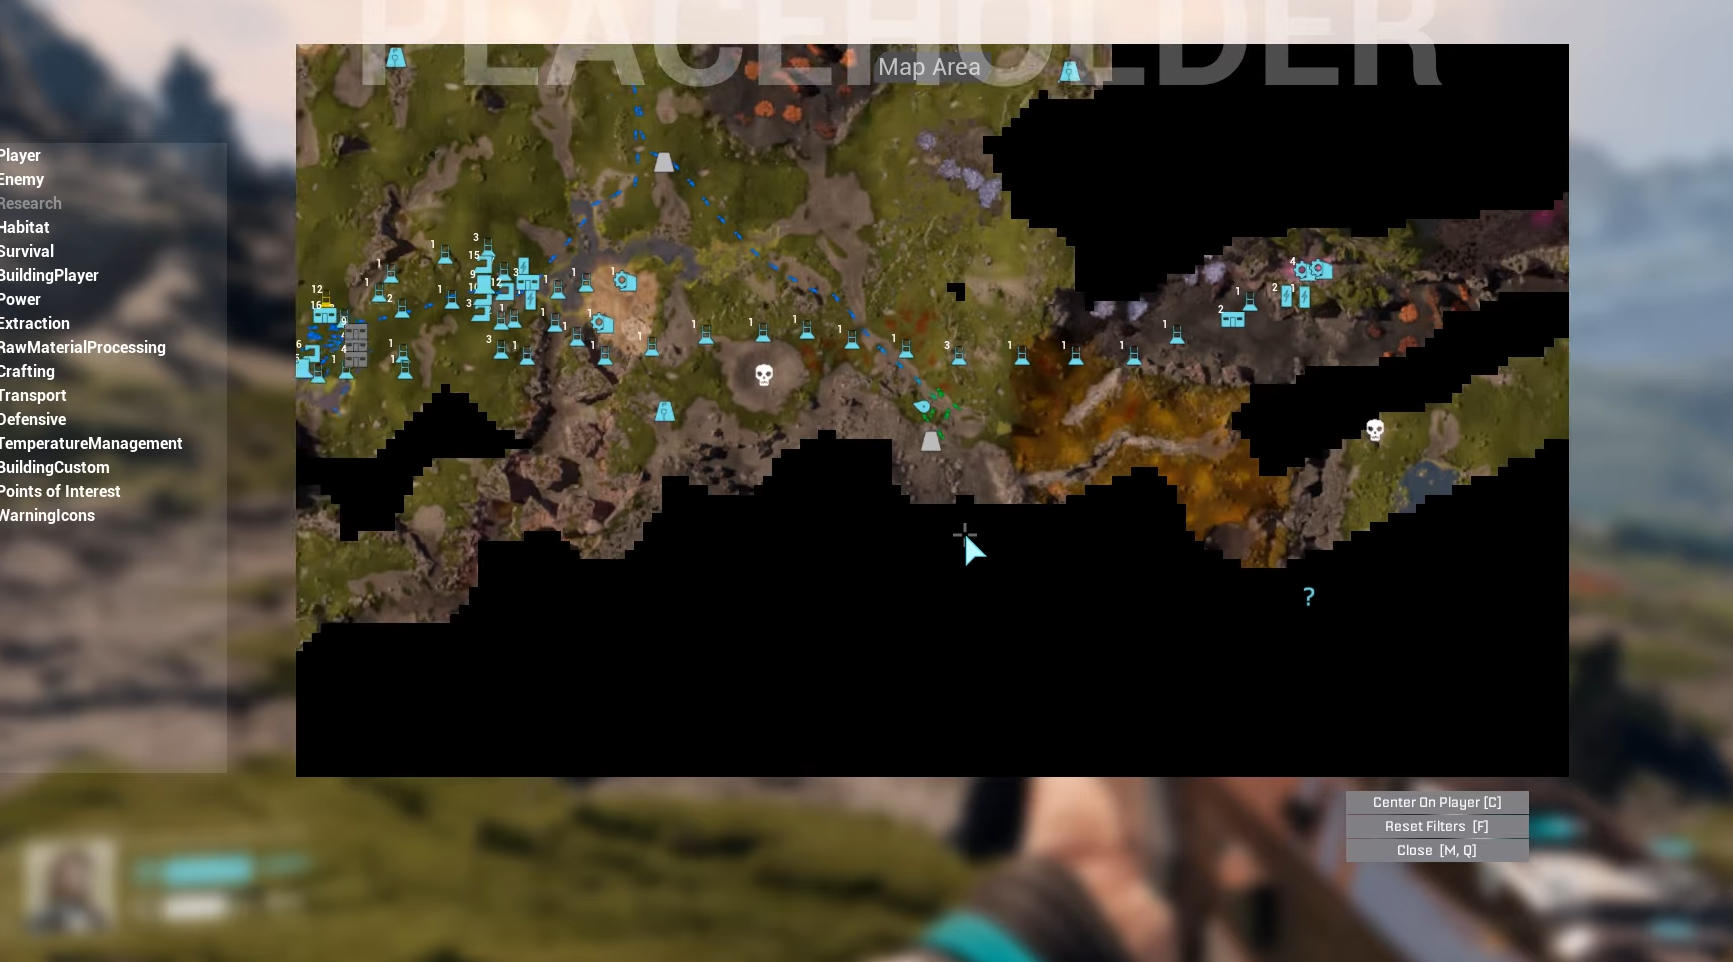
- Reveals points of interest, resources, and clears fog of war for better exploration planning.
Activating Geo Scanners in StarRupture lets you uncover Arcadia-7’s map efficiently, but defending against enemy waves is key. With basic base-building, you turn it into a quick task. Here’s how to do so.
| Aspect | Details |
|---|---|
| Map Unlock Prerequisite | Moon Energy Corp Level 3 (1500 Data Points or 500 Calcium Ores delivered) |
| Scanner Location | Antenna icons on map; found near craters, cliffs, and monoliths |
| Survey Radius | ~350 meters; reveals POIs like abandoned bases and ore deposits |
| Main Threats | Vermin waves (2–5), blue toxic gas bugs, occasional Goliaths |
| Key Defense | Turrets with ammo; elevated platforms for safety |
| Time per Survey | 1–3 minutes with setup; waves end at 100% scan |
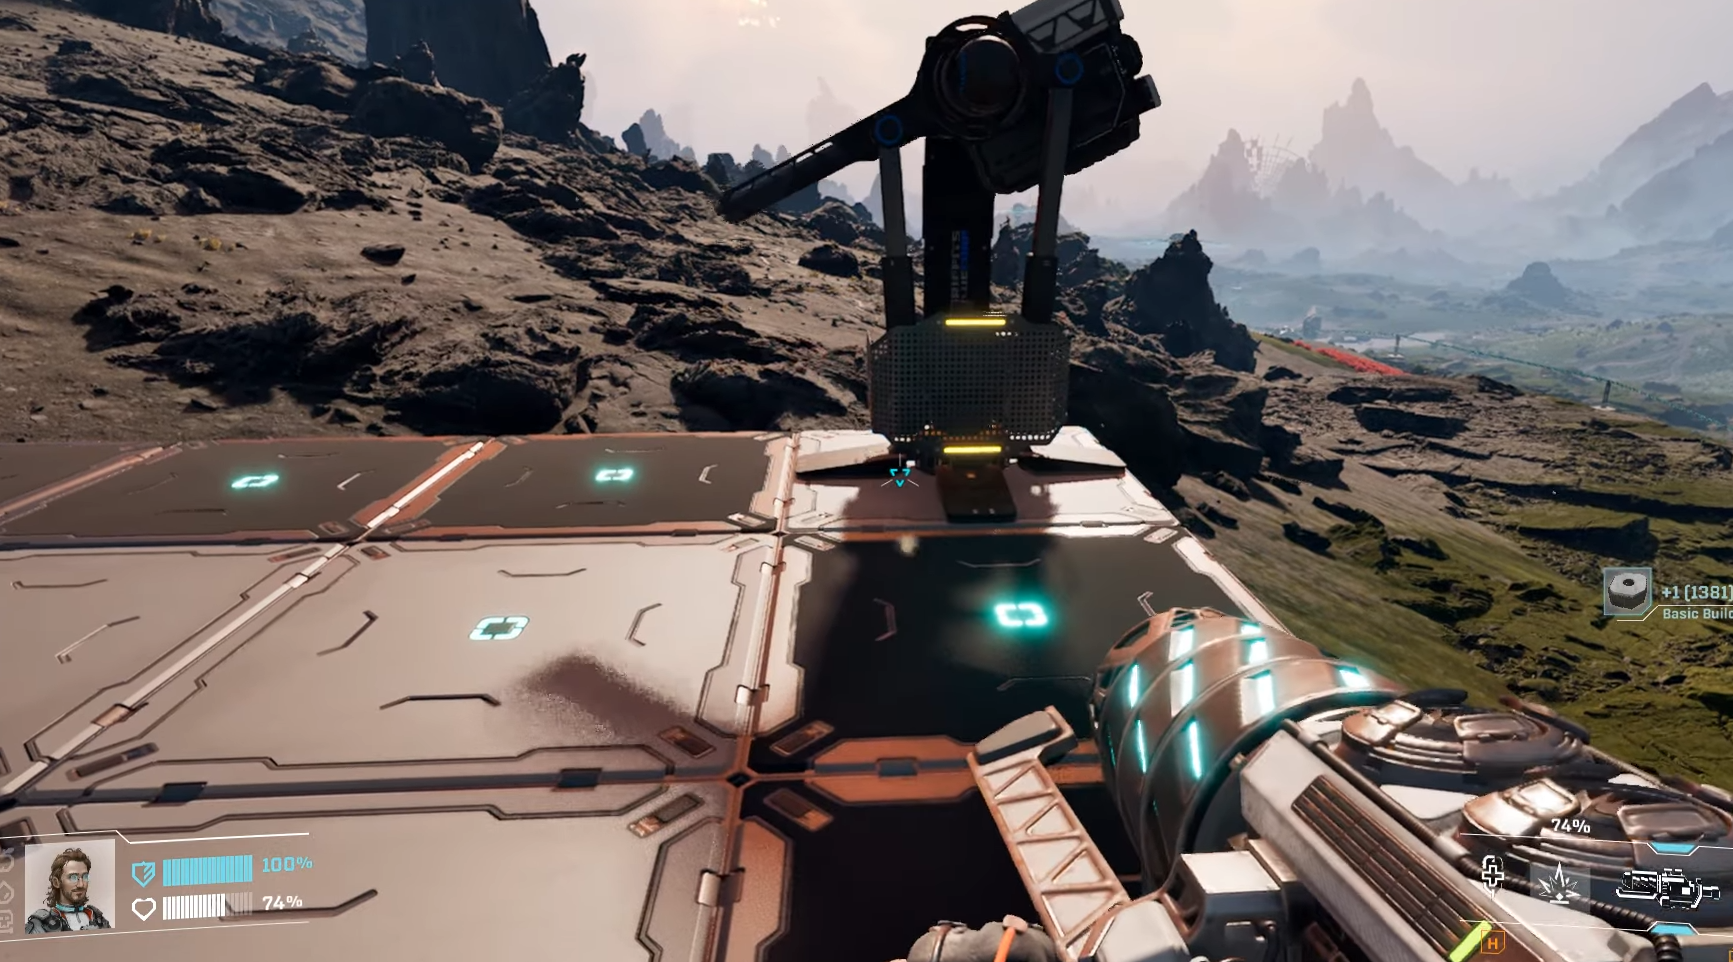
Geo Scanners dot Arcadia-7’s landscape
These antennas hide in craters, cliff faces, and near water sources, often marked post-map unlock. You spot them via orange lights or interactive maps filtering POIs; clusters appear in southwest starting areas for quick access. Expect rough terrain—build paths if far from your main base to haul materials easily.
How to easily complete a Geo Scanner survey
Locate a dormant Geo Scanner via your map’s antenna icon after unlocking it through corporate progression. Approach and interact to start the survey, triggering enemy waves, then set up defenses without panic. This turret method lets you survey hands-free while farming XP.
Step 1: Unlock and approach the turret
Head to the Geo Scanner site.
Ensure you have the turret blueprint (early-game unlock via scavenging).
Unlock the build menu if needed, then place the turret structure near the antenna base for optimal firing range. Position it elevated or on platforms to avoid ground swarms.
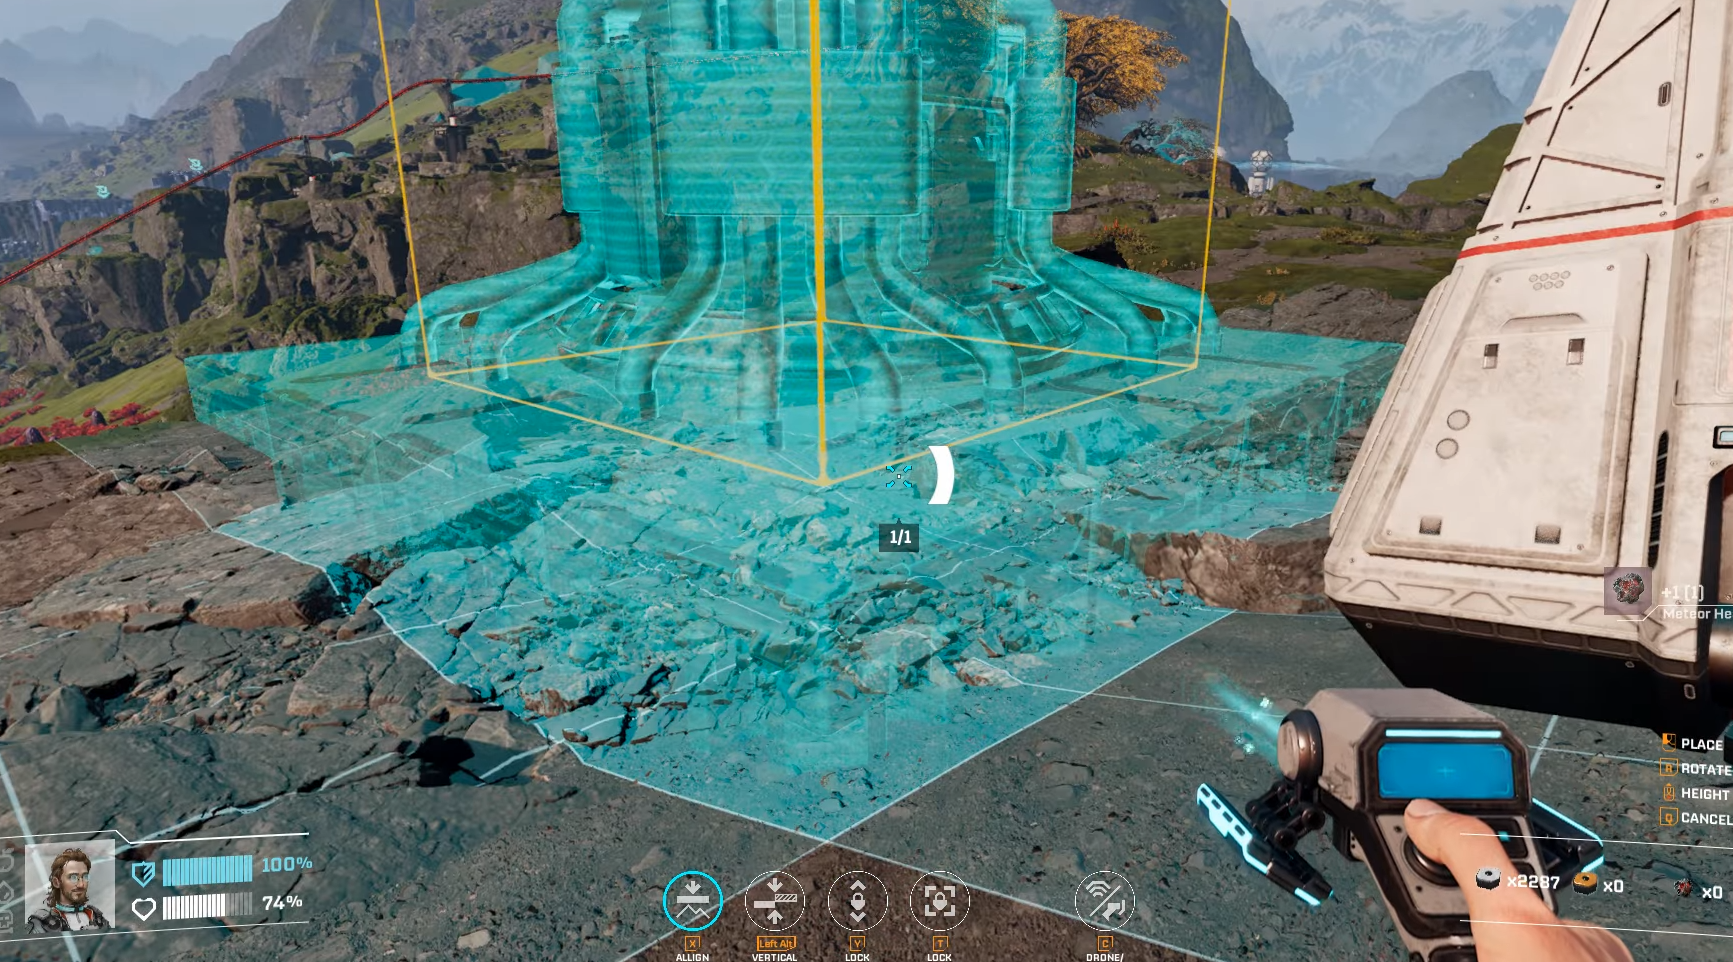
Step 2: Set up base and build turret fully
Drop a temporary Base Core nearby (carry Meteor Heart and Basic Building Materials always).
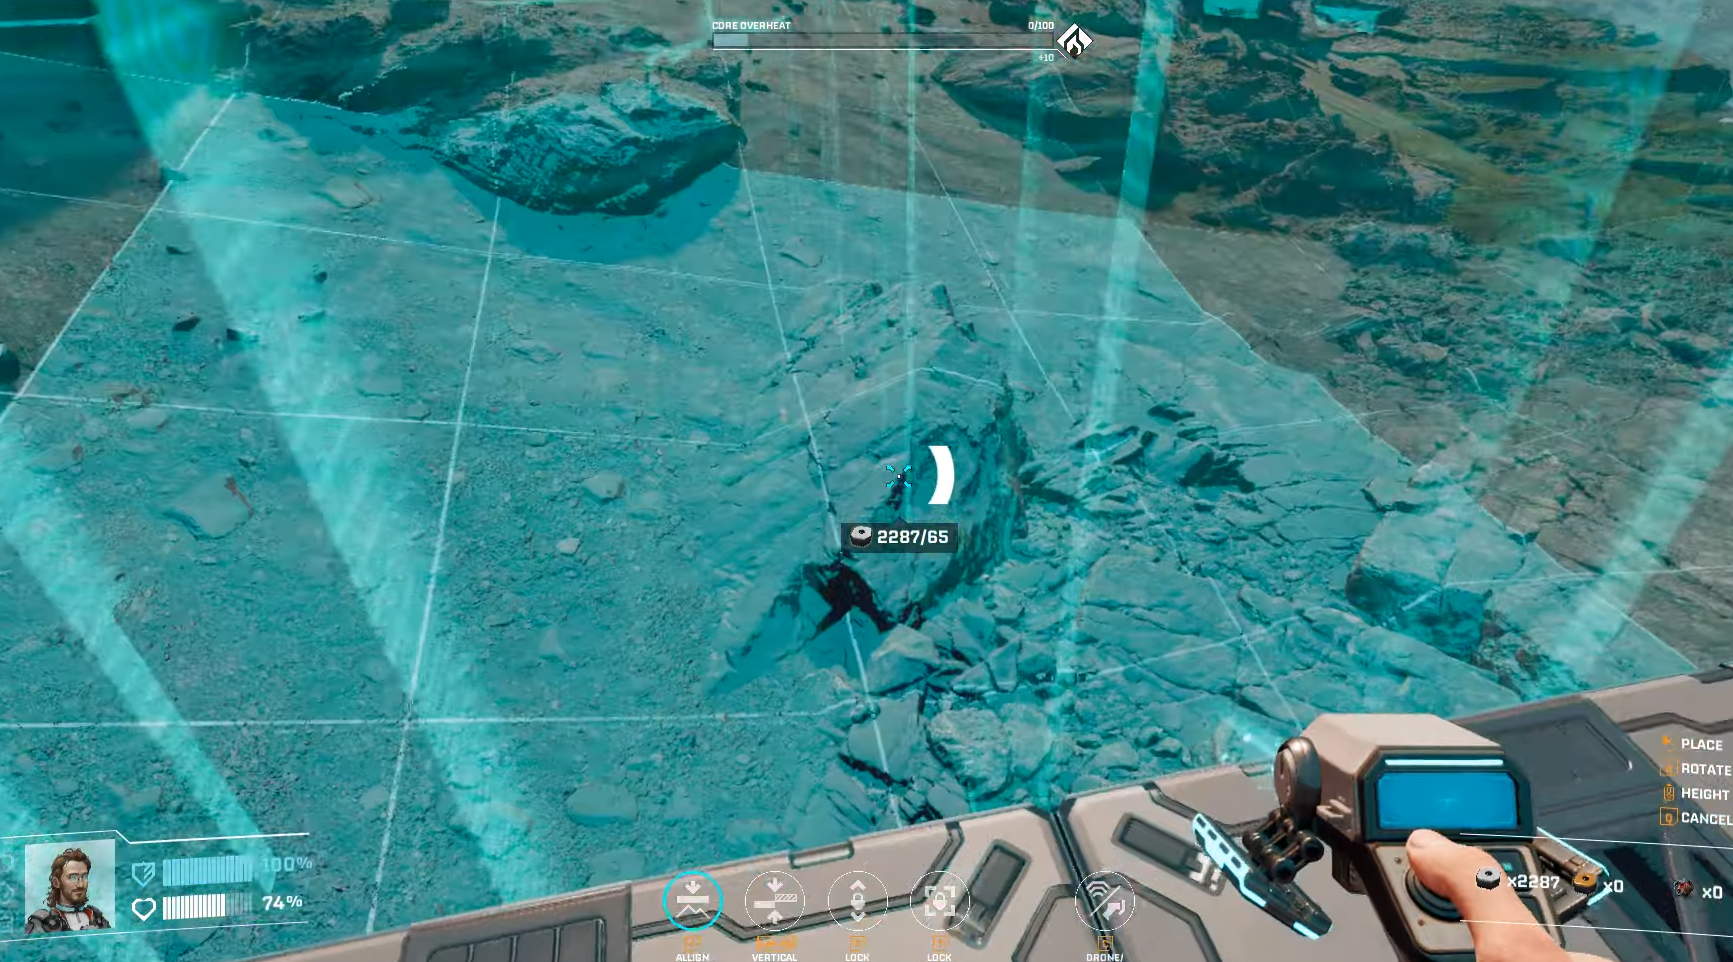
Snap the turret frame, add walls or railings for protection, and connect power if required via basic generators. This creates a pocket base surviving ruptures too—deconstruct later for full refund.
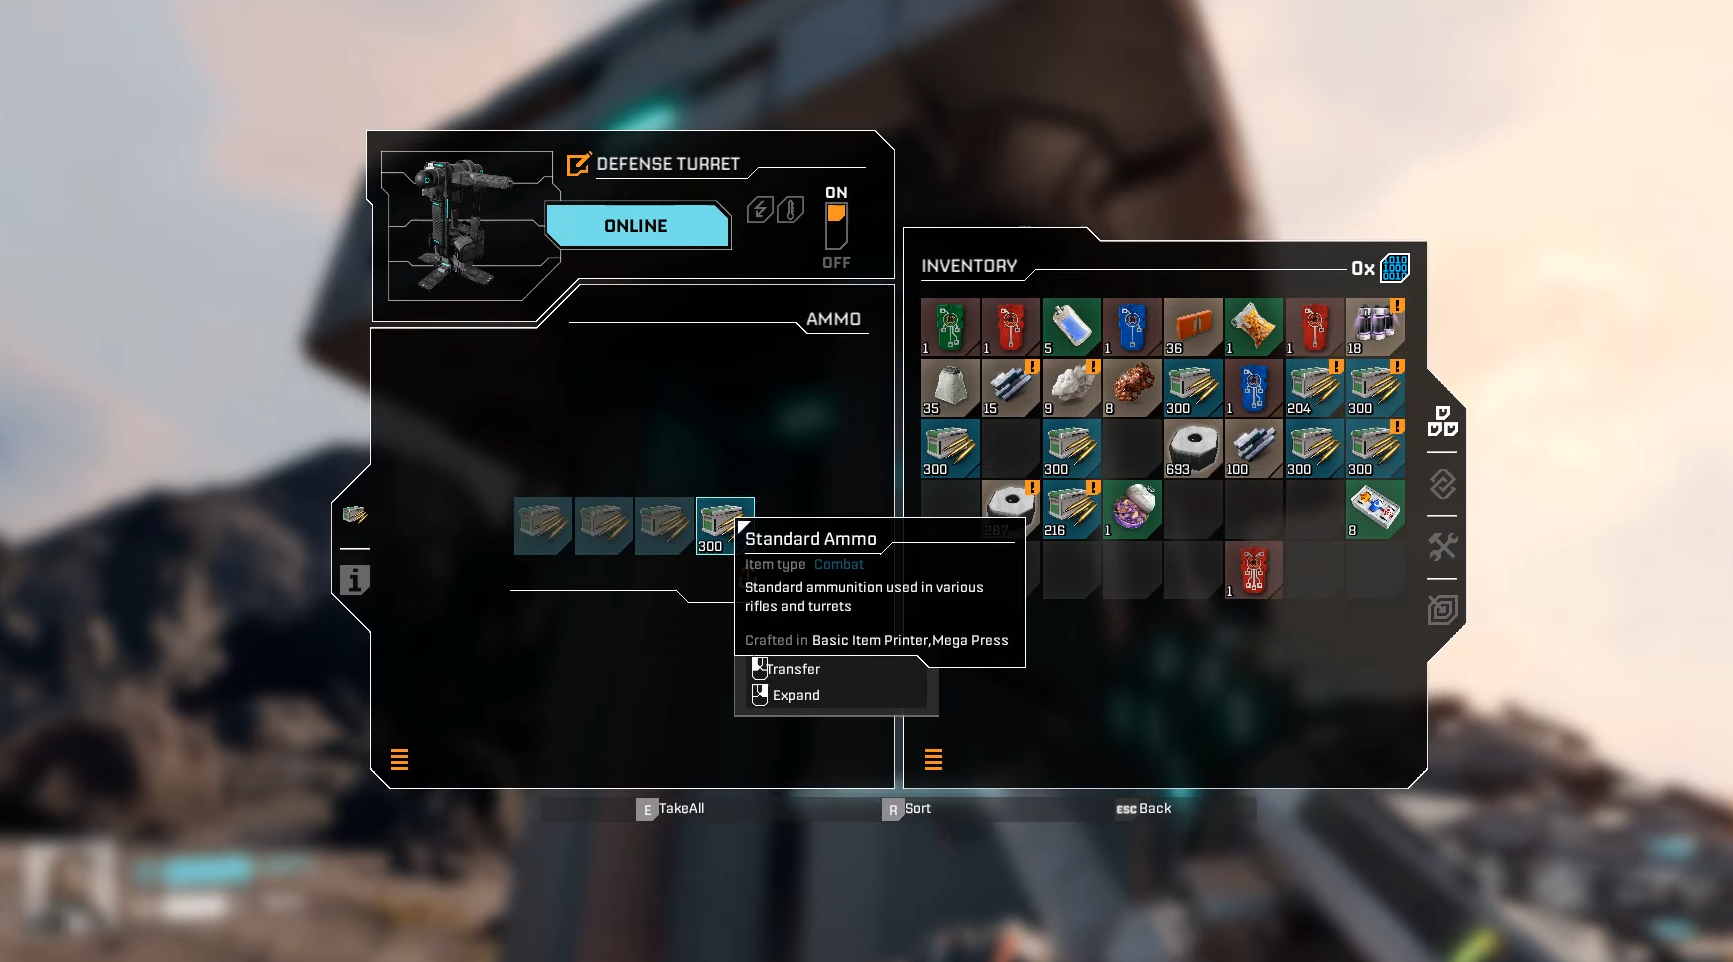
Step 3: Insert ammo into the turret
Craft or scavenge ammo (early bullets from wolfram wires via smelter line). Interact with the turret to load magazines—aim for 200+ rounds per wave. Test fire on initial bugs to confirm targeting; turrets auto-engage vermin approaching the scanner.
Step 4: Activate and complete the survey
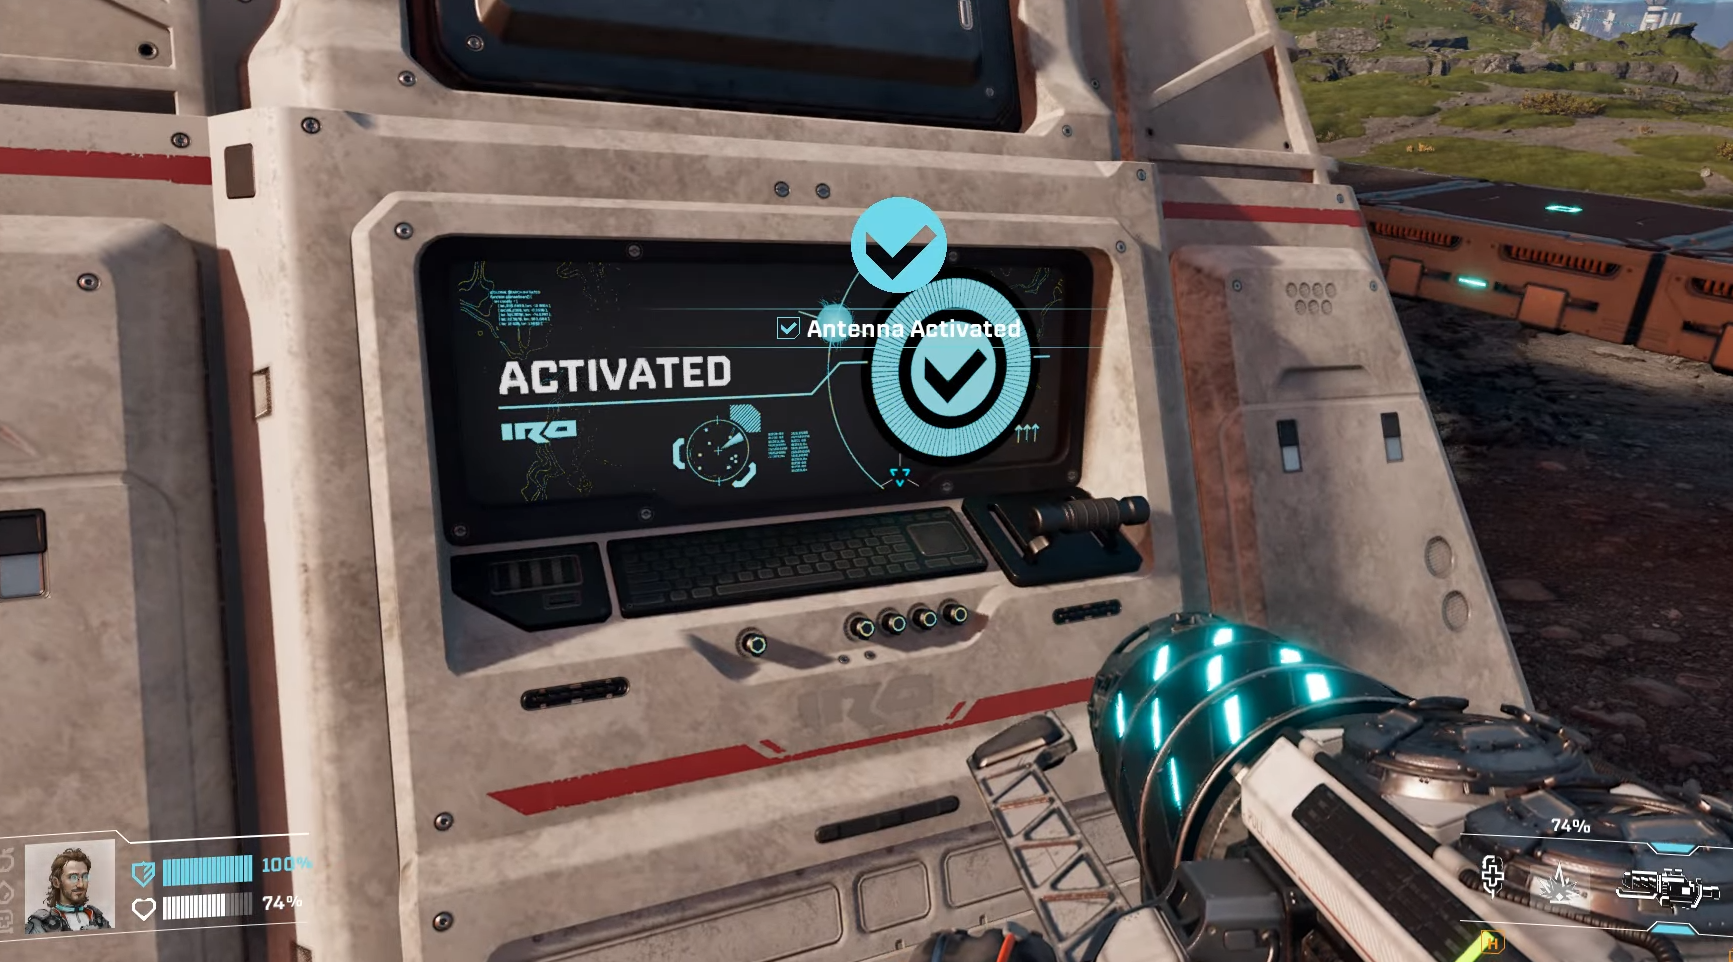
Start or restart the scan if interrupted, then retreat to your turret perch. Watch waves (toxic blues first—prioritize with pistol if close). Turrets handle most; scan hits 100% in ~90 seconds, then interact again to activate and reveal the map circle with POIs.

Advanced tips for multiple scanners
Elevate with pillars—bugs can’t jump high without platforms, dodging spitters from afar. Pair with pistol for toxic vermin, and scout post-rupture for safe clears. Scale to full map reveal by chaining 10+ scanners using interactive POI filters.
Chain these surveys to dominate Arcadia-7’s layout, fueling your factories and explorations effortlessly. You now handle vermin hordes from safety, turning a grind into a breeze.


