
What to know
- Start by picking a flat, rectangular area near your resource deposit and build a raised platform as your factory floor.
- Use supported platforms (not just foundations) to create a stable, level surface that avoids terrain issues.
- Leave 2–3 tiles between buildings so there’s enough room for rails, connectors, and future expansion.
- Plan your rail layout early: run main rails along the edges and use a pull‑based system to keep production flexible and efficient.
A well-planned factory floor is essential for smooth production in StarRupture. This guide shows you how to pick a site, build a level platform, and plan rails efficiently to create a clean, expandable base.
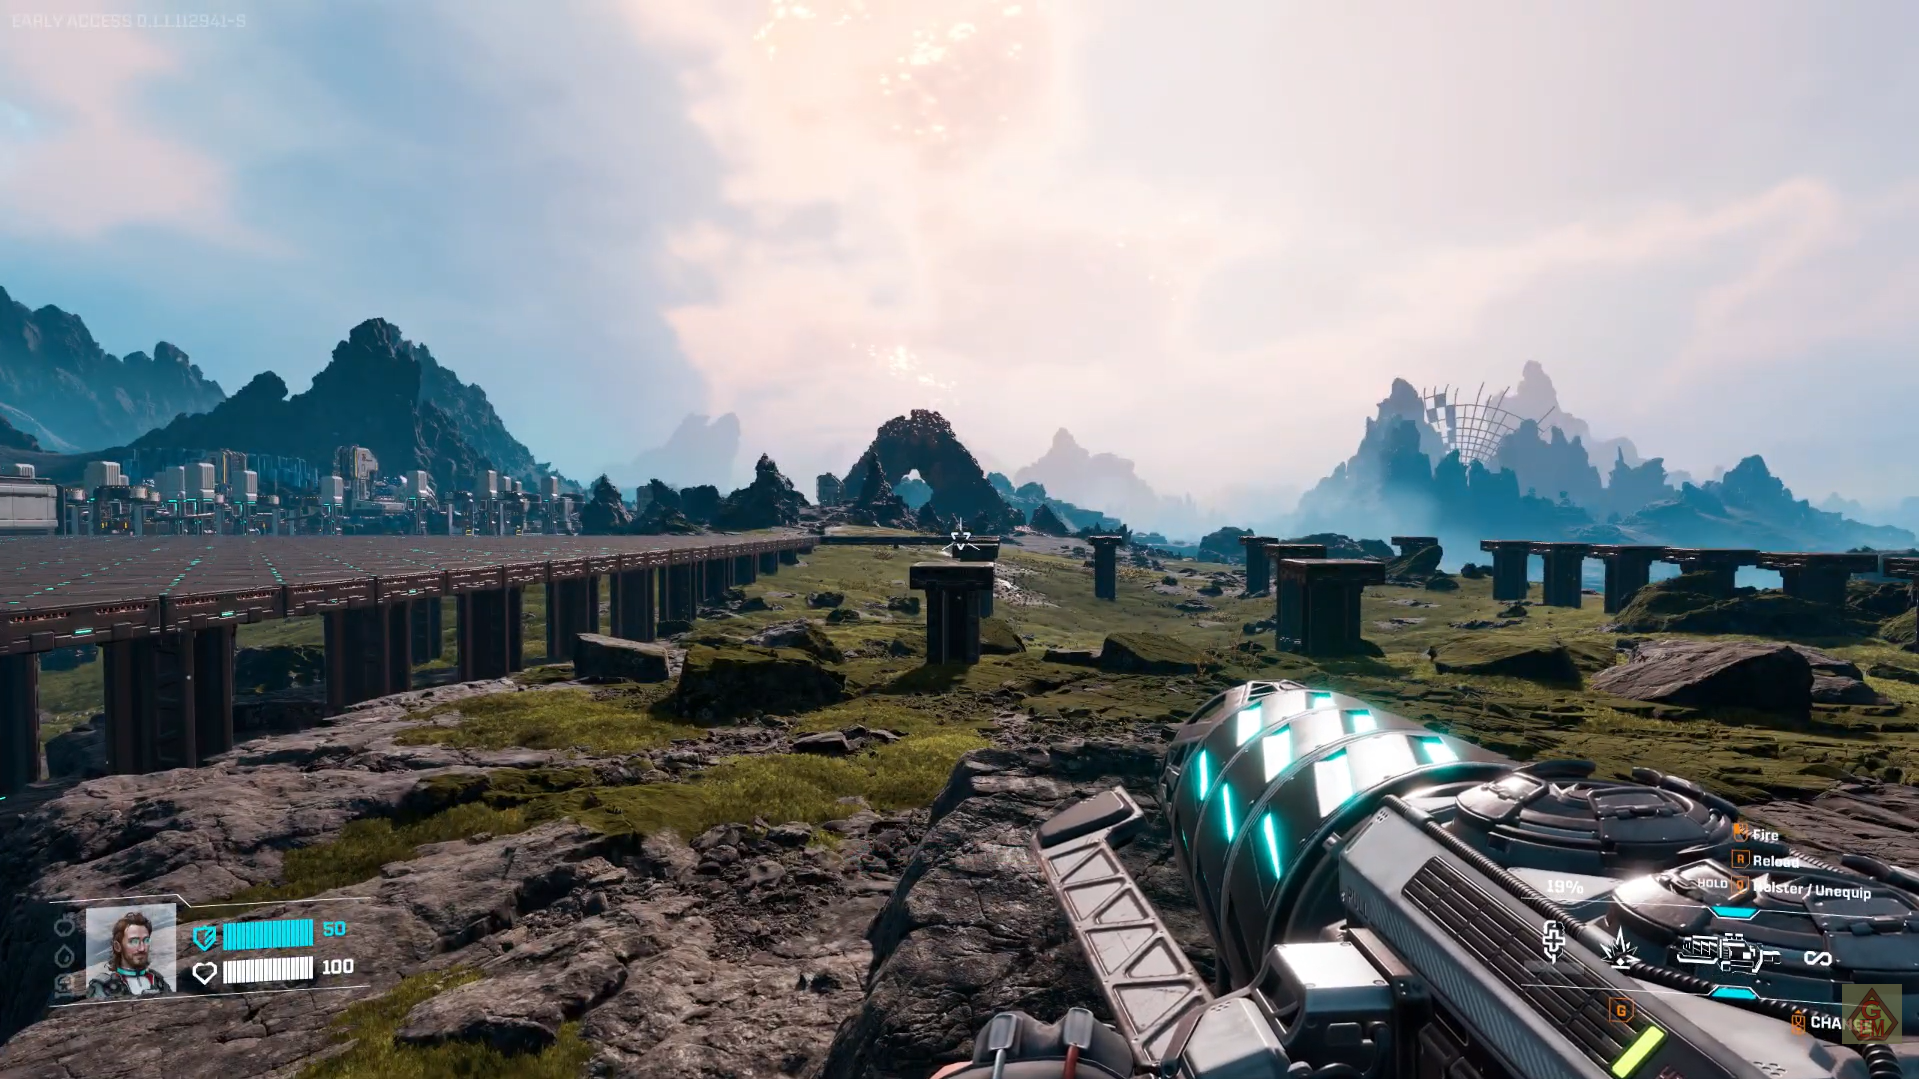
Choosing your factory site
Pick a large, roughly rectangular patch of relatively flat ground near your main ore or resource deposit. Avoid areas with big rocks, deep water, or very uneven terrain if possible, since those make rail routing and platform placement harder early on.
If the terrain is hilly, consider building your factory floor on a slope or rock formation so you can look down on your base; this makes it easier to place long rail lines and see where things connect. Climb up a nearby hill or rock and build your platforms from there, using stairs or ramps to connect levels.
How to build the Factory floor
Follow the steps below to build a clean, level factory floor in StarRupture:
Step 1: Place the support pillars
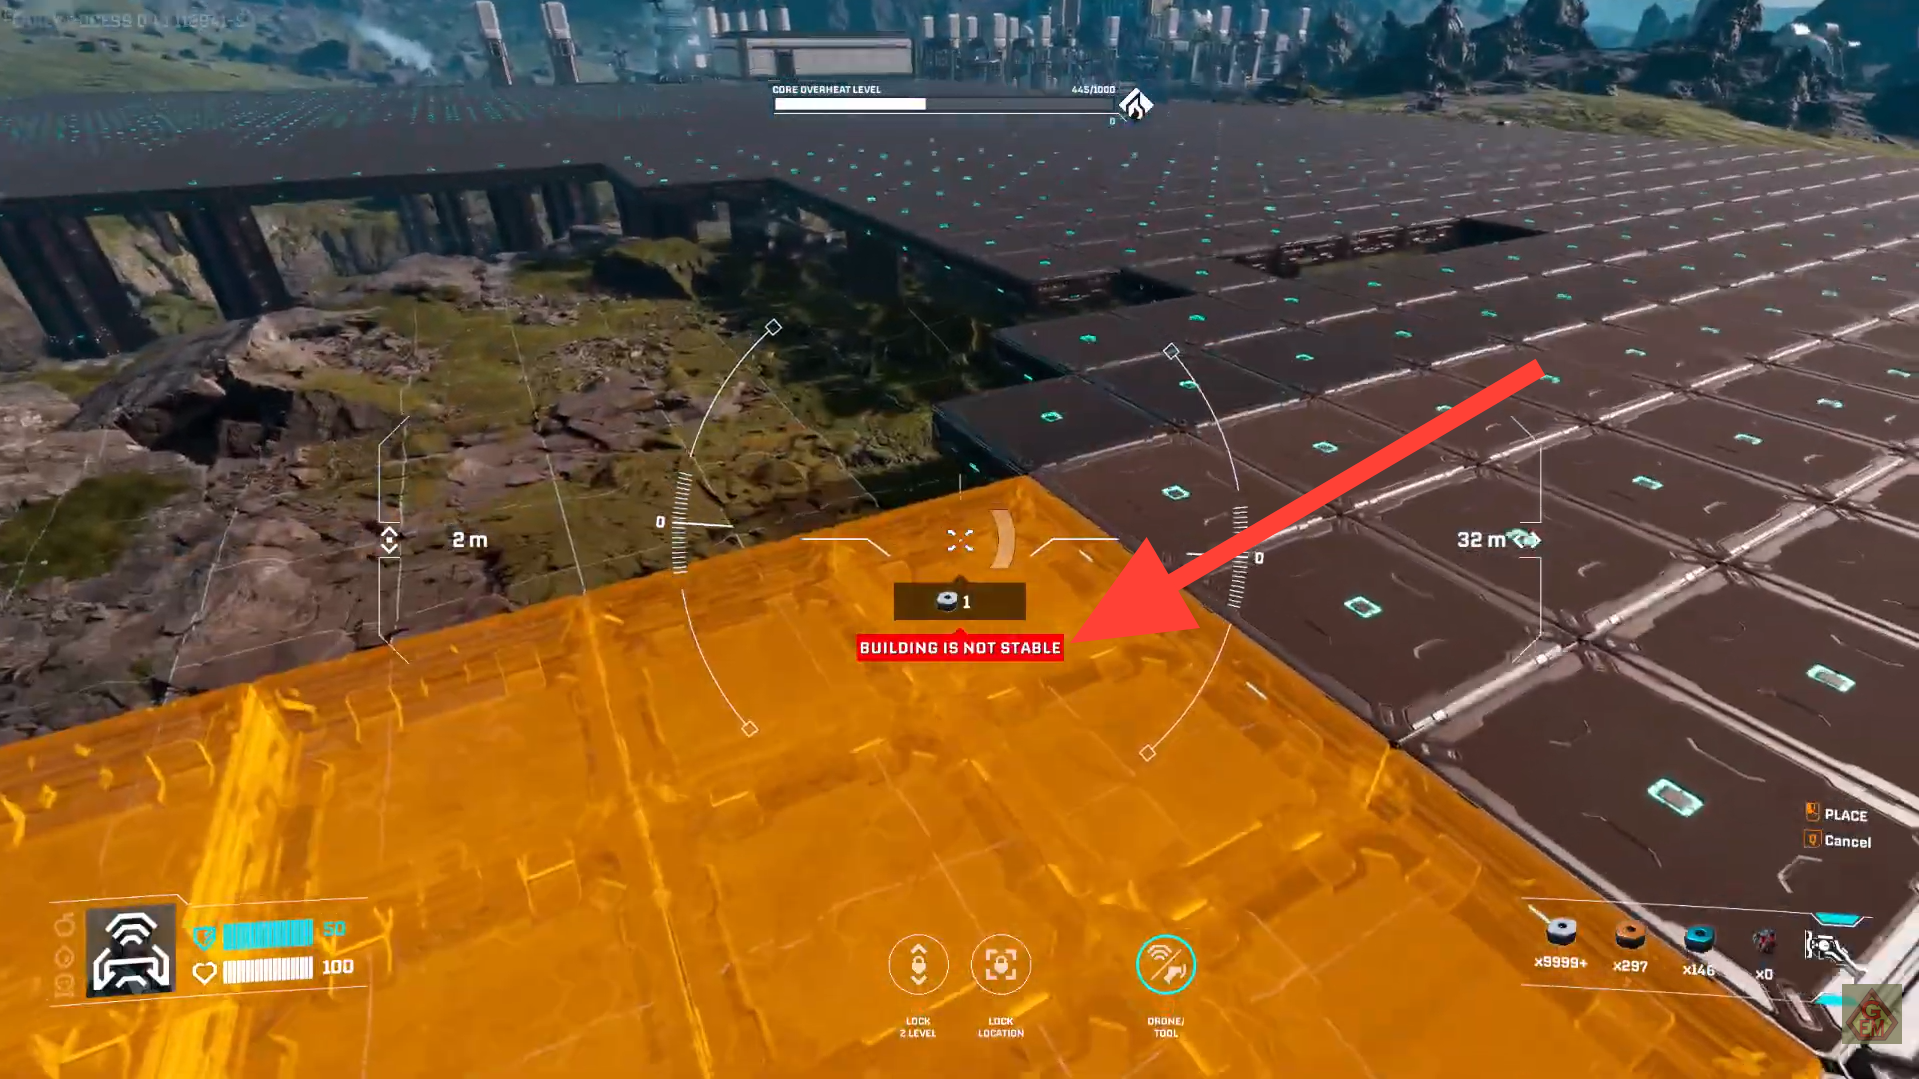
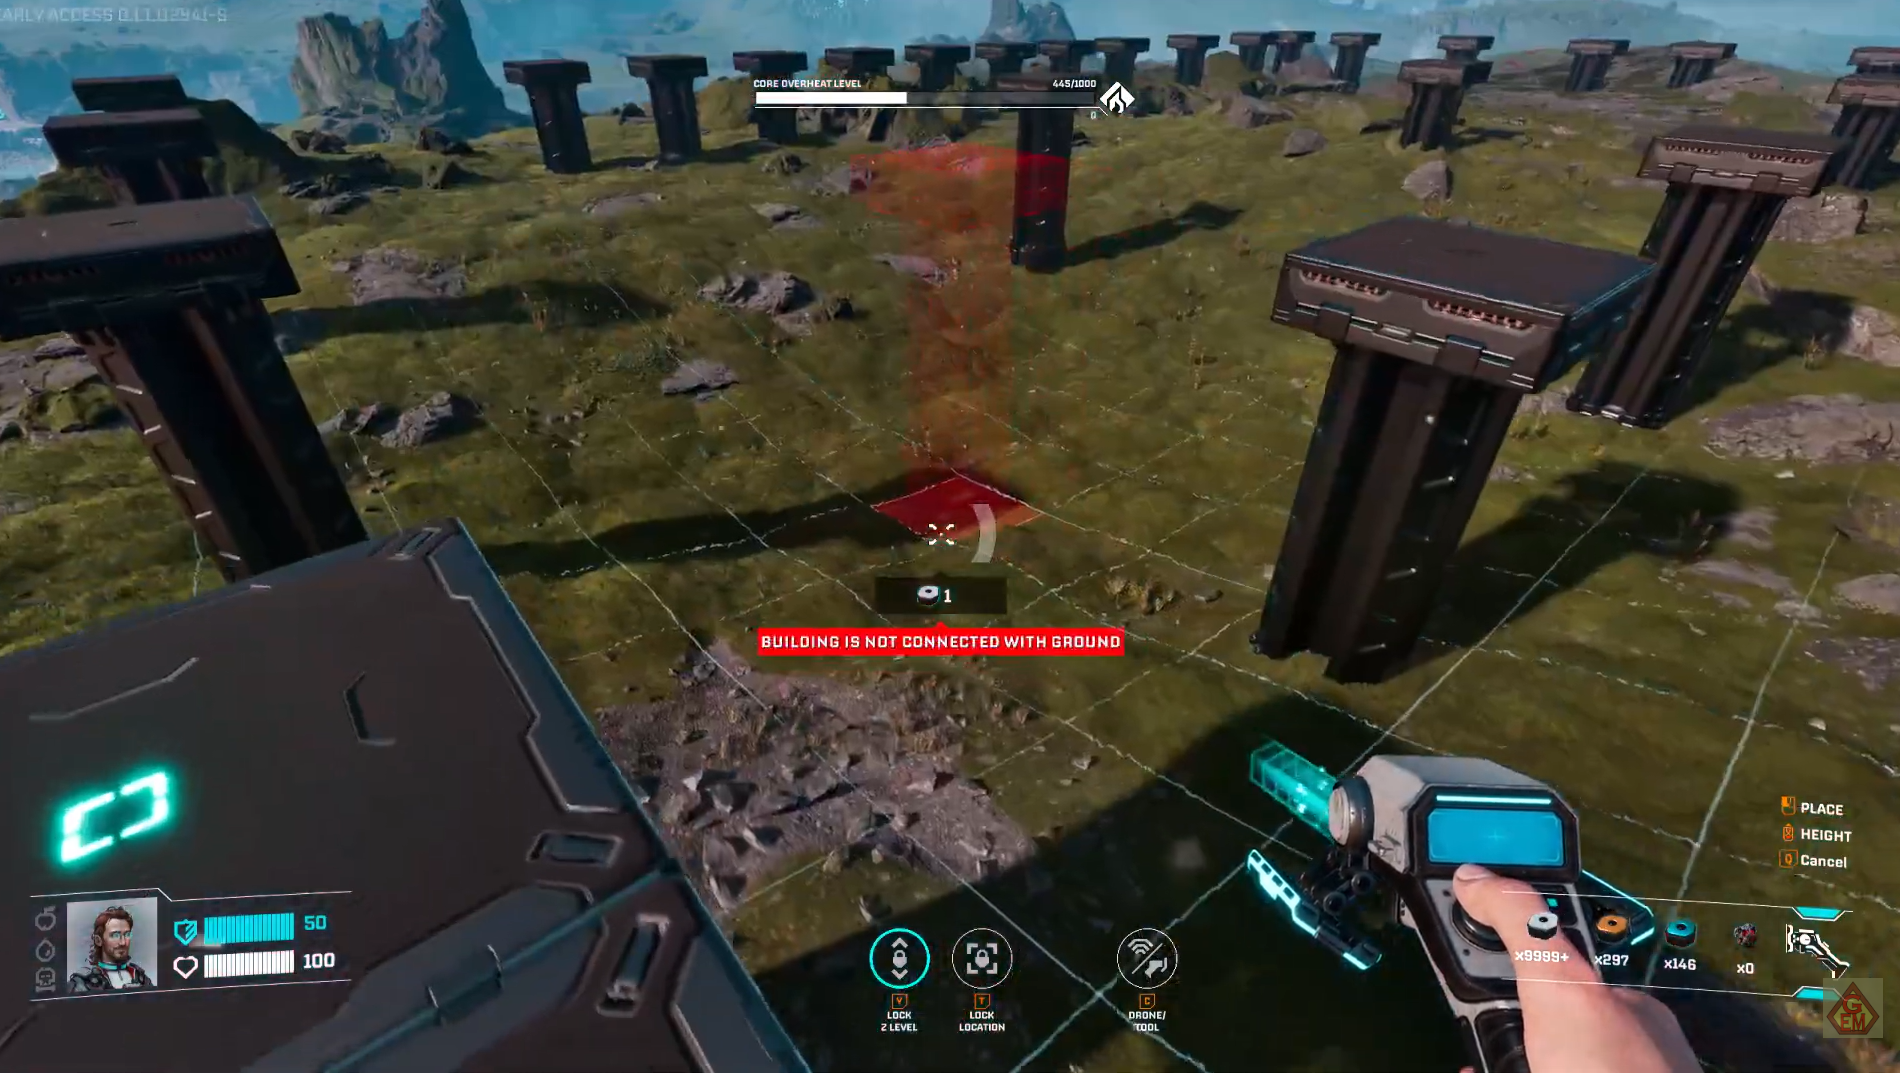
Begin by placing pillars at the corners and main support points of your factory floor. You don’t need a pillar under every platform, unless the game shows “build not stable,” that means part of the platform isn’t properly supported.
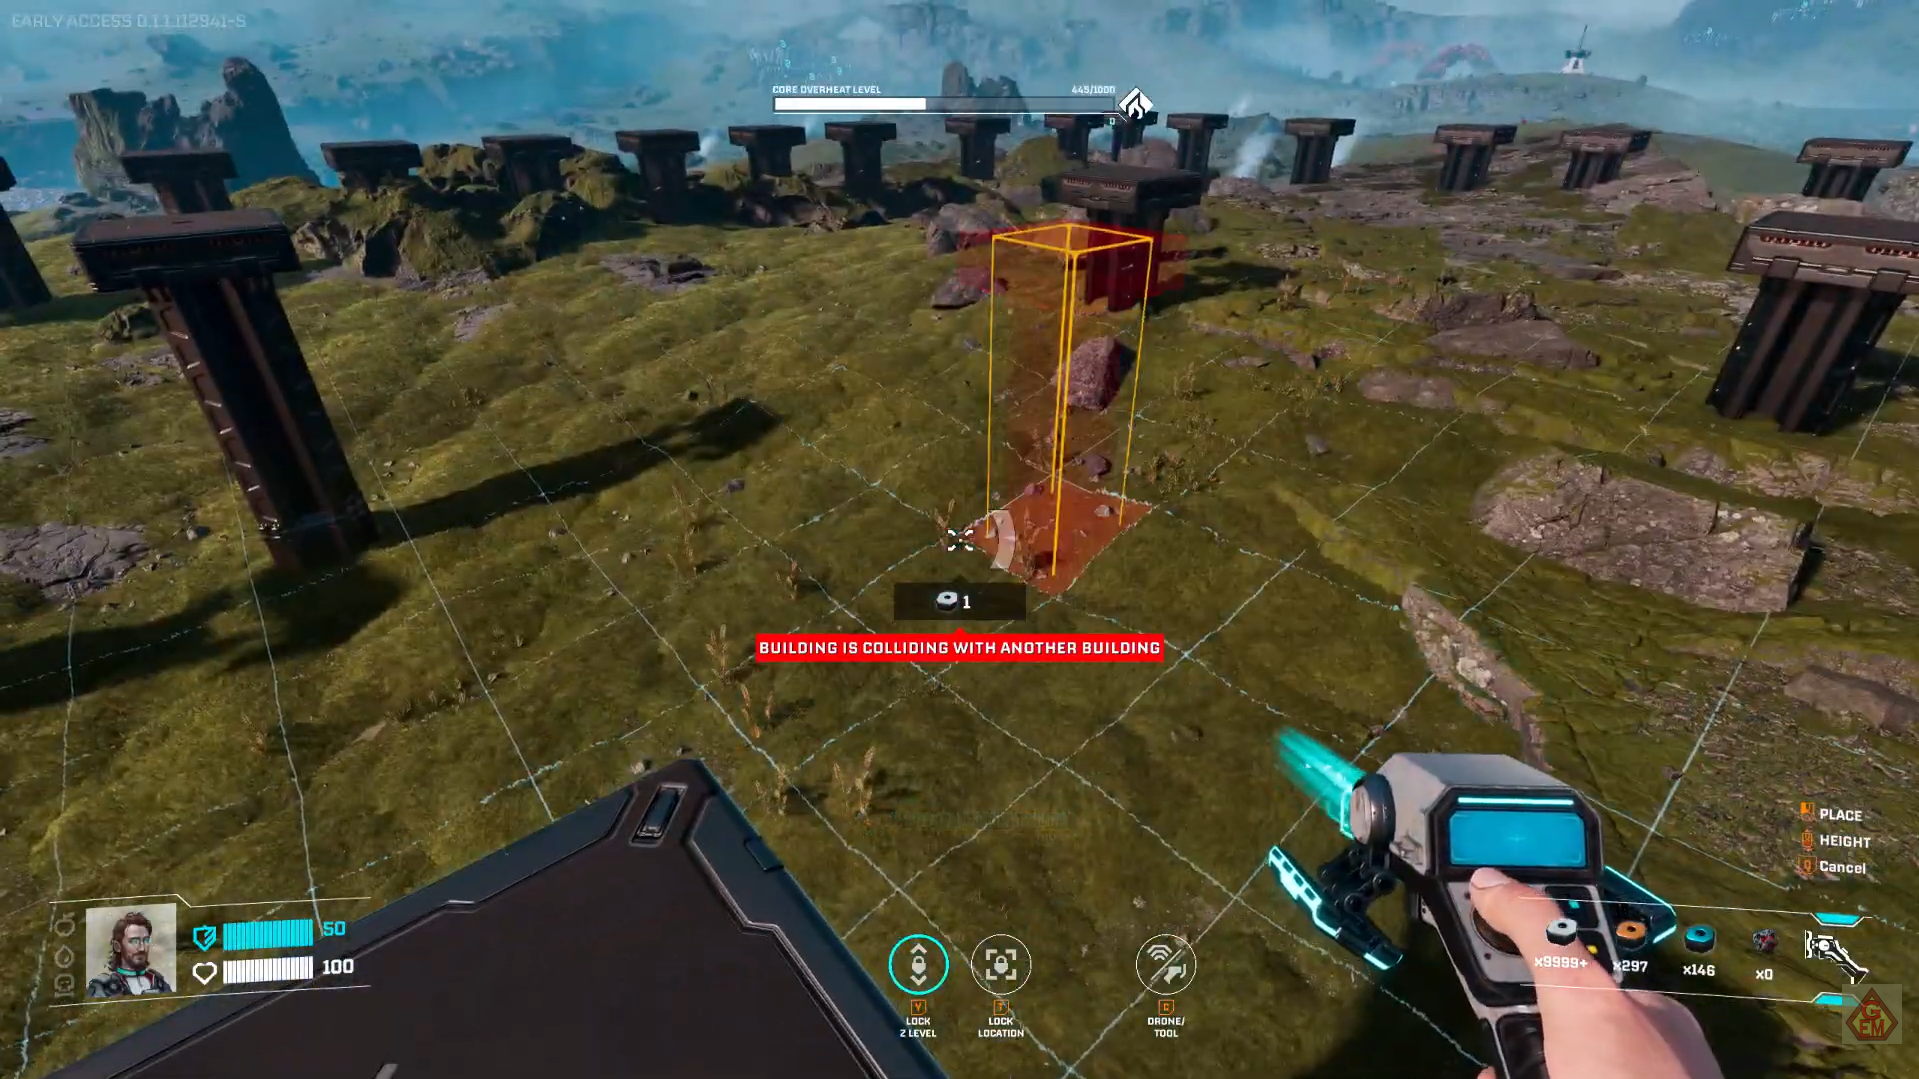
Place the support pillars. Image credits: Creepy Jar / YouTube: The Ginger Empire
Step 2: Level the pillars
Adjust each pillar to the same height, then lock it in place to keep the entire floor perfectly level.
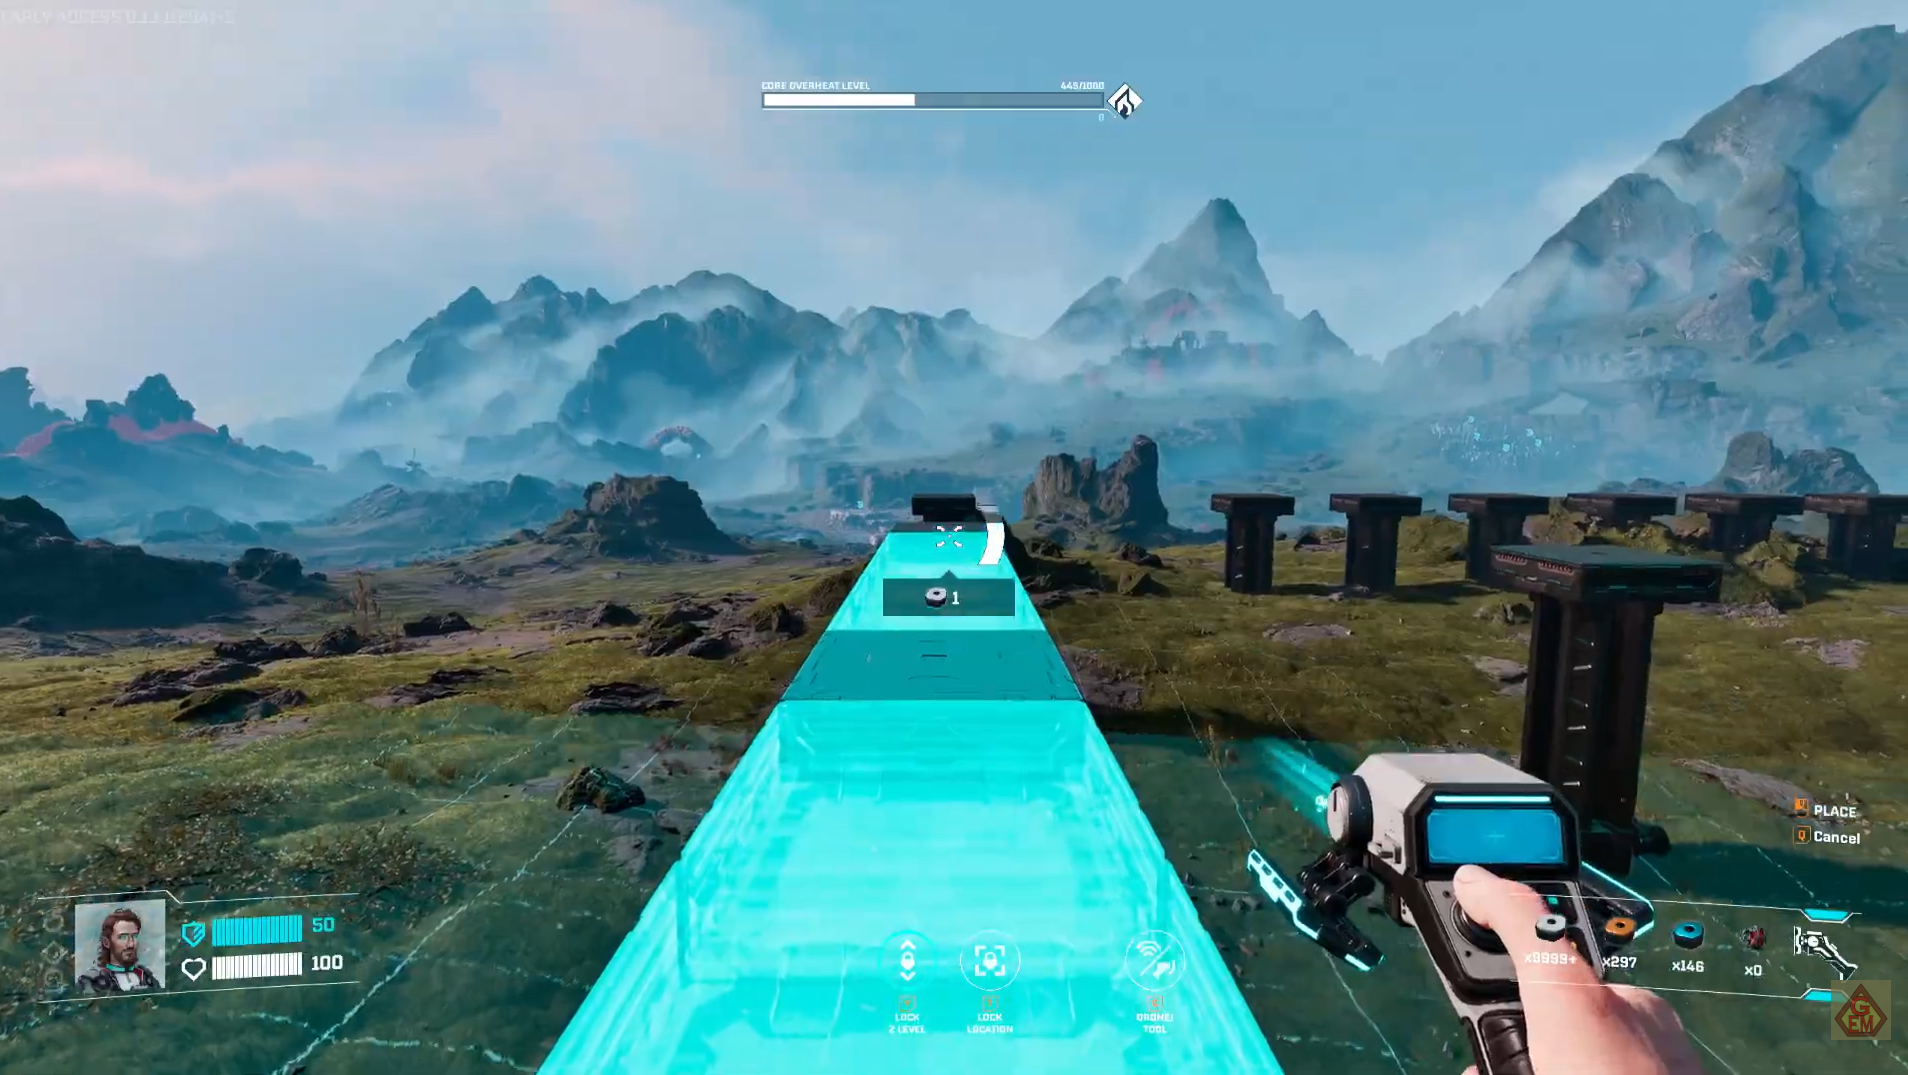
Step 3: Extend the floor platforms
Attach platforms to the pillars and stretch them outward to cover your floor area. Hold the place button (right-click) to lay multiple platforms at once for faster building.
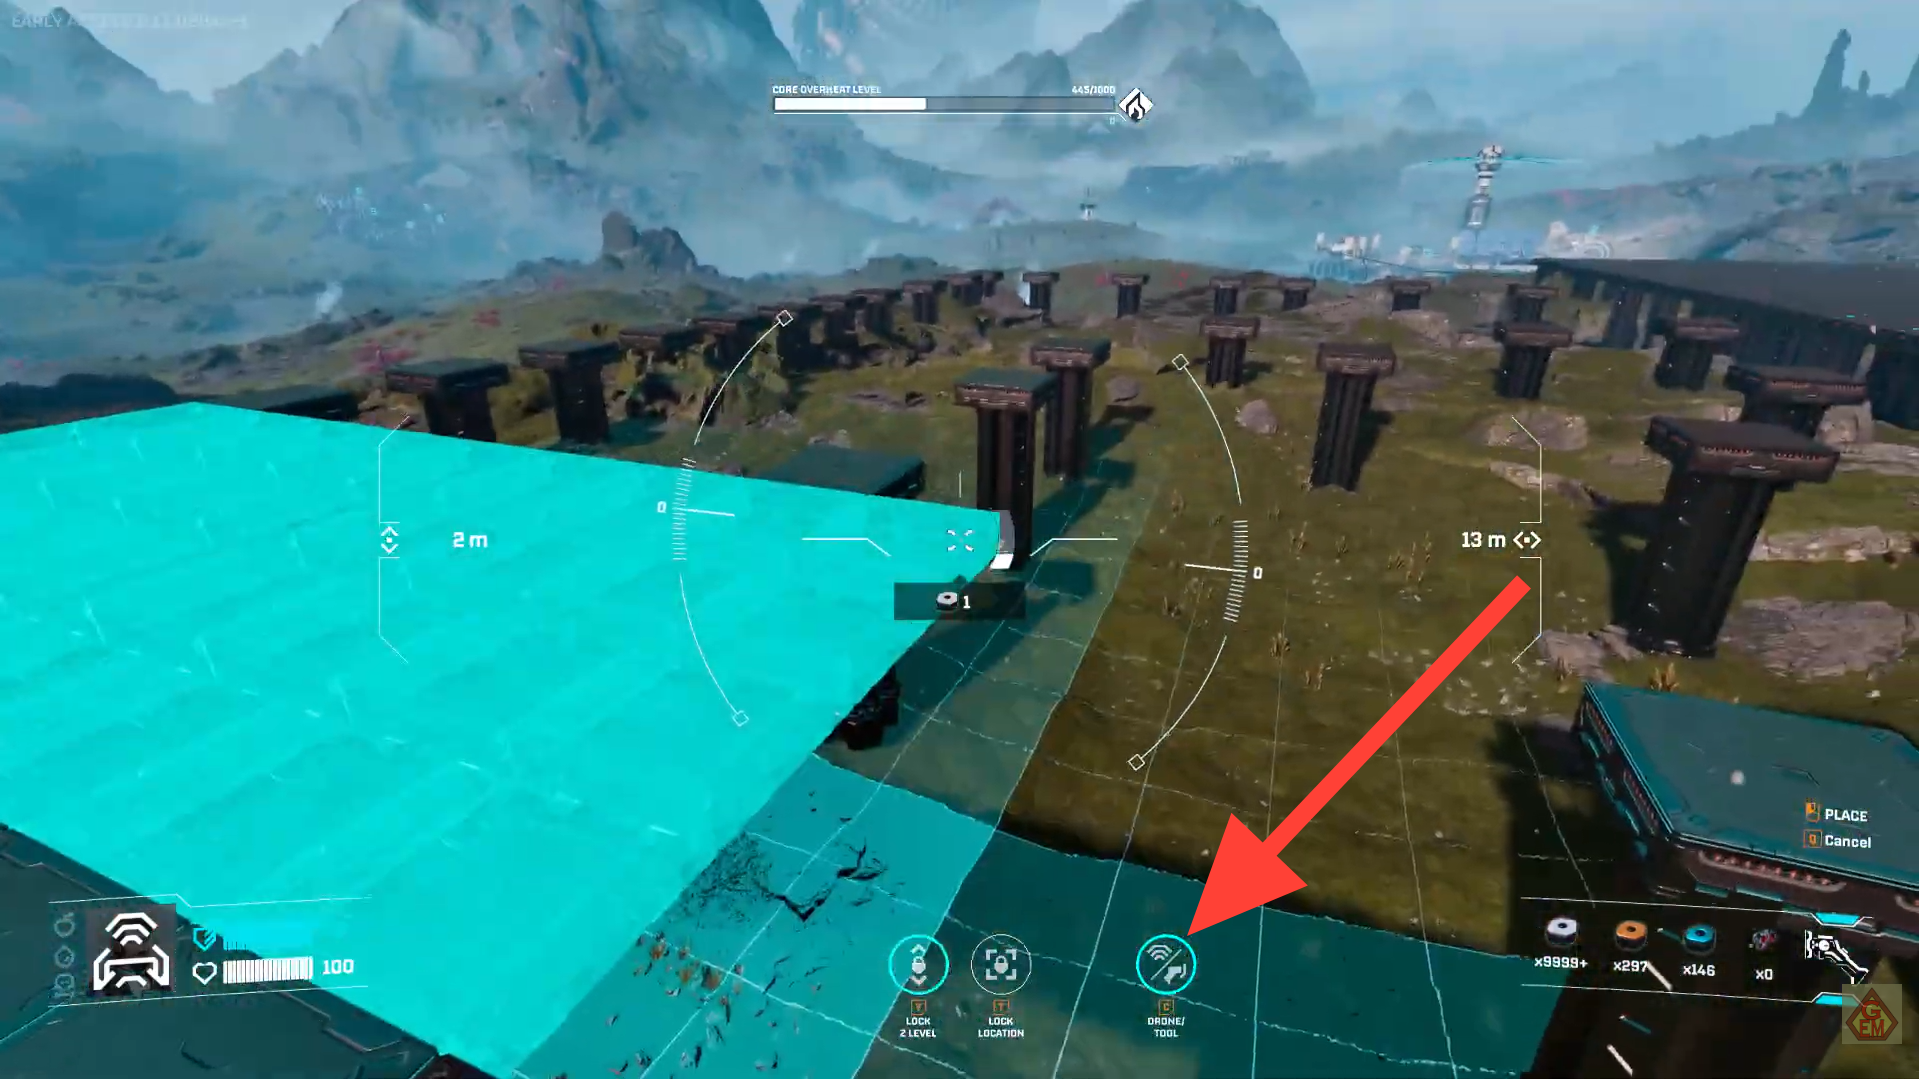
Step 4: Use Drone building
Once drone building is unlocked, switch to drone mode to speed up construction. With the height already locked, quickly place and stretch platforms across large areas, making wide, flat floors much faster to build than manual placement.
Step 5: Complete the floor layout
Keep adding and extending platforms until the entire floor area is fully covered and even.
Once the platform floor is complete, it serves as a solid foundation for placing production buildings like smelters and assemblers, with rails able to be built on or above it for smooth logistics.
How to avoid common mistakes
- Don’t build at the maximum height just because you can; choose a height that lets you connect everything in a straight line without going too high.
- Don’t cram buildings too close together; tight spacing makes rails and connectors messy and hard to fix later.
- Don’t ignore terrain; building on a stable, raised platform prevents “building not stable” errors and makes rail routing much easier.
- Don’t use a push‑based system early; pull‑based logistics reduce waste and make scaling production much smoother.
Factory floor done right
A well-built factory floor in StarRupture is flat, organized, and designed for expansion. By placing platforms carefully, leaving space between buildings, and planning your rails from the start, you’ll create a clean, efficient base that supports smooth production and makes future upgrades easy.
Hope this StarRupture Factory Floor guide proved helpful. Feel free to leave your opinions, corrections, or questions in the comments—we keep an eye on them and respond as needed.


