A detailed guide to identifying, countering, and using the Snitch drone in ARC Raiders to your advantage.
- What to know
- What the Snitch does in ARC Raiders
- How to deal with a Snitch efficiently
- How to use the Snitch to your advantage
- Avoid these common mistakes
- Practical field strategies to avoid a Snitch
- How Snitch connects to quests and loot
- Field-tested loadout suggestions
- Situations where ignoring it is smarter
What to know
- The Snitch is a flying scout drone that alerts enemy reinforcements instead of attacking you.
- Once detected, it calls in Wasps and Hornets, making encounters tougher.
- Destroying it can drop useful loot like the “Snitch Scanner,” required for some quests.
- Spotting and taking it down early is key to staying in control during raids.
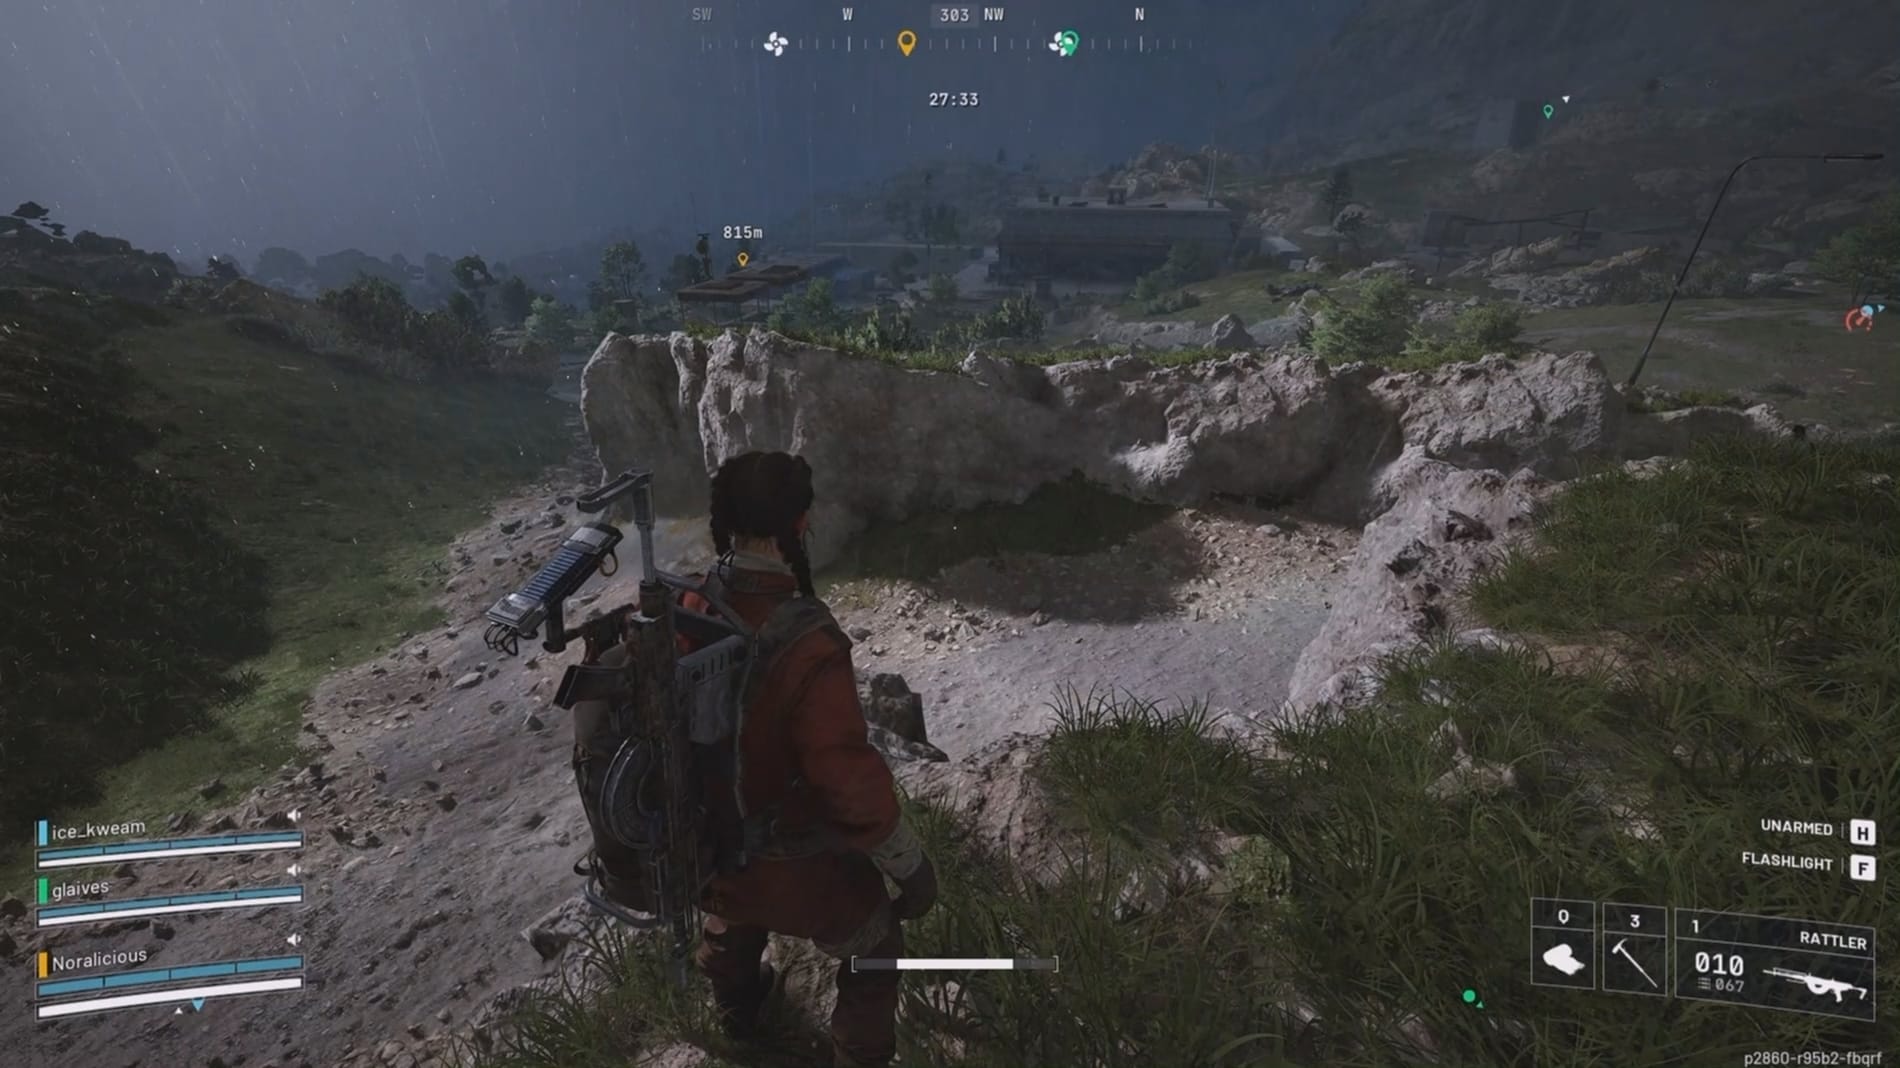
The Snitch is one of those enemies that seems harmless until it isn’t. It doesn’t shoot, chase, or explode — but the moment it sees you, it calls in a full swarm of ARC reinforcements. Whether you’re sneaking through a patrol route or finishing a supply run, knowing how to handle this drone can save you a lot of unnecessary chaos.
What the Snitch does in ARC Raiders

How to recognize it
The Snitch is easy to miss at first glance. It’s a small, three-rotor drone with a soft red or white glow and a faint buzzing sound that cuts through the quiet of any zone. You’ll often notice it hovering above open areas or slowly sweeping its light beam across the ground. Once that beam touches you, it’s already alerting others.
What happens after it spots you
When the Snitch detects you, it immediately sends a signal to nearby ARC units. Within seconds, expect at least two Wasps and one Hornet to appear in your direction. They’ll flank aggressively, and since you’re often out in the open when it happens, cover becomes your best friend. This quick escalation can easily ruin an otherwise controlled encounter.
Why you’ll end up hunting it anyway
Even if you prefer avoiding them, certain contracts and side missions — like The Trifecta — require you to destroy a Snitch and collect its scanner part. Completing these objectives helps unlock trading components or contributes to faction progression. So while dodging them keeps runs quieter, you’ll eventually need to face them for the rewards.
How to deal with a Snitch efficiently
Preparation tips
- Bring a weapon that can reach flying targets easily — marksman rifles or precision automatics work best.
- Use cover to peek and line up shots rather than chasing it into open ground.
- Always scan the sky before entering a new zone; if you spot one early, you control the pace.
Step-by-step guide to handling the Snitch
Step #1: Locate before you’re detected
Keep an eye out for light sweeps or faint movement above structures. Snitches patrol predictable paths. Spotting them first gives you the choice to avoid or eliminate them.
Step #2: Choose your approach
If you want a stealthy raid, stay low and move around its patrol path. If you’re doing a quest or farming components, take aim before it faces you.
Step #3: Take it down quickly
Snitches have almost no armor, so a single accurate burst or well-placed shot destroys them. Aim for the central rotor body — not the light — for consistent hits.
Step #4: Collect the drop and relocate
After destruction, loot the “Snitch Scanner” if it appears. Even if you weren’t detected, it’s smart to change position — sometimes nearby enemies react to the explosion noise.
How to use the Snitch to your advantage
Sometimes it’s smarter to let the Snitch do its job. If you need combat XP, weapon practice, or certain loot types, trigger its alert intentionally in an area with good cover. The reinforcements it summons give solid experience and material drops, especially early on.
This tactic also helps when you want to test new weapons or skill builds — letting a Snitch call in drones creates repeatable, controlled skirmishes without wasting raid time.
Avoid these common mistakes
| Mistake | What happens |
|---|---|
| Ignoring the Snitch’s presence | You’ll be surrounded before realizing where the enemies came from. |
| Firing too late | Once the detection beam hits you, reinforcements are already on the way. |
| Fighting in open areas | The summoned Wasps and Hornet will out-flank you easily. |
| Forgetting to loot the drop | The quest won’t progress unless you pick up the Snitch Scanner manually. |
Practical field strategies to avoid a Snitch
Keep a mental note of patrol zones
Most Snitches reappear in consistent areas between raids. Mark or remember those spots so you can plan your movement routes accordingly.
Use audio cues
Listen for its distinct buzzing and faint scan hum — often you’ll hear it before you see it. That few seconds of warning makes all the difference.
Pair with stealth equipment
If you’re using gadgets that mask sound or reduce detection, you can move closer for a clean shot. Suppressors work well for keeping the alert level down after destruction.
Plan escape routes
Even if you’re confident, always know where to fall back. If you miss your first shot and it spots you, reinforcements arrive fast. Having cover or an exit nearby turns a bad situation manageable.
How Snitch connects to quests and loot
The Snitch isn’t just a random encounter — it’s tied to several progression objectives.
| Quest | Objective | Reward |
|---|---|---|
| The Trifecta | Destroy one Snitch, one Hornet, and one Wasp | Component bundle + XP |
| Silent Sweep | Avoid detection by any Snitch in three raids | Stealth perk bonus |
| Signal Intercept | Collect Snitch Scanners | Crafting materials |
Completing these tasks also improves your trade network reputation, unlocking higher-tier loot in supply caches and outposts.
Field-tested loadout suggestions
- Primary: Marksman rifle or scoped assault weapon for accuracy.
- Secondary: Mid-range SMG or shotgun in case reinforcements get close.
- Gadget: EMP Grenade — disables Snitches instantly if you can land it.
- Support: Portable cover deployer or smoke grenade to break sightlines after engagement.
Situations where ignoring it is smarter
There are runs where fighting a Snitch isn’t worth it — for example, during high-loot extractions or escort-based contracts. Drawing attention can delay completion and risk valuable gear. In those moments, moving quietly and staying out of its scan range is the smarter play.
The Snitch may not look dangerous, but it controls the tempo of your encounters more than most ARC units. Learn its patterns, keep your aim steady, and decide early whether to fight or slip past. Once you understand its role, it becomes less of a problem and more of a tactical choice — one you can use to gain XP, test builds, or stay completely invisible when it counts.


