What to know
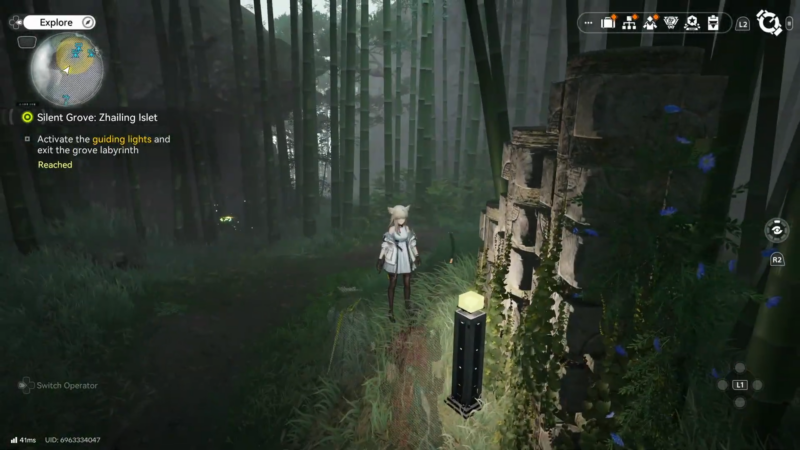
- The objective is “Activate the guiding lights and exit the Grove Labyrinth,” and it starts after scanning the area.
- The guiding lights must be activated in a specific sequence or the mechanism resets.
- The solution is a 4-light route that works around the set of lights in a fixed order.
- After the fourth activation, the route opens so the Grove Labyrinth can be exited.
This Silent Grove: Zhailing Islet objective is a short, order-based interaction: scan first, then activate four guiding lights in sequence. The key detail is that the game does not allow partial progress if the sequence is broken—any mistake forces a reset, so consistency matters more than speed.
Reference table for the puzzle
| Detail | Quick reference |
|---|---|
| Quest objective shown | “Activate the guiding lights and exit the Grove Labyrinth.” |
| Required prerequisite | Scan the area before the activation step appears. |
| Failure behavior | Activating in the wrong order resets the puzzle. |
| Total lights | 4 guiding lights. |
| Core requirement | Complete all four interactions in the same attempt. |
Where the puzzle goes wrong most often
Most failed attempts come from hitting a nearby light too early while moving between devices, especially if the interact prompt appears before reaching the intended one. Once the reset happens, it’s usually faster to return to the start of the route and repeat the full four-light chain cleanly rather than trying to remember “where it left off,” because it does not preserve the sequence state after a mistake.
How to activate the guiding lights in the correct order
Step 1

Activate the first guiding light by approaching the first device shown in the route and interacting with it.
Step 2
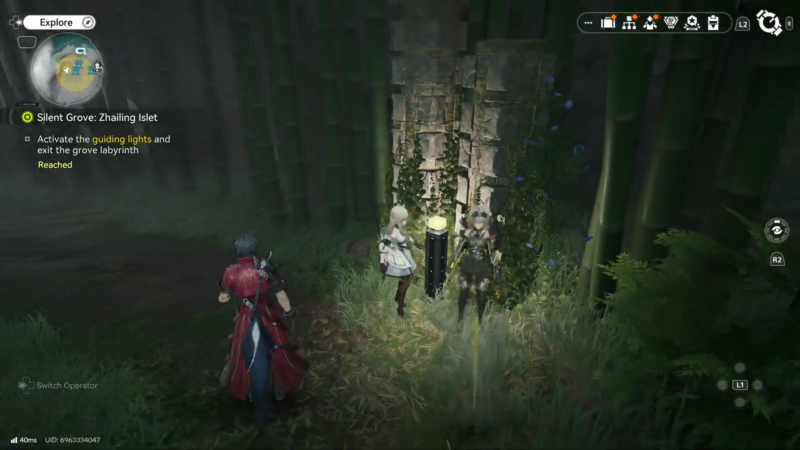
Move to the next guiding light in the route and activate it second.
Step 3
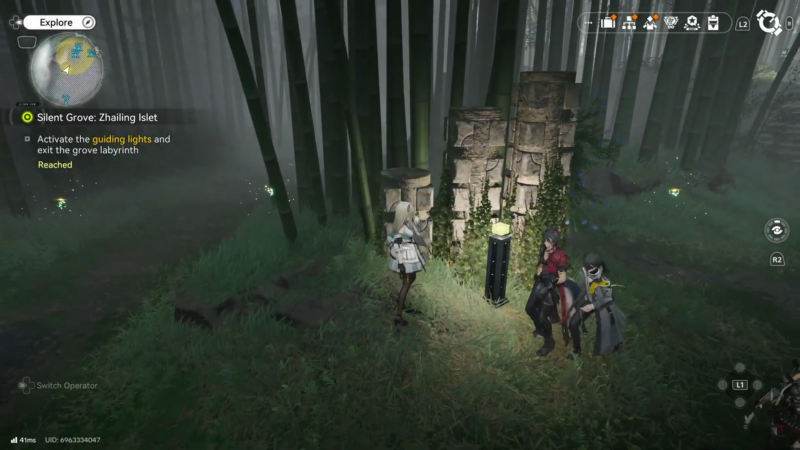
Continue working around to the third guiding light and activate it.
Step 4
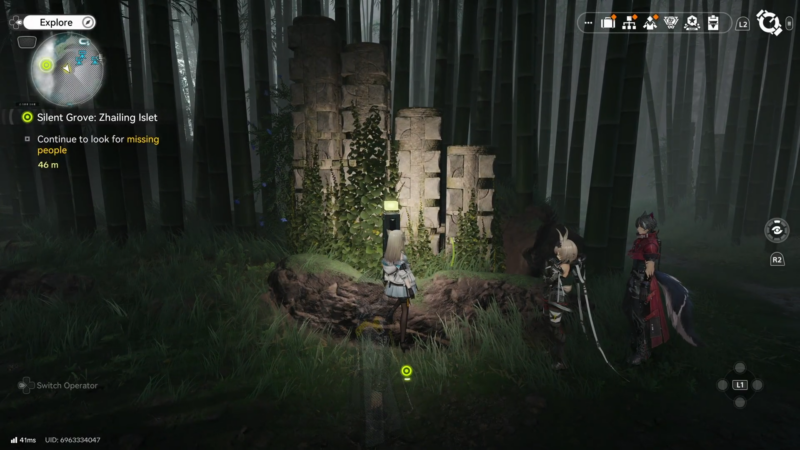
Activate the final (fourth) guiding light to complete the sequence and open the way through.
Troubleshooting if the sequence keeps resetting
If the puzzle resets, it means the sequence was broken at some point, so the solution is always the same: restart from the first light and repeat the full order. It also helps to pause for a moment at each device to confirm the correct target is being interacted with (especially when two lights are close together). If the reset happens repeatedly at the same point, it’s typically a sign that the route is being followed correctly but the wrong light is being selected in that area—re-approach from a slightly different angle to avoid grabbing the wrong prompt.

Closing notes on exiting the Grove Labyrinth
Once the fourth guiding light is activated in the correct order, the route opens and it becomes possible to move through and exit the Grove Labyrinth to complete the objective.