Follow this simple guide to complete the Runes of Power quest in The Forge Roblox with ease.
Get ready to unlock new powers in the “Runes of Power” quest in The Forge on Roblox. This quest, part of a chain of tutorial quests given by Sensei Moro, teaches you how to attach runes to your enhanced equipment. Completing it marks the final step in the tutorial series, preparing you for the challenges ahead.

How to start
Complete the The First Upgrade quest first to unlock the Runes of Power quest.
Objectives
- Attach a rune to any equipment
Walkthrough
Follow the steps below to complete the Runes of Power quest:
Step 1
After completing The First Upgrade quest and enhancing your equipment to +3, you’ll see that the item now unlocks a Rune Slot.

Step 2
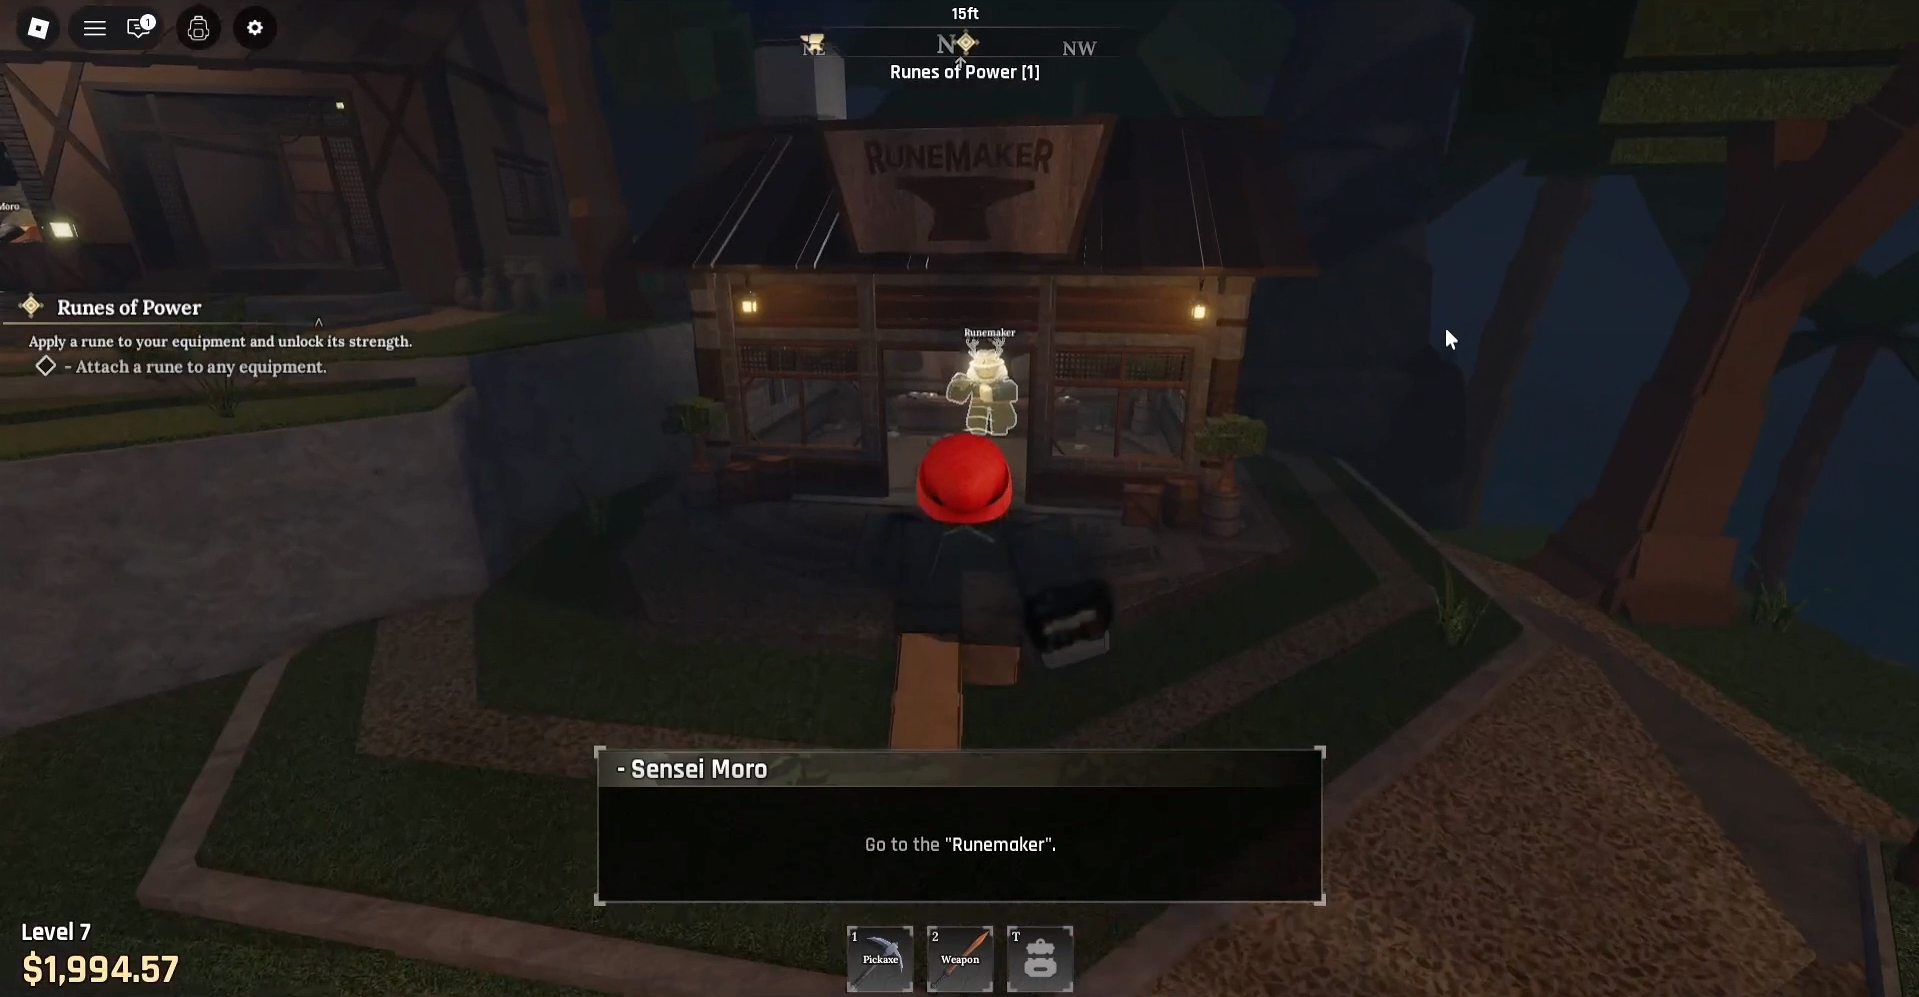
Head to the Runemaker’s shop and interact with him inside to continue.
Screen recording by: NerdsChalk
Step 3
Select the first dialogue option to begin the rune tutorial.

Step 4
Select your equipment, choose the Rune you want to attach, then press Attach to complete the quest.
Screen recording by: NerdsChalk
Step 5
After completing the Runes of Power quest, the next quest—End of the Beginning—will start automatically. Simply speak with Sensei Moro to finish it, marking the end of the tutorial so you can begin your real adventure.
Screen recording by: NerdsChalk
For Wiki
NPCs – Runemaker, Sensei Moro
Locations – Stonewake’s Cross, Runemaker’s Shop, The Forge
Runes – Flame Spark
Thanks for taking the time to go through this Runes of Power walkthrough guide. If it helped you understand things better, do share your thoughts, impressions, or doubts in the comments section. We keep a close watch and try to respond promptly to ensure you always get the support you need.


