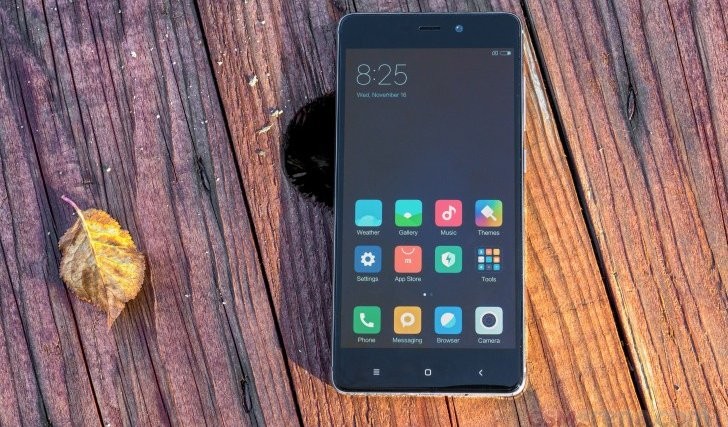
It has only been a couple of weeks since the announcement of Xiaomi’s Redmi 4 Prime and Redmi 4 Pro, and the third-party devs already has an unofficial build of TWRP recovery ready to install/flash to both the devices.
For the unknown, TWRP recovery let’s you install/flash unsigned zip files to your device. This can be rooting scripts, custom roms or mods or other similar stuff. You can also take full backup of your phone complete with all apps and games (with data) and other device settings. Android currently doesn’t support backups of this kind, so this is one of the most useful features of TWRP recovery.
Also, with TWRP now available, you can root Redmi 4 Prime and Redmi 4 Pro easily by flashing SuperSU zip using the recovery. SuperSU is developed and maintained by Chainfire, a renowned developer in the Android rooting scene.
Note: You must have an unlocked bootloader on your device to be able to install TWRP recovery. Xiaomi has its own setup for allowing bootloader unlock on its devices, check it out here.
Downloads
- Download TWRP recovery for Redmi 4 Prime/Pro (.img)
- Download SuperSU (.zip)
How to Install TWRP recovery on Redmi 4 Prime/Pro
- Download TWRP recovery .img file for your Redmi 4 Prime/Pro and save to a separate folder on your PC.
- Setup ADB and Fastboot on your PC, follow this link [icon name=”external-link” class=”” unprefixed_class=””].
- Enable USB debugging on your device:
- Open Settings on your device.
- Go to About phone and tap seven times on Build number, this will enable Developer options.
- Now go back to Settings and you’ll see Developer options there, open it.
- Tick the USB Debugging checkbox.
- Open the folder where you saved TWRP Recovery .img file in Step 1 above.
- Now open a command window inside that folder. To do that, “Shift + Right click” on any empty white space inside the folder and then select “Open command window here” from the context menu.
- Connect your Redmi 4 Prime/Pro to the PC. And type the following into the command window we opened in Step 5 above to boot your device into bootloader/fastboot mode:
adb reboot bootloader
└ If you get a permission dialogue on your device to “Allow USB debugging”, tap OK.
- Once your device boots into bootloader mode, issue the following command into command window to flash the TWRP recovery .img file:
fastboot flash recovery twrp.img
└ Here modify twrp.img with the name of your TWRP recovery .img file, OR change your TWRP recovery filename to twrp.img and use the command above.
- Once TWRP is successfully flashed on your device, issue the following command to reboot:
fastboot reboot
That’s all. TWRP recovery should be installed on your device now. To boot into the freshly installed recovery, simply issue the adb reboot recovery command from PC command line when your device boots into system.
How to Root Redmi 4 Prime/Pro using SuperSU
- Download and transfer the SuperSU zip file from the download link above to your Redmi 4 Prime/Pro internal/external storage.
- Boot your Redmi 4 Prime/Pro into TWRP recovery.
- Tap on Install and select the SuperSU zip file that you transferred to your device in Step 1.
- After selecting the .zip file, do Swipe to Confirm Flash on the bottom of screen to begin the flashing process.
- Once SuperSU is flashed, you’ll get Reboot System option, select it.
That’s it. Your Redmi 4 Prime/Pro is now rooted. To verify root access, install/download any root checker app from the Play Store.
Image source: GSM Arena


redmi 4 prime wont even boot into recovery, i typed “adb reboot recovery” in Command Prompt and device just shuts down
redmi 4 prime wont even boot into recovery, i typed “adb reboot recovery” in Command Prompt and device just shuts down
same here 🙁
same here 🙁
same to me??
same to me??
use
fastboot boot twrp_image_name.img
use
fastboot boot twrp_image_name.img
im having problem with usb config after rooting. usb config are not shown when connect to pc. it shows only charging, the config to choose mtp or else are missing. please help me 🙁
same here
im having problem with usb config after rooting. usb config are not shown when connect to pc. it shows only charging, the config to choose mtp or else are missing. please help me 🙁
same here
Question: will this procedure also work with the standard Redmi 4 which contains a snapdragon 430 instead of 625 for the Pro?
Hello friend,
http://en.miui.com/thread-408889-1-1.html – Flash/Unbricking redimi 4
https://www.dropbox.com/s/9xg0r4n2orzoqzi/TWRP_Redmi4_Prada.zip?dl=0 – Link for TWRP Prada for redimi 4 (unofficial)
If anyone finds out ow to root redimi 4 please let me know thx
Please let me know how to root Xiaomi Redmi 4 standard Prada.
hey guys . i could successfully flash recovery on my redmi 4 prime. the key is that after flashing command “fastboot flash recovery twrp.img”
you need to type this command too: “fastboot boot twrp.img”
and it will restart in recovery mode. by the way my problem is that after flashing supersu zip my phone doesn’t connect to pc. it only chrages. can anybody help?