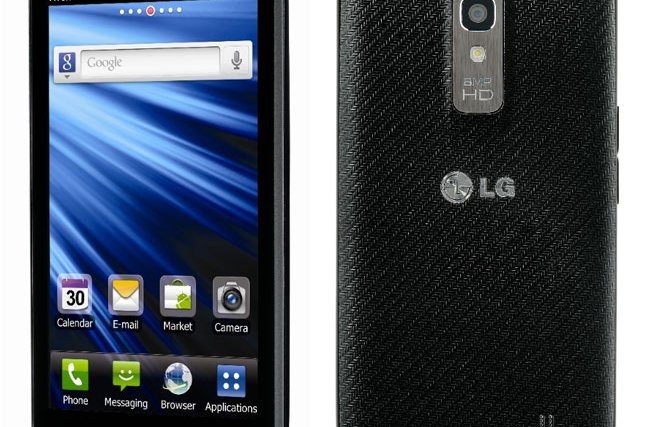
The official Android 4.0 Ice Cream Sandwich update – having version v20e – for the Bell Nitro HD – recently came out, and now, those who have gotten the update on their devices can root it thanks to a root exploit discovered for the device. Rooting lets you access system files and make other modifications that would not be otherwise allowed, and the uses are almost endless, so we’re sure many are looking for a way to root their Bell Nitro HD, which this guide will help them do.
So, continue reading to find out how you can root the Bell Nitro HD after the official v20e Ice Cream Sandwich Android 4.0 update.
Compatibility
The guide below is compatible only and only with the Bell Nitro HD.
Warning!
The methods and procedures discussed here are considered risky and you should not attempt anything if you don’t know completely what it is. If any damage occurs to your device, we won’t be held liable.
How to Root Bell Nitro HD after v20E Android 4.0 Update
- First, download and install the drivers for the phone on your computer. Click the link below to open the LG website, click on Software update and drivers, then click the Download button under “USB Driver for Windows” to download the drivers.
Drivers - Download the zip file which is the package needed to root the phone.
Download Link | Filename: P930_v20e_ROOT.zip - Extract the P930_v20e_ROOT folder from inside the zip file downloaded in step 2 to drive C: on your computer.
- Copy the LG_SystemBackupTest.apk file from the P930_v20e_ROOT folder obtained in step 3 to your phone.
- On your phone, do the following:
- Go to Settings » Security and enable Unknown sources (make sure its ticked).
- Go to Settings » Developer options and enable USB Debugging (make sure its ticked).
- Now, using a file manager (you can install OI file manager or ES File Explorer from the Play Store if needed), browse to where you copied the LG_SystemBackupTest.apk file on the phone, then tap it to install an app called SystemBackupTest.
- Then, after installation is complete, run the SystemBackupTest app from the apps menu, but don’t do anything in the app. Now, with the app open, press and hold the power button on the phone, then select the Power off and restart option to restart the phone (if that option isn’t there, simply keep holding the power button till the device reboots). Once the phone boots up, you’ll notice that it has become very slow, which is normal.
- Connect your phone to the computer and wait for the drivers to get installed again.
- Open the P930_v20e_ROOT folder obtained in step 3, then right-click on the file named “root_P880” and click on Run as adminstrator to start the rooting procedure.
- During the rooting procedure, the phone will automatically reboot a few times. Once the rooting procedure is finished, the window that showed up during the root process will close automatically. If it doesn’t close itself, you can close it manually.
- Now, search for “SuperSu” on the Play Store and install it. SuperSU is the app that will allow you to grant root access to apps.
- Open SuperSU from the apps menu on the phone after installing it.
- Press OK when prompted to update the SU binary. After the binary has been updated, you can close SuperSU.
- Then, uninstall the SystemBackupTest app from your phone (from Settings » Apps). This is necessary as the app will make your phone slow if kept installed.
Your Bell Nitro HD running on the v20e ICS update is now successfully rooted and any root-enabled app can be given root permission by pressing the Grant button when prompted. Have fun!


