UPDATE: You can now root your Android One device, whether it’s Sprout 8, or Sprout4. Original article continues: You have to praise Google for releasing the Marshmallow update for Android One that early. Really, it’s just after a day devices had their factory images, that Android One devices had the Android 6.0 OTA floating around.
Now that you have updated your precious Android One device to Android 6.0, the question you could be asking is, how do I root this thing.
Well, simply flash through of SuperSU through TWRP recovery won’t do it for you, as you need a custom kernel that supports root on Marshmallow.
We’ve got you well covered though, just check out guide below.
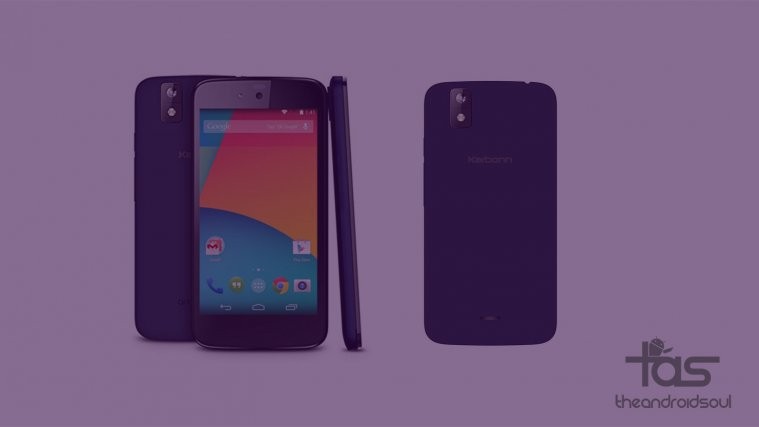
This Marshmallow root is compatible with devices with codename Sprout, which includes:
- Micromax Canvas A1
- Karbonn Sparkle V
- Spice Dream UNO
- MyPhone Uno
- Symphony Roar A50 (8GB variant is also SPROUT4 by default)
- Cherry Mobile One
- Nexian Journey One
- Mito Impact
- Evercross One X
Downloads
- ThunderZap kernel — Link | File: ThunderZap-3.5.zip (4.1 MB)
- SuperSU 2.50 — Link | File: BETA-SuperSU-v2.50.zip (3.7 MB)
Here is what we’re gonna do with the above.
We are going to install the kernel and SuperSU one after another, in that order, to gain root access on your Android One set.
Warning!
Warranty may be void of your device if you follow the procedures given on this page. You only are responsible for your device. We won’t be liable if any damage occurs to your device and/or its components.
Backup!
Backup important files stored on your device before proceeding with the steps below, so that in case something goes wrong you’ll have backup of all your important files.
How to Root Marshmallow Update on Android One
Required? Well, make sure you have a TWRP recovery installed on your device. If you don’t have that, check our page on Android One TWRP recovery, and install this first.
Step 1. Download the Zeus kernel and SuperSU file from above.
Step 2. Connect your device to PC now.
Step 3. Transfer the kernel and SuperSU file to your device. Remember the location of the files.
Step 4. Now, disconnect the device and reboot into recovery mode. For this:
- Power off your device first. Then wait for 4-5 seconds after screen goes off.
- Press and hold Power + Volume down button until you enter bootloader mode (you will see FASTBOOT written at top).
- Use volume up/down 2-3 times to bring up recovery menu, and then press power button to select it. You will see TWRP recovery shortly.
If you see 3e recovery, and not TWRP, then you need to install TWRP recovery first, which is linked right before the start of this guide.
Step 5. [Optional] You will see TWRP recovery, v2.8.7.0. Now, you should create a full backup of your phone, including system partition. In TWRP, tap on Backup, and then select all partitions. Then do the swipe action at bottom to start the backup process. When done, restart your device.
Step 6. Now’s the time to root Marshmallow update on your Android one device. Install the Zeus kernel now.
In TWRP, tap on Install, and then select the kernel file. Next, do the swipe action at bottom of the screen to flash the kernel file.
Step 7. Install SuperSU now. Tap on Home button to come back to homescreen of TWRP. Then tap on Install, and then select the SuperSU 2.50 file. Next, do the swipe action at bottom of the screen to flash the SuperSU file.
Step 8. When done, tap on Reboot System button to restart the device.
That’s it. Your Android One set on Marshmallow Android 6.0 update is now rooted.
Need help? Let us know via comment section below.
Via ThunderZap


1: You mentioned thunderzap kernel’s link for download and later on said “Download the Zeus kernel”.. Just so you know, these are two different kernels
2: You don’t need to flash the custom kernel for getting SuperSU in stock rom. Only flashing the SuperSU.zip will suffice.
3: You don’t need to flash the custom recovery via ” fastboot flash recovery twrp.img ” just booting into the recovery via the command ” fastboot boot twrp.img ” will open the recovery and you can flash the zip from there (just don’t try to wipe anything or touch any other option or that will softbrick your phone)
voila!!! now you have root without having to flash any custom recovery or kernel.
Note : This method has already been tried and tested so no need to argue over that.