What to know
-
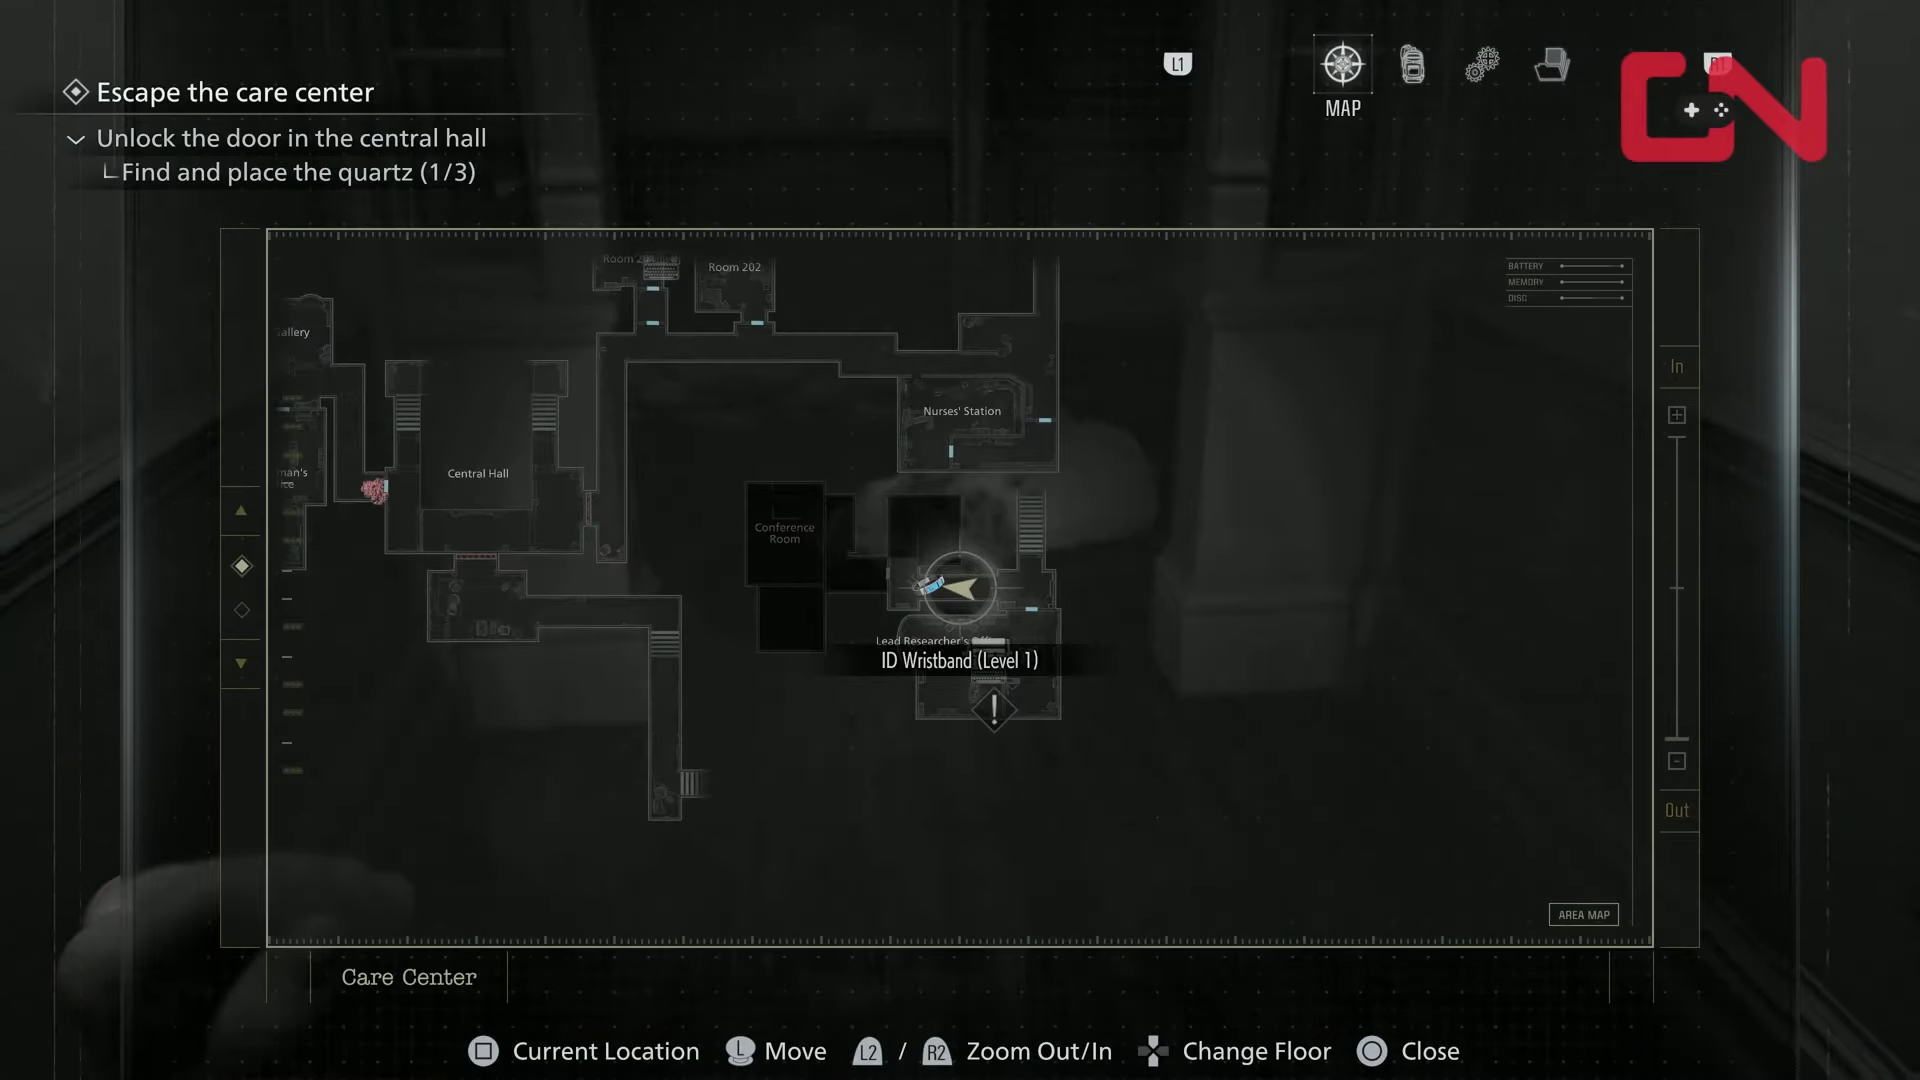
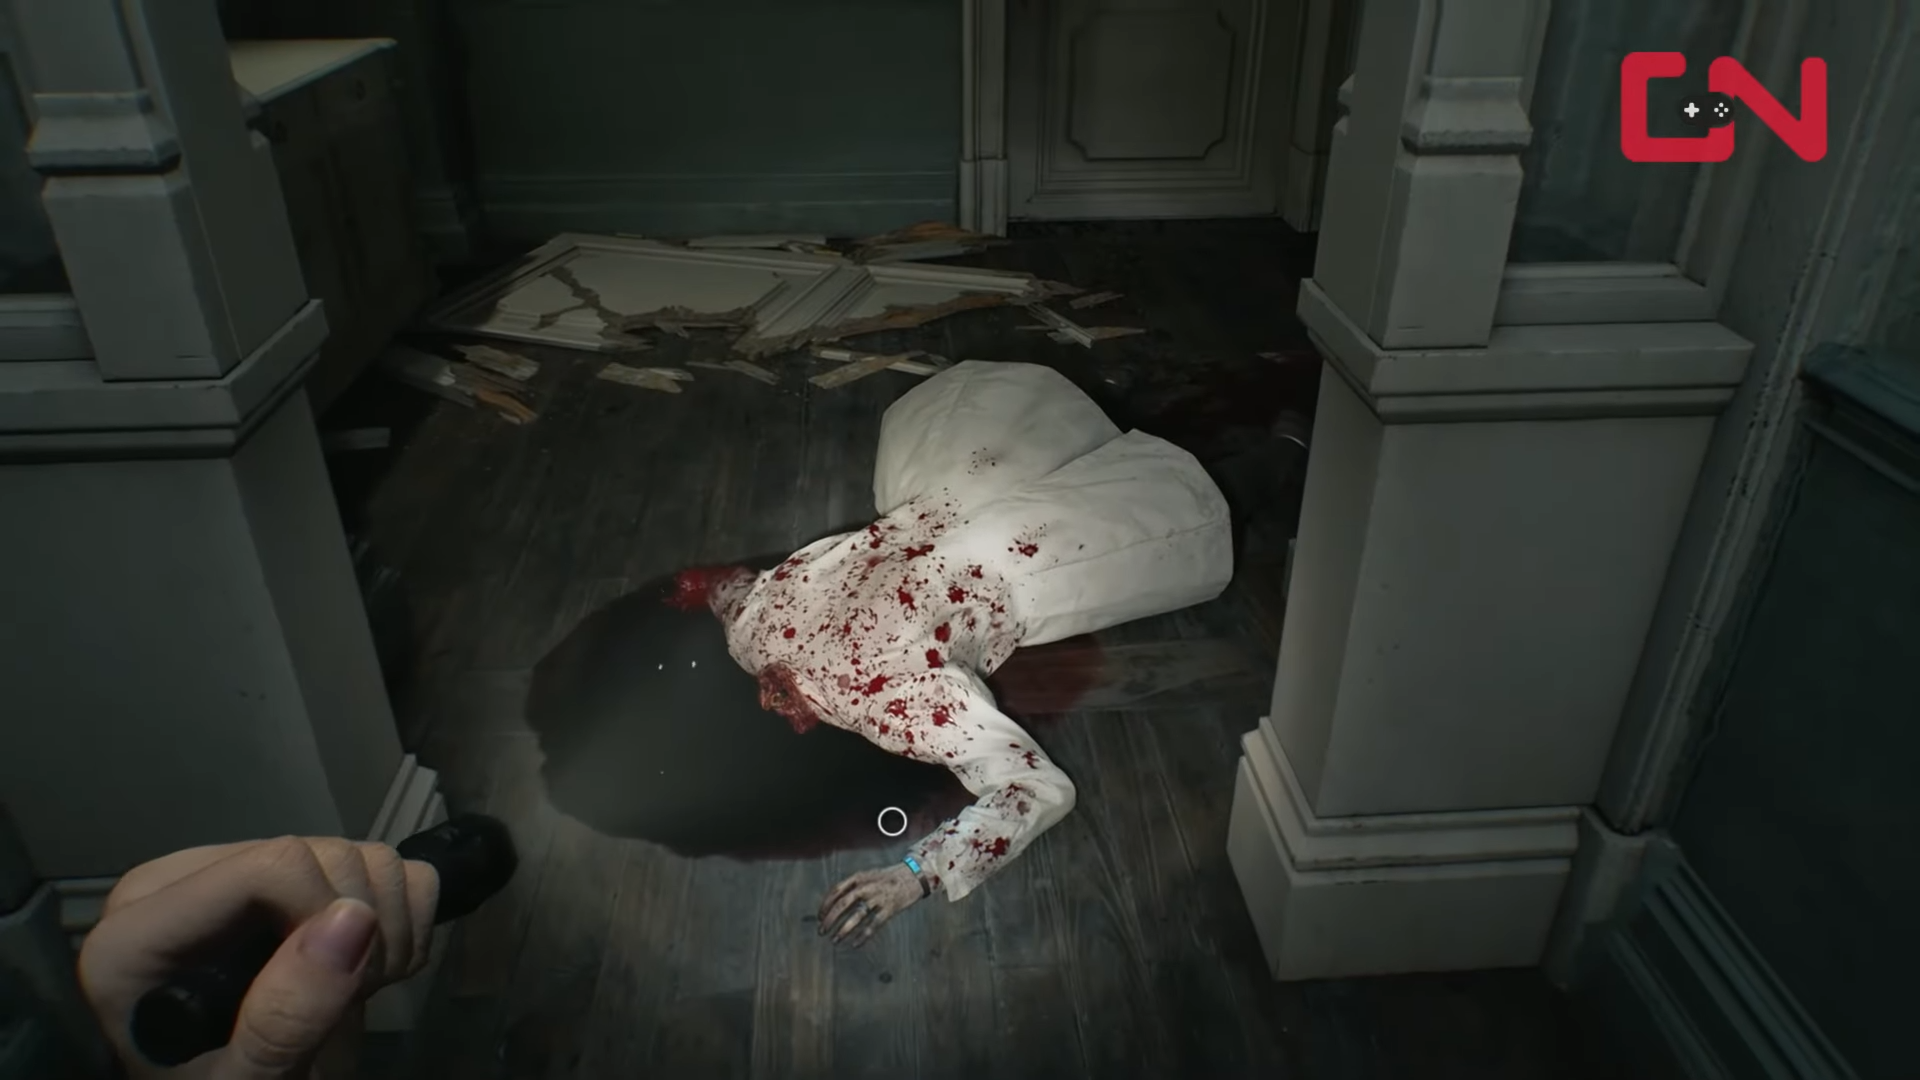
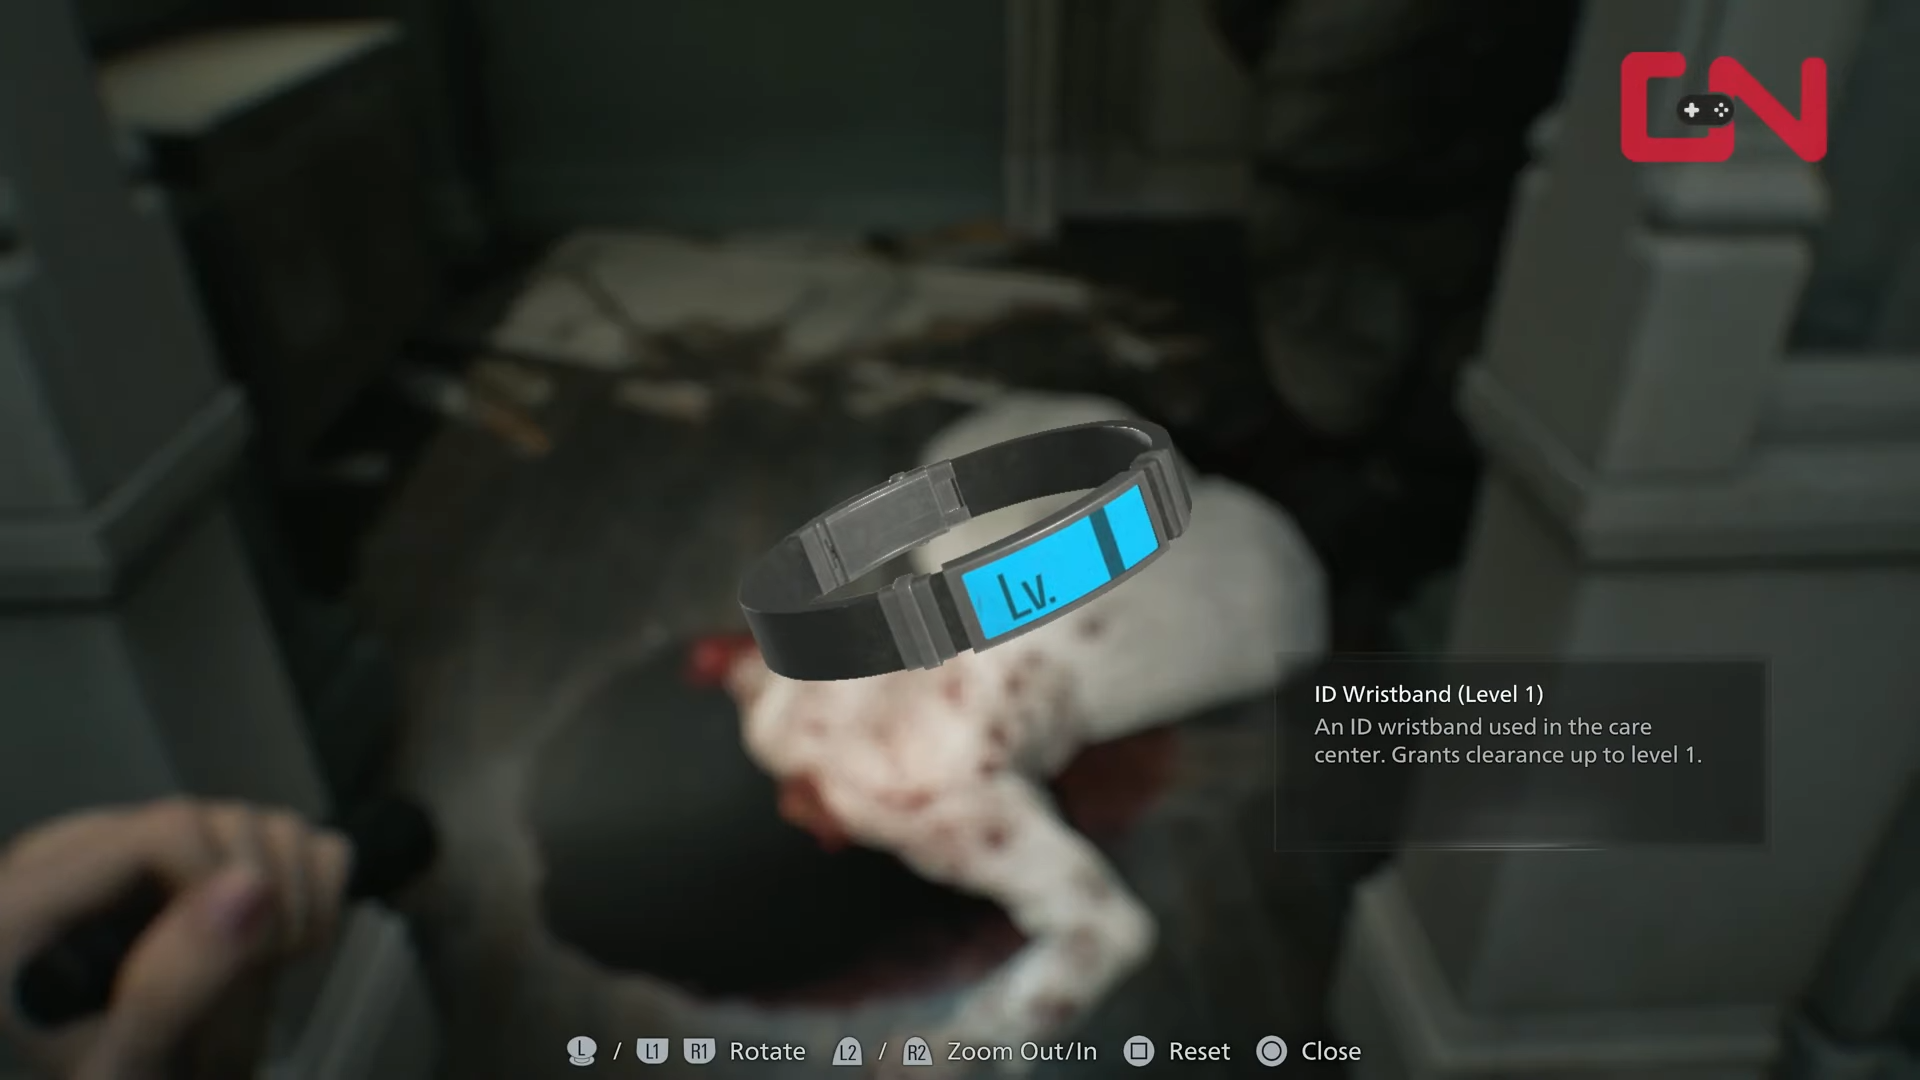
ID Wristband Level 1 sits on a headless corpse outside the Lead Researcher’s Office on the East Wing second floor.
-
A chasing monster called Chunk spawns right after pickup, so run to the Waiting Room downstairs.
-
Use the wristband on four Level 1 doors to access new areas like garages, closets, and safe rooms.
-
Doors stay unlocked permanently after opening, freeing up inventory space.
Accessing Level 1 security locks opens up critical paths in the Care Center of Resident Evil Requiem. You will have to navigate tense encounters and precise timing to secure the ID Wristband Level 1 early in the East Wing exploration.
| Aspect | Details |
|---|---|
| Item Name | ID Wristband (Level 1) |
| Location | Headless corpse outside Lead Researcher’s Office, 2F East Wing |
| Trigger | Chunk monster chase upon pickup |
| Total Doors | 4 (Waiting Room Closet, Blood Lab Filing Room Closet, West Wing near Kitchen, Filing Room Closet) |
| Rewards | Ammo, herbs, inventory upgrades, safe rooms, crafting items |
How to get the ID Wristband Level 1
Follow these steps to reach and grab the wristband safely.
Step 1
Enter the East Wing using the East Wing Keycard.

Move north from the entrance through the Examination Room, then the Treatment Room after using a Hemolytic Injector on an enemy.
Step 2
Head south past the Waiting Room.
Then climb the stairs to the second floor.
Step 3
Exit the office and advance down the west corridor. Spot the headless corpse at the end near the Conference Room hallway.
Step 4
Approach and interact with the corpse.
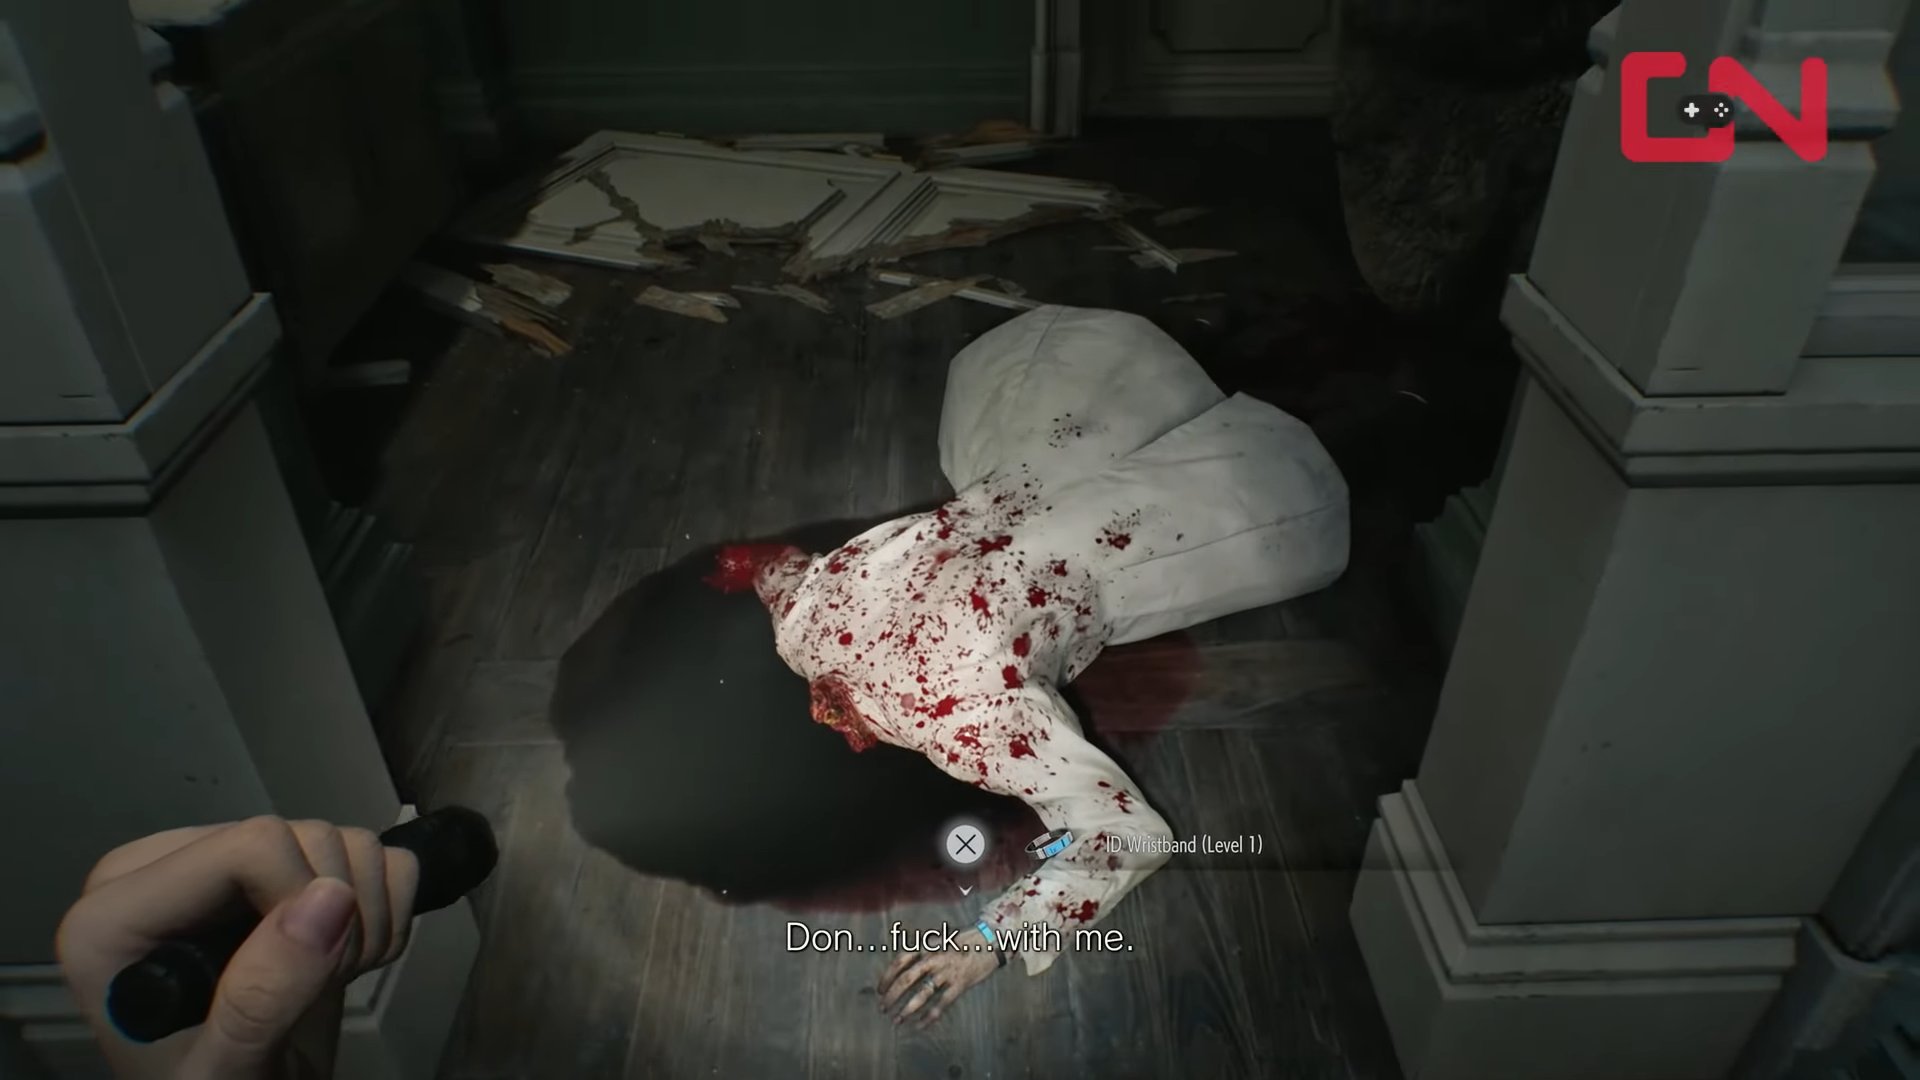
Pick up the ID Wristband Level 1.
Immediately turn around as Chunk emerges and chases you.
Step 5
Sprint back down the stairs to the left into the Waiting Room. Clear any zombies inside if uncleared, but stay put—do not exit to the hallway.
Step 6
Wait for Chunk to patrol the first-floor hallways between the Examination Room and Blood Lab. Peek out when its back faces you, then dash upstairs to retrieve the wristband if you dropped during the chase.
How to open all Level 1 doors
Use the wristband on these doors once obtained. Each unlocks permanently.
Step 1: Waiting Room Closet (East Wing, 1F)
From the Waiting Room, approach the west side storage closet door marked Level 1. Scan the wristband to enter. Collect a Requiem bullet, Scraps, Handgun Bullets, and Blood Specimen (Converged) for 12.7x55mm ammo crafting.
Step 2: Blood Lab Filing Room Closet (East Wing)
Clear the Filing Room of zombies. Use the wristband on the attached closet door. Grab a Green Herb, Scrap, Empty Injector, and Blood Specimen (Reversible) for Stabilizers and Steroids crafting.
Step 3: West Wing Security Point near Kitchen (1F)
Head to the West Wing past the Parlor on the first floor. Before the Kitchen, find the barred electronic lock door down the hallway south of the Kitchen. Unlock to access the Garage area and Custodian’s Office safe room on the left—pick up a lockpick from the locker inside.
Step 4: Additional Filing Room Closet
Return to the Filing Room area if needed. Open the remaining Level 1 closet for an inventory upgrade pouch granting two extra slots.
Rewards from Level 1 unlocks
| Door Location | Key Items |
|---|---|
| Waiting Room Closet | Requiem Bullet, Scraps, Handgun Bullets, Blood Specimen (Converged) |
| Filing Room Closet (Blood Lab) | Green Herb, Scrap, Empty Injector, Blood Specimen (Reversible) |
| West Wing near Kitchen | Garage access, Organ Transport Box, Custodian’s Office safe room, Lockpick |
| Additional Closet | Inventory Upgrade Pouch (+2 slots) |
What comes after Level 1?
Push forward to Level 2 by using these new areas. Enter the Garage via West Wing to grab the Organ Transport Box, open it with file instructions for Artificial Lungs, combine with the Artificial Heart from Cold Storage, and revive the Examination Room corpse for the Level 2 wristband.


