- What to know
- Understanding why the rooftop ambush is so dangerous
- Eliminating the first mortar operator early
- Dealing with special forces zombies efficiently
- Avoiding the trap ladder that triggers the ambush
- Using the enemy mortar to wipe out the zombie ambush
- Destroying the hidden wall to obtain Requiem rounds
- Clearing the signal receiver zombie wave safely
- Why this route is the best strategy for ammo conservation
What to know
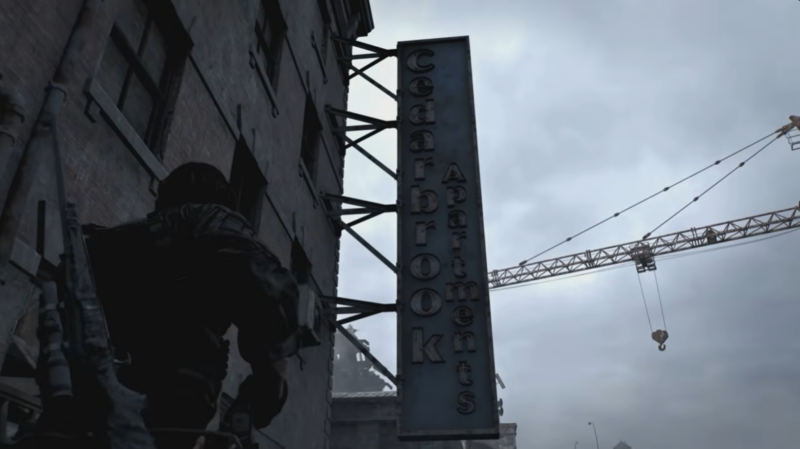
- The Cedarbrook Apartments rooftop ambush is one of the earliest difficulty spikes in Resident Evil Requiem.
- Most deaths happen because players take a ladder shortcut that leads directly into a trap.
- Neutralizing mortar operators quickly makes the encounter significantly easier.
- You can use the rooftop mortar to eliminate zombies and conserve valuable ammo.
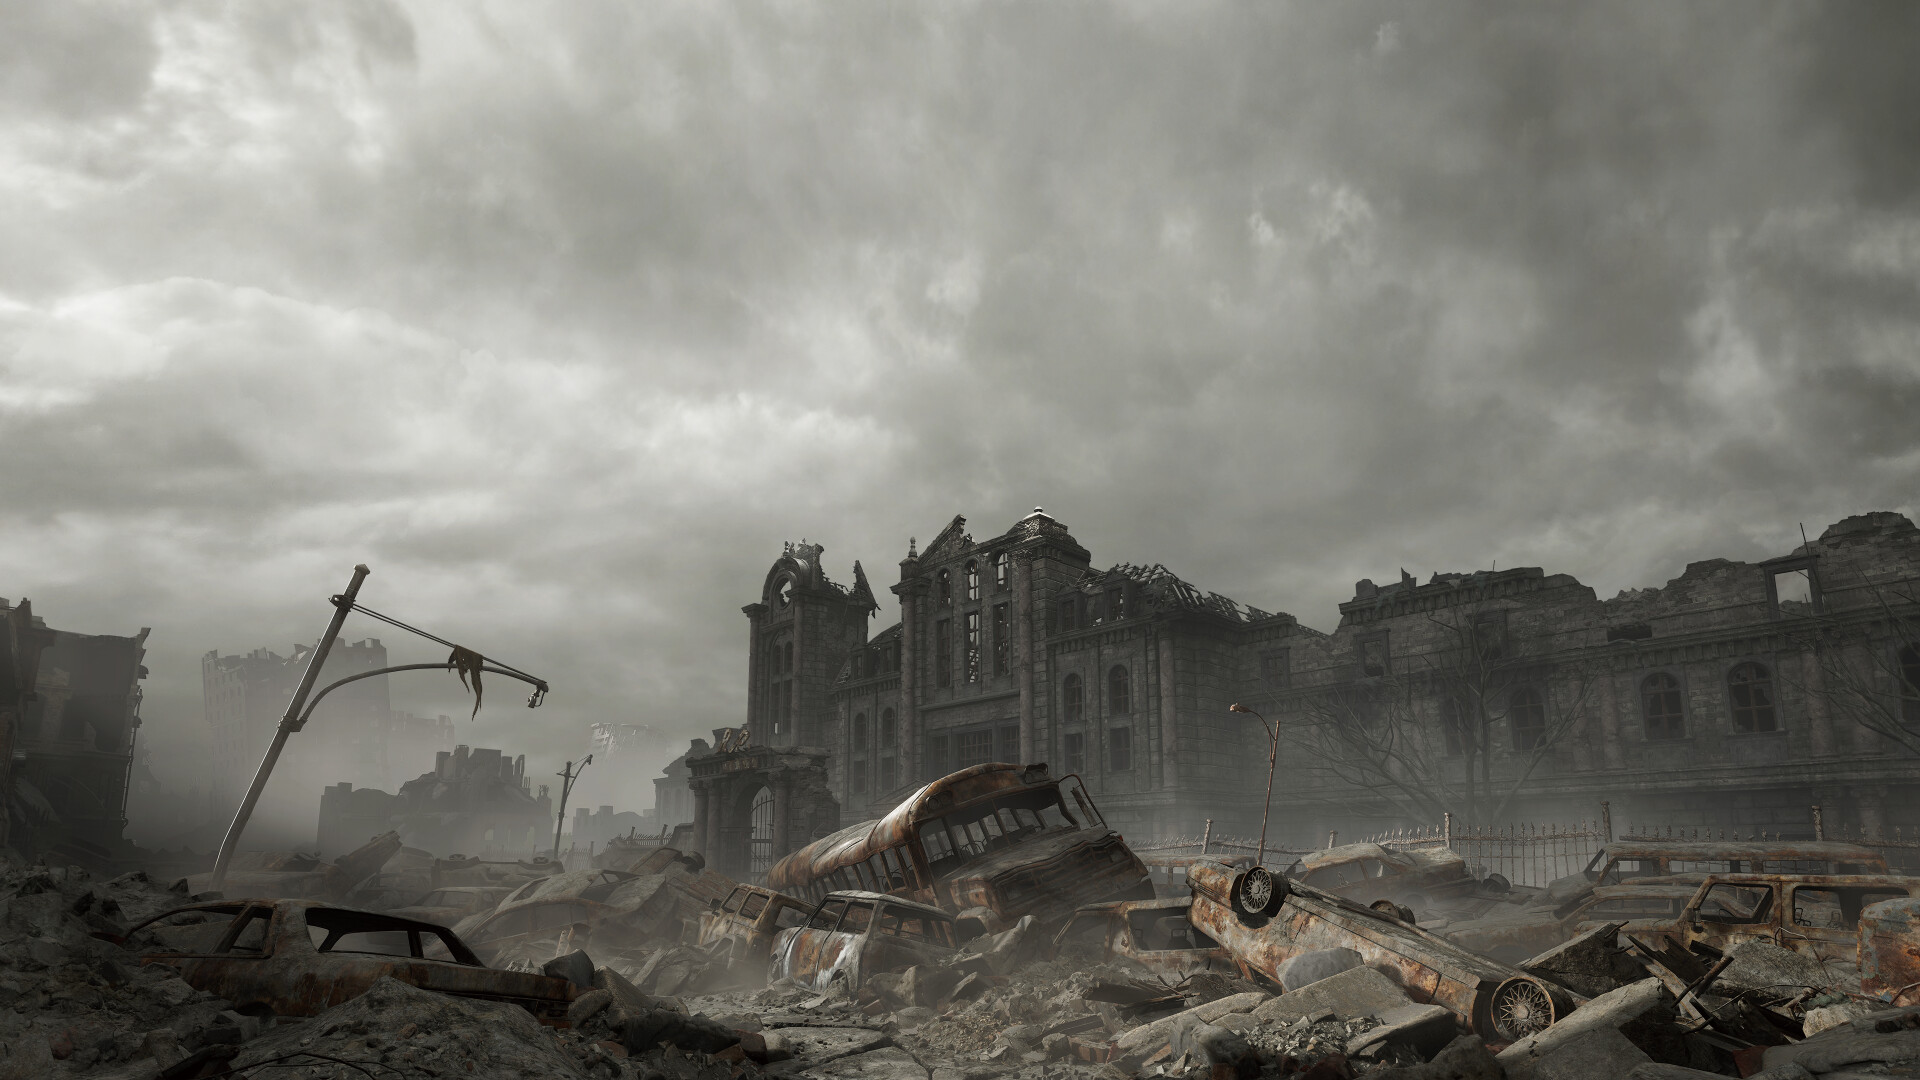
The Cedarbrook Apartments rooftop encounter in Resident Evil Requiem is designed to pressure players with multiple threats at once. Mortar fire, special forces zombies, tight rooftop spaces, and limited resources combine to create a moment where many players burn through their ammo or repeatedly die.
However, the encounter becomes far more manageable once you understand the intended ambush trigger and the alternative path that lets you control the battlefield instead of reacting to it. By taking the safer route and eliminating key enemies in the correct order, you can clear the entire area while conserving ammunition, healing items, and durability on your weapons.
The encounter is also notable because it introduces a dynamic combat mechanic involving enemy mortars, which can be turned against the zombies if used correctly.
| Element | Details |
|---|---|
| Location | Cedarbrook Apartments Rooftop |
| Encounter Type | Mortar ambush with special forces zombies |
| Key Threat | Enemy mortar operators and grenade zombies |
| Recommended Weapons | Sniper rifle, shotgun |
| Key Strategy | Avoid trap ladder and use alternate rooftop route |
| Bonus Reward | Hidden box containing Requiem rounds |
| Objective | Reach the signal receiver after clearing rooftop |
Understanding why the rooftop ambush is so dangerous
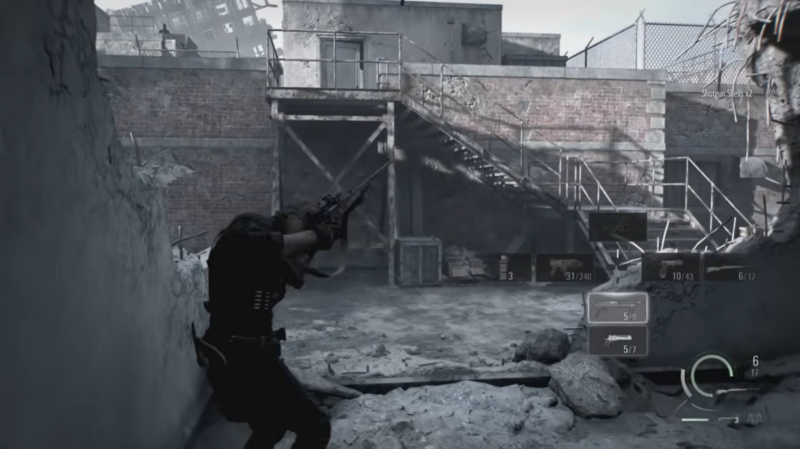
The rooftop ambush works by forcing the player into a narrow route where enemy mortars, armored zombies, and explosive enemies attack simultaneously. The design intentionally punishes players who rush forward without scouting the area.
When the encounter begins, a mortar operator positioned on a nearby rooftop begins launching explosive shells toward the player’s path. These mortar strikes force movement, which often pushes players into the path of special forces zombies waiting around corners.

The danger increases because special forces zombies are tougher than regular infected, wearing partial tactical armor and carrying equipment such as grenades. Shooting them inefficiently wastes ammunition quickly.
The most common mistake occurs when players attempt to take the ladder shortcut on the rooftop. While it looks like a faster way forward, this ladder actually triggers the full ambush scenario, spawning multiple enemies while mortars continue to rain down.
Because the encounter takes place on a tight rooftop environment with little cover, this combination can quickly overwhelm even experienced players.
Eliminating the first mortar operator early
The safest way to begin the encounter is by removing the initial mortar operator before progressing further into the rooftop.
This enemy appears on a nearby roof and begins firing explosive shells once you move forward. Using a sniper rifle or precise handgun shots, you can eliminate the operator with a well-placed headshot.
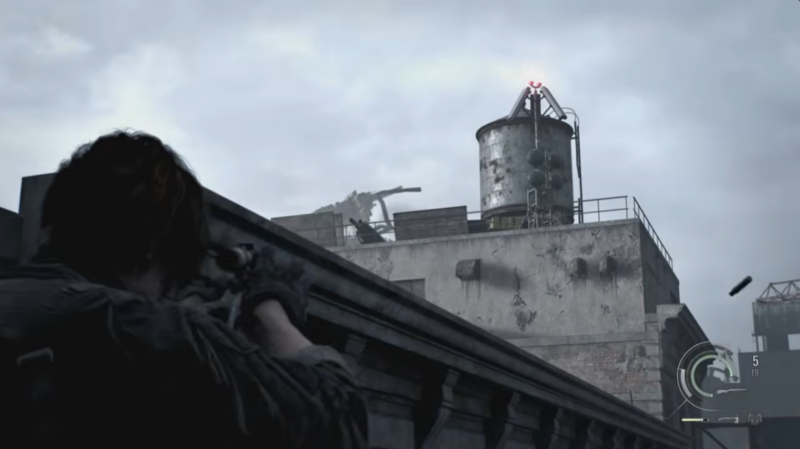
Removing this enemy immediately reduces incoming explosive pressure and gives you room to maneuver across the rooftop.
Later in the encounter another mortar operator appears. This one is more difficult to hit because of limited visibility and the timing of the mortar strikes.
The most reliable method is to wait for a mortar shell to land, peek around the corner immediately after the explosion, and fire a quick headshot before the operator retreats. Timing the peek between explosions ensures you are not exposed when the next shell lands.
By removing both mortar operators quickly, the rooftop becomes significantly easier to navigate.
Dealing with special forces zombies efficiently
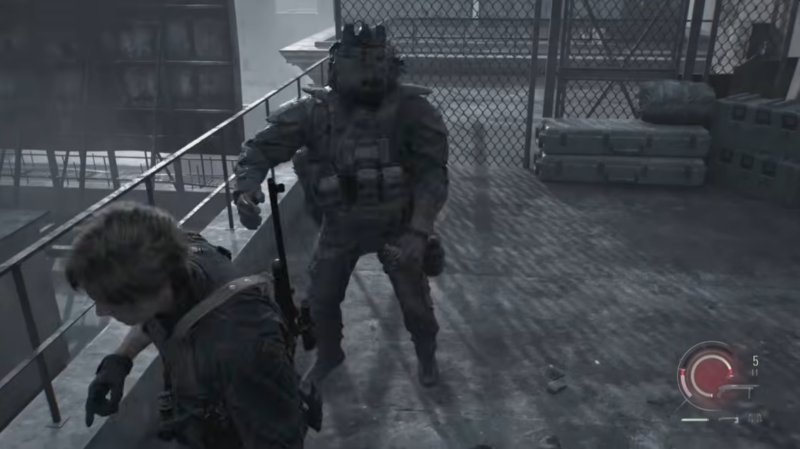
Special forces zombies appear throughout the Cedarbrook rooftop section. These enemies have more durability than standard infected and are designed to drain player resources.
The most efficient tactic is to target their legs with a shotgun blast. Doing so often blows their legs off or knocks them down, allowing you to finish them with a melee attack.

This method is important because headshots alone may require multiple bullets depending on the weapon used, while leg destruction instantly neutralizes their mobility.
Using melee finishers after knocking them down helps conserve ammo, which becomes critical later when larger zombie waves appear.
Avoiding the trap ladder that triggers the ambush
One of the most deceptive elements of the encounter is the ladder located on the rooftop.
At first glance, the ladder appears to be a shortcut leading forward through the level, but climbing it actually triggers the largest ambush in the entire Cedarbrook rooftop section.
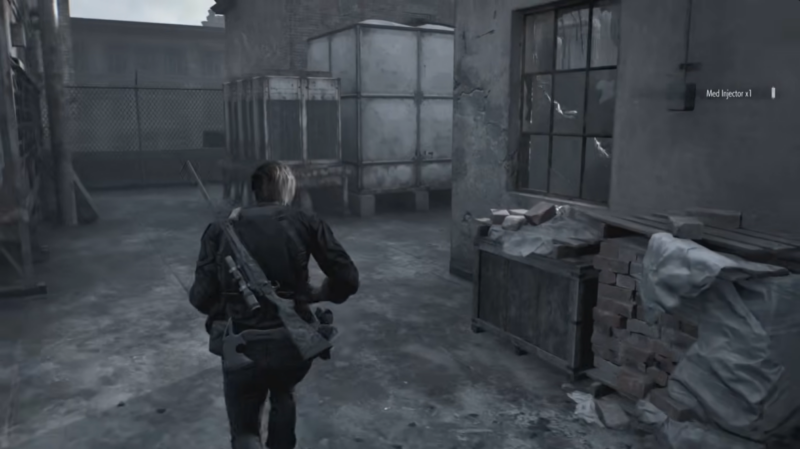
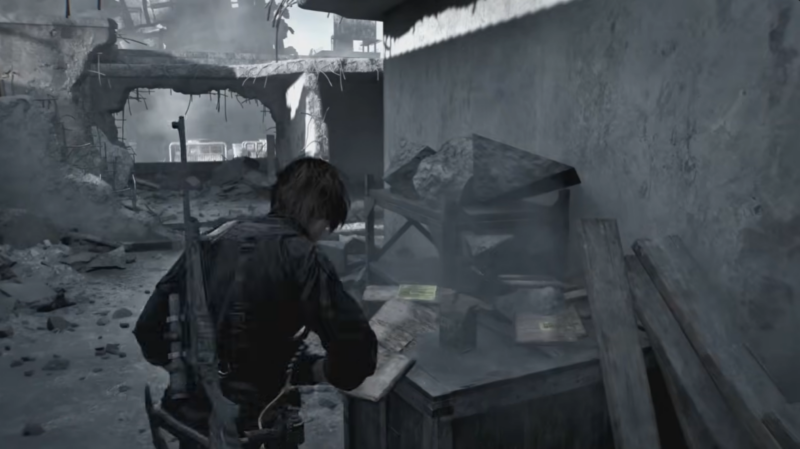
Instead of taking this ladder, the safer path involves collecting nearby shotgun shells and turning left toward an alternate ladder route. This alternative path leads to a slightly elevated rooftop area where only two special forces zombies need to be dealt with initially.
Because the encounter is smaller and easier to control, this route prevents the overwhelming enemy wave that the trap ladder would otherwise trigger.
Using the enemy mortar to wipe out the zombie ambush
One of the most satisfying strategies in the encounter involves turning the mortar weapon against the zombies themselves.
While climbing toward the upper rooftop area, a grenade-carrying zombie attempts to climb up after the player. Shooting this enemy while it is climbing causes the grenade to detonate, eliminating it instantly.
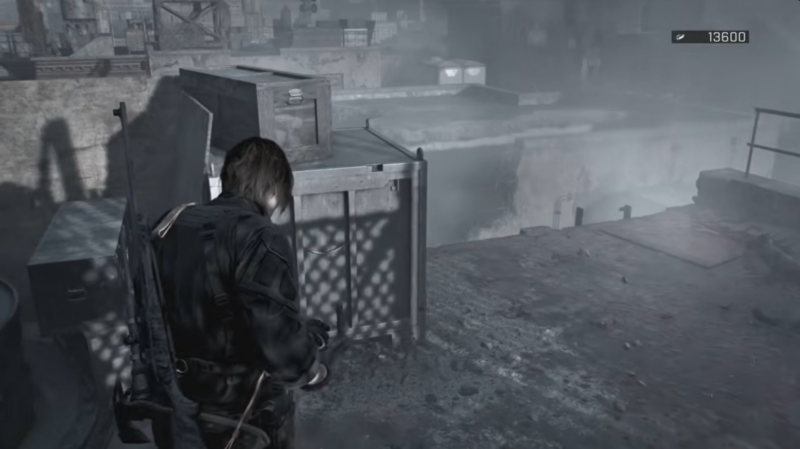
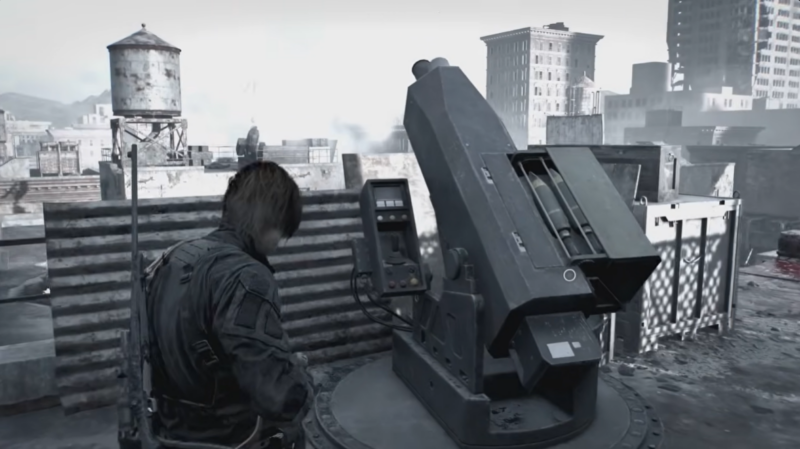
Once the grenade zombie is destroyed, you gain access to the enemy mortar emplacement.
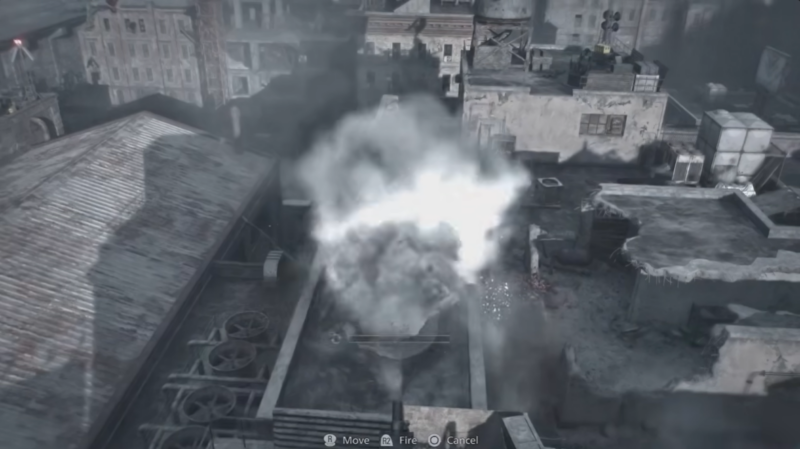
Instead of fighting the zombie ambush below with standard weapons, you can use the mortar to bombard the enemies waiting in the ambush zone. Mortar explosions deal massive area damage and can eliminate multiple zombies at once.
Using the mortar in this way is extremely effective because it clears the ambush before you even enter the area, preventing the chaotic fight that normally occurs.
Many players consider this moment particularly satisfying because the game’s own ambush mechanic becomes the tool used to dismantle the encounter.
After gaining control of the mortar, you can also use it to destroy a hidden wall on the rooftop.
Behind this destructible wall is a bonus supply box containing Requiem rounds, a valuable ammunition type used for high-damage weapons later in the game.
Because these rounds are relatively rare, finding this hidden cache provides a meaningful advantage for upcoming encounters.
The mortar’s explosive shells make it easy to break the wall from a safe distance.
| Reward | Location | Requirement |
|---|---|---|
| Requiem Rounds | Hidden box behind destructible wall | Use mortar to destroy wall |
Clearing the signal receiver zombie wave safely
After clearing the rooftop and collecting the bonus reward, the next objective is to reach the signal receiver located below the rooftop platform.
However, jumping down to reach the receiver triggers another zombie wave designed to trap players in the lower area.
Instead of staying in the lower zone and fighting the enemies directly, the safest tactic is to climb back up to the rooftop mortar position immediately after the wave spawns.
From this elevated position, you can again use the mortar to bombard the zombies below, eliminating them with minimal risk.
This tactic allows you to clear the final portion of the encounter while spending little to no additional ammunition.
Why this route is the best strategy for ammo conservation
Resource management plays a major role in Resident Evil Requiem, especially on higher difficulty settings or challenge runs.
The Cedarbrook rooftop encounter becomes a major drain on resources if handled inefficiently. Players who rush into the ambush often expend large amounts of ammunition and healing items.
By contrast, the route described above allows you to neutralize key enemies early, avoid unnecessary ambush triggers, and use environmental weapons to defeat zombie waves.
This approach significantly reduces the amount of ammunition required to complete the section and helps maintain supplies for later areas of the game where enemies become even more aggressive.
Developing the habit of using environmental advantages and enemy weapons whenever possible is one of the most effective survival strategies in Resident Evil Requiem.


