Discover how to find Red Soldier Ant Eggs in Grounded 2’s Hatchery Anthill to unlock your first buggy mount. Follow our guide to navigate and survive!
What to know
- Location: Find Red Soldier Ant Eggs in the Hatchery Anthill’s final room, following ceiling wires from the South Entrance.
- Hatching: Build a Hatchery with Weed Stems, Acorn parts, and Mite Fuzz; incubate with Grub Hide, Sprigs, and an Acorn Shell.
- Buggy Benefits: Offers 30-slot inventory, breaks Dead Roots, and aids in combat and resource gathering.
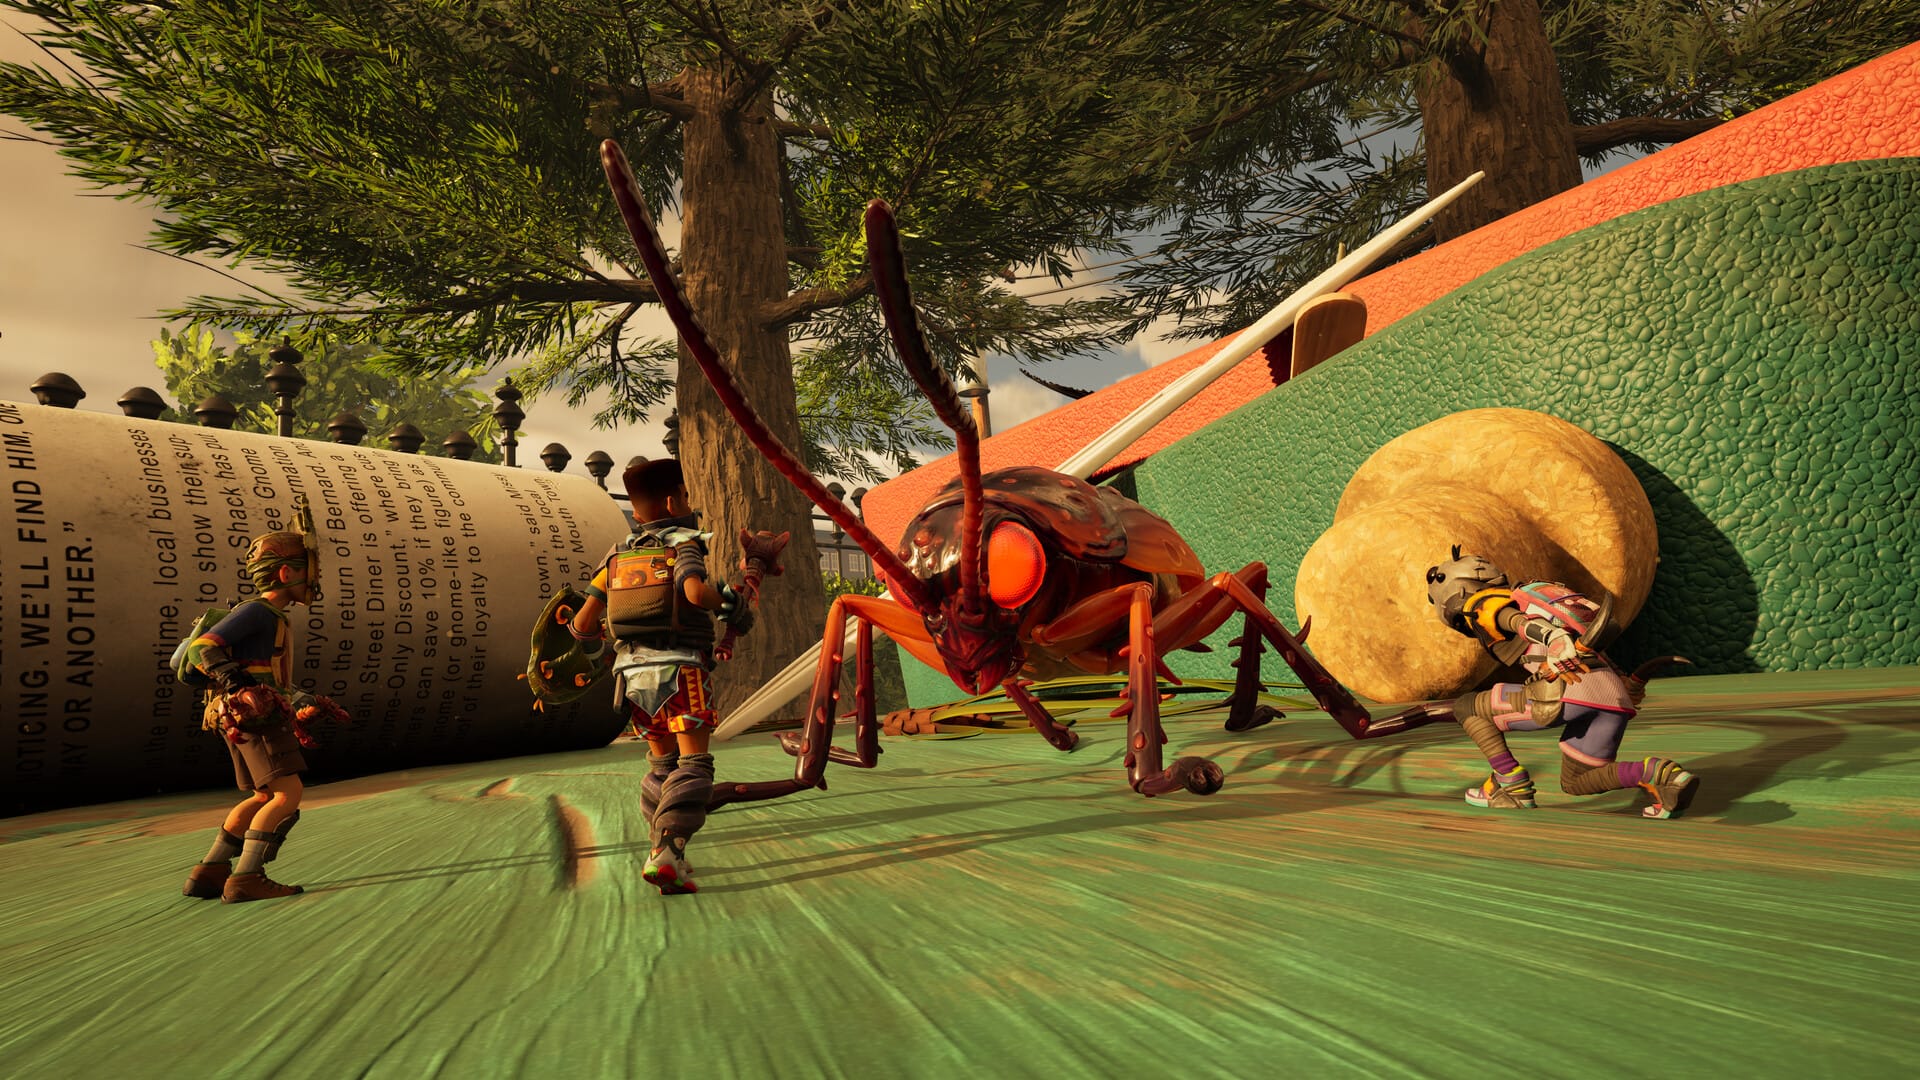
In Grounded 2, the Red Soldier Ant Egg is a key item for unlocking your first mountable buggy, the Red Soldier Ant, which enhances exploration and combat. Found deep within the treacherous Hatchery Anthill, these eggs are essential for the Egg Hunt quest. This guide provides a detailed walkthrough on locating the eggs, surviving the anthill’s dangers, and hatching your buggy, ensuring you’re ready to ride across Brookhollow Park.
Why Red Soldier Ant Eggs Matter in Grounded 2
Red Soldier Ant Eggs are distinct from regular Red Ant Eggs and are required to hatch a Red Soldier Ant Buggy, a versatile mount with a 30-slot inventory, the ability to carry 12 planks or stems, and unique features like breaking dead roots. This buggy is a game-changer for early-game players, offering faster travel, combat support, and resource gathering. The Egg Hunt quest directs you to the Hatchery Anthill, but navigating its dark tunnels and hostile inhabitants can be daunting without preparation.
Where to Find Red Soldier Ant Eggs in Grounded 2
The Red Soldier Ant Eggs are located in the Hatchery Anthill, southeast of the Ranger Station in the Snackbar Front Zone. The anthill has two entrances: a northern one in the Snackbar Front area and a southern one in The Entrance area. For this guide, we recommend the South Entrance for a clearer path to the eggs.
Step-by-Step Walkthrough to the Egg Location in Grounded 2
- Enter the Hatchery Anthill (South Entrance): Start at the South Entrance, southeast of the Ranger Station. Equip full Acorn armor, a one-handed weapon (like a spear), and a torch, as the tunnels are dark. Craft Slime Mold Torches from Slime Mold Stalks found inside if needed.
- Follow the Wires: Once inside, follow the red, white, and blue intertwined wires on the ceiling or the large black wire on the ground. These guide you through the maze-like tunnels.
- Navigate Key Landmarks:
- Pass a computer terminal with a cable leading left.
- Continue past a large 9V battery in the ground.
- At a junction with an Ominent checkpoint, take the left path (the right is blocked by roots).
- Enter the Ominent Lab: Proceed until you reach a red-lit Ominent lab door. Enter, but ignore the suspended ant egg in a tank—it’s not collectible.
- Locate the Eggs: Exit the lab through the middle door, follow the wires, and enter a floodlit room with a trolley containing several orange-tinted Red Soldier Ant Eggs. Defeat the guarding Red Soldier Ant before grabbing one egg.
- Escape the Anthill: Carrying the egg aggroes nearby ants, including passive workers, and occupies one hand, preventing attacks. Retrace your steps (left → left → right → left from the nursery) to exit via the North Entrance. Drop the egg to fight if needed, then pick it up and continue.
Video
Survival Tips
- Prepare for Combat: The anthill is filled with aggressive Red Soldier Ants and an O.R.C. Orb Weaver Spider. Run past the spider to a lab area it can’t enter, or fight it from a doorway where its size limits its reach.
- Healing and Resources: Collect Fiber Bandages and Grumble’s Granola Bars inside the anthill for health. Set a respawn point at a bed in the Ominent checkpoint to avoid long treks if you die.
- Egg Timer: Red Soldier Ant Eggs can hatch or rot if not incubated promptly. Head straight to your Hatchery after collecting.
How to Hatch Your Red Soldier Ant Buggy
To hatch the egg, you need a Hatchery, unlocked via the Hatching a Plan quest after obtaining the Turbo Optical Disc from the Snackbar Anthill. Here’s what you need:
Hatchery Recipe
- 6 Weed Stems: Chop Dandelions or Husky Weeds with a Tier 2 axe.
- 1 Acorn Top and 5 Acorn Shells: Smash acorns near the Oak Tree (southwest map).
- 5 Mite Fuzz: Kill Lawn Mites near the Oak Tree or clay pipes.
Saddle Recipe (to Ride the Buggy)
- 2 Grub Hide: Dig up and kill Grubs near the Oak Tree.
- 3 Sprigs: Collect from grassy areas.
- 1 Acorn Shell: From acorns.
Hatching Process
- Build the Hatchery on flat ground (not foundations) to prevent bugs despawning.
- Interact with the Hatchery, select “Incubate,” and add the Red Soldier Ant Egg, 2 Grub Hide, 3 Sprigs, and 1 Acorn Shell.
- Wait 12 in-game hours (or sleep to skip). Press “Retrieve” to hatch your buggy.
Building an Ant Nest
To manage your buggy, build an Ant Nest to store, rename, and summon it:
- 6 Weed Stems: From Dandelions or Husky Weeds.
- 6 Clover Leaves: From Clover Plants near puddles.
- 3 Crude Rope: Craft from Plant Fiber.
- 1 Acorn Shell: From acorns.
Use the Ant Nest to assign your buggy to the summoning wheel (tap right on the D-pad to summon, B to return it to the nest). Name your buggy via the “Rename” option for a personal touch.
Red Soldier Ant Buggy Features
Once hatched, your buggy offers:
- Inventory: 30 slots, plus 12 planks/stems or one additional egg.
- Combat: Blocks, parries, and recruits up to two Red Worker Ants (press H near them).
- Exploration: Breaks Tier 1 Dead Roots, unlocking hidden areas.
- Commands: Whistle, stay, follow, pet, or return to nest.
- Gather Mode: Auto-collects loose items when riding.
If your buggy is knocked out, revive it within 90 seconds. On Mild/Medium difficulty, it returns to the nest with a 4-minute cooldown; on Whoa difficulty, it dies permanently, dropping a backpack with its items.
Bonus Tips
- Multiplayer: Each player needs one egg for their own buggy.
- Other Locations: Red Soldier Ant Eggs may also appear in the Toxic Anthill under the Picnic Table, but the Hatchery Anthill is the primary spot.
- Egg Management: Without an Egg Freezer (later tech), eggs rot, so incubate immediately.
- Buggy Utility: Use your buggy to carry eggs or break Dead Roots in the Hatchery Anthill for Mega Milk Molars.
Securing a Red Soldier Ant Egg in Grounded 2 is a challenging but rewarding task. By navigating the Hatchery Anthill’s tunnels, following the wires, and preparing for combat, you’ll unlock a versatile buggy that transforms exploration and survival. Build your Hatchery, tame your ant, and name it something epic—your six-legged companion is ready to conquer Brookhollow Park!