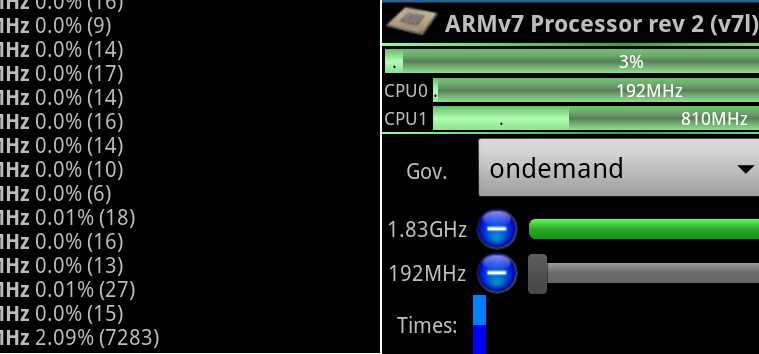
The AT&T Skyrocket, which comes from the family of variants of the mighty Samsung Galaxy SII, just received a shot in its arm, towards becoming faster and smoother in performance than it already is. Earlier today, XDA member faux123 has released a version of his kernel for the AT&T Skyrocket, which is overclocked to a whopping 1.73 GHz, as if the speed on this thing wasn’t enough as it is 🙂 But who’s complaining?? After all, this is just one of the customization possibilities which makes Android such a fantastic platform to be on!!
Before we go ahead with how to get this beast inside your phone, please be advised that Kernel Flashing and over clocking are potentially risky processes if you do not know exactly what you’re doing, and more importantly, what you want out of it. If you couldn’t be happier than you are, with all the apps that came installed with the phone, and a few others from the market; then you probably do not need this. But if you’re after raw power, use core-intensive applications (although the dual-core in this thing can handle more than most things just fine :), and get a kick out of tweaking the device to extend its already amazing capabilities, then you are on the right page 🙂 We, or the developer, are absolutely not responsible for any damage that may occur to your device, or you, during the course of performing this flash. You have been forewarned.!!
While this is a Skyrocket kernel, it should work for most Rooted devices running stock or Custom ROMs (Galaxy S2 family only–do not even think of trying this on an incompatible device). The kernel is based on Samsung Source code, and hence is only compatible with Samsung Gingerbread builds. Please do not try it on any other build or you may end up with a dead device.
Pre Installation Requirements
- Rooted AT&T Skyrocket
- Clockwork Mod recovery installed
- Battery charge of at least 50%
Installation Steps
- Download the Skyrocket kernel 0.0.8u form here
- Transfer the downloaded zip file to the root of sdcard on your phone
- Power off the device, and reboot into recovery mode (CWM)
- Perform a full wipe as follows
- Wipe Data/Factory reset —> On the next screen Confirm wipe data
- Wipe Cache Partition —> On the next screen Confirm wipe cache partition
- Return to Main Menu and Select Advanced—> Wipe Dalvik Cache —> On the next screen Confirm Wipe Dalvik cache
- Select Install zip from SD card—> Choose zip from sd card ( lect the zip file you transferred in Step 2) and confirm installation
- Once installation is complete, select Reboot now and let the device reboot.
Note: After the flashing is completed, the 1st reboot may take some time to complete, this is normal, so no need to be anxious or panic. Once the device has booted up, you may also notice that the initial loading of the system is slower or laggier than usual; again, do not panic–this is normal. Let the device boot up completely, wait for about 15 minutes, and then perform a normal reboot. When the device boots up this time, you will not see the lag, and everything should now be super fast and super smooth.
You can follow the original development thread to check for updates and to read other people’s experience with this kernel.
If you want to let us know about your own experience, or have any questions before, while or after you flash this kernel, please do not hesitate to use the comments box below, and we would be glad to help you out.


