What to know
- The “Outpost Infra-Station” mission unlocks after “Mystery in the Building” and starts the missing-personnel intel flow.
- “OD Project: Infra-Station I” unlocks after finishing “Outpost Infra-Station” and centers on powering and using ziplines to recover injured crew.
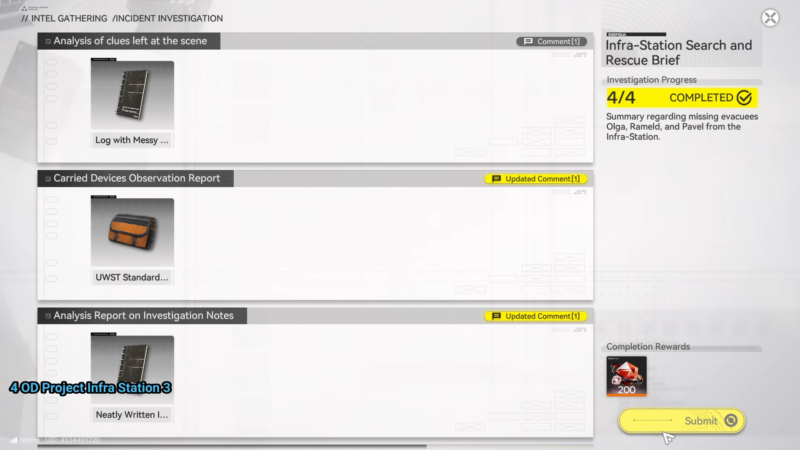
- Key UI actions used in these missions include Scan for clues and the Archive’s Intel Gathering tab (opened via V).
- Confirmed quest rewards (from available current guides) include Oroberyl and Operational EXP, varying by mission.
In Arknights: Endfield, Outpost Infra-Station and the OD Project Infra-Station investigations form a short chain focused on locating missing personnel signals, collecting clues via scanning, and formalizing findings via the Intel Gathering archive before returning to the camp to complete objectives.
Quick reference for mission basics
| Mission | Unlock requirement | Primary location cues | Key interactions | Confirmed rewards |
|---|---|---|---|---|
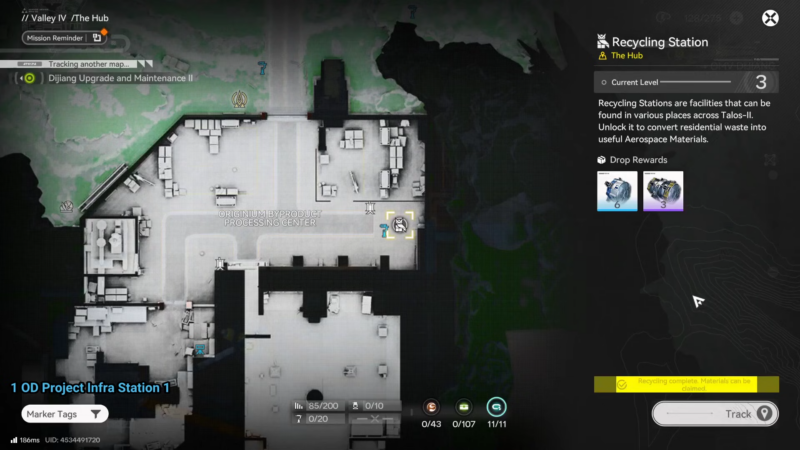
| Outpost Infra-Station | Complete “Mystery in the Building” | Start from TP Point “Mountain Path Slope” in Originium Park, head south; later go to Research Center in Originium Science Park | Talk to Da Pan and Noffman; Scan for clues; open Archive → Intel Gathering (V); place Sub-PAC | Oroberyl x200; 200 Operational EXP |
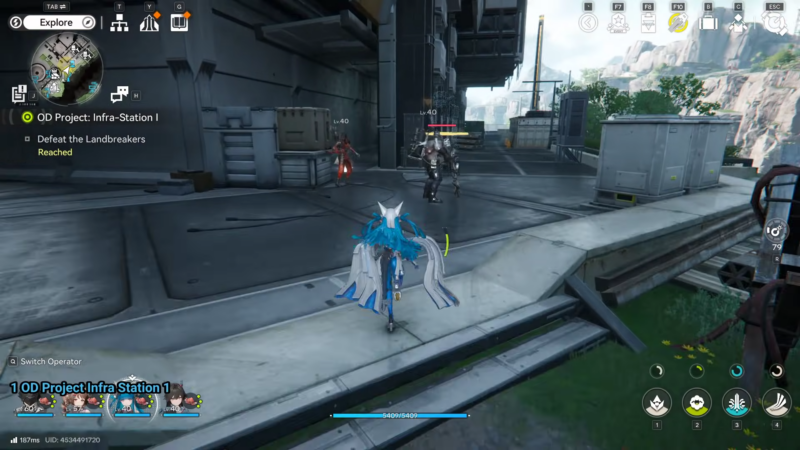
| OD Project: Infra-Station I | Complete “Outpost Infra-Station” | TP Point between Originium Science Park and the Research Center; marker south of Research Center | Check Messages (V); defeat Landbreakers; build/power Zipline Towers using Electric Pylons and Relay Tower tether; latch to zipline | Oroberyl x50; 200 Operational EXP |
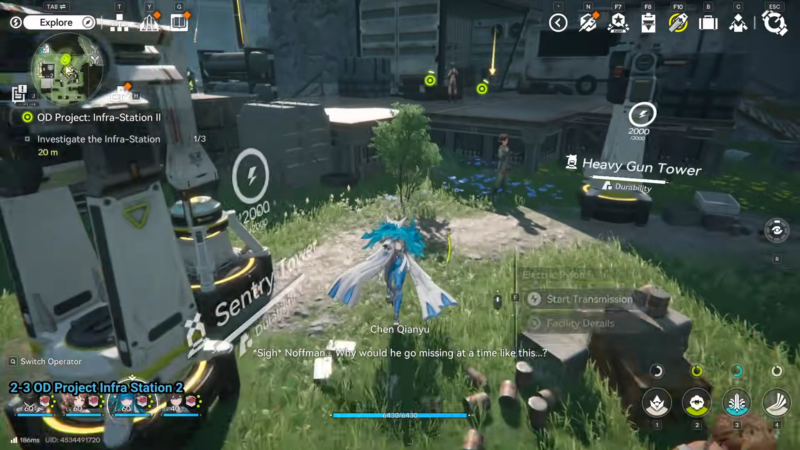
How to complete Outpost Infra-Station: intel gathering and Sub-PAC placement
This mission begins at the shelter line, pivots to an investigation at the Science Park/Research Center, and ends with a Sub-PAC placement back at the Infra-Station.
Step 1
Meet the lined-up crew near the objective south of the Mountain Path Slope TP Point in Originium Park, then speak with Da Pan and the crew leader Noffman at the end of the line.
Step 2
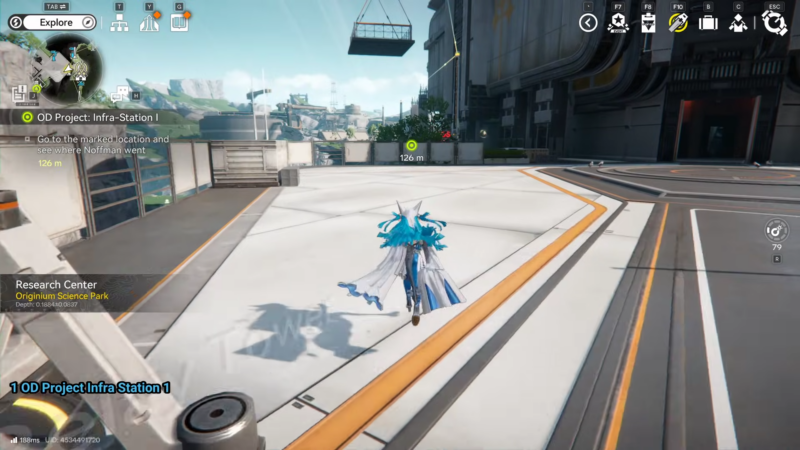
Travel to the Research Center area in Originium Science Park after learning the missing crew’s last signals trace back to the Science Park.
Step 3
Use Scan at the building to locate and collect three clues related to the missing personnel, using navigation hints like faint light beams if needed.
Step 4
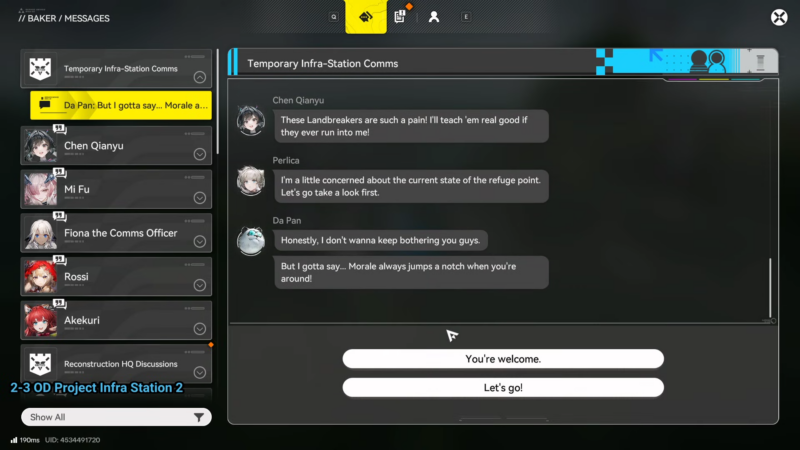
Open the Archive (V) and review the Intel Gathering tab after collecting all three clues to progress the investigation state.
Step 5
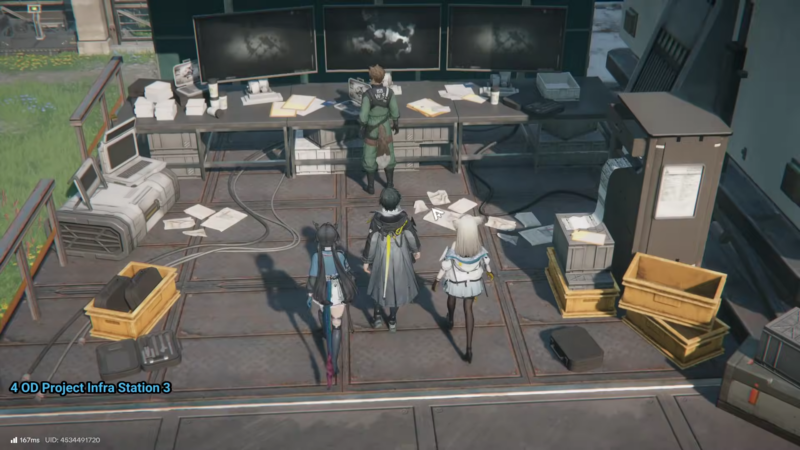
Return to the Infra-Station and report findings to Noffman, then proceed to the open area and place the Sub-PAC at the prompted position to finish the mission.
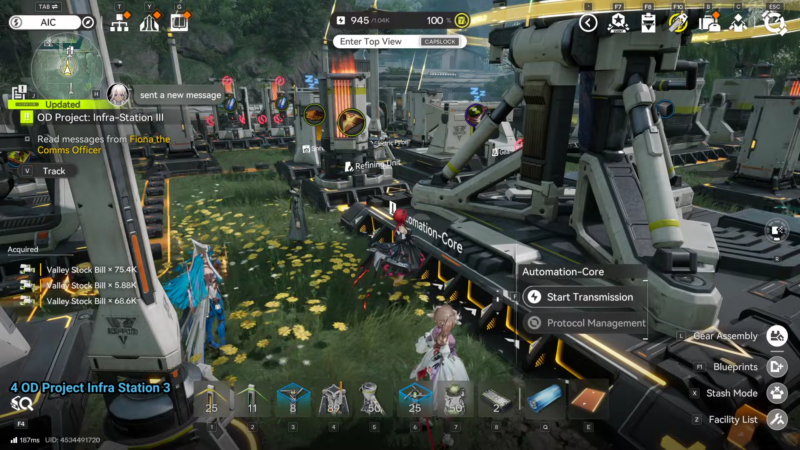
How to complete OD Project: Infra-Station I: incident investigation and rescue route
This follow-up mission is triggered through Messages and focuses on reaching an injured SAR team and setting up traversal infrastructure to extract them safely.
Step 1
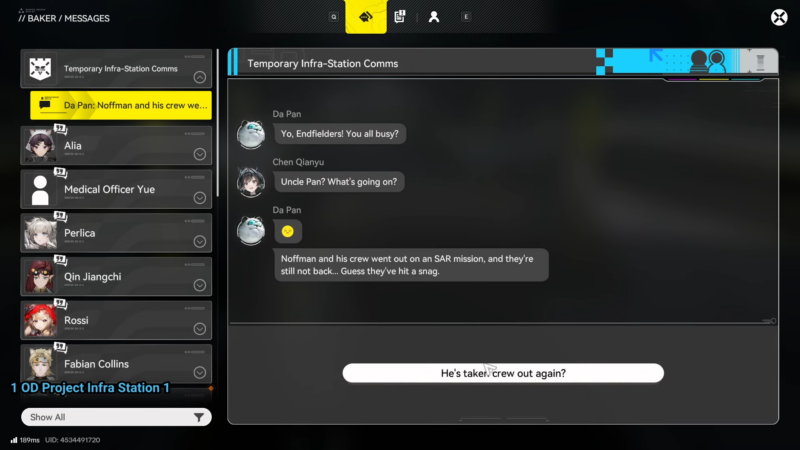
Open Messages (V) to receive Da Pan’s note that Noffman and the SAR crew have not returned, then set the map target to the TP Point between Originium Science Park and the Research Center.
Step 2
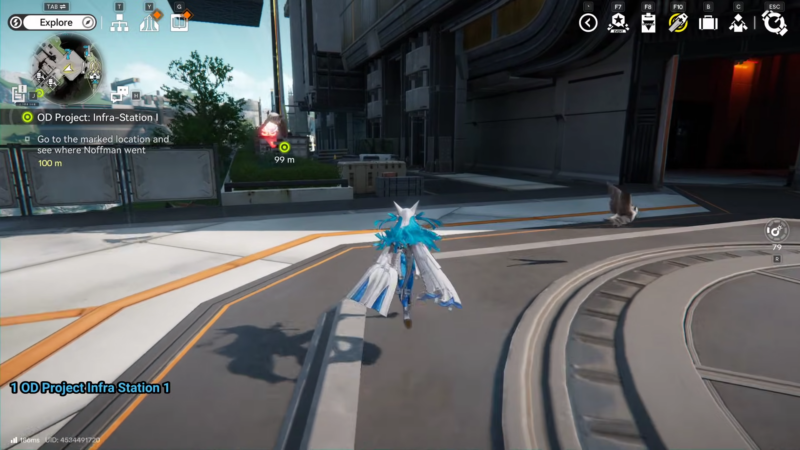
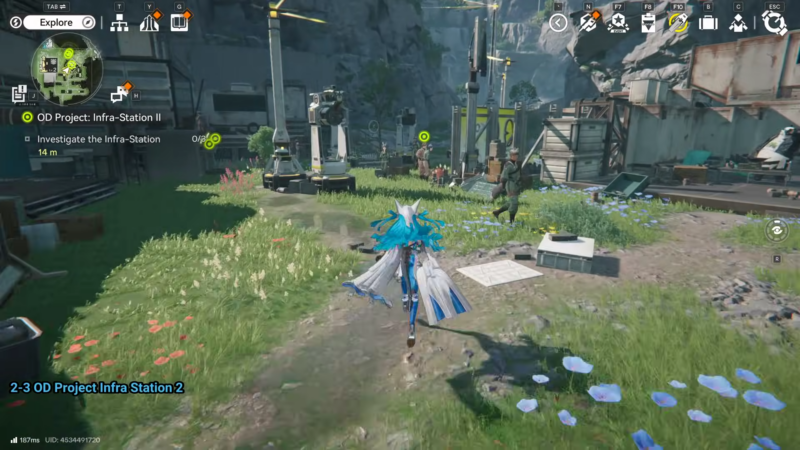
Move toward the marker south of the Research Center, defeat Landbreakers encountered on the route, and continue forward after the combat sequence.
Step 3
Follow the marker to locate Noffman and the injured team and advance the objective dialogue that sets up the need for ziplines.
Step 4
Build the first Zipline Tower at the chasm-side marker, then place an Electric Pylon beside it to supply power.
Step 5
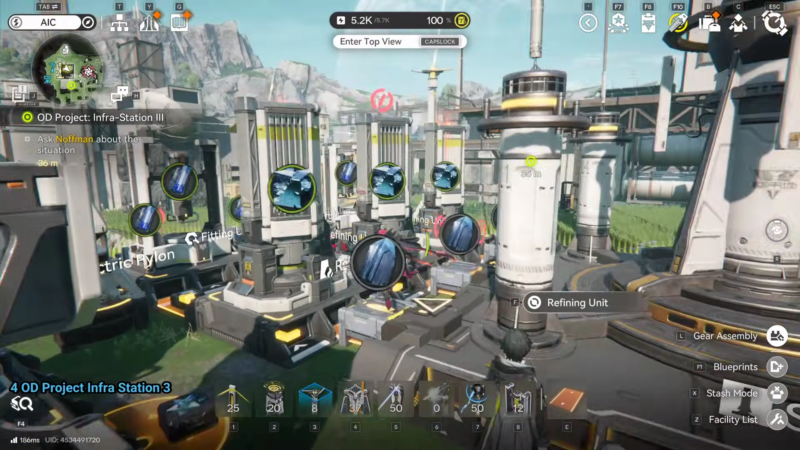
Start transmission at the Relay Tower to obtain a tether, then attach the tether to the Electric Pylon to power the zipline.
Step 6
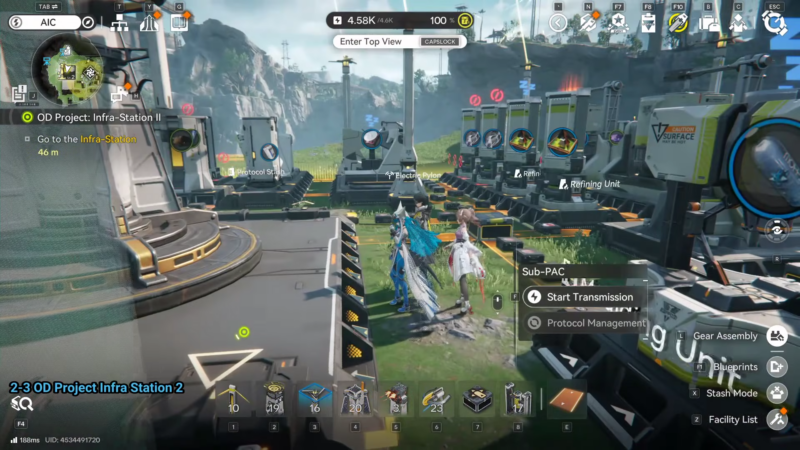
Fast travel/select the AIC Facility at the Infra-Station on the map, place the second Zipline Tower at the marker, and repeat the Zipline Tower + Electric Pylon setup.
Step 7
If distance is short, place an additional Electric Pylon to bridge the gap and tether it to a nearby powered pylon within proximity of the AIC Facility to energize the second zipline segment.
Step 8
Interact with the zipline and use the “Latch to Zipline Facility” prompt to cross, triggering the recovery sequence that completes the mission and raises the Infra-Station level.
Rewards
| Mission | Rewards for completion |
|---|---|
| Outpost Infra-Station | Oroberyl x200; 200 Operational EXP |
| OD Project: Infra-Station I | Oroberyl x50; 200 Operational EXP |
Closing notes for the Infra-Station investigation chain
Progress in this chain typically hinges on two checkpoints: logging discoveries in the Archive’s Intel Gathering tab and completing the build/placement objective (Sub-PAC or powered ziplines).