What to know
- Tokugawa Kunimatsu is a two-phase human boss built around fast wind-based mobility and ranged pressure.
- A Ninjutsu-heavy setup with Lightning Step and throwables simplifies the fight dramatically.
- The key is bait, punish briefly, disengage, and let status effects chip him down.
- In Phase 2, distance control becomes essential due to AoE wind attacks and teleport mechanics.
Right from the start, Tokugawa Kunimatsu tests your patience more than your reflexes. While he looks aggressive and flashy, this fight rewards control and discipline. If you approach him like a standard melee duel, you’ll struggle. If you approach him like a calculated shinobi—striking surgically and retreating—you can dismantle him consistently and safely.
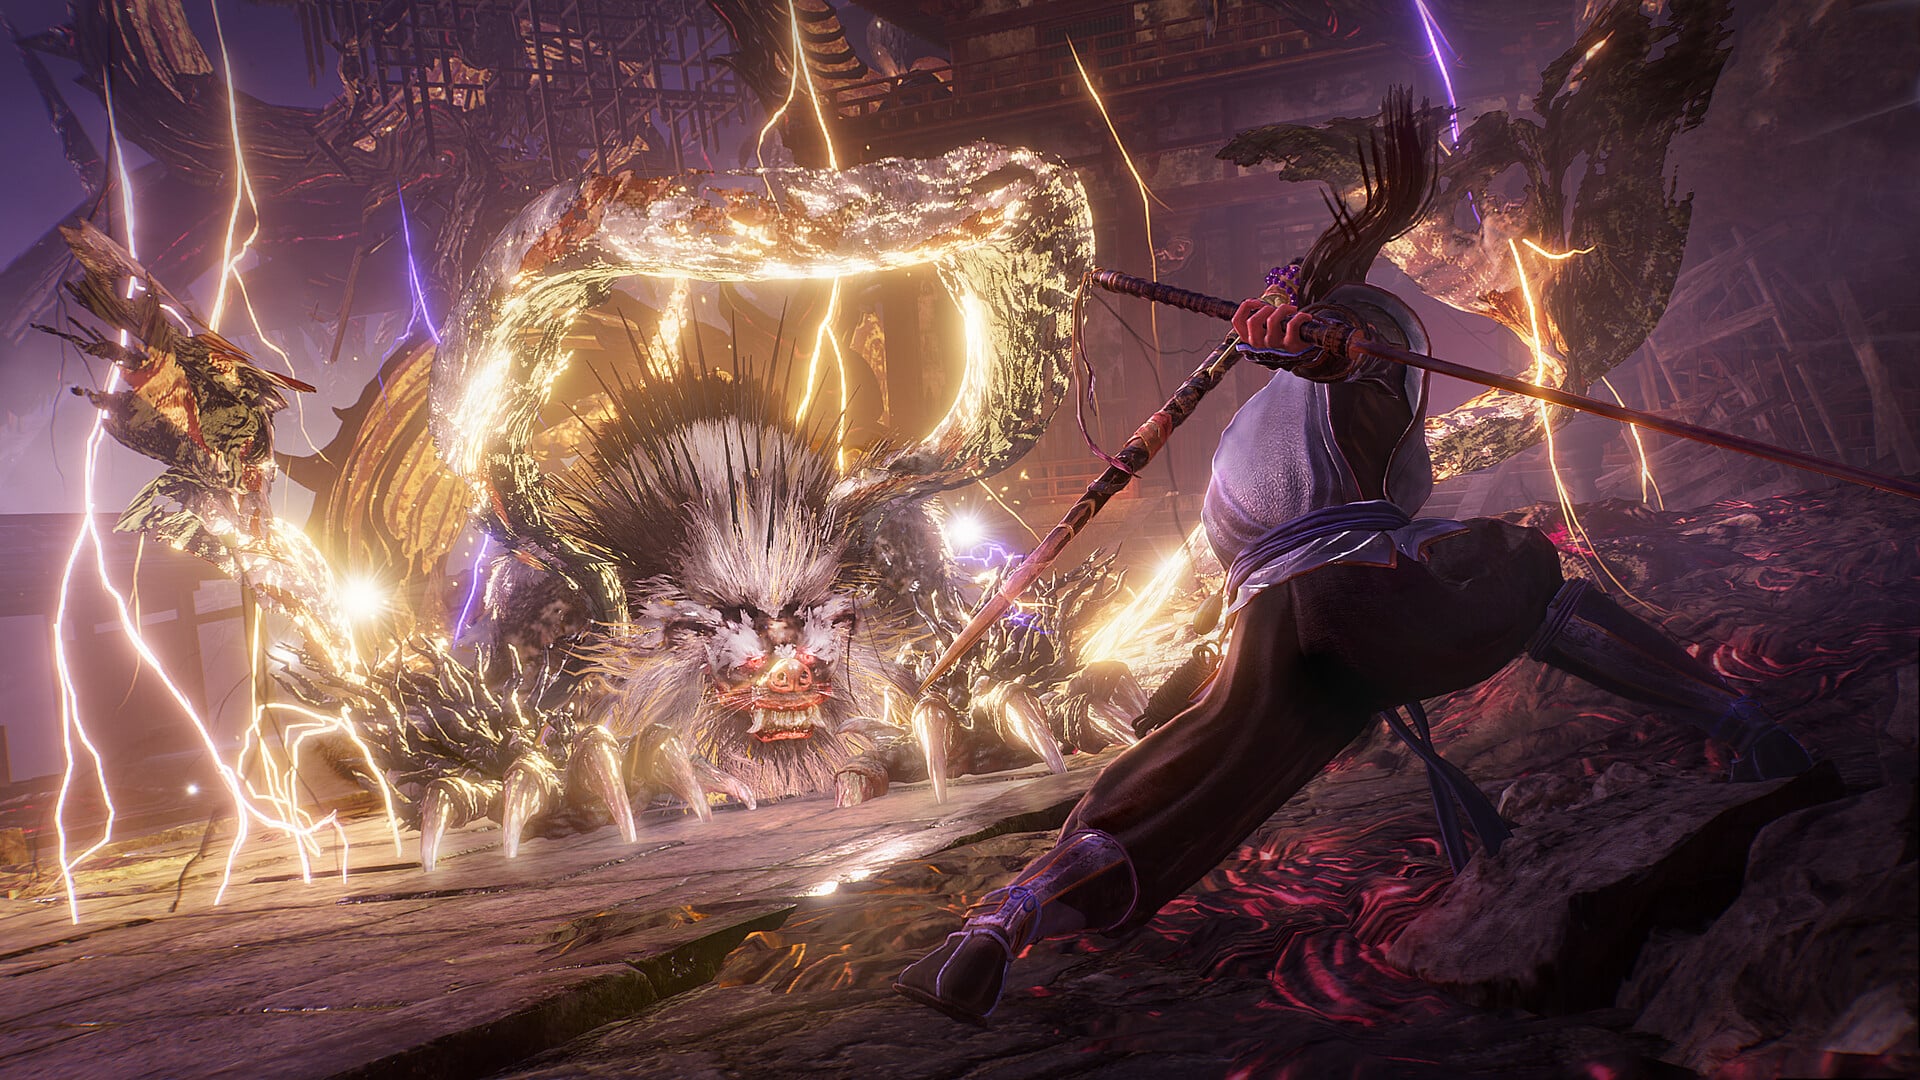
Nioh 3 Tokugawa Kunimatsu boss fight
| Category | Details |
|---|---|
| Boss Name | Tokugawa Kunimatsu |
| Game | Nioh 3 |
| Boss Type | Human / Wind-based |
| Recommended Build | High Ninjutsu Power |
| Core Strategy | Bait → Short Punish → Retreat |
| Key Tools | Lightning Step, Fire Throwables, Ninjutsu Accessories |
| Main Threats | Homing Dash, Teleport Slam, AoE Wind Burst |
| Phase Count | 2 |
| Difficulty (with Ninjutsu) | Moderate to Easy |
How Tokugawa Kunimatsu behaves in Phase 1
In Phase 1, Tokugawa Kunimatsu behaves like a highly mobile duelist. He relies heavily on forward pressure, quick dash attacks, and controlled spacing. His AI aggressively attempts to close the gap, which is actually something you can manipulate.
The safest and most efficient strategy is to bait his forward melee combos. When he finishes a committed string, he has a brief recovery window. This is your opportunity. Instead of overcommitting, use Lightning Step to instantly close the gap, land two to three controlled hits, and disengage immediately.
The moment you get greedy is the moment he punishes you.
His homing dash attack is one of the most exploitable moves in Phase 1. It tracks your position but commits him to a linear path. If you dodge laterally at the correct timing, he slides past you, leaving his back exposed. This opening allows for quick melee punishment or a safe throwable toss.
Another key part of Phase 1 is the consistent use of throwables to chip health and apply burn. Fire-based Ninjutsu tools work exceptionally well here. Even when you are unsure about approaching after an attack, you can safely throw projectiles to maintain pressure without risking counter damage. Over time, this steady chip damage builds up and can trigger status effects, further softening him.
He also summons a small projectile-firing companion during parts of the fight. While visually distracting, most of these projectiles deal manageable damage and can be avoided by maintaining mid-range positioning. You don’t need to tunnel vision on eliminating it. Staying focused on spacing is more important.
The core of Phase 1 is rhythm. You bait. You dodge. You punish lightly. You retreat. You repeat. Once you internalize this loop, the fight slows down dramatically.
How Phase 2 changes the fight dynamic
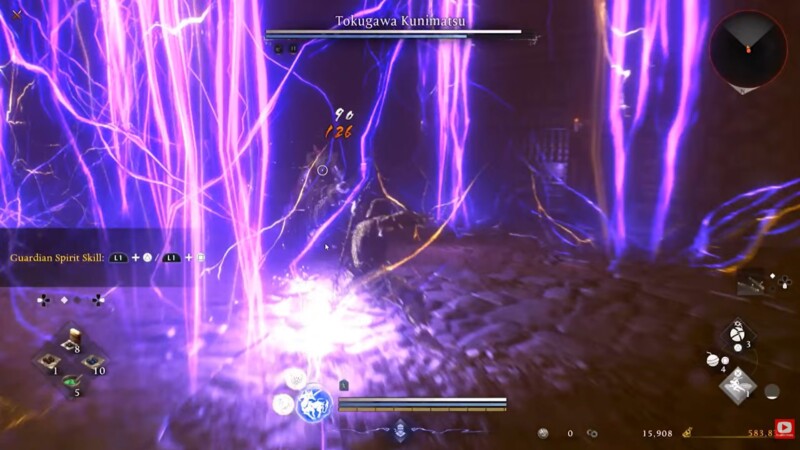
Phase 2 begins once his health crosses the threshold, and the tone shifts noticeably. His mobility increases, and wind-based AoE attacks are introduced. This is where many players panic.
The key difference in Phase 2 is that distance becomes more valuable than ever.
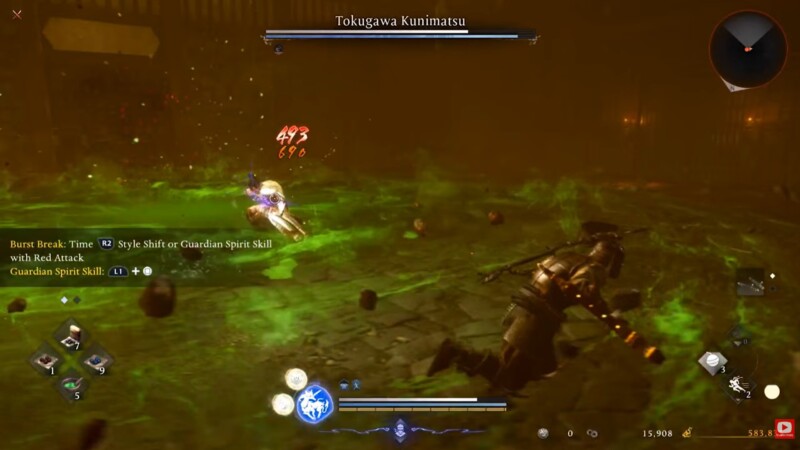
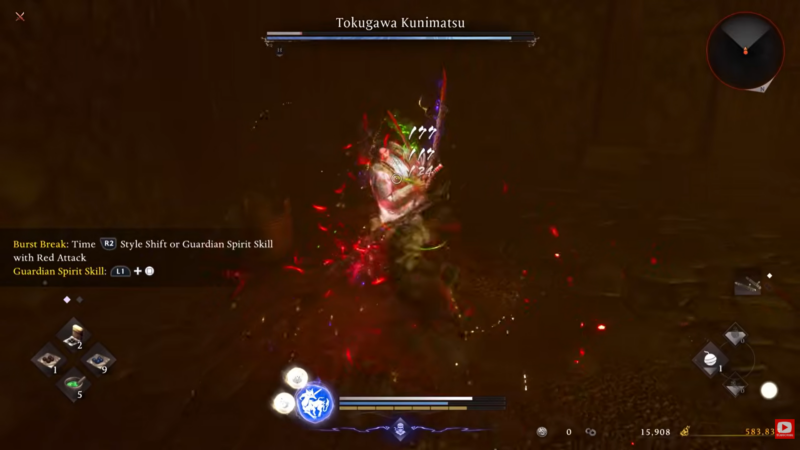
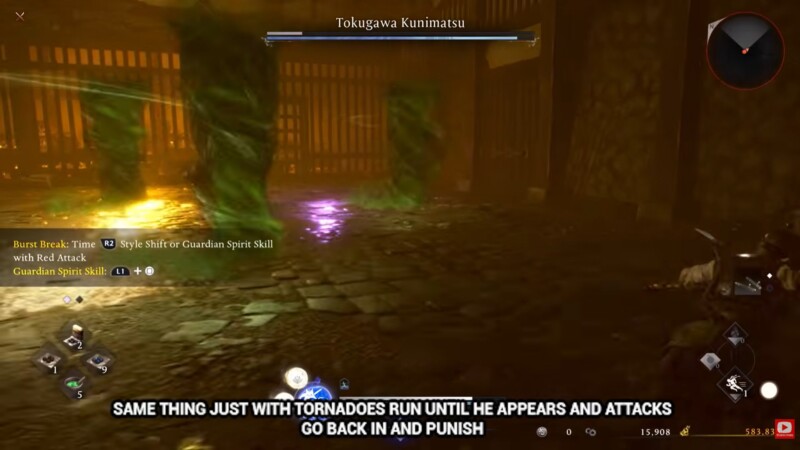
One of his defining moves in this phase is a disappearance attack. He vanishes briefly and reappears for a landing strike. Instead of trying to predict or counter mid-teleport, the safest response is to run in a straight line to create space. When he reappears and lands, he is briefly vulnerable. That landing window is ideal for a quick punish.

His charging wind attack is extremely dangerous if you try to challenge it physically. You should not attempt melee trades here. This is where the throwable strategy truly shines. When you see him charging wind energy, create space and throw projectiles instead of engaging directly. You maintain damage output without risking heavy punishment.
The AoE wind bursts reinforce this same philosophy. If you linger too long after attacking, you’ll get clipped. This fight rewards short engagements only. You strike, then disengage immediately.
Phase 2 is not about aggression. It’s about composure. If you stick to punishable moves and ignore risky ones, his health will steadily drop.
Optimizing your Ninjutsu setup for an easier win
A properly optimized Ninjutsu build transforms this fight from stressful to manageable.
| Build Element | Why It Matters |
|---|---|
| High Ninjutsu Power | Boosts projectile damage significantly |
| Fire Throwables | Enables burn damage over time |
| Lightning Step | Rapid repositioning and safe gap closing |
| Ninjutsu Recovery Accessories | Sustain your throwable supply |
| Ki Recovery Boost | Allows frequent dodge disengagement |
Accessories that increase Ninjutsu damage or replenish throwable counts on hit provide massive value. Since a significant portion of your damage comes from ranged tools, enhancing their output shortens both phases considerably.
Lightning Step plays a central role. It gives you burst mobility without committing to long melee strings. That flexibility alone prevents most punish scenarios.
The synergy here is straightforward. Melee attacks refill resources. Throwables apply pressure. Lightning Step controls distance. Everything feeds into the same loop.
Positioning and stamina management
Even with the correct tools, poor stamina management can cost you the fight.
You should always maintain enough Ki to dodge after attacking. If you deplete your stamina bar fully during a punish window, Tokugawa Kunimatsu will retaliate instantly. His counter pressure is fast and punishing.
Spacing at mid-range is ideal. Too close and you risk quick melee chains. Too far and you allow wind pressure setups. Mid-range forces him into dash entries, which are predictable and punishable.
You are essentially controlling the tempo. When you stand at mid-range, he initiates. When he initiates, you react. When you react successfully, you gain damage.
This reactive control is what makes the fight feel easier over time.
Damage strategy breakdown
| Situation | Recommended Response |
|---|---|
| Forward combo | Dodge → 2–3 hits → retreat |
| Homing dash | Lateral dodge → punish |
| Wind charge | Retreat → throw projectiles |
| Teleport vanish | Run → punish landing |
| AoE wind burst | Create distance immediately |
Notice the pattern. You never force damage. You only accept damage when it’s offered safely.
This discipline is the difference between struggling and winning comfortably.
Why this method works for Kunimatsu
Tokugawa Kunimatsu is designed to punish greed. His kit looks intimidating, but it contains clear recovery windows after specific attacks. By focusing only on those windows and ignoring everything else, you remove the chaos from the encounter.
The Ninjutsu-heavy approach further simplifies the fight because it allows you to deal consistent damage without constant melee risk. Burn effects, chip damage, and ranged pressure steadily drain his health.
You don’t need perfect execution. You need controlled execution.
When you think of the fight not as a duel but as a methodical dismantling, everything clicks into place.


