
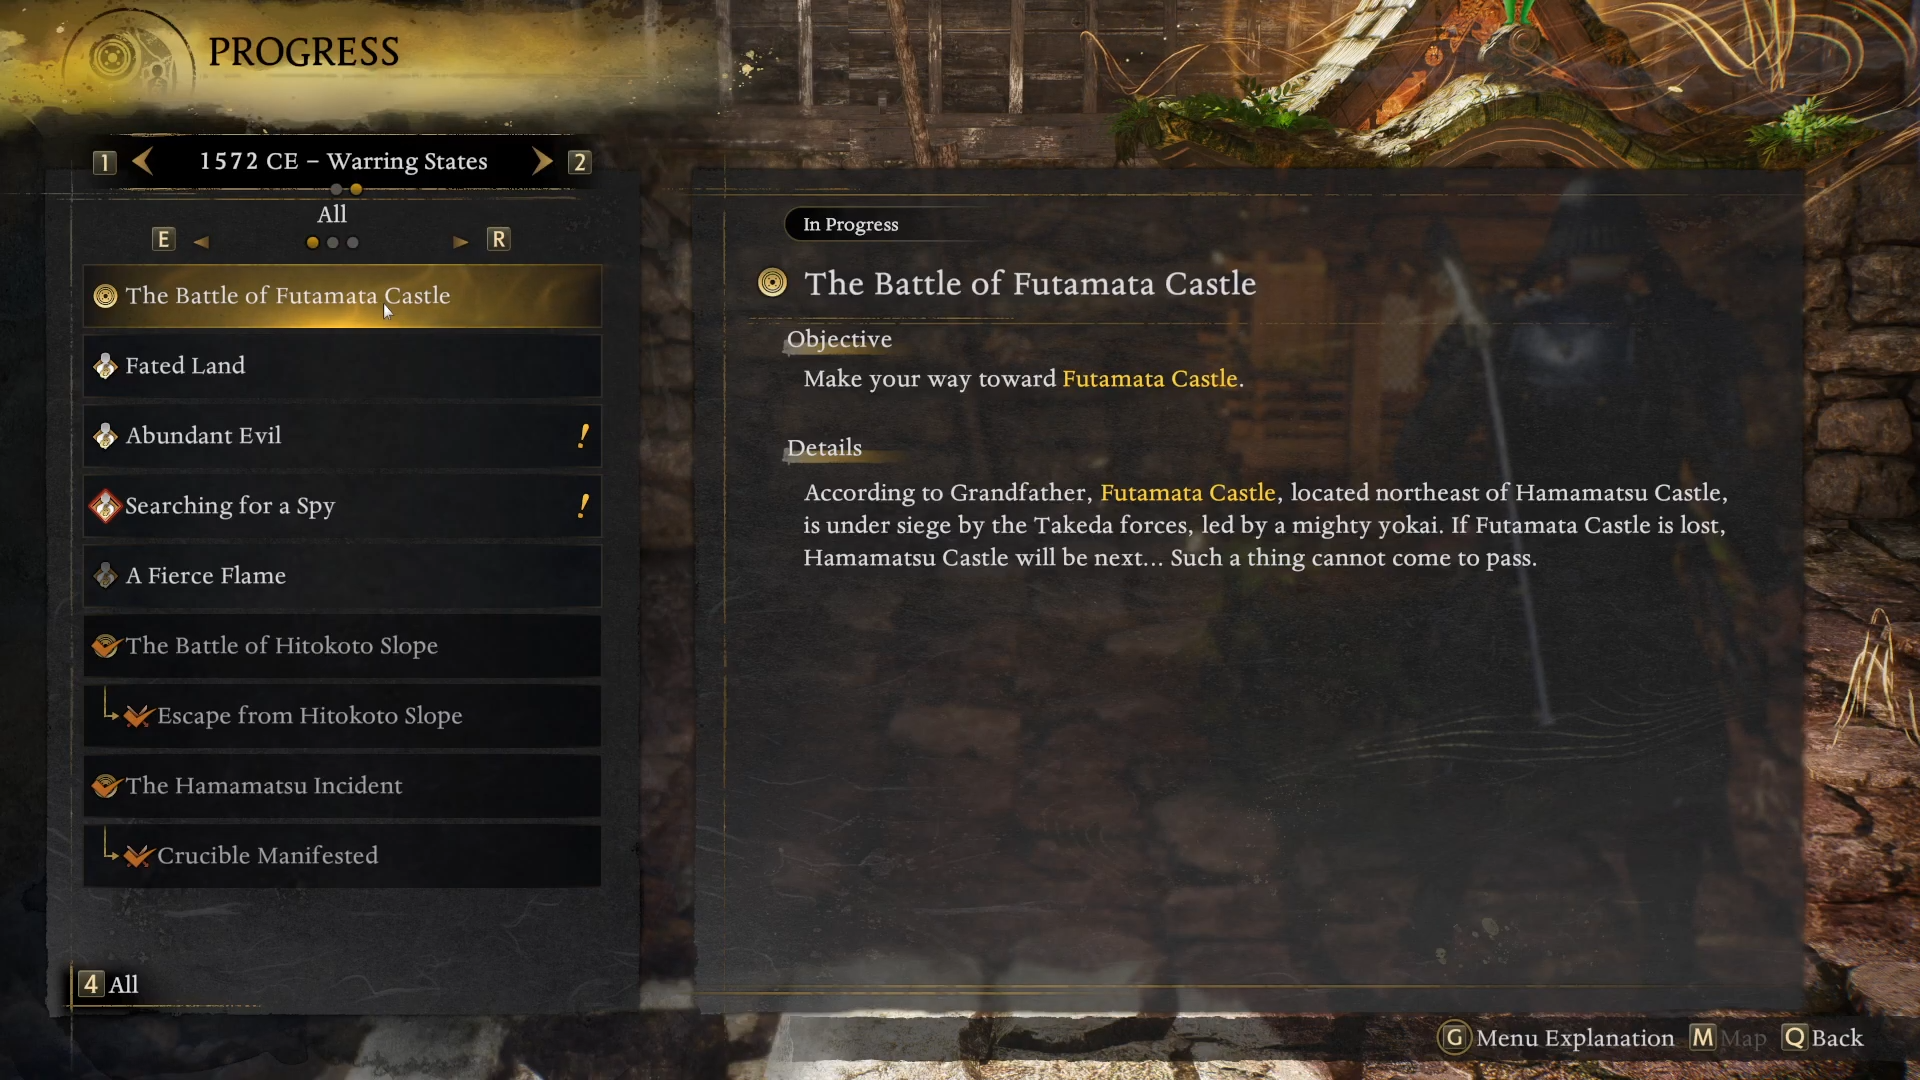
- What to know
- How to unlock and prepare for Futamata
- How to reach the Futamata region from Hamamatsu Castle
- How to follow Futamata Road toward the castle
- How to navigate the outer settlement and trenches
- How to clear the castle-town courtyard and reach inner shrines
- How to climb into Futamata Castle and reach the boss
- Futamata mission rewards
What to know
-
Futamata is a mid-game region reached after completing The Hamamatsu Incident main mission and unlocking The Battle of Futamata Castle.
-
The Futamata area and Battle of Futamata Castle mission are tuned around the mid-30s to high-30s level range, with level 39 recommended.
-
You reach Futamata by traveling northeast from Hamamatsu Castle on the region map, then following Futamata Road north to the castle bridge.
-
Progress depends on activating shrines, opening shortcuts, and clearing enemy waves around the trenches, stables, and castle courtyard before the boss.
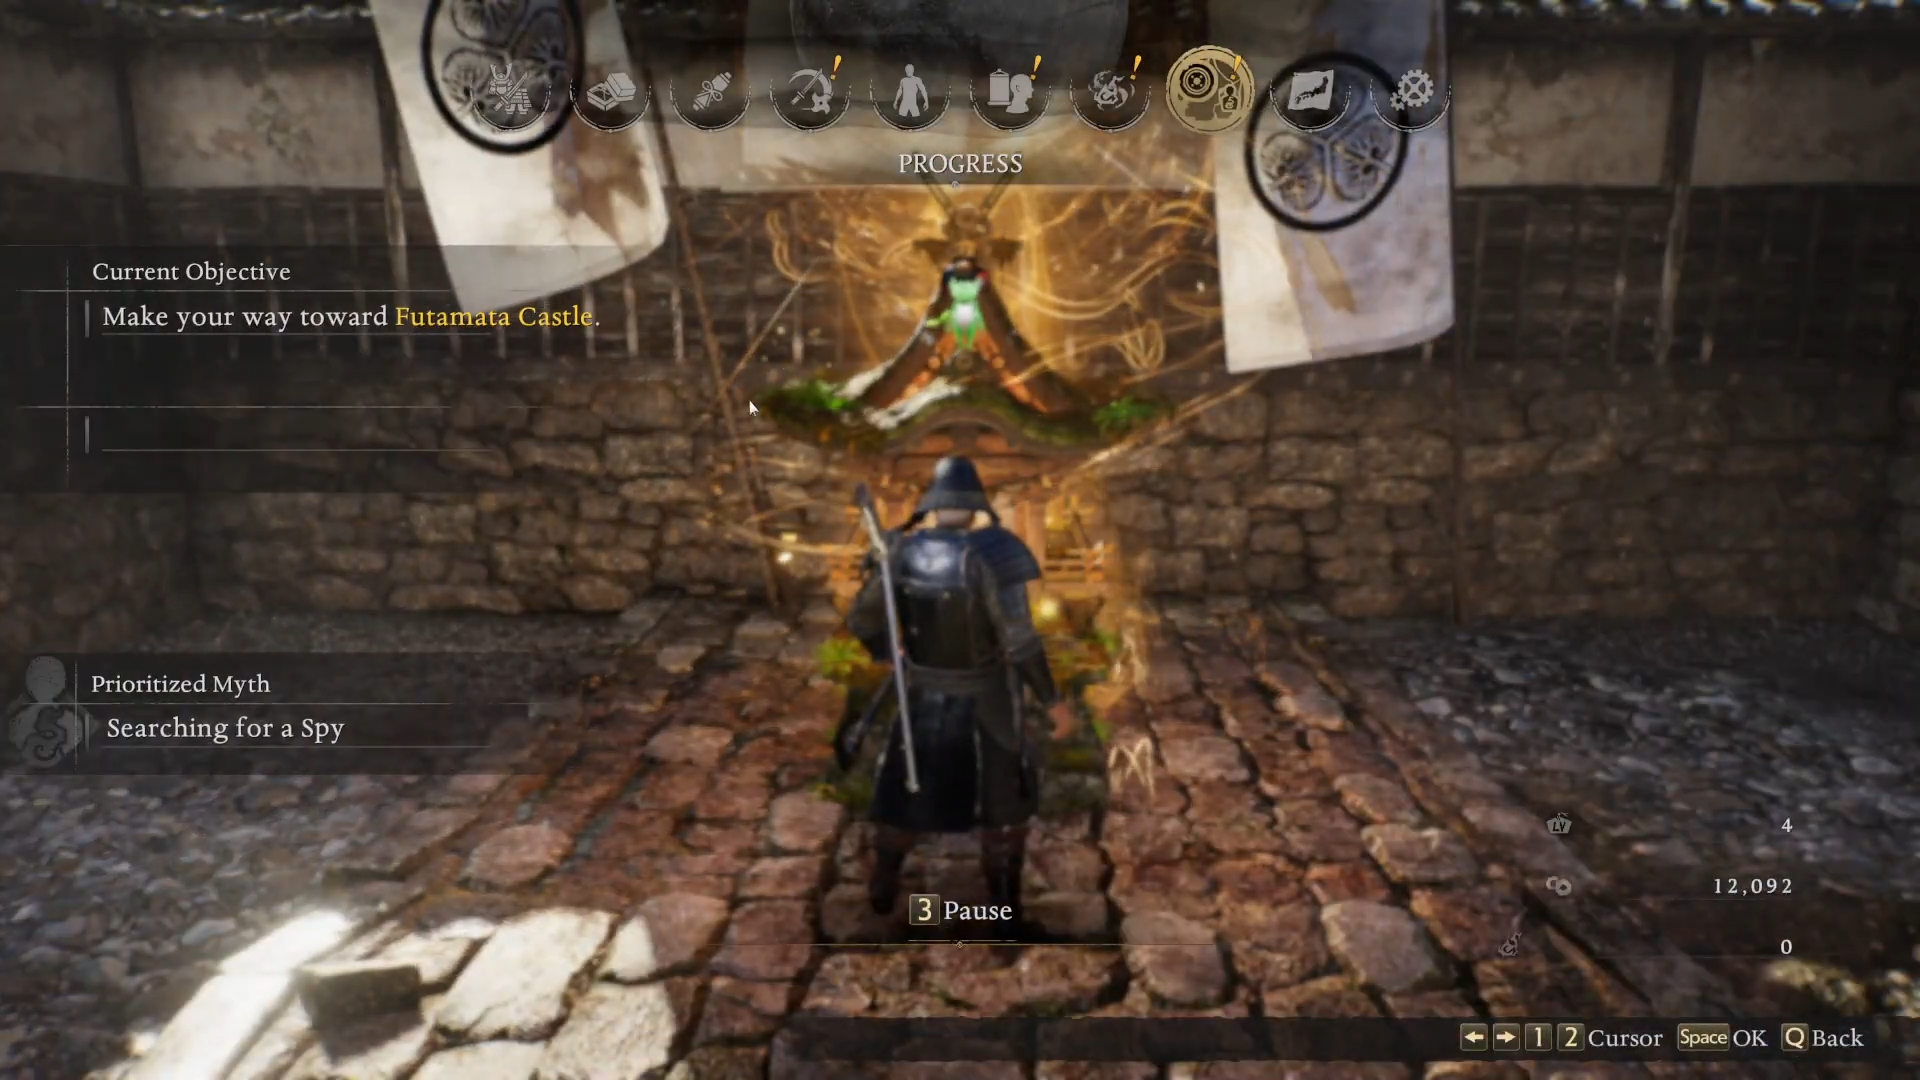
In Nioh 3, right after you unlock The Battle of Futamata Castle, the game expects you to navigate from Hamamatsu Castle through Futamata Road and up to the besieged Futamata Castle.
| Aspect | Details at a glance |
|---|---|
| When Futamata unlocks | After completing The Hamamatsu Incident main mission. |
| Region location | Northeast of Hamamatsu Castle on the world map. |
| Recommended level | Around level 36 for Futamata area, 39 for the Battle of Futamata Castle. |
| Mission type | Main story mission focused on reaching and defending Futamata Castle. |
| Main starting point | Hamamatsu Castle region hub on the Warring States map. |
| Route highlight | Follow Futamata Road north to the bridge and Mirage Fortress battle around the castle. |
| Key NPC | Hattori Hanzo appears on the road and later near the boss arena. |
| Notable areas on route | Castle-town road, shrines, trenches, stables, rooftops, inner courtyards. |
| Final objective | Reach Futamata Castle, clear the Mirage Fortress, defeat Baba Nobuharu, then report back at Hamamatsu Castle. |
How to unlock and prepare for Futamata
You can only head to Futamata once you are done with The Hamamatsu Incident in the Warring States chapter. Once that mission is finished, The Battle of Futamata Castle appears as the next main mission on the region map northeast of Hamamatsu Castle.
Before you actually travel to Futamata, aim to be at least mid to high 30s in level, because Futamata itself is around level 36 and the Futamata Castle mission is recommended at level 39. Take time to run side missions, upgrade equipment, and attune spirits so you are not struggling with the heavy enemy density and boss fights.
How to reach the Futamata region from Hamamatsu Castle
To get to Futamata, you first need to understand where it sits in the Warring States world map.
Locating Futamata on the world map
From the main region screen, select the Warring States timeline that includes Hamamatsu. Hamamatsu Castle is your hub in this chapter, and Futamata Castle lies to the northeast of it on the same regional layer.
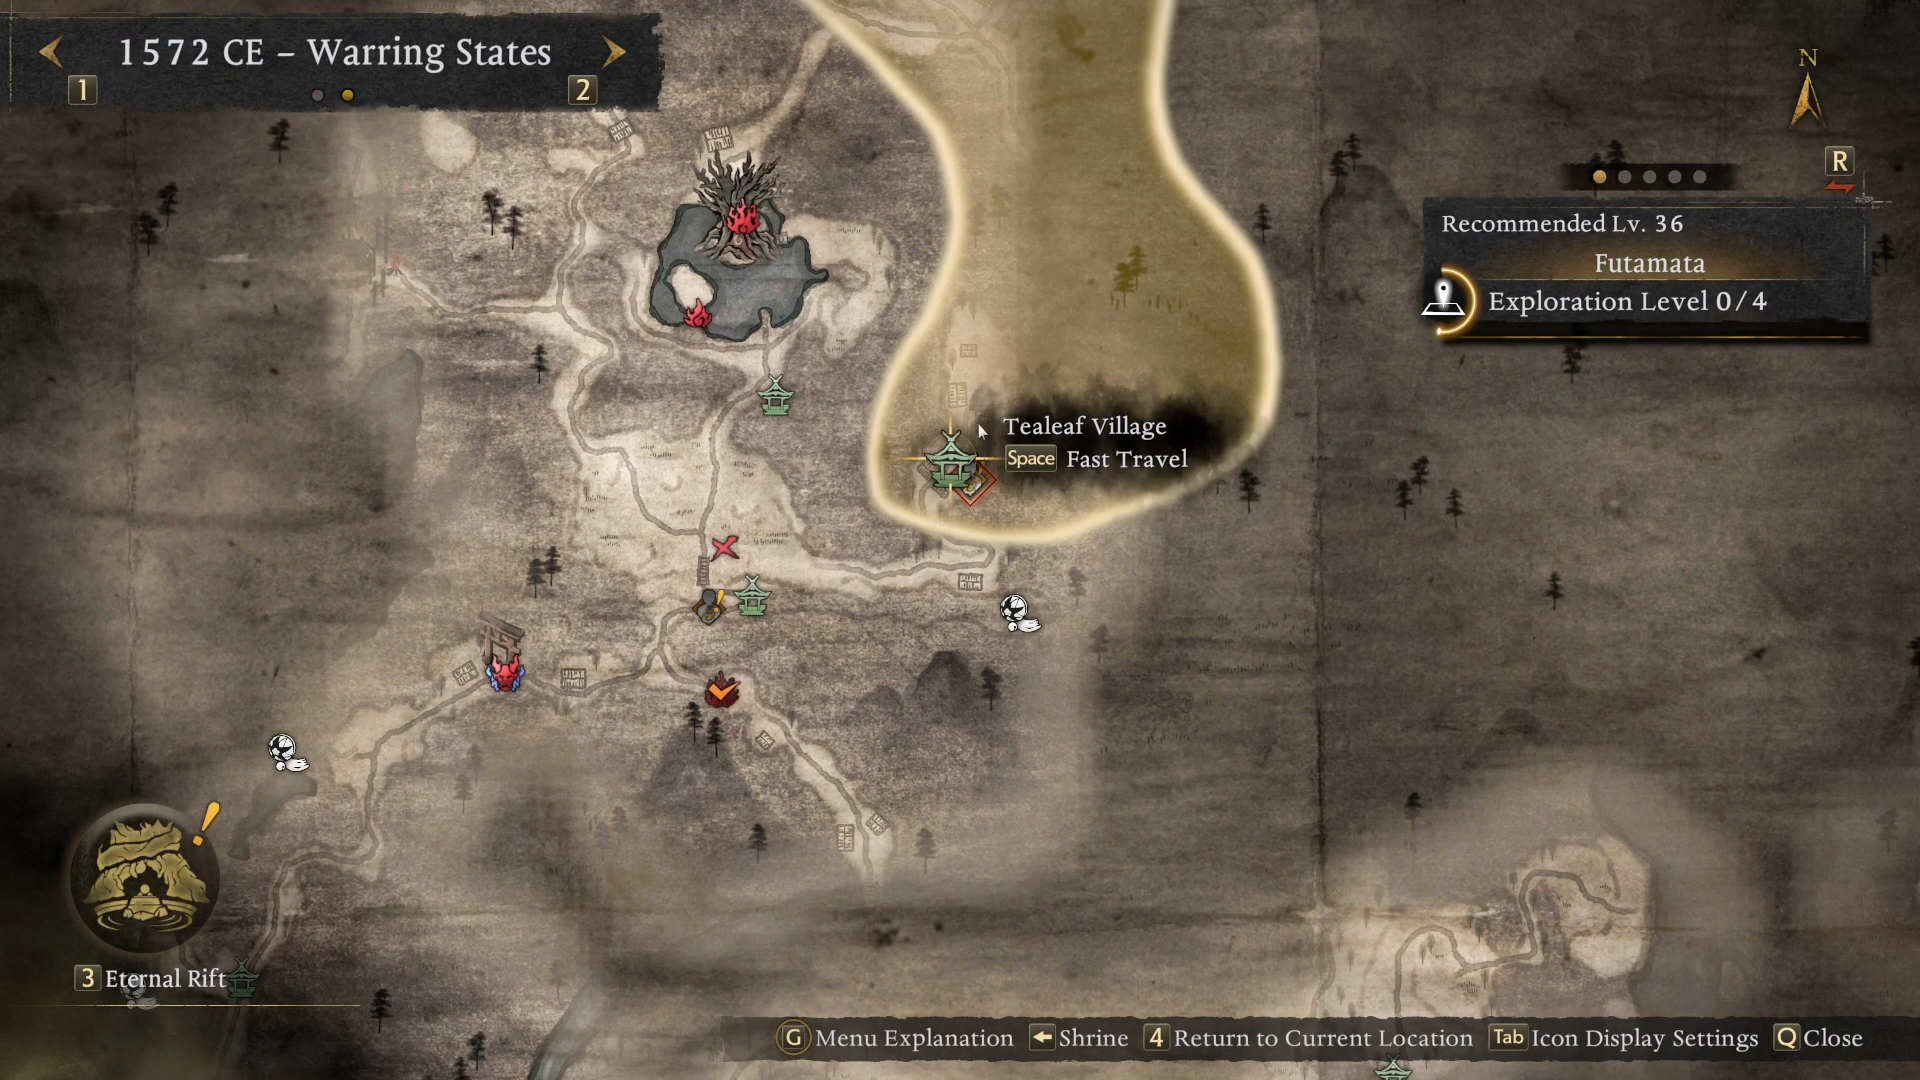
The Battle of Futamata Castle icon appears in the Futamata area once unlocked; move your cursor from Hamamatsu Castle towards the northeast to highlight the Futamata node and confirm the mission. When you start this main mission, you will load into the Futamata outskirts rather than directly inside the castle.
How to follow Futamata Road toward the castle
Once you confirm the mission, the game drops you into the Futamata region, and your initial goal is to advance toward the castle through Futamata Road.
Meeting Hanzo and activating the first shrine
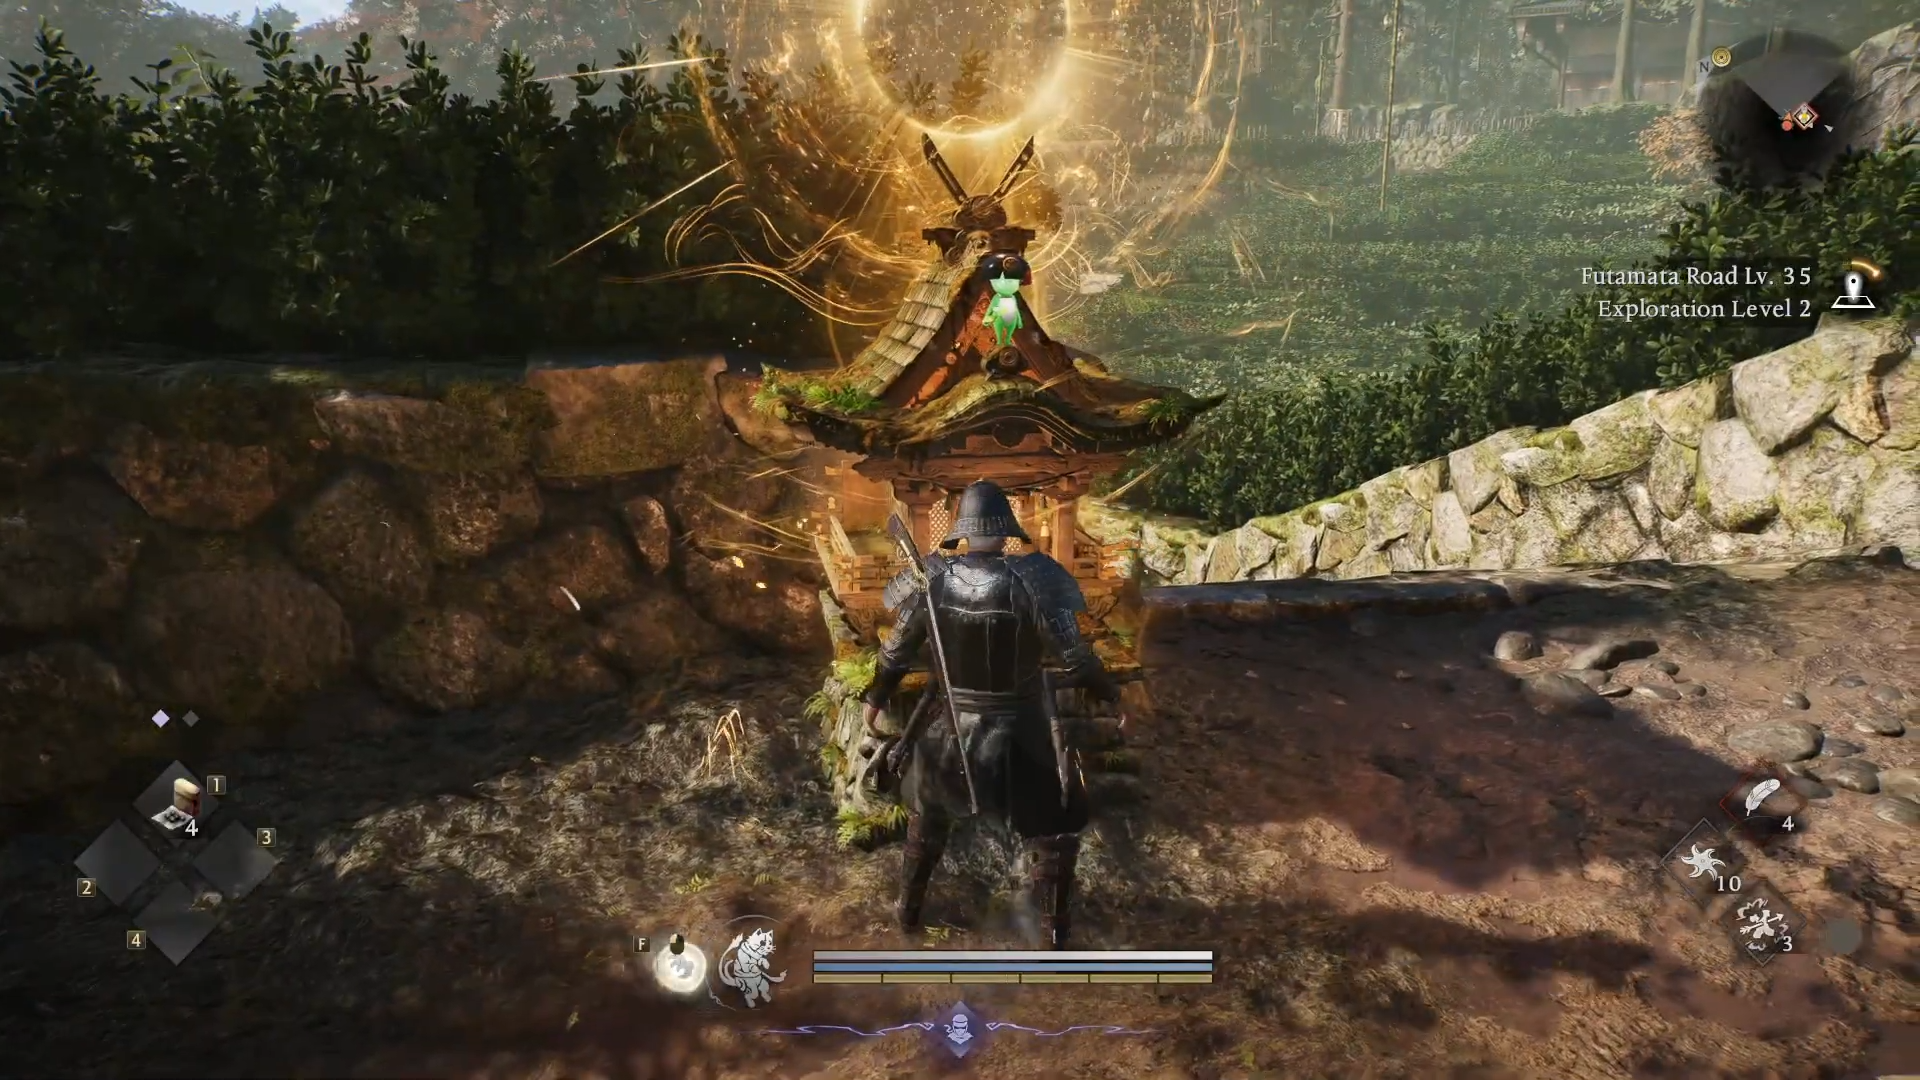
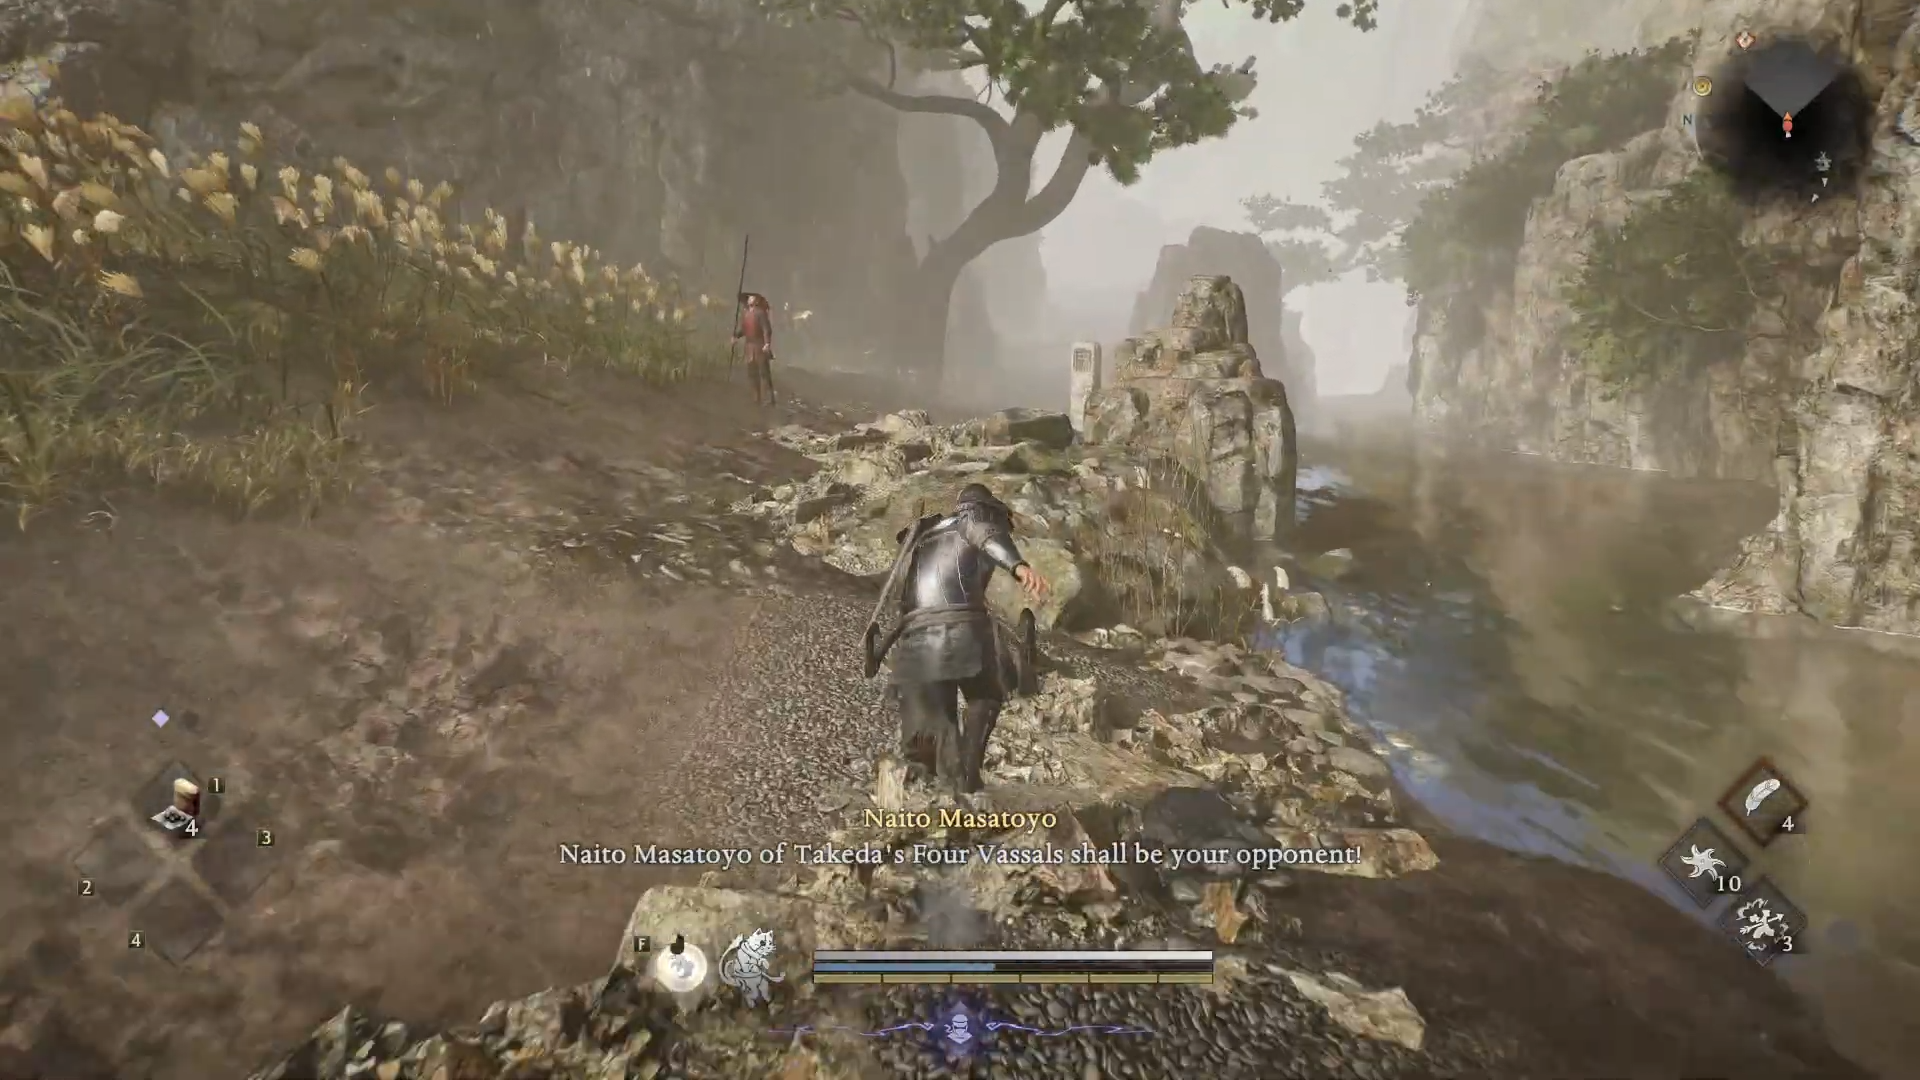
You start on a road leading through the Futamata countryside, with Futamata Castle looming further north. Follow the main road north until you encounter Hattori Hanzo; talk to him to advance the objective and continue along the path.
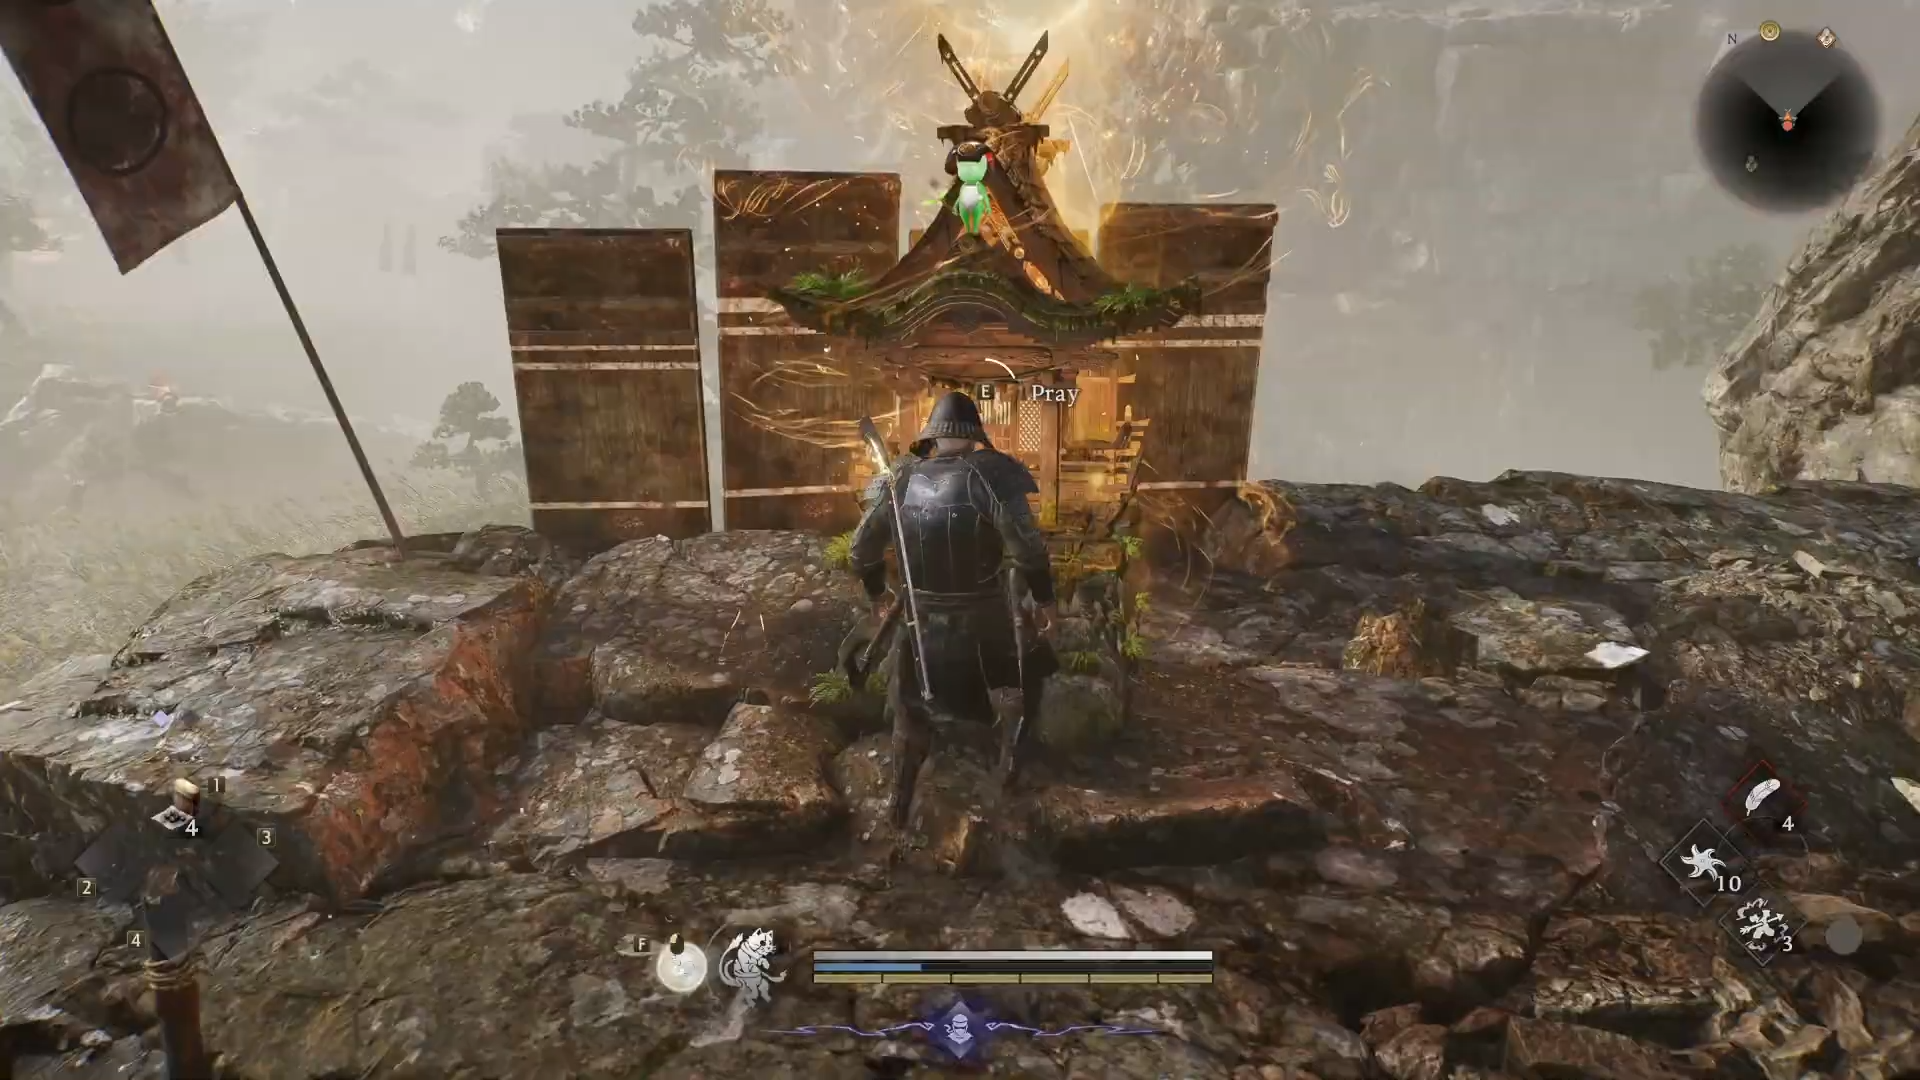
From Hanzo, keep going down the road and cross a wooden bridge that brings you closer to the castle-town area, then head forward until you find the first shrine where you can rest and level up. Activating this shrine is important because it becomes your primary checkpoint for the push toward Futamata Castle.
Moving along the riverside road
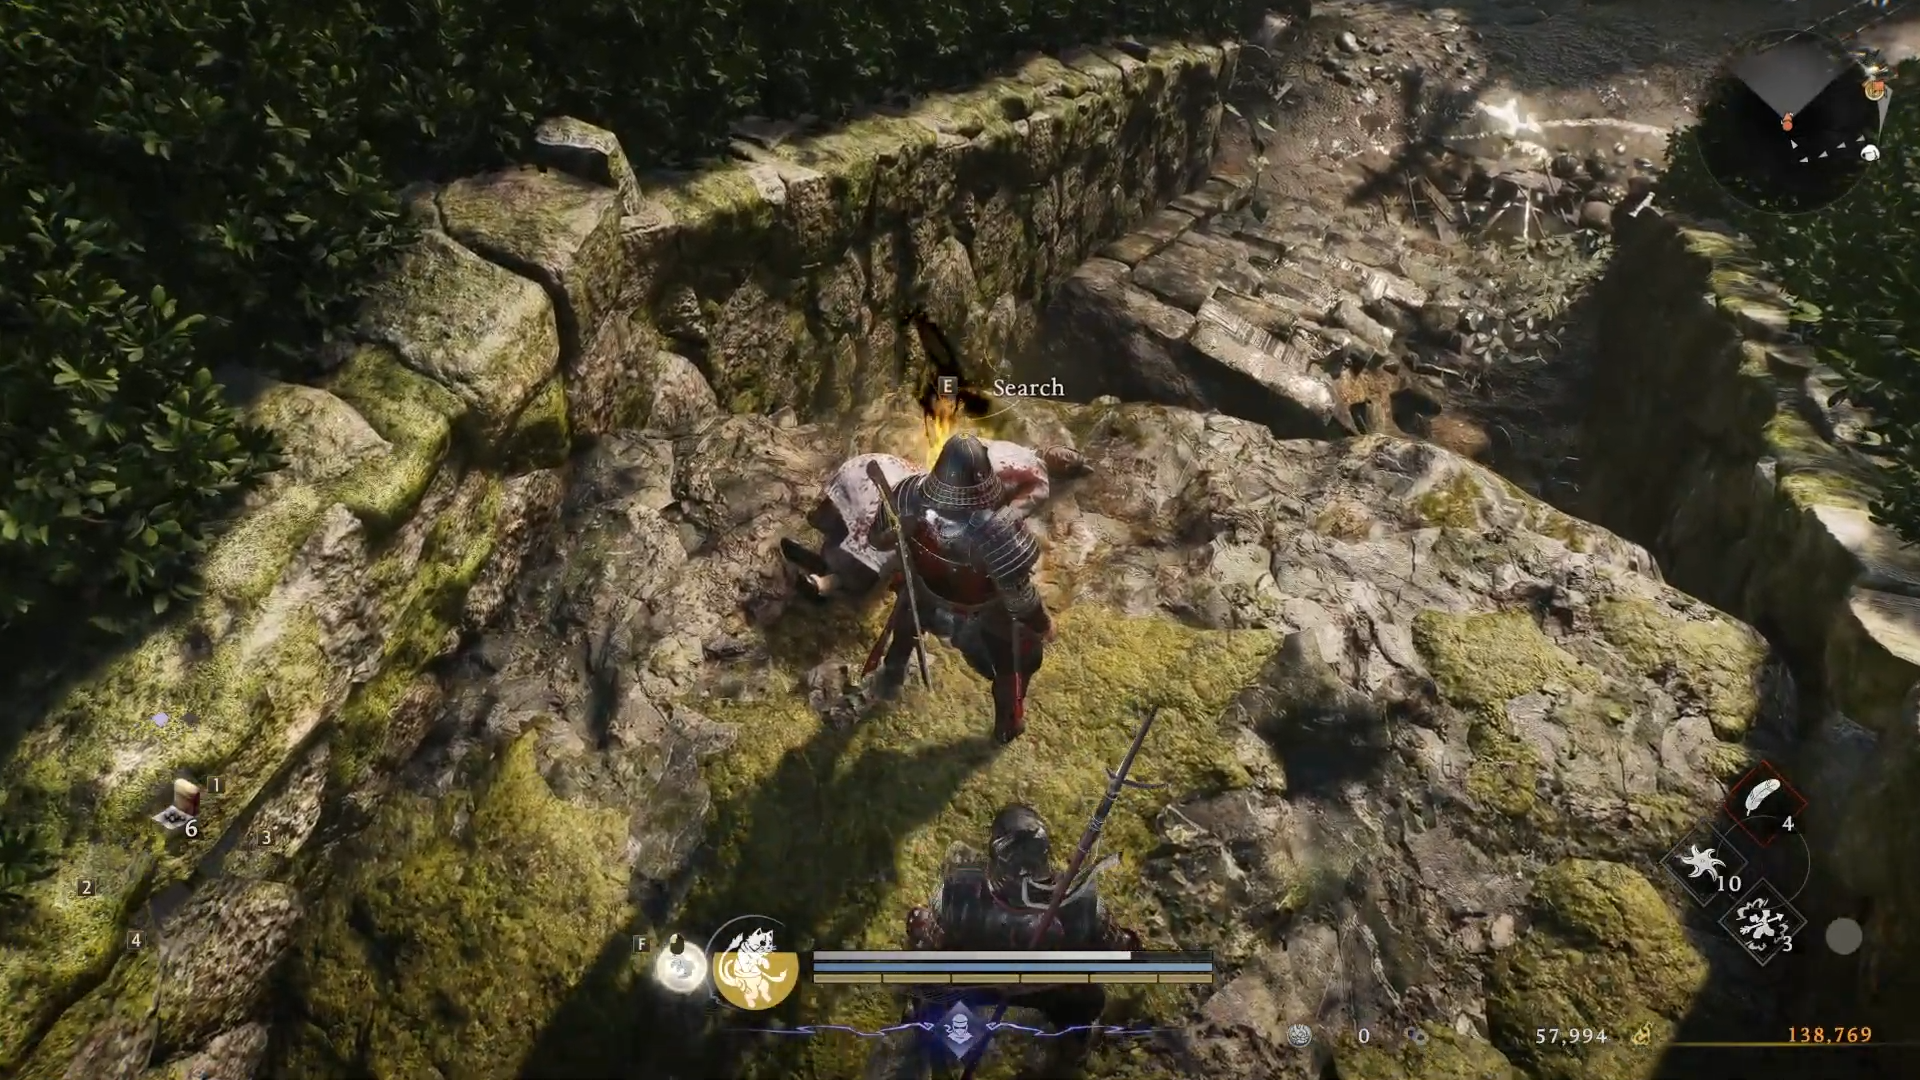
Starting from that first shrine, turn right and follow the road that runs near the water’s edge. As you progress, watch for a deceptive rock wall on the route; the wall hides a passage and marks your approach to enemy lines.
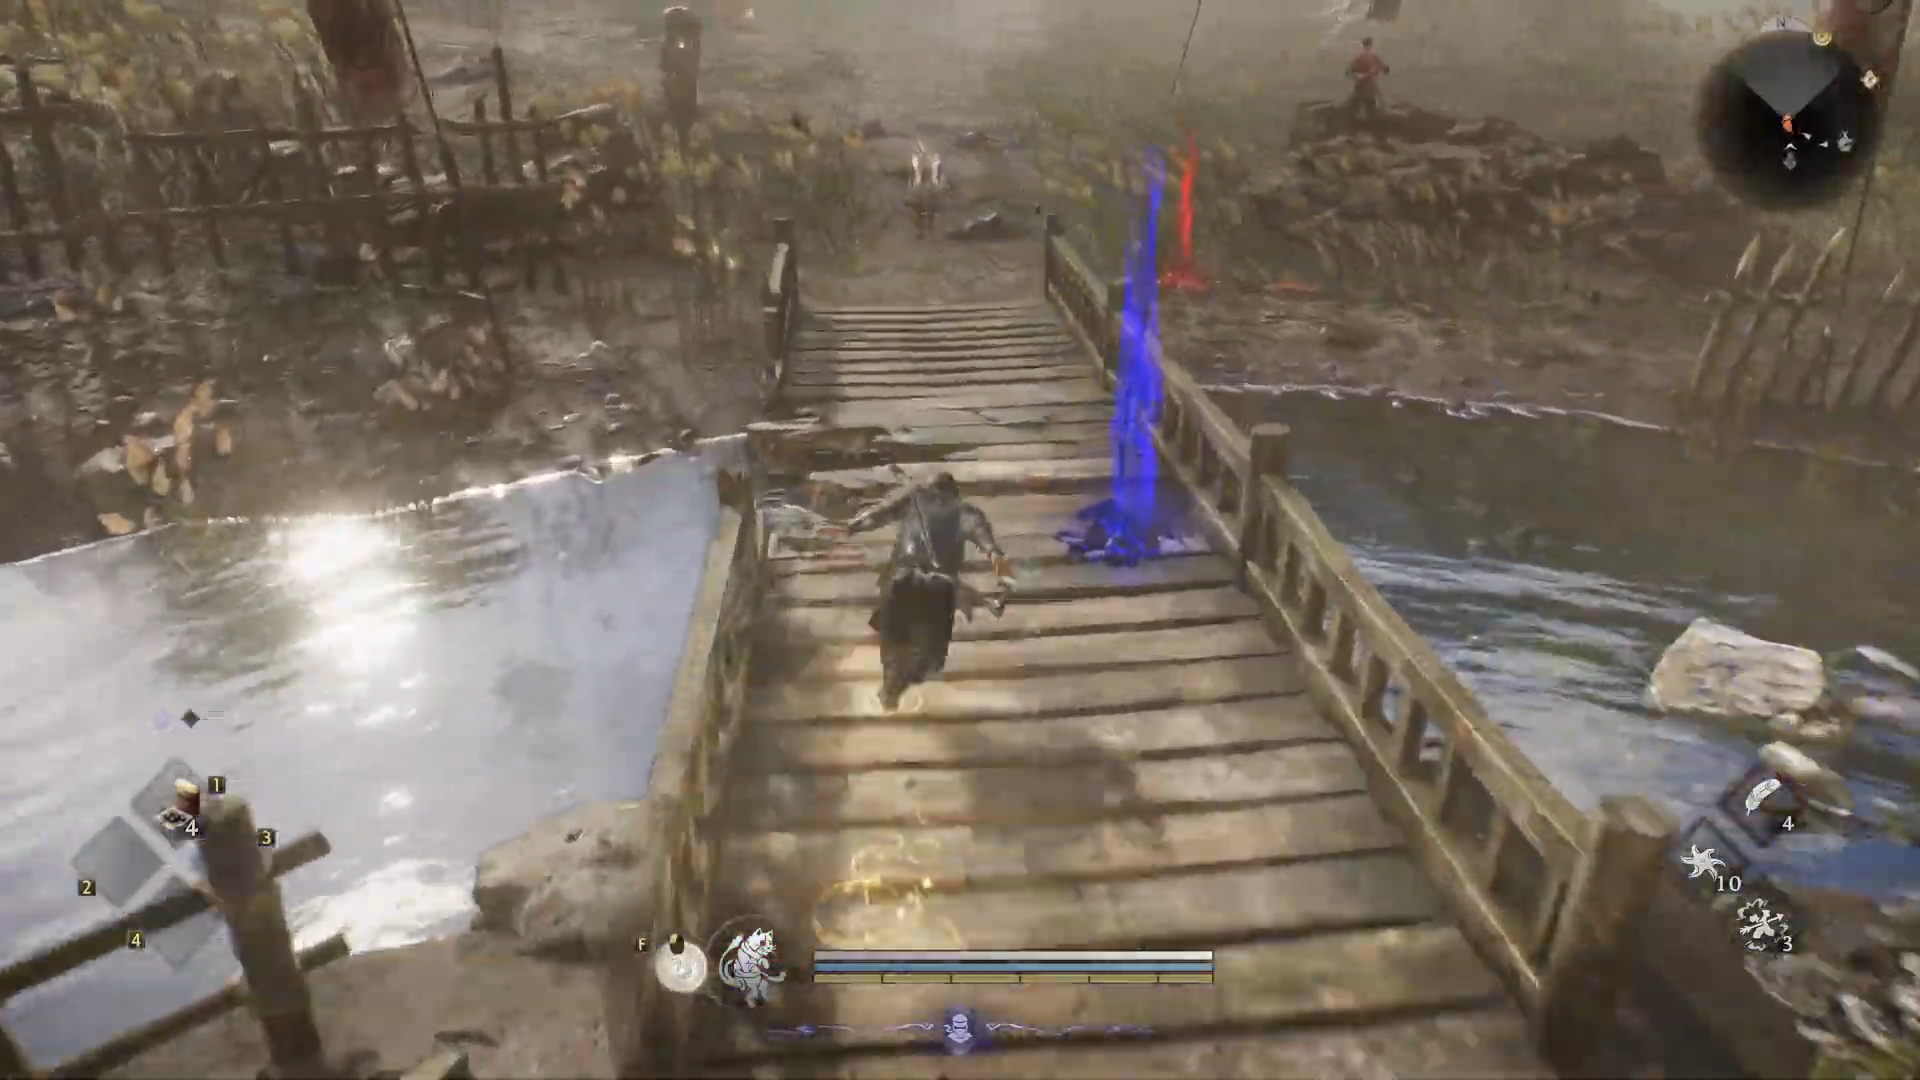
Enemies here include soldiers and yokai that can easily ambush you on the narrow path, so advance slowly, pull enemies one by one, and make use of ranged attacks whenever possible.
After the riverside section, you begin weaving through ruined buildings, trenches, and stables on the outskirts of the castle.
Opening the early gate shortcut
Behind the false rock wall, pass through a ruined house on the right side and exit via the far door to reach a closed gate that leads back outside the castle area. Open this gate to create a handy shortcut that connects back toward earlier sections of the map.
From there, follow the outer path that loops around houses, passes by empty stables, and leads down a pair of ladders into trench-like earthworks. This trench network acts as a corridor toward the next small settlement closer to Futamata Castle.
Climbing to the walls and second shrine
In the next settlement, move between rundown houses until you find a ladder that lets you climb up onto the walls and rooftops. Use these elevated routes to access the second floor of a stone building, then drop down into its enclosed yard where a shrine waits.
Activate this shrine to secure another checkpoint, since the enemies beyond this point become tougher and more numerous. Use the yard to regroup, spend your Amrita, and adjust gear.
Deeper trenches and rolling boulders
Heading out of the settlement, you will again move down through ladders into more trenches as you approach the castle’s defensive works. Watch out for an enemy that triggers rolling boulders; these roll down the trench and can kill you quickly if you push forward carelessly.
Stay near the sides of the trench, observe the timing of the boulders, and sprint or dodge into safe pockets between waves. Taking out the enemy responsible as soon as you can see them makes the return journey safer.
How to clear the castle-town courtyard and reach inner shrines
Once you are past the hazard-filled trenches, you begin to enter the denser castle-town area and its courtyards.
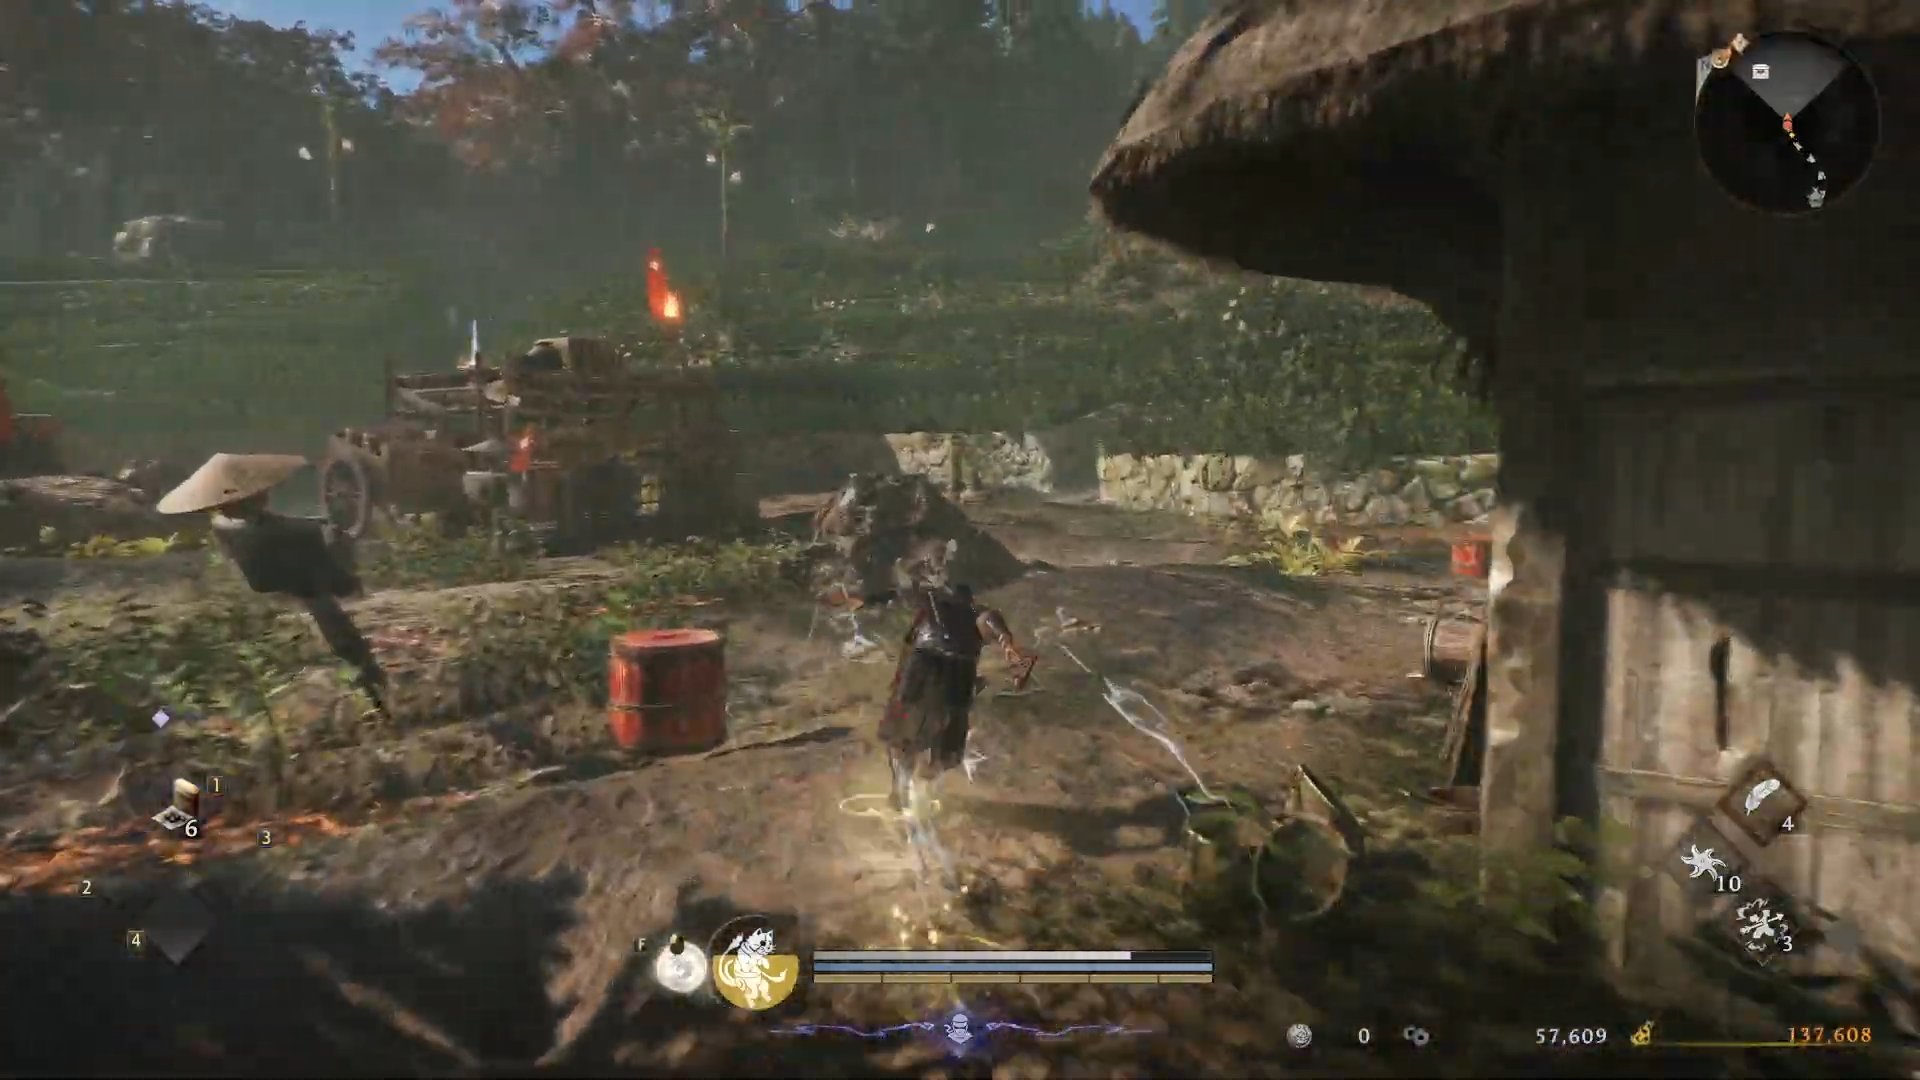
Fighting through the courtyard and mini-boss
You will eventually reach a large courtyard filled with several enemies, culminating in a fight against Anayama Nobutada, a strong enemy acting as a mini-boss for this stretch. Clear out the smaller foes first to avoid being surrounded, then focus on the mini-boss with careful dodges and burst damage during openings.
Defeating all enemies in the courtyard unlocks the path forward into a house that leads deeper toward the castle. Loot the area before moving on, as this is a major combat checkpoint.
Finding the next shrine beyond the house
Enter the house at the edge of the courtyard and look for a hole or opening on the left side that leads out the back. This new path brings you to another shrine, giving you a fresh checkpoint closer to the castle interior.
At the shrine, again use the chance to level up, repair your gear, and adjust your guardian spirit setup if you are finding the enemy compositions tricky.
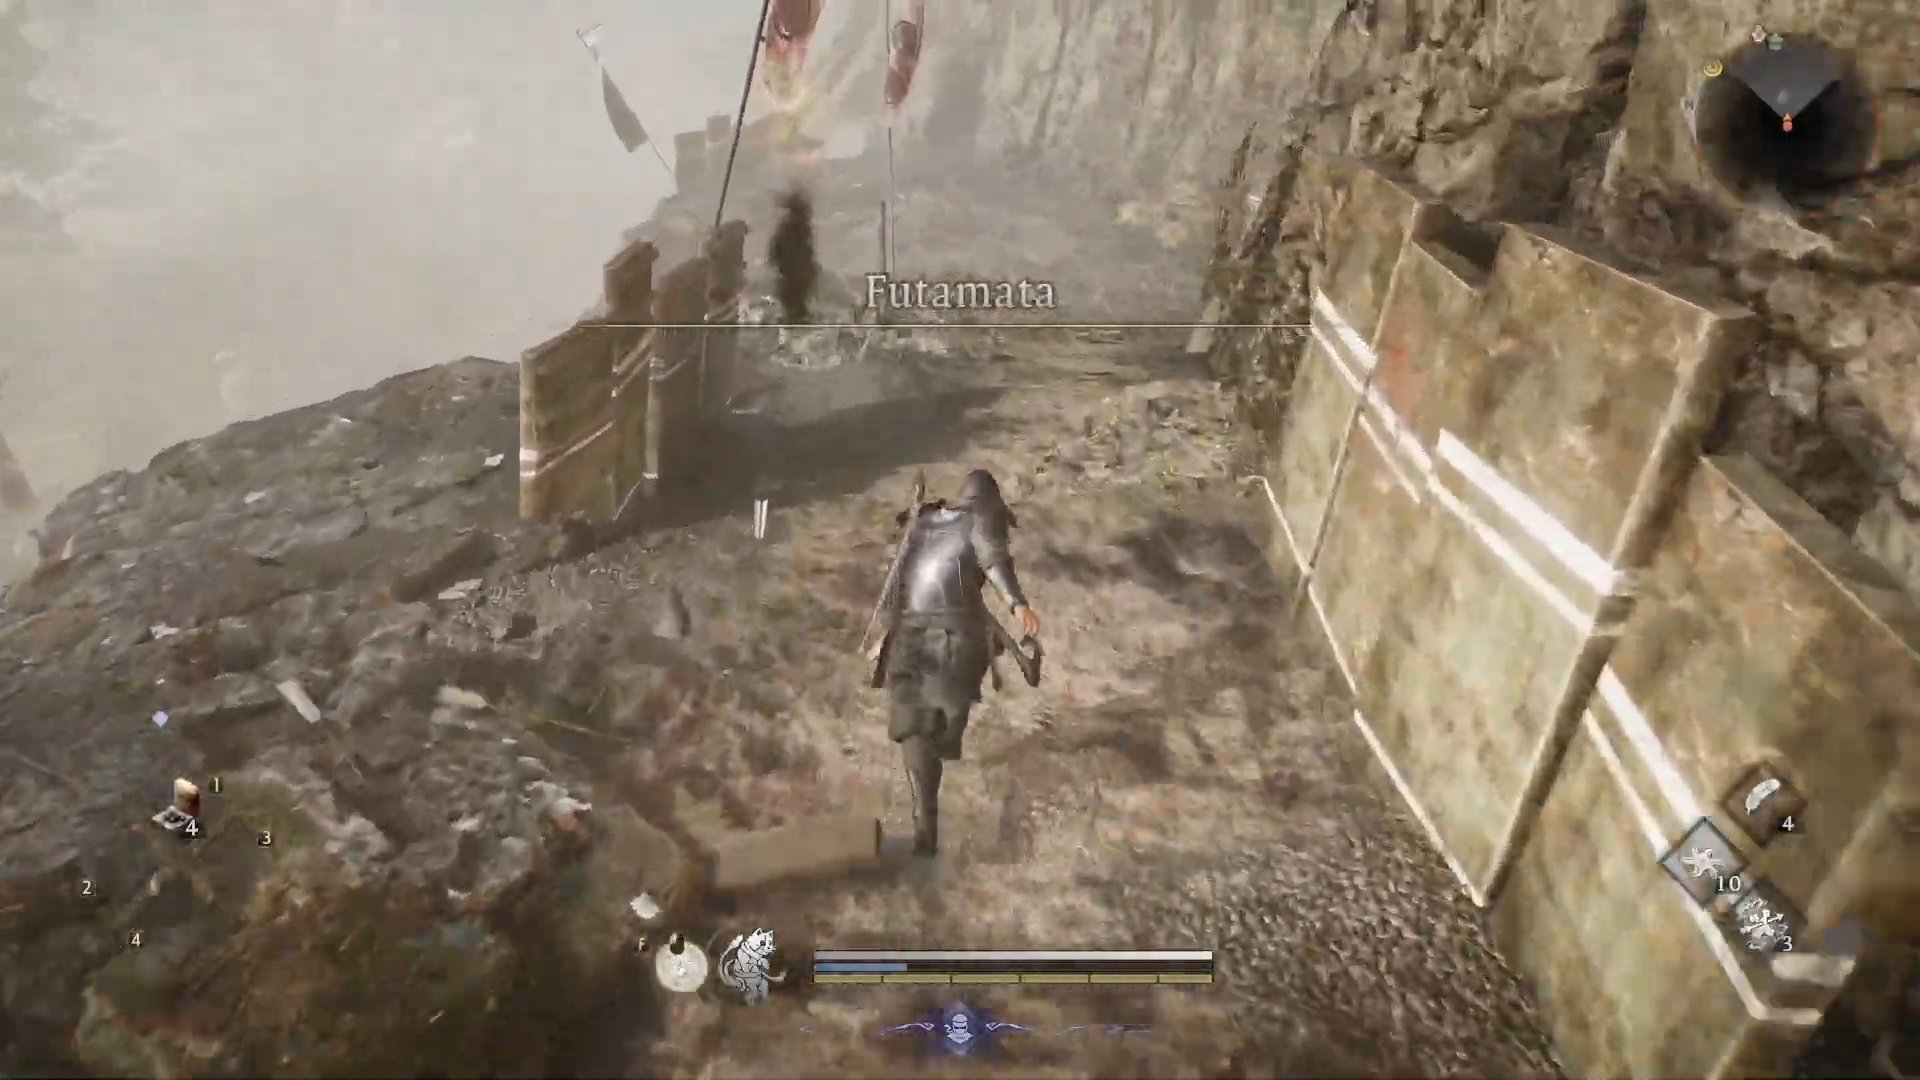
How to climb into Futamata Castle and reach the boss
From this shrine, you are essentially in the outer castle area, with only a few key encounters left before the main battle in Futamata Castle.
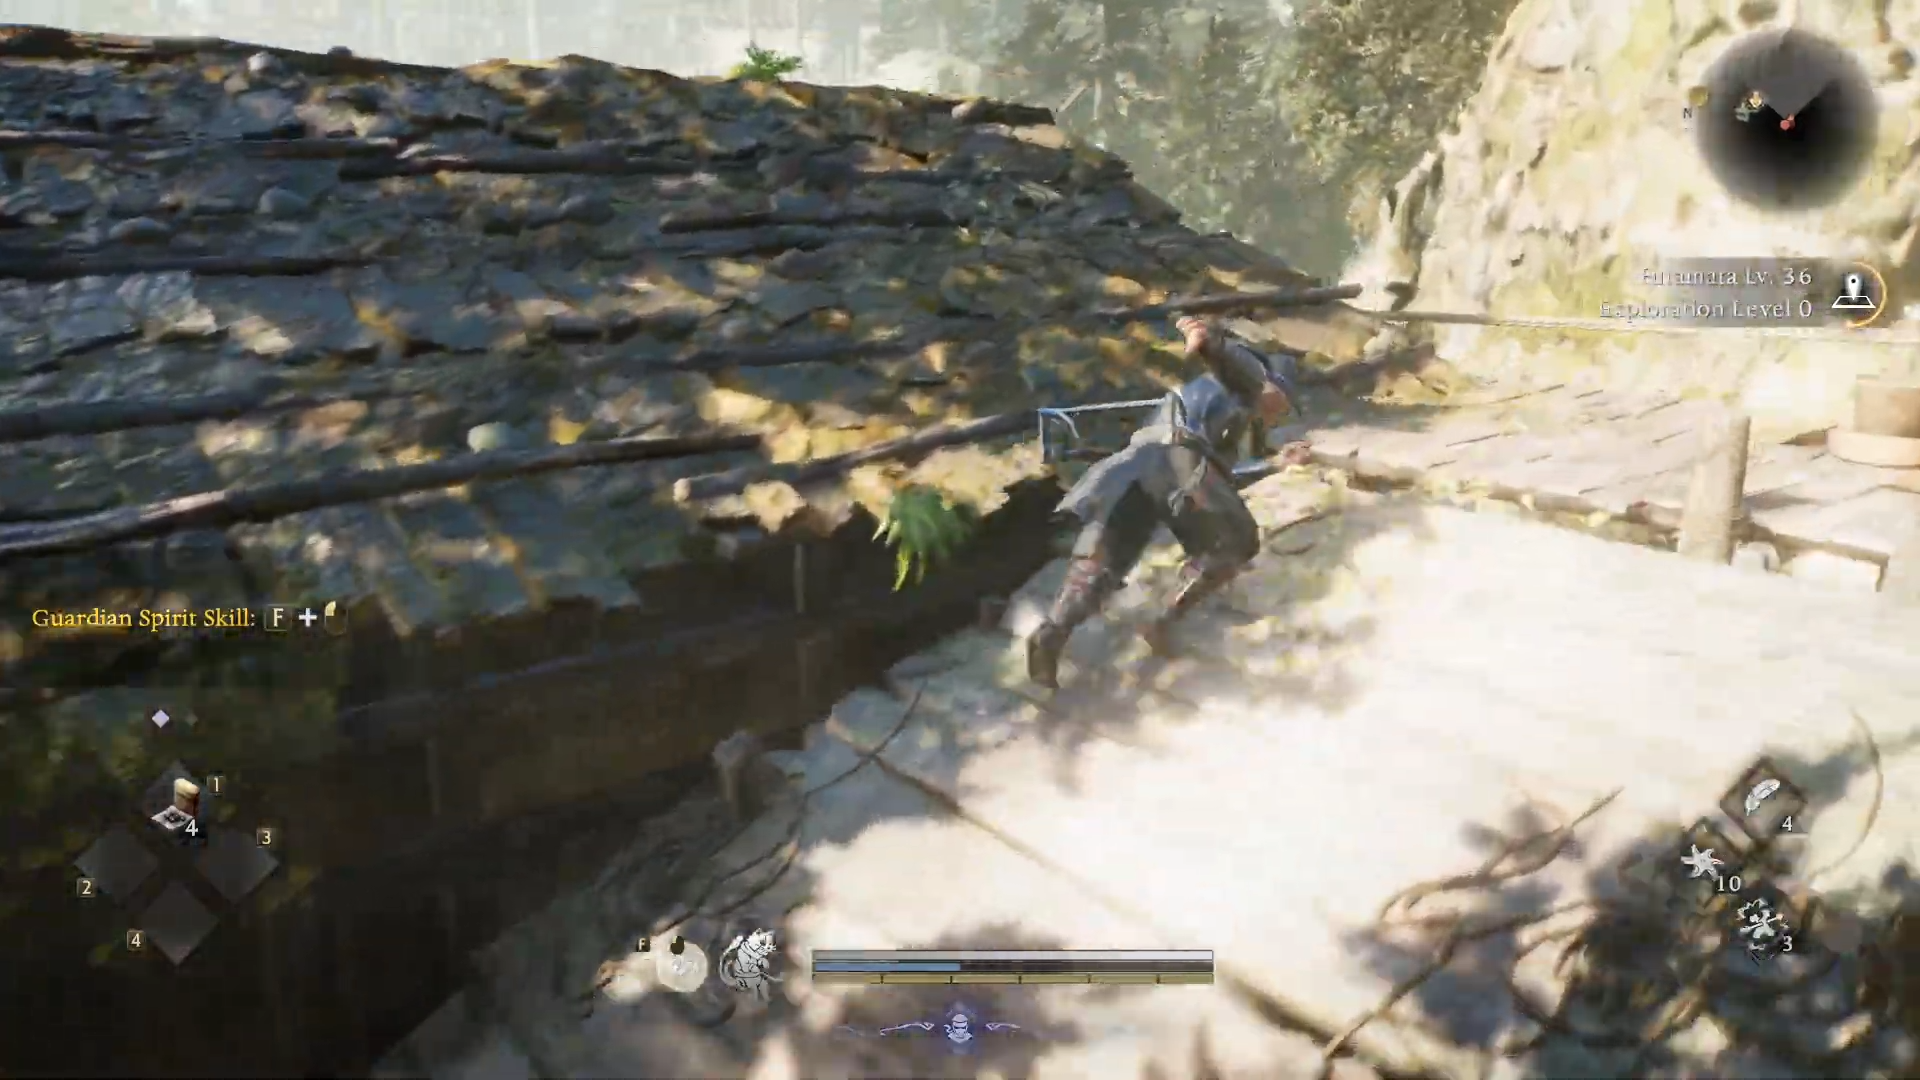
Moving up stone stairs and discovering the hot spring
From the shrine, head up a series of stone steps into a small yard, then continue climbing stone stairs and paths into another courtyard that also features a shrine. One of the stone stair paths leads downward past this shrine; if you head down, you can find a hidden false wall on the right that conceals a hot spring, which can give you a powerful heal and buff.
This optional hot spring is worth a detour if you are struggling with incoming fights, as it reduces your reliance on elixirs for the next stretch.
Dealing with the mounted enemy and breaching the wall
From the courtyard shrine, move into the entrance on the left and follow the interior passage until you encounter a mounted enemy on horseback. Clear the surrounding foes first, then fight the rider by staying close to its flank and punishing its recovery windows after charges.
After defeating this enemy, continue up the stairs on the right to reach a hole in the wall that leads toward the next inner corridor. Just to the left of this hole is a door you can open to create yet another shortcut route within the castle.
Entering the inner corridor and boss arena
Follow the inner corridor to its end, where a set of large doors stand between you and the heart of Futamata Castle. Open these doors to trigger the encounter with Baba Nobuharu, the primary boss of The Battle of Futamata Castle.
Once you defeat Baba Nobuharu, Hattori Hanzo and Nakane Masateru will appear at the exit to debrief you and mark the mission as effectively complete within the castle. Afterward, you can fast travel back to Hamamatsu Castle and speak with Hanzo on the top floor to fully conclude the mission and story beat.
Futamata mission rewards
| Reward type | items linked to Futamata Castle |
|---|---|
| Skill item | Samurai’s Locks, used to gain extra Samurai skill points. |
| Weapon | Leather Cestuses, Genin’s Splitstaff as potential mission reward weapons. |
| Ranged weapon | Hand Cannon as a listed mission reward. |
| Progress reward | Unlocks the next main mission The Battle of Mikatagahara in the Warring States chapter. |
Reaching Futamata in Nioh 3 is about knowing the route more than just brute-forcing combat, so as long as you follow the road northeast from Hamamatsu, activate each shrine, open shortcuts, and handle the courtyards and trenches step by step, you will consistently find your way to Futamata Castle and its boss fight without getting turned around.


