Murong Yuan is a fast, disciplined swordmaster whose glowing strike cues and multi-phase mechanics make her one of the trickier bosses in Where Winds Meet. This guide covers her location, attack patterns, phase transitions, and the most reliable strategies to defeat her.
Murong Yuan is a challenging campaign boss encountered as part of the “Jinming Pool” quest in Where Winds Meet. Her fight tests your timing, parry skill, resource management, and ability to handle multi-target threats. She’s best tackled with good Mystic Art setup and patience.
Rewards
- Vendetta: Tome – x1
- Eagle Ring – x1
- Medicinal Tales – x1
- Oscillating Jade – x5
- Echo Jade – x55
- Coin – 40000
- Enlightenment Point – x100
- Kaifeng Exploration – x100
- Stored EXP – x40000
Murong Yuan location
The boss fight takes place in the Oil Tank area in the bottom deck of the Quintadent warship.

Murong Yuan mechanics
Phase 1
The encounter opens as a one-on-one duel where your survival depends on reading Murong Yuan’s sword glows and reacting with precision. Her yellow-glow attacks indicate unblockable strikes that must be dodged or interrupted using Meridian Touch when the prompt appears. Blocking or parrying these at random will usually get you punished. Meanwhile, her red-glow combos are two-stage sequences: the first hit is unsafe to challenge, but the second can be parried for a strong counter window.
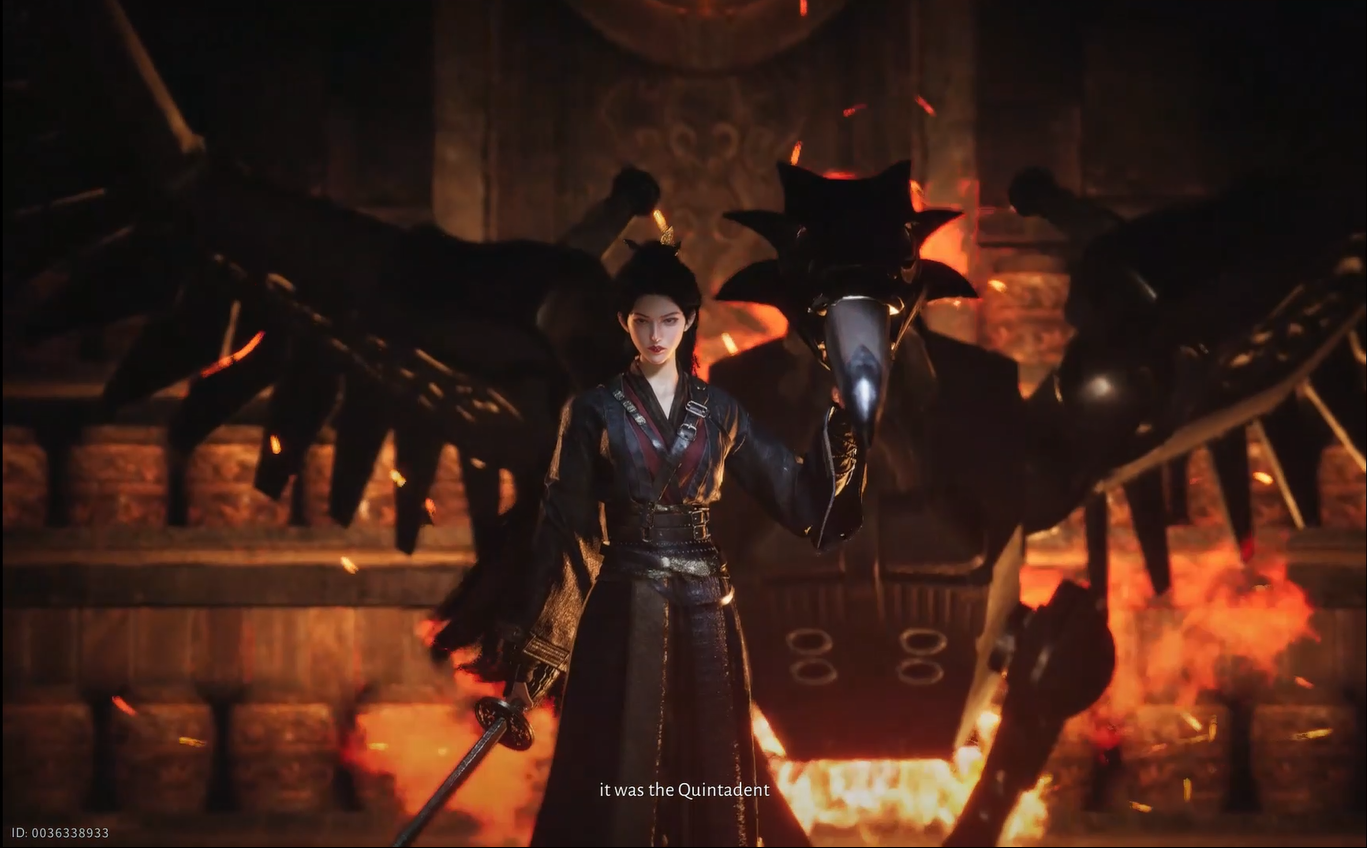
Phase 2 – Bird Companion
When her first health bar breaks, Murong Yuan calls in the Wooden Eagle, transforming the duel into a two-target fight. The bird attacks from range with homing projectiles and occasionally dives in with swift melee strikes, creating constant pressure while Murong Yuan continues her disciplined sword offense.
How to beat Murong Yuan
Follow these steps to defeat the Murong Yuan:
Murong Yuan Phase 1
Step 1
The fight begins as a straight duel with Murong Yuan, where reading her sword glows (yellow/red) and reacting correctly is vital. Yellow-glow attacks are unblockable; these must be either dodged or interrupted with Meridian Touch when the prompt appears.
Screen recording by: NerdsChalk
Step 2
Red-glow combos are two-part sequences — the first strike is unsafe to block or parry, but the follow-up can be parried. Successfully landing a parry gives a strong window to counterattack.
Screen recording by: NerdsChalk
Step 3
The fight rewards timing over brute force; attacking is fine, but after a short string, you must anticipate her retaliation. Hug mid-range so you’re ready when she closes the distance.
Screen recording by: NerdsChalk
Murong Yuan + Wooden Eagle Phase 2
Step 4
Once Murong Yuan’s first HP bar depletes, the second phase begins: she’s now aided by a mechanical bird (Wooden Eagle) that fights alongside her. Both have their own separate health bar.

Step 5
The Eagle attacks mainly from range with homing projectiles, and sometimes swoops in for melee strikes.
Screen recording by: NerdsChalk
Step 6
Because this phase is significantly harder, it’s highly recommended to call the Spirit of Yi Dao to assist you. With Yi Dao distracting one target, you can focus on maintaining clean dodges, perfect parries, and controlled offense to safely finish the fight.
Screen recording by: NerdsChalk
Step 7
While the Eagle adds chaos, the real goal remains to reduce Murong Yuan’s HP to zero — you don’t have to fully kill the Eagle to end the fight.
Screen recording by: NerdsChalk
Step 8
Once you defeat Murong Yuan, the Wooden Eagle will attempt to carry her off. Strike the bird with your sword to force it to release her.
Screen recording by: NerdsChalk
Tips for Murong Yuan
- Stay at mid-range to react quickly to her glow-telegraphed attacks.
- Use Meridian Touch to interrupt yellow-glow strikes safely.
- Save strong abilities for post-parry counter windows.
- In Phase 2, summon Yi Dao to help manage the Wooden Eagle’s pressure.
- Focus Murong Yuan first — the Eagle is optional and only needs to be dodged, not defeated.
Thanks for reading this guide for Murong Yuan Boss in Where Winds Meet all the way through. If it improved your understanding or helped you complete something, let us know below. You can also ask any follow-up questions—we enjoy interacting with readers and are always happy to provide further clarification.